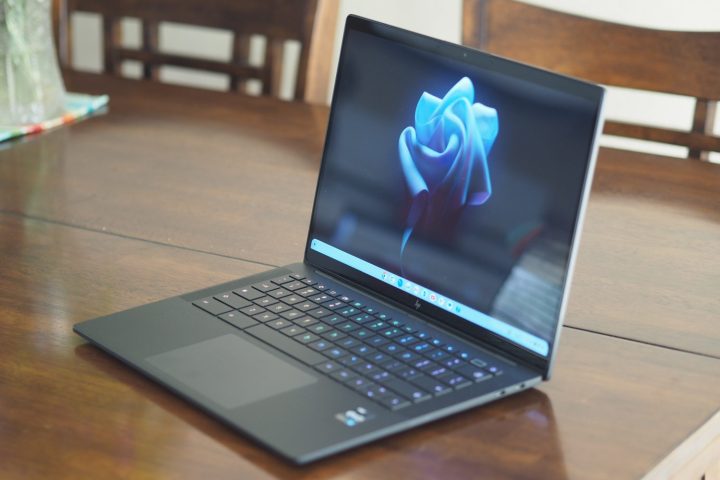
Welcome to the world of Chromebooks! These budget-friendly laptops are a great middle-ground between mobile devices like smartphones and tablets, and more robust laptops and desktop PCs. There’s a bit of a learning curve to these Google-powered machines though, even down to how you’ll operate trackpad clicks. For instance, we’re sure you’re familiar with how to perform a right-click in Windows or macOS. You can also right-click on a Chromebook, but probably not the way you’re used to.
Not to worry though. At the end of the day, learning curves can be fun and educational, and we’ve made this guide to walk you through executing right-clicks and a few other Chromebook commands.
Method 1: Quick right-click
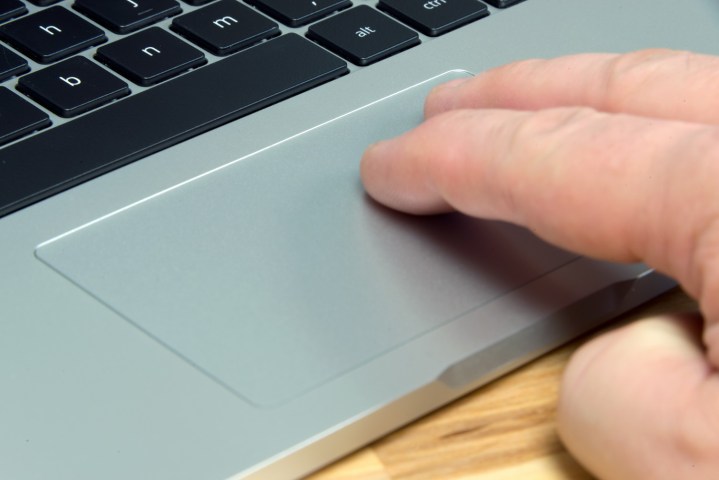
This is pretty easy if you’ve used an Apple or Windows touchpad in the past. Instead of tapping with one finger, tap on the pad with two fingers while hovering over the object you want to right-click. The touchpad will interpret your two fingers as a right-click and show the dropdown menu — or whatever else your right-click is supposed to unveil.
The key here is timing and position because your fingers need to tap down and rise back at the same time, or things can go a little screwy. If you’ve never tried to right-click like this before, it may take a little practice to get down (always make sure the touchpad is clean and dry, which makes quite a difference).
Method 2: Right-click with keyboard
If you really don’t like tapping on the touchpad or are still in the learning stage and need a more reliable way to right-click while you master the pad, then try the keyboard method. Press down and hold the Alt key, and then tap the pad with one finger; this acts just like a two-finger tap for right-clicking, but it may be more accurate and easier if you don’t have a finger to spare.
This method can work well if you are already busy typing and your fingers are right there, so to speak — or if you are on the go and awkward positioning makes it easier to just hold down Alt and tap, rather than try two-finger tapping.
Method 3: Right-clicking to move objects
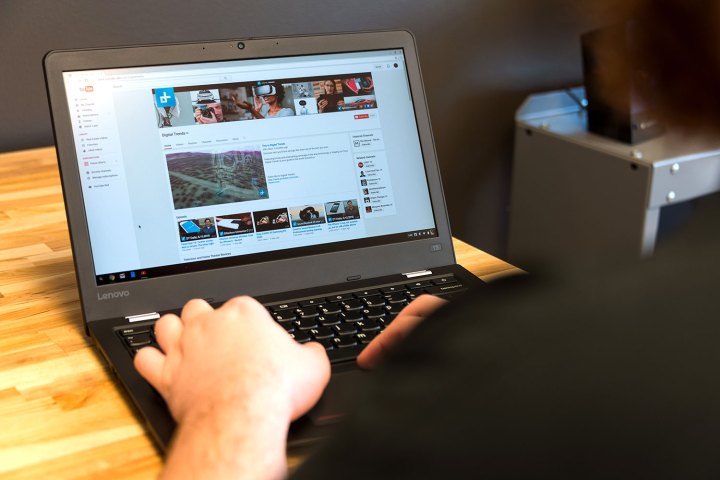
This is a little more complicated. To move objects using the Chromebook touchpad, you have to combine right and left clicks. First, tap the pad while hovering over the object, but keep your finger held lightly down on the pad. Then, with your second finger, tap down and move it across the pad to move the object.
Here, your first finger is enabling the movement, and your second finger is actually moving the object. The key is keeping one finger relatively still while moving the other, which does become intuitive in time. As with our first method, this may take a little practice, especially if you are still getting used to the sensitivity of the touchpad. The better Chromebooks have smoother touchpads that make this easier, but it may feel a bit off on cheaper models.
When in doubt, switch it off
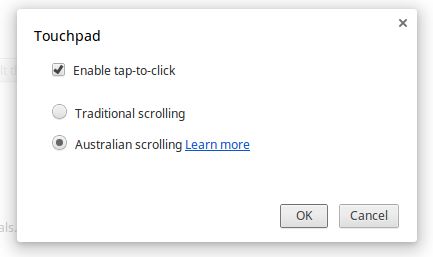
Chromebooks allow you to change the touchpad settings or shut the whole thing down if it’s bothering you. First, go to the Settings screen, which you can typically find in the same place as your network connections and battery life. The actual icons can vary a little depending on what brand manufactured the Chromebook, but it’s usually a cog or a wrench.
Once there, pause for a moment and note the slider that allows you to change touchpad speed. If you find the touchpad a little too twitchy, try turning the speed down and experimenting a little — this will also make clicking a bit easier. When finished, look for a button that says Touchpad Settings, and choose it.
Or you could just use one of these
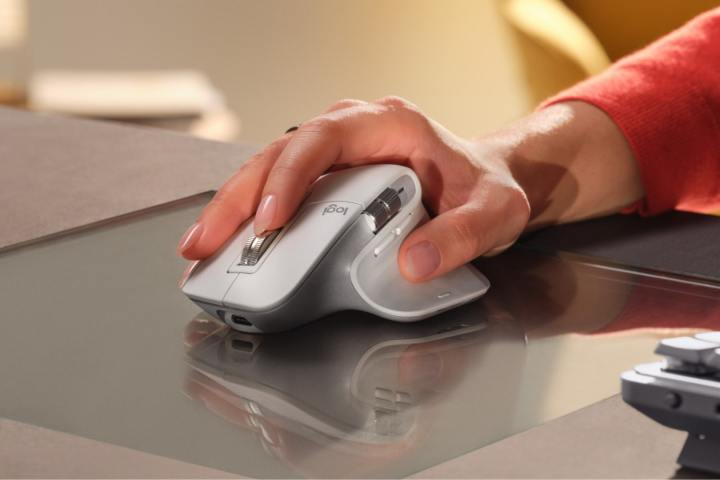
If you're just not into the native right-click controls on your Chromebook, connecting a mouse to it will solve all your problems. Once paired, left and right clicks will work exactly the same way they do on any other mouse-equipped PC.


