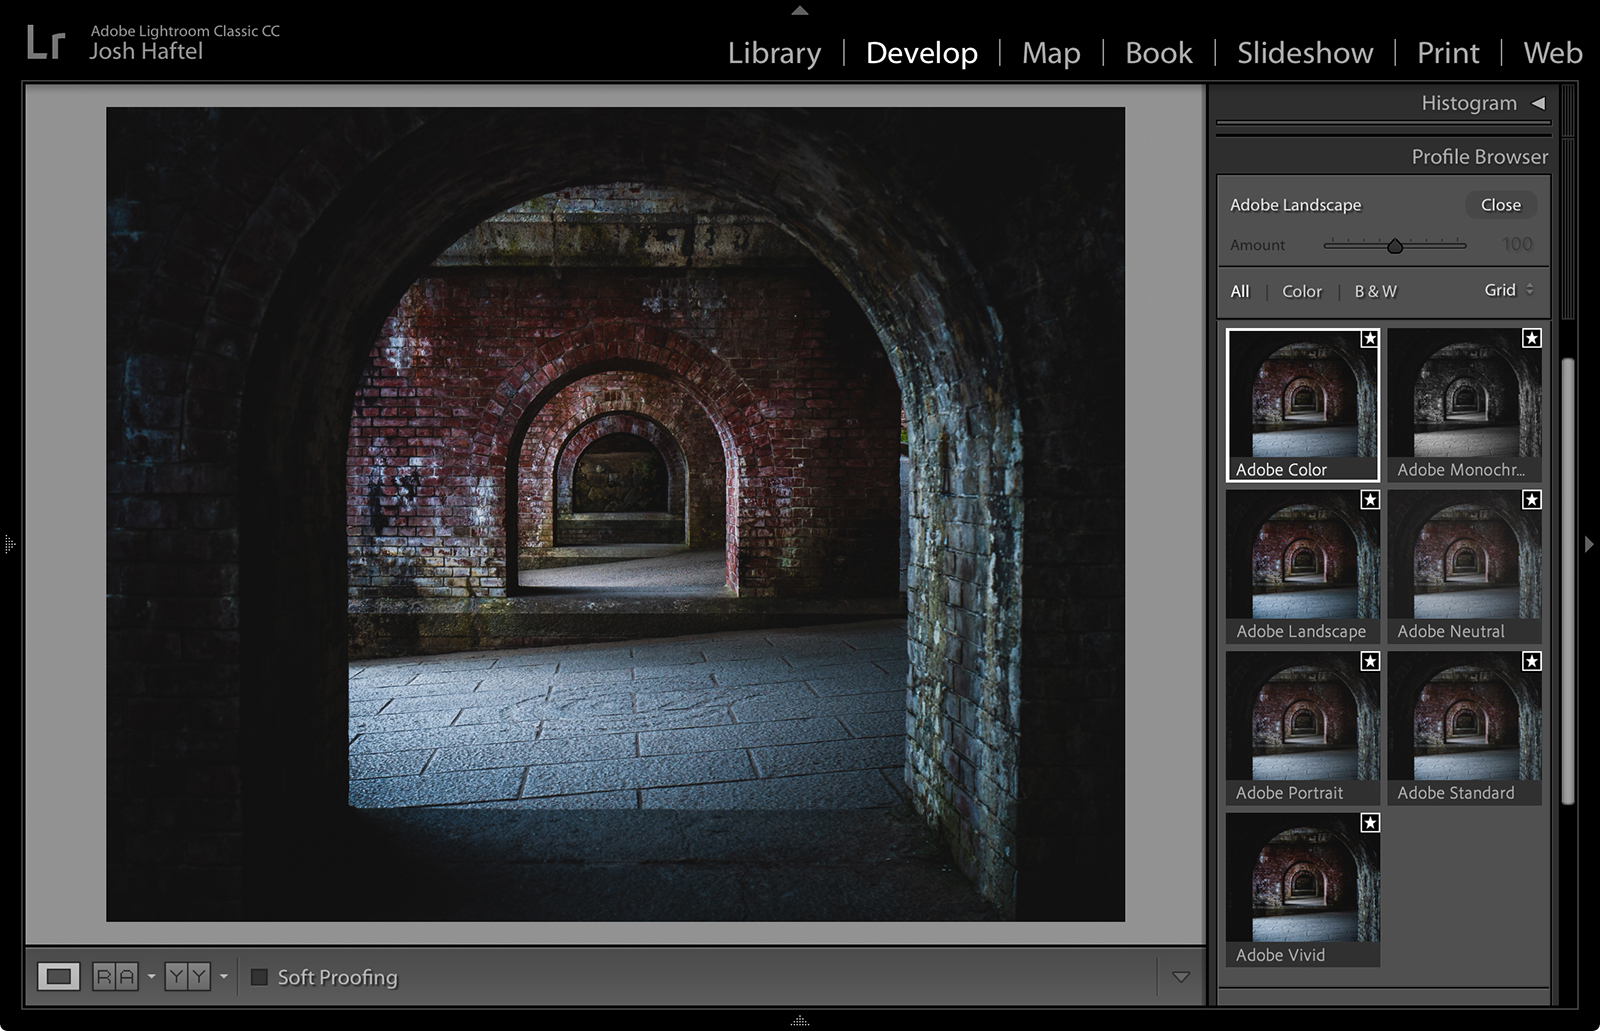
Adobe is making it easier for photographers to get a consistent look by unburying and expanding a lesser known tool inside its RAW image processor: Camera Profiles. On Tuesday, April 3, Adobe launched updates to Lightroom Classic CC, Lightroom CC, and Adobe Camera RAW (ACR) that replace the nearly 10-year-old Adobe Standard profile, add additional creative profiles, and put the feature front-and-center.
Before it can be displayed on your computer screen, a RAW file first needs to be rendered, converting the raw data into pixel information. Profiles dictate just how that conversion occurs, interpreting colors and lighting in the rendering process.
Unlike a Lightroom preset, applying a camera profile leaves all of the adjustment sliders untouched. It’s the initial step in the editing process, but a good profile is sometimes all an image needs. Camera manufacturers all have their own profiles to achieve specific looks, while Adobe-developed profiles are designed instead to create consistent looks across the multiple cameras supported by Lightroom and Camera RAW.
Camera profiles can be incredibly powerful, yet are a lesser-known tool inside Lightroom, something Adobe wants to change. In the previous version of Lightroom Classic, Adobe buried the profile options in the very last section of the Develop panel. Now, camera profiles are migrating up to the first panel, the Basic panel, in Lightroom Classic and inside Adobe Camera RAW. Lightroom CC didn’t previously have adjustable profiles and only used Adobe Standard by default, but the option is now similarly located at the top of the edit panel — an addition that Lightroom CC users have been asking for since the program’s release.
Adobe isn’t just making profiles easier to find, however. With Adobe Standard going on 10 years old, the company is rolling out a brand new default profile: Adobe Color. The new profile adds more contrast to RAW images from the start, and Adobe says warm tone rendering and color transitions are improved. Adobe Color will be automatically applied to all images uploaded after this update, but previous uploads won’t be impacted by the change — which is a good thing, as changing a profile on images you’ve already edited to your liking would simply negate all of your hard work.
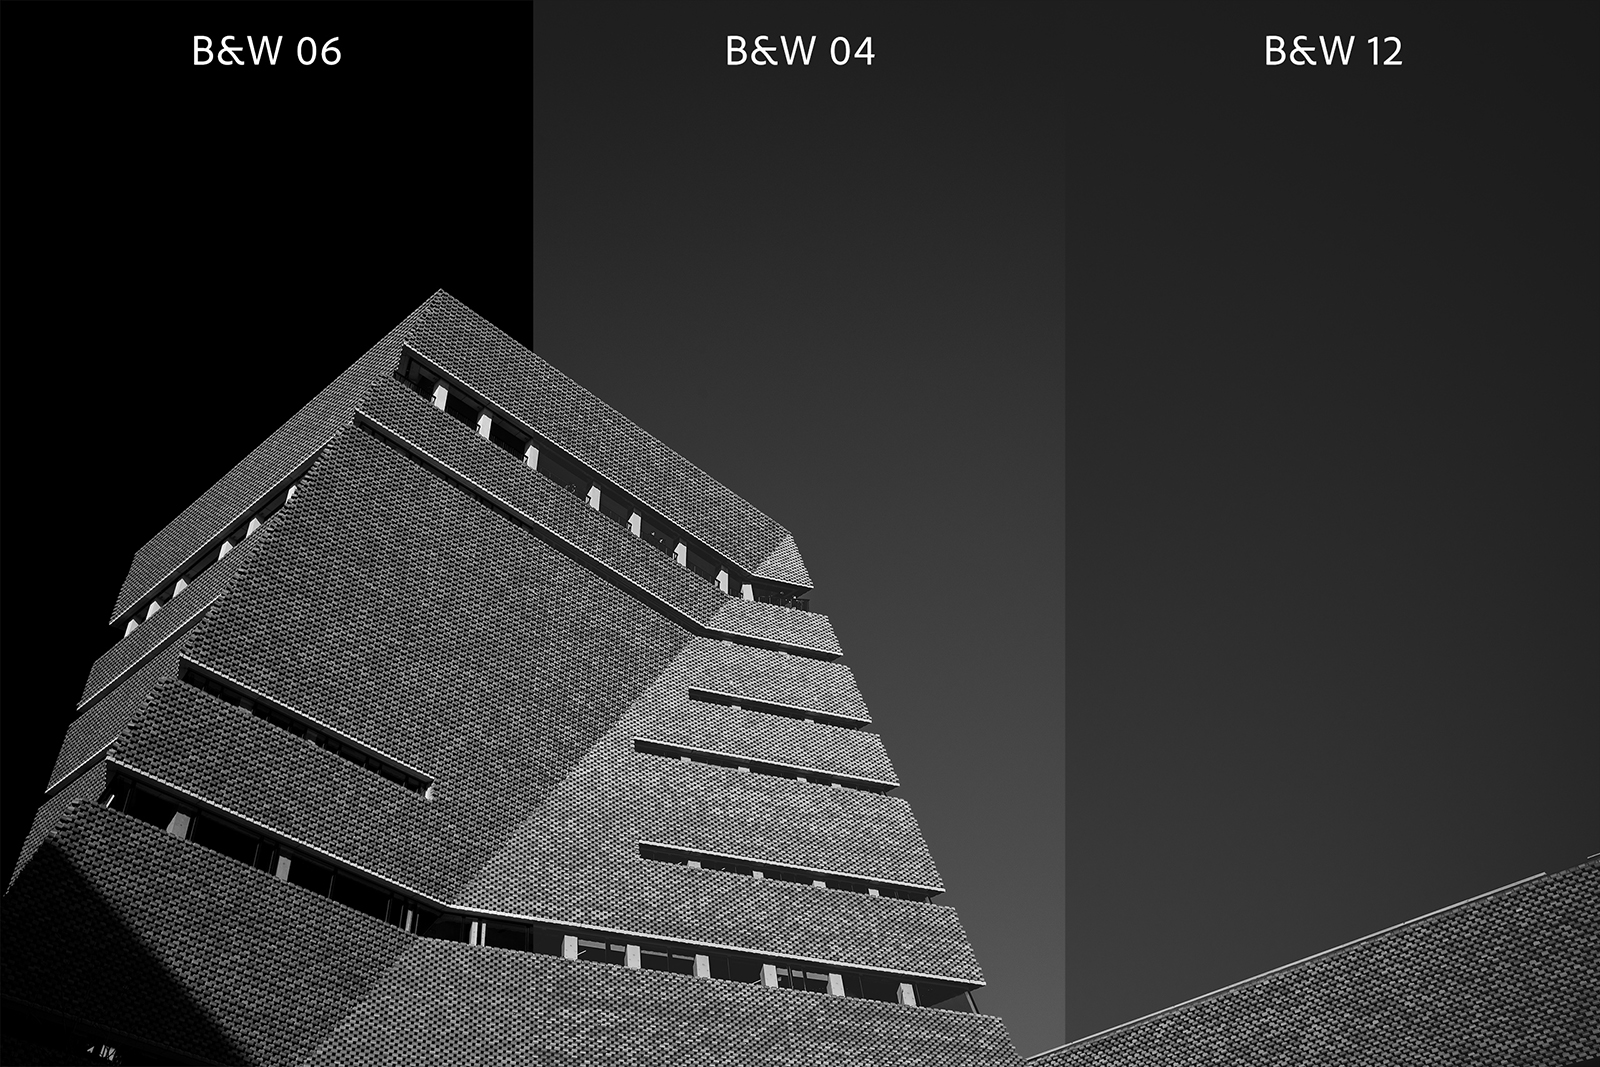
While Adobe Color is designed to work on a majority of images, the company is also launching five other options for a range of different starting points. Adobe Monochrome is a new profile for black-and-white photos with more contrast than simply converting an Adobe Standard image. Adobe Portrait is designed for more control over skin tones, while Adobe Landscape plays up the greens and blues. Adobe Neutral offers a low contrast starting point, while Adobe Vivid is more saturated than Adobe Color.
Camera profiles aren’t limited to just those from Adobe or your camera’s manufacturer. The update also comes with new creative profiles in four new categories: artistic, black and white, modern, and vintage, all of which have adjustable intensity.
Many third-party profiles are already available from photographers and companies who have been producing Lightroom presets. Brian Matiash, Contrastly, DVLOP, Kevin Kubota, Matt Kloskowski, Nicolesy, and RNI all have new profiles available today.
Adobe also added a handful of smaller updates to both versions of Lightroom. Lightroom Classic users can now find the Dehaze tool inside the basic panel, along with a larger version of the tone curve tool. The desktop version of Lightroom CC gains network storage device support and a new option to filtering photos by sync status.

On mobile devices, Lightroom for iOS gains a geometry tab with tools to straighten a crooked shot and correct perspective distortion. Adobe also added layout optimization for iPhone X users and a left-handed mode on the iPad.

For Android and ChromeOS users, Lightroom CC’s mobile app gains a section for sharpening and noise reduction as well as a tool for adding noise. All three mobile versions also include enhanced Lightroom CC Web sharing and support for the latest cameras.
The updates are available across the Lightroom family today.


