
We all love making memories, and a great way to collect those memories is to take a quick snap of a gorgeous landscape, a party in full swing, or a particularly incredible meal. The Apple iPhone now also adds a location to your pictures, meaning it can collate those images together into a location-themed album, or show you all the shots you've taken in a specific location. It's a fun little addition, and it's one that adds a lot of personality to the Photos app.
But privacy is also important, and while you may be happy to keep your location on your photos, you might not want it publicly visible when you share your snaps with the world. That's why we've put this guide together so you know how you can strip the location data from your pictures before you share them on social media. Plus, if you don't want it taking your location data at all, we've also included steps on how to stop your iPhone from doing it at all.
How to find photos with location data
Before you can remove any location data, you need to know which of your photos have location data attached. There's a place in the Apple Photos app that highlights all of these, so finding them is easy.
Step 1: Open your Photos app.
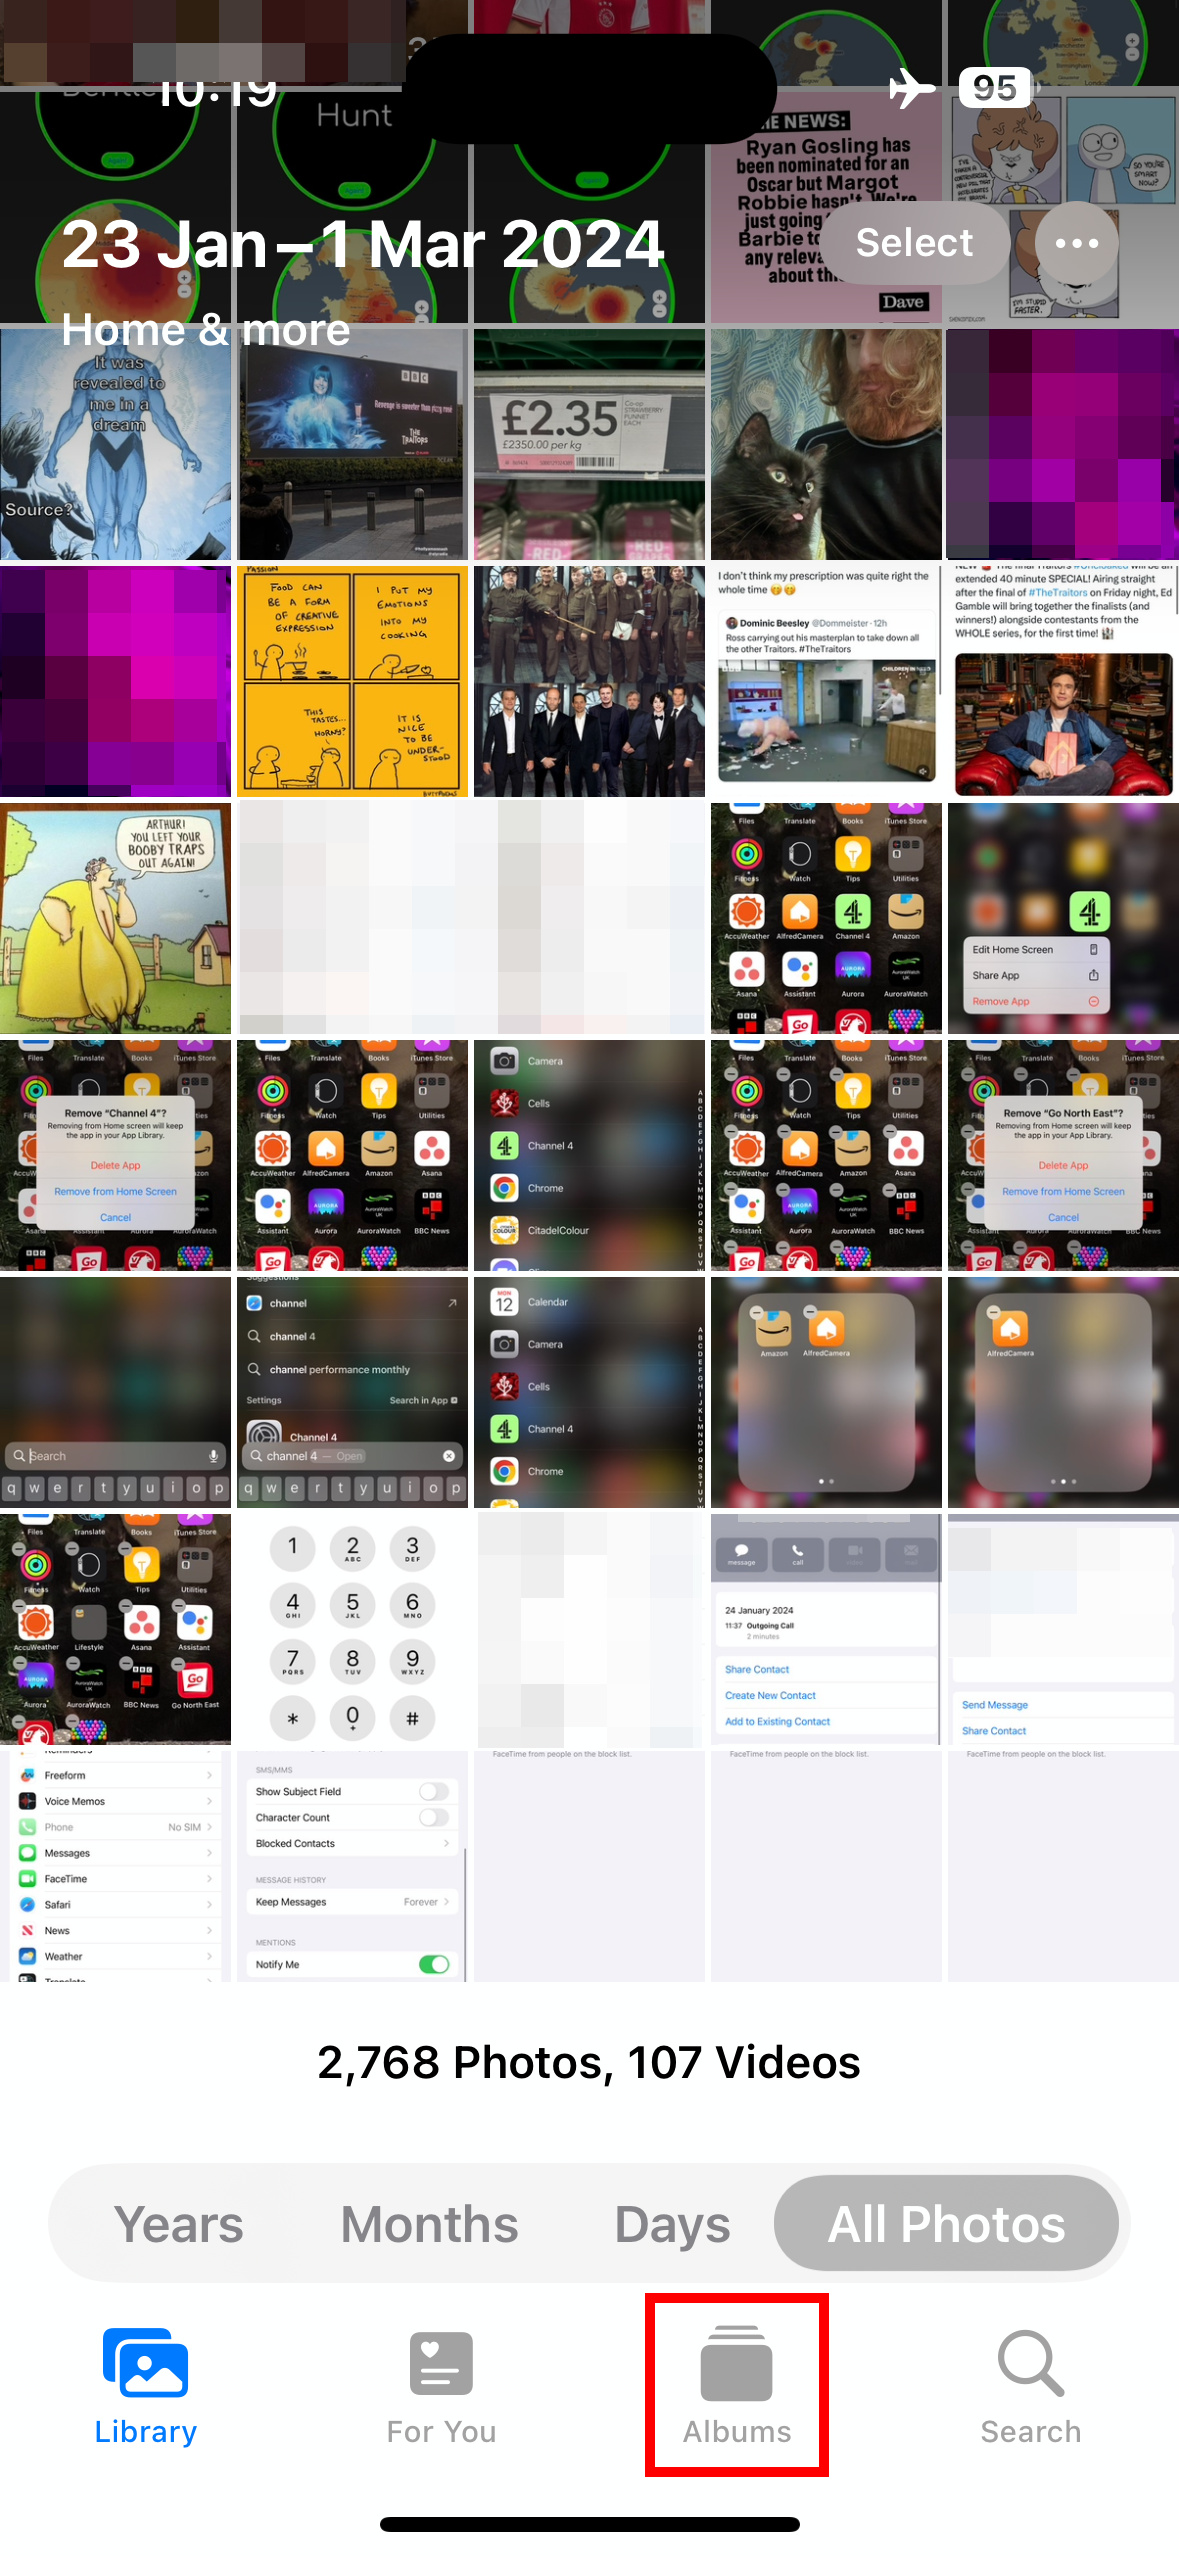
Step 2: Open the Albums tab.
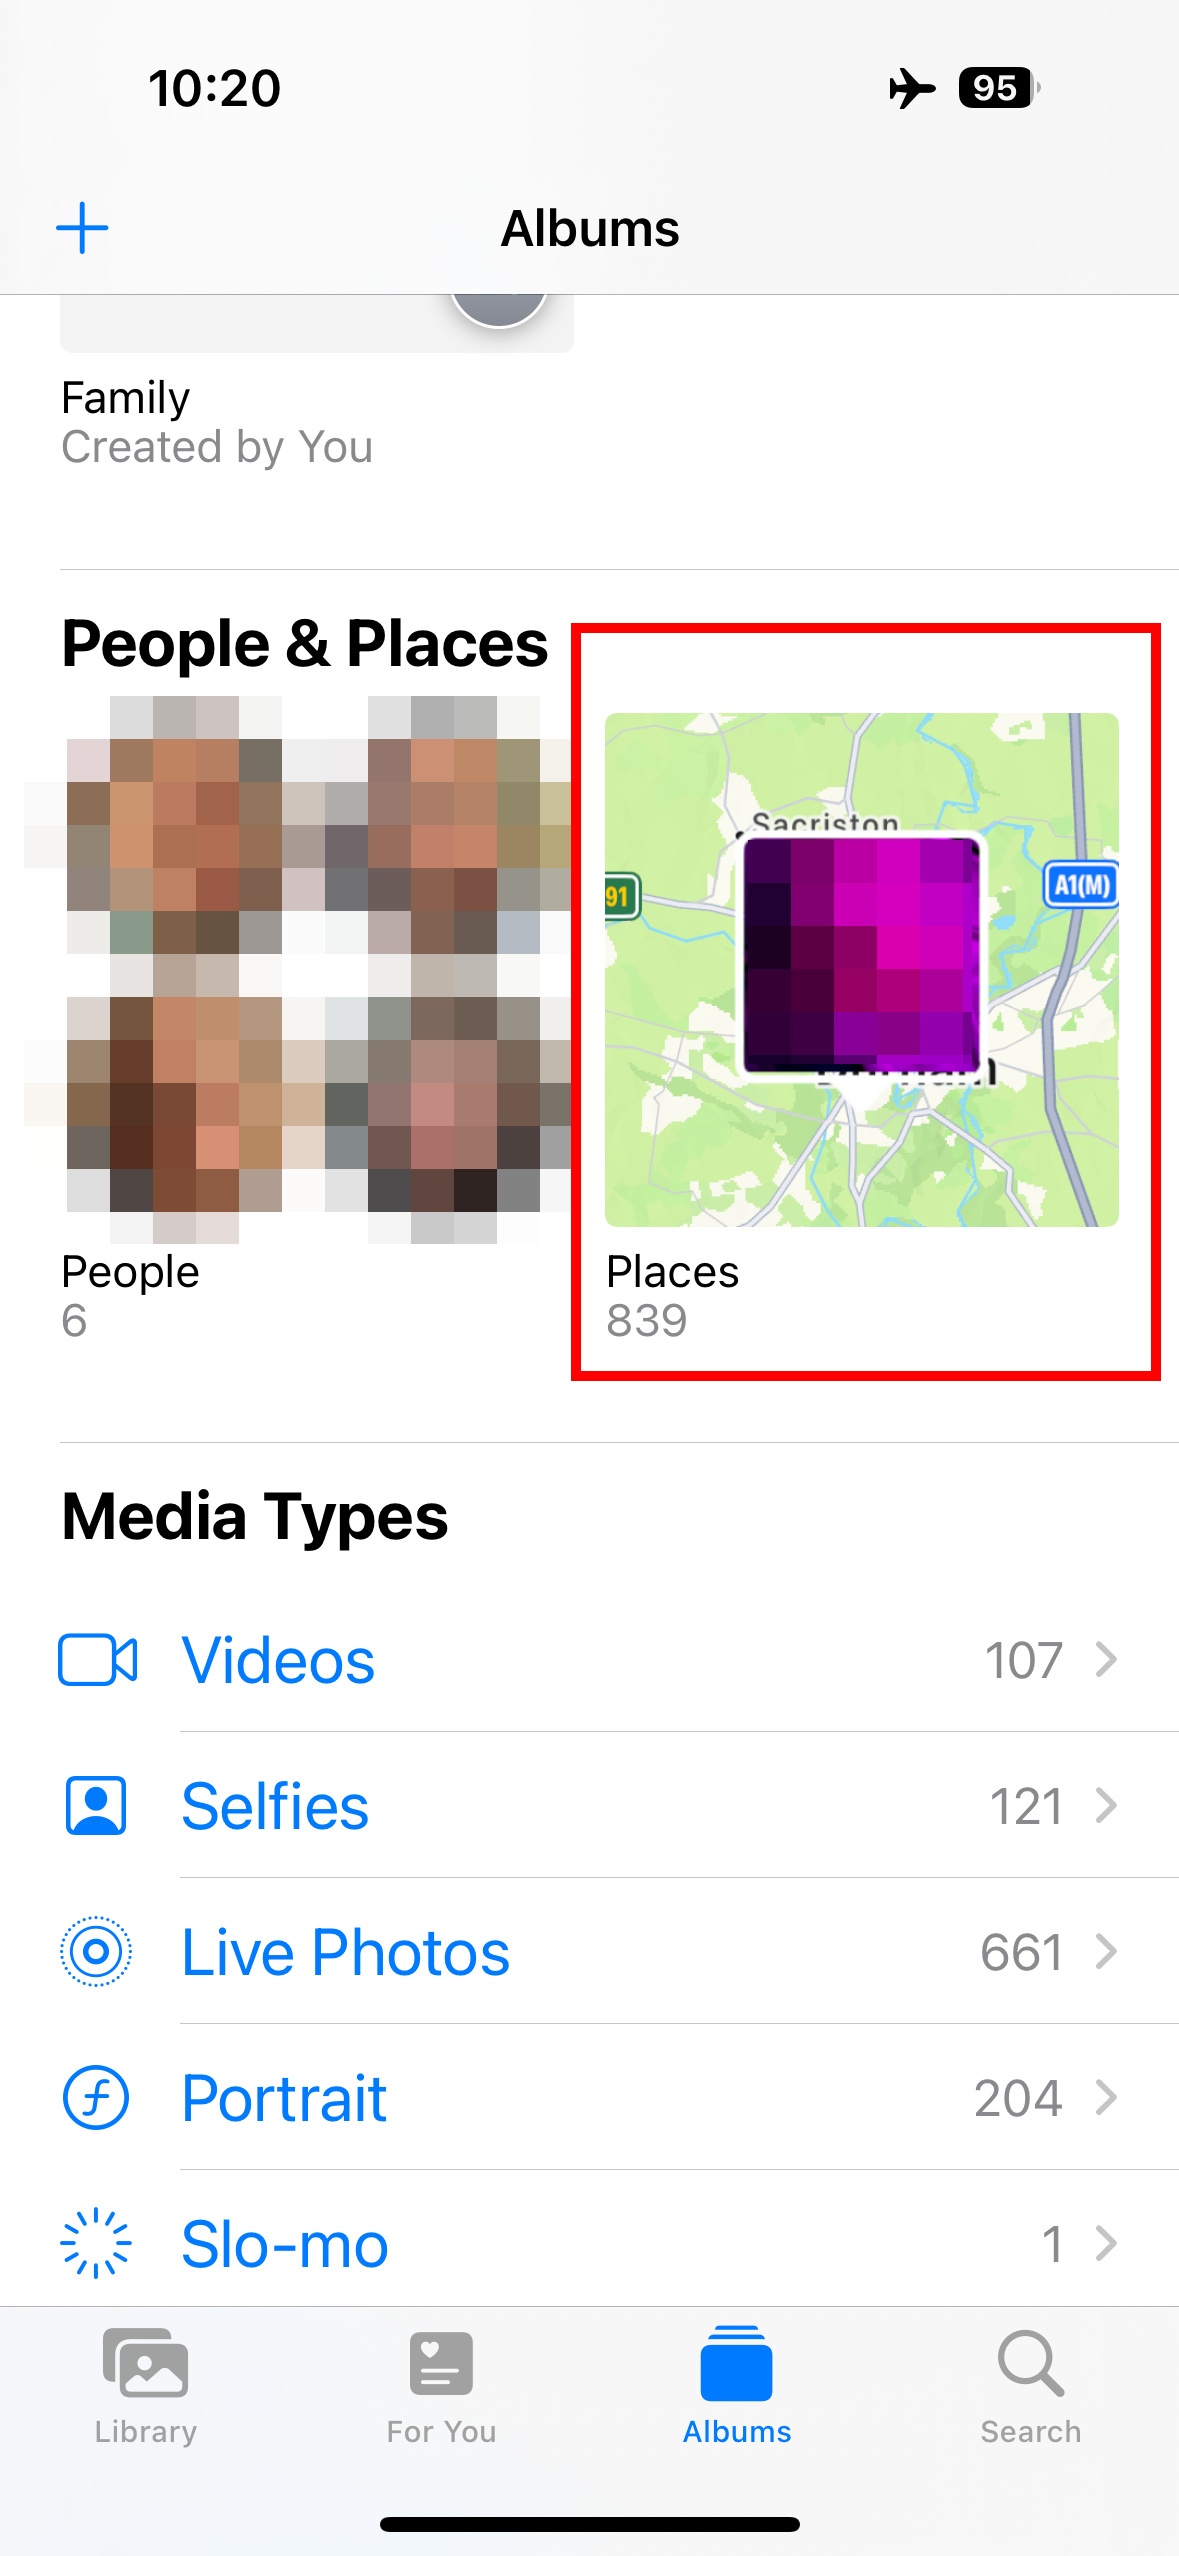
Step 3: Scroll down and find the Places album.
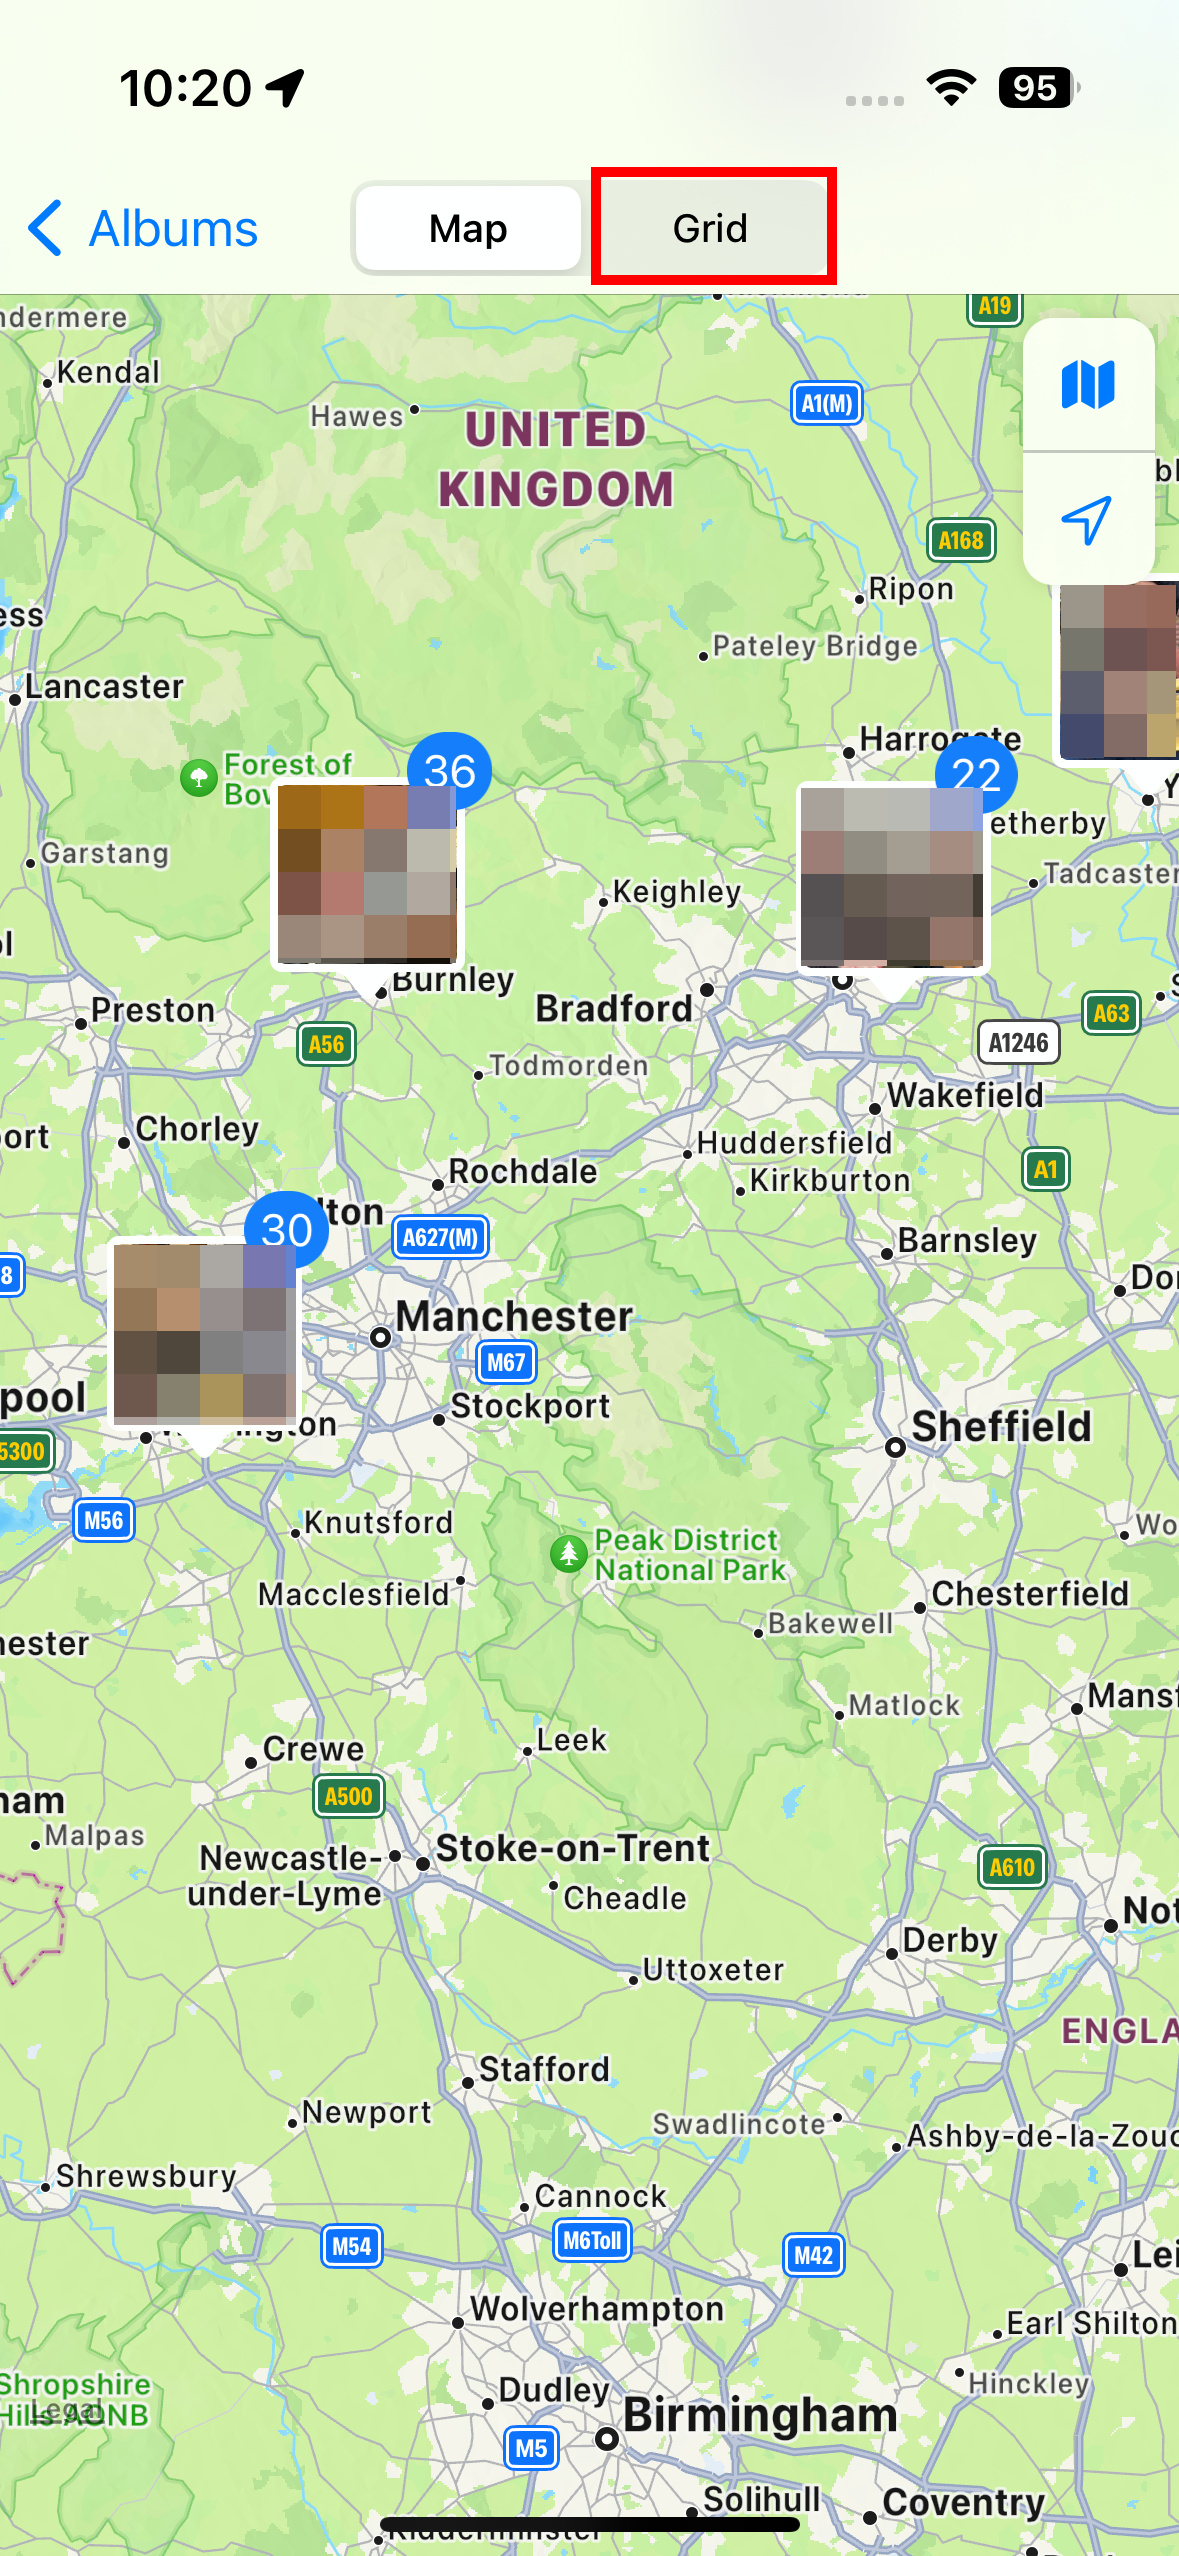
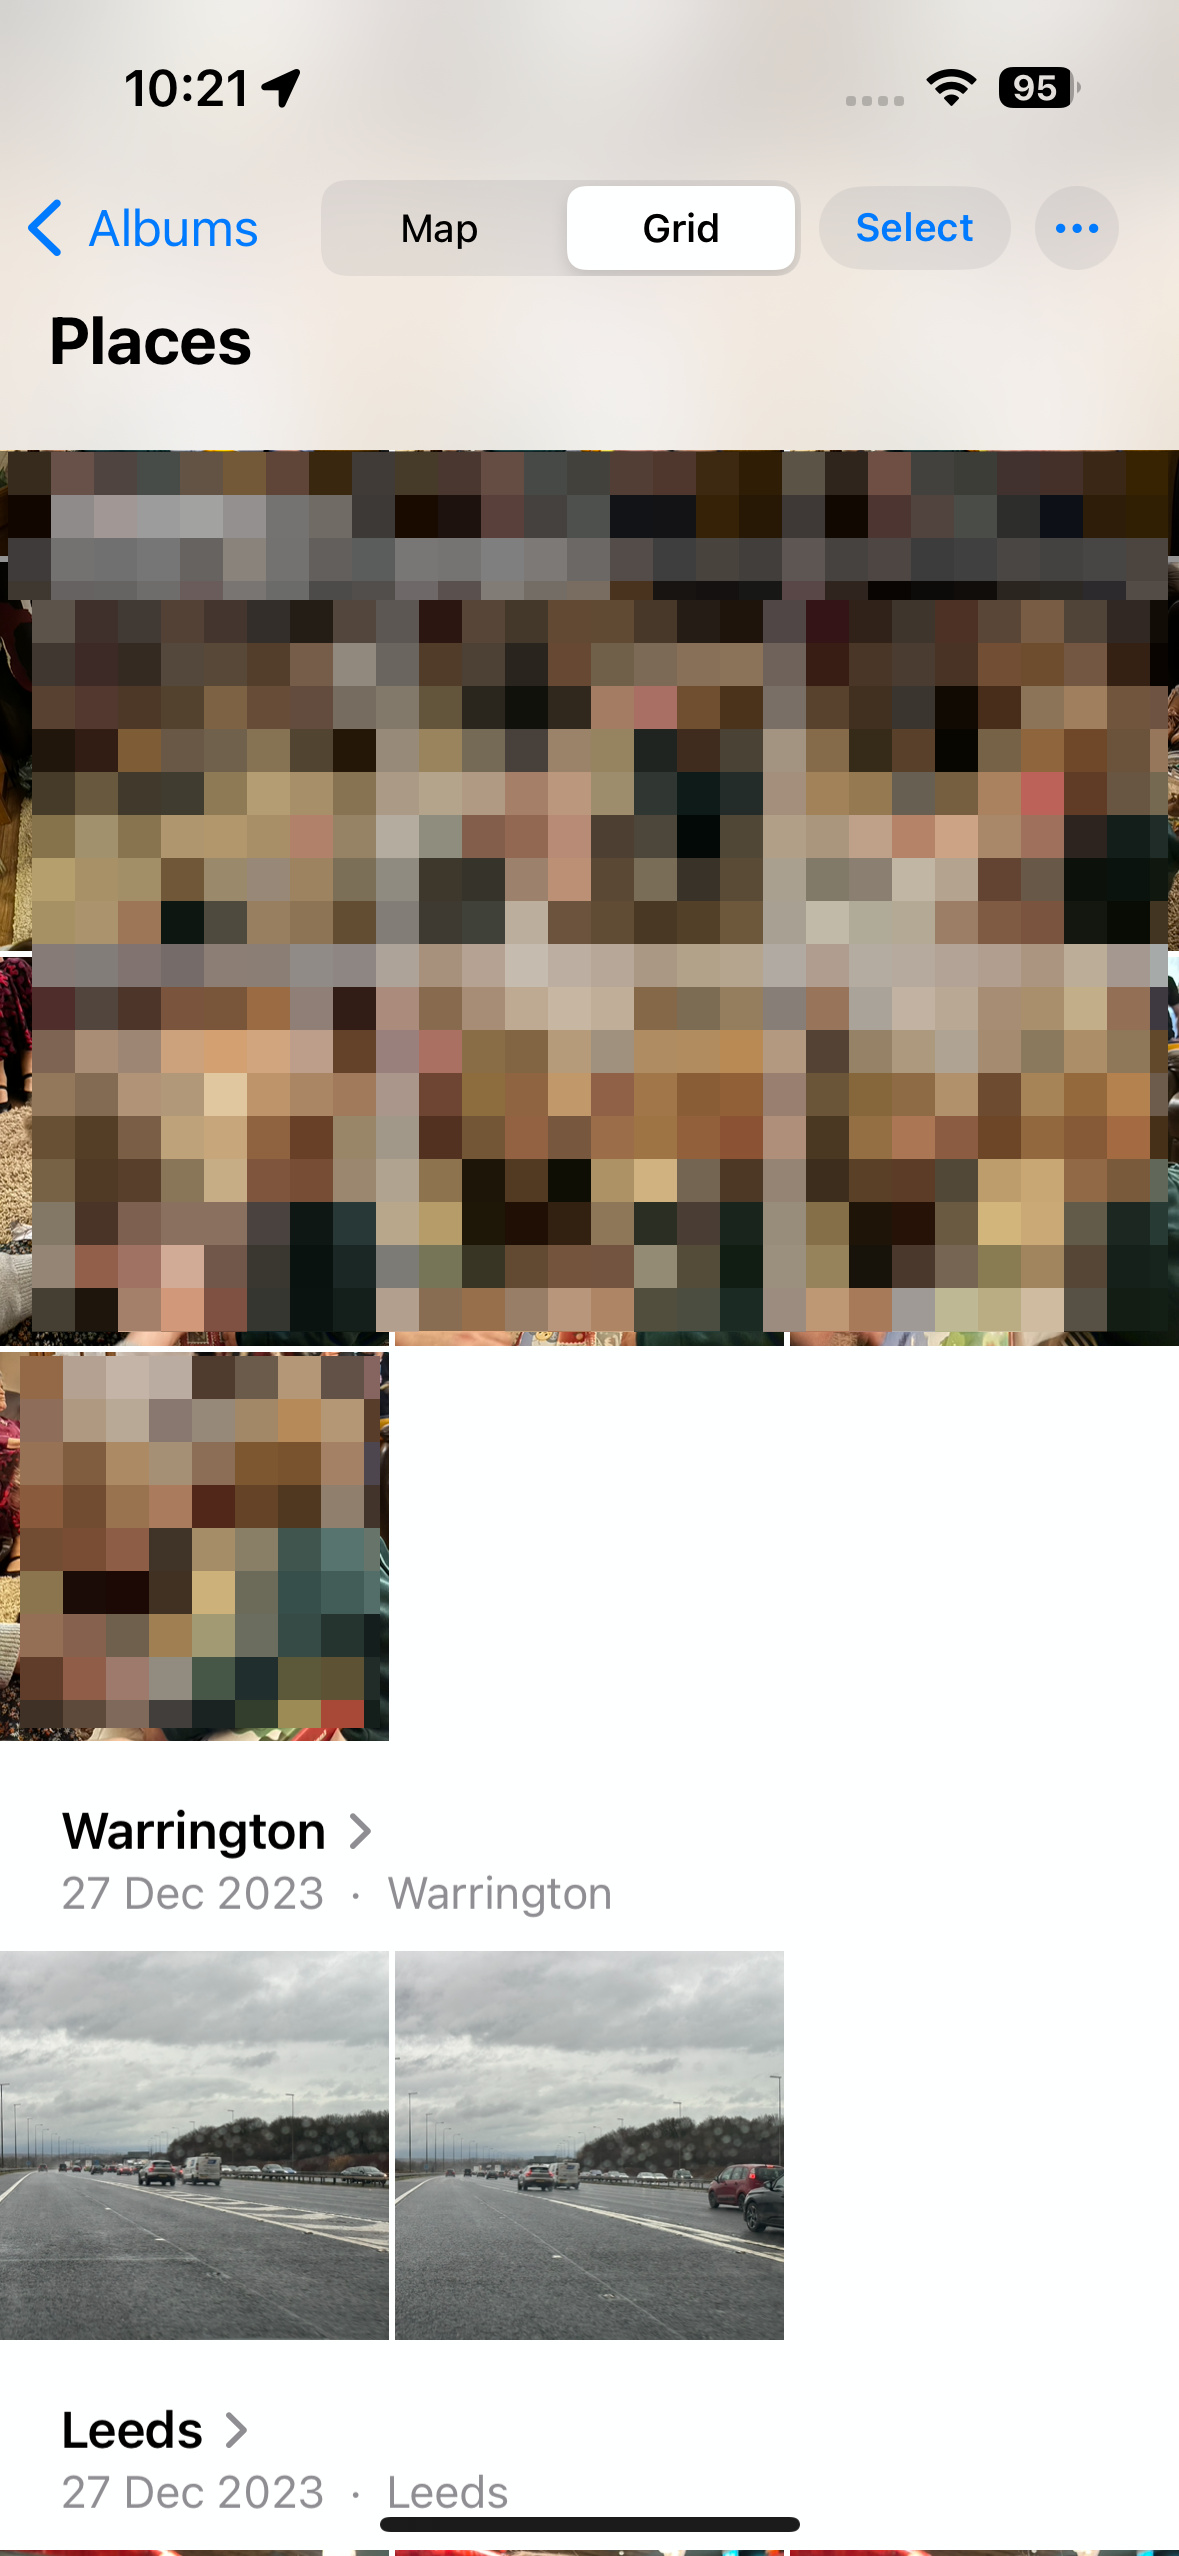
Step 4: It will open into a map view of all your visited places. To see a grid section instead, select Grid from the top of the screen.
How to remove location data from photos
Now that you know where to find them, you need to know how to remove that location from the image. Here's how.
Please note this process does not completely erase the location from your photo. Much like any other edit, it's stripped out of the working version of the photo, but remains in the EXIF data of the underlying original. This means you won't see it in the Photos app or any other apps you use to open or share it, but it will still be there if you transfer the original photo to a computer via USB or export the "Unmodified original" from iCloud Photo Library using the Mac Photos app.
The main advantage of removing it in this way is that you won't have to worry about inadvertently exposing your location when sharing these photos, as only the location-free version of the photo will be used when selecting pictures from your photo library to share or post on social media.
Step 1: Open the Photos app, find the photo you want to remove the location info from, and open it.
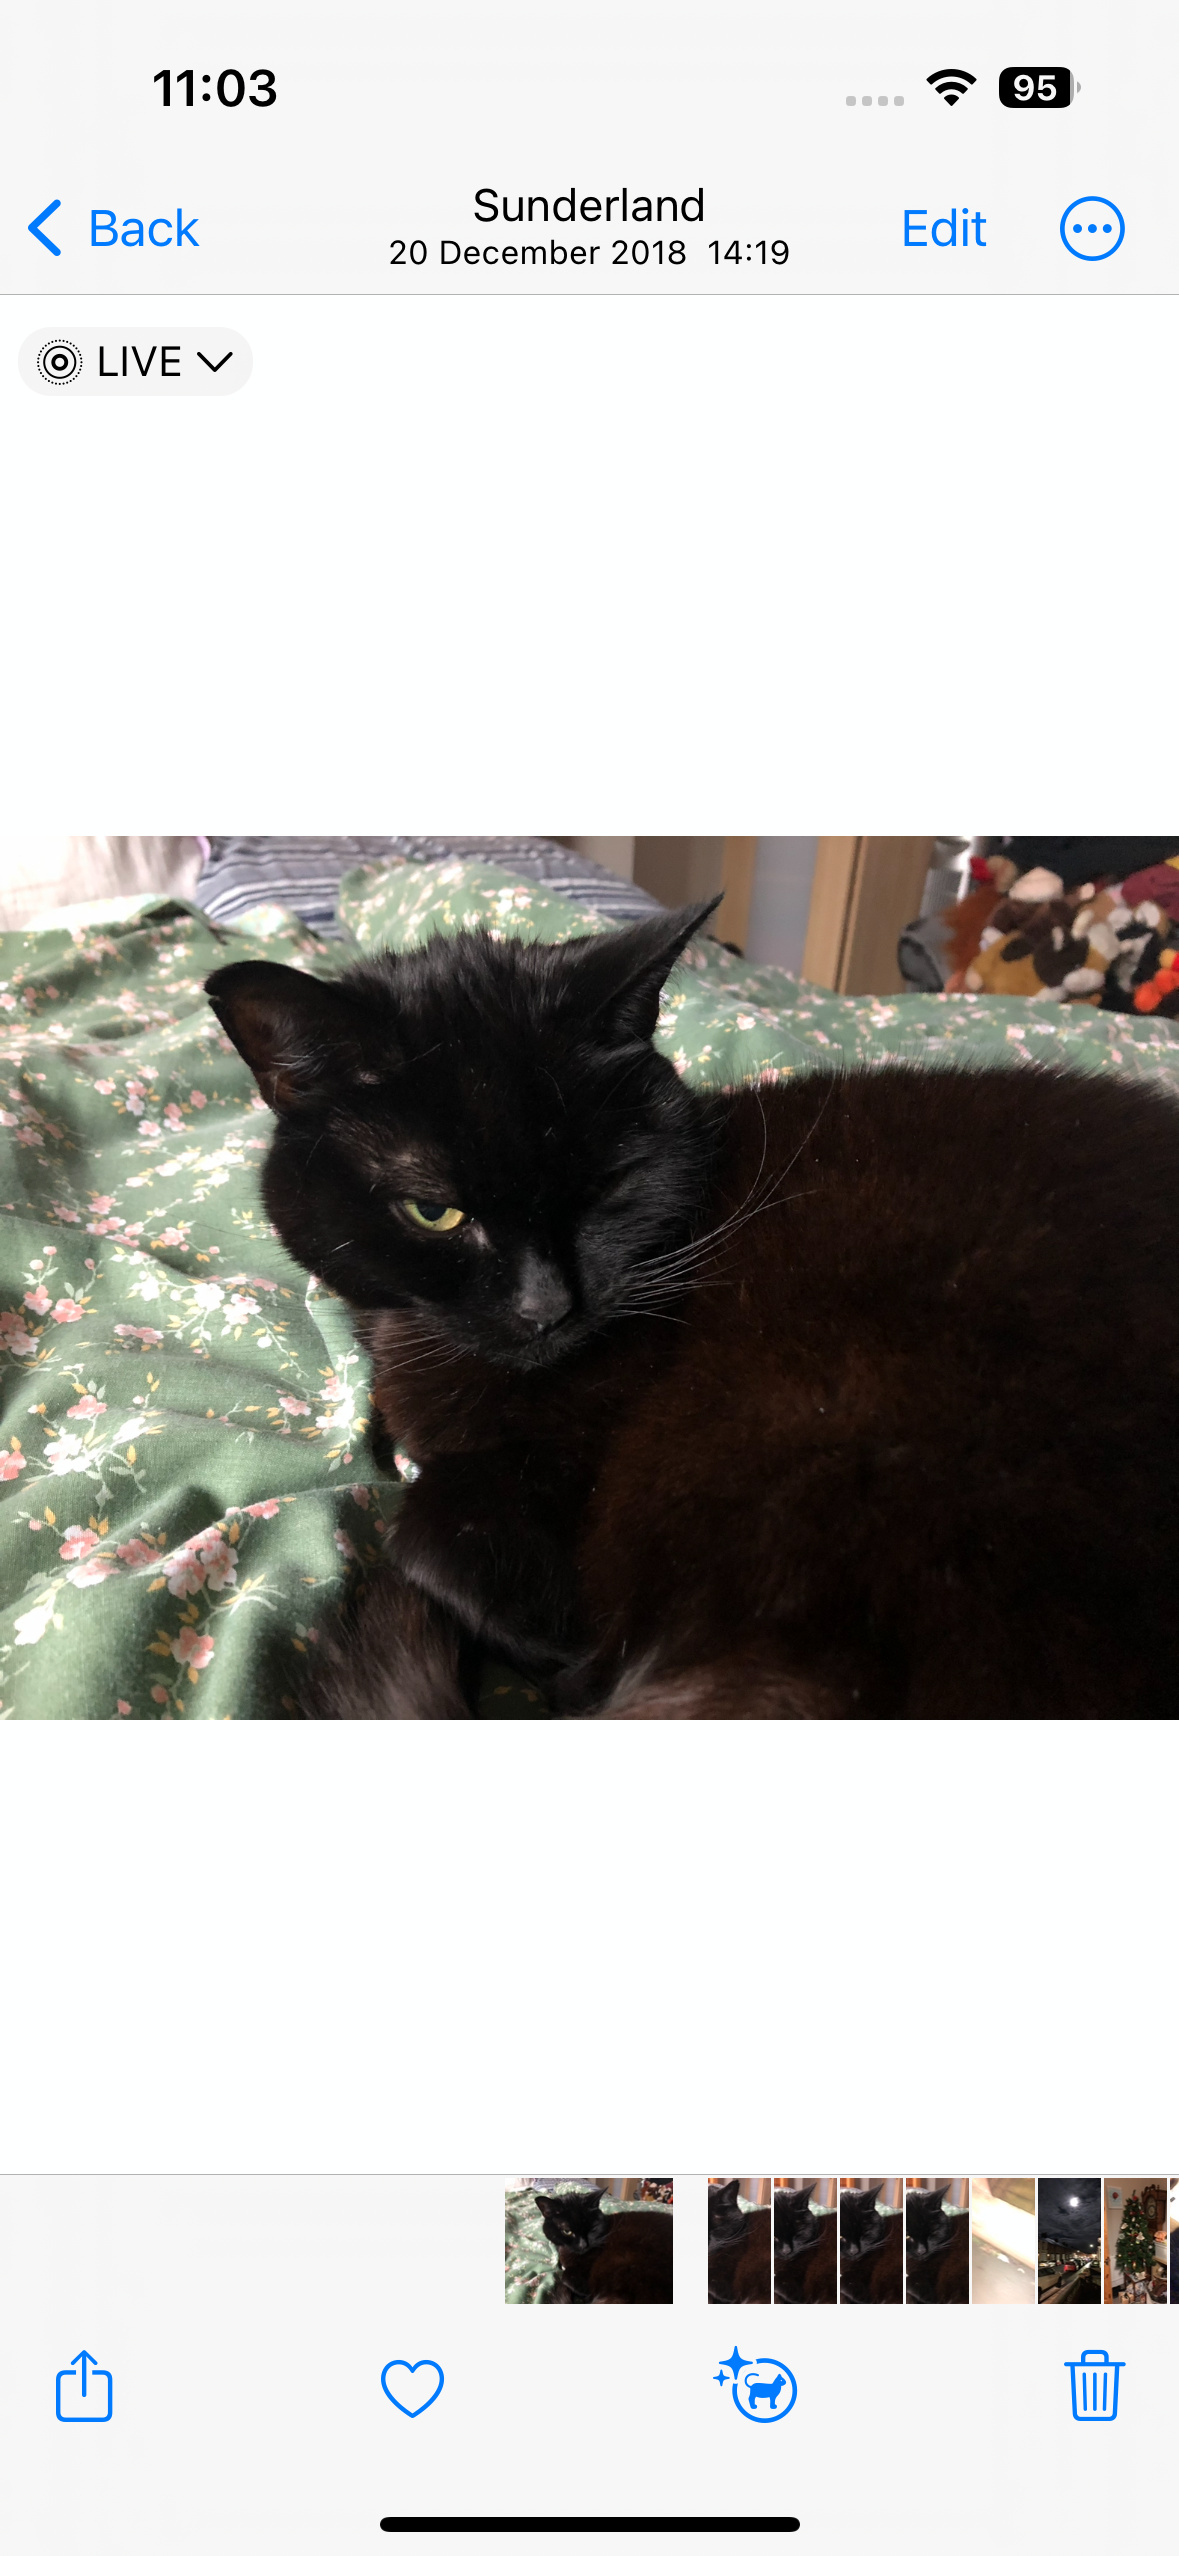
Step 2: Swipe up to bring up the detailed info screen. This will show you when the photo was taken and the model of camera used to take it, along with other details like aperture, f-stop, resolution and size. Below that, you should see a map of the location where the photo was taken.

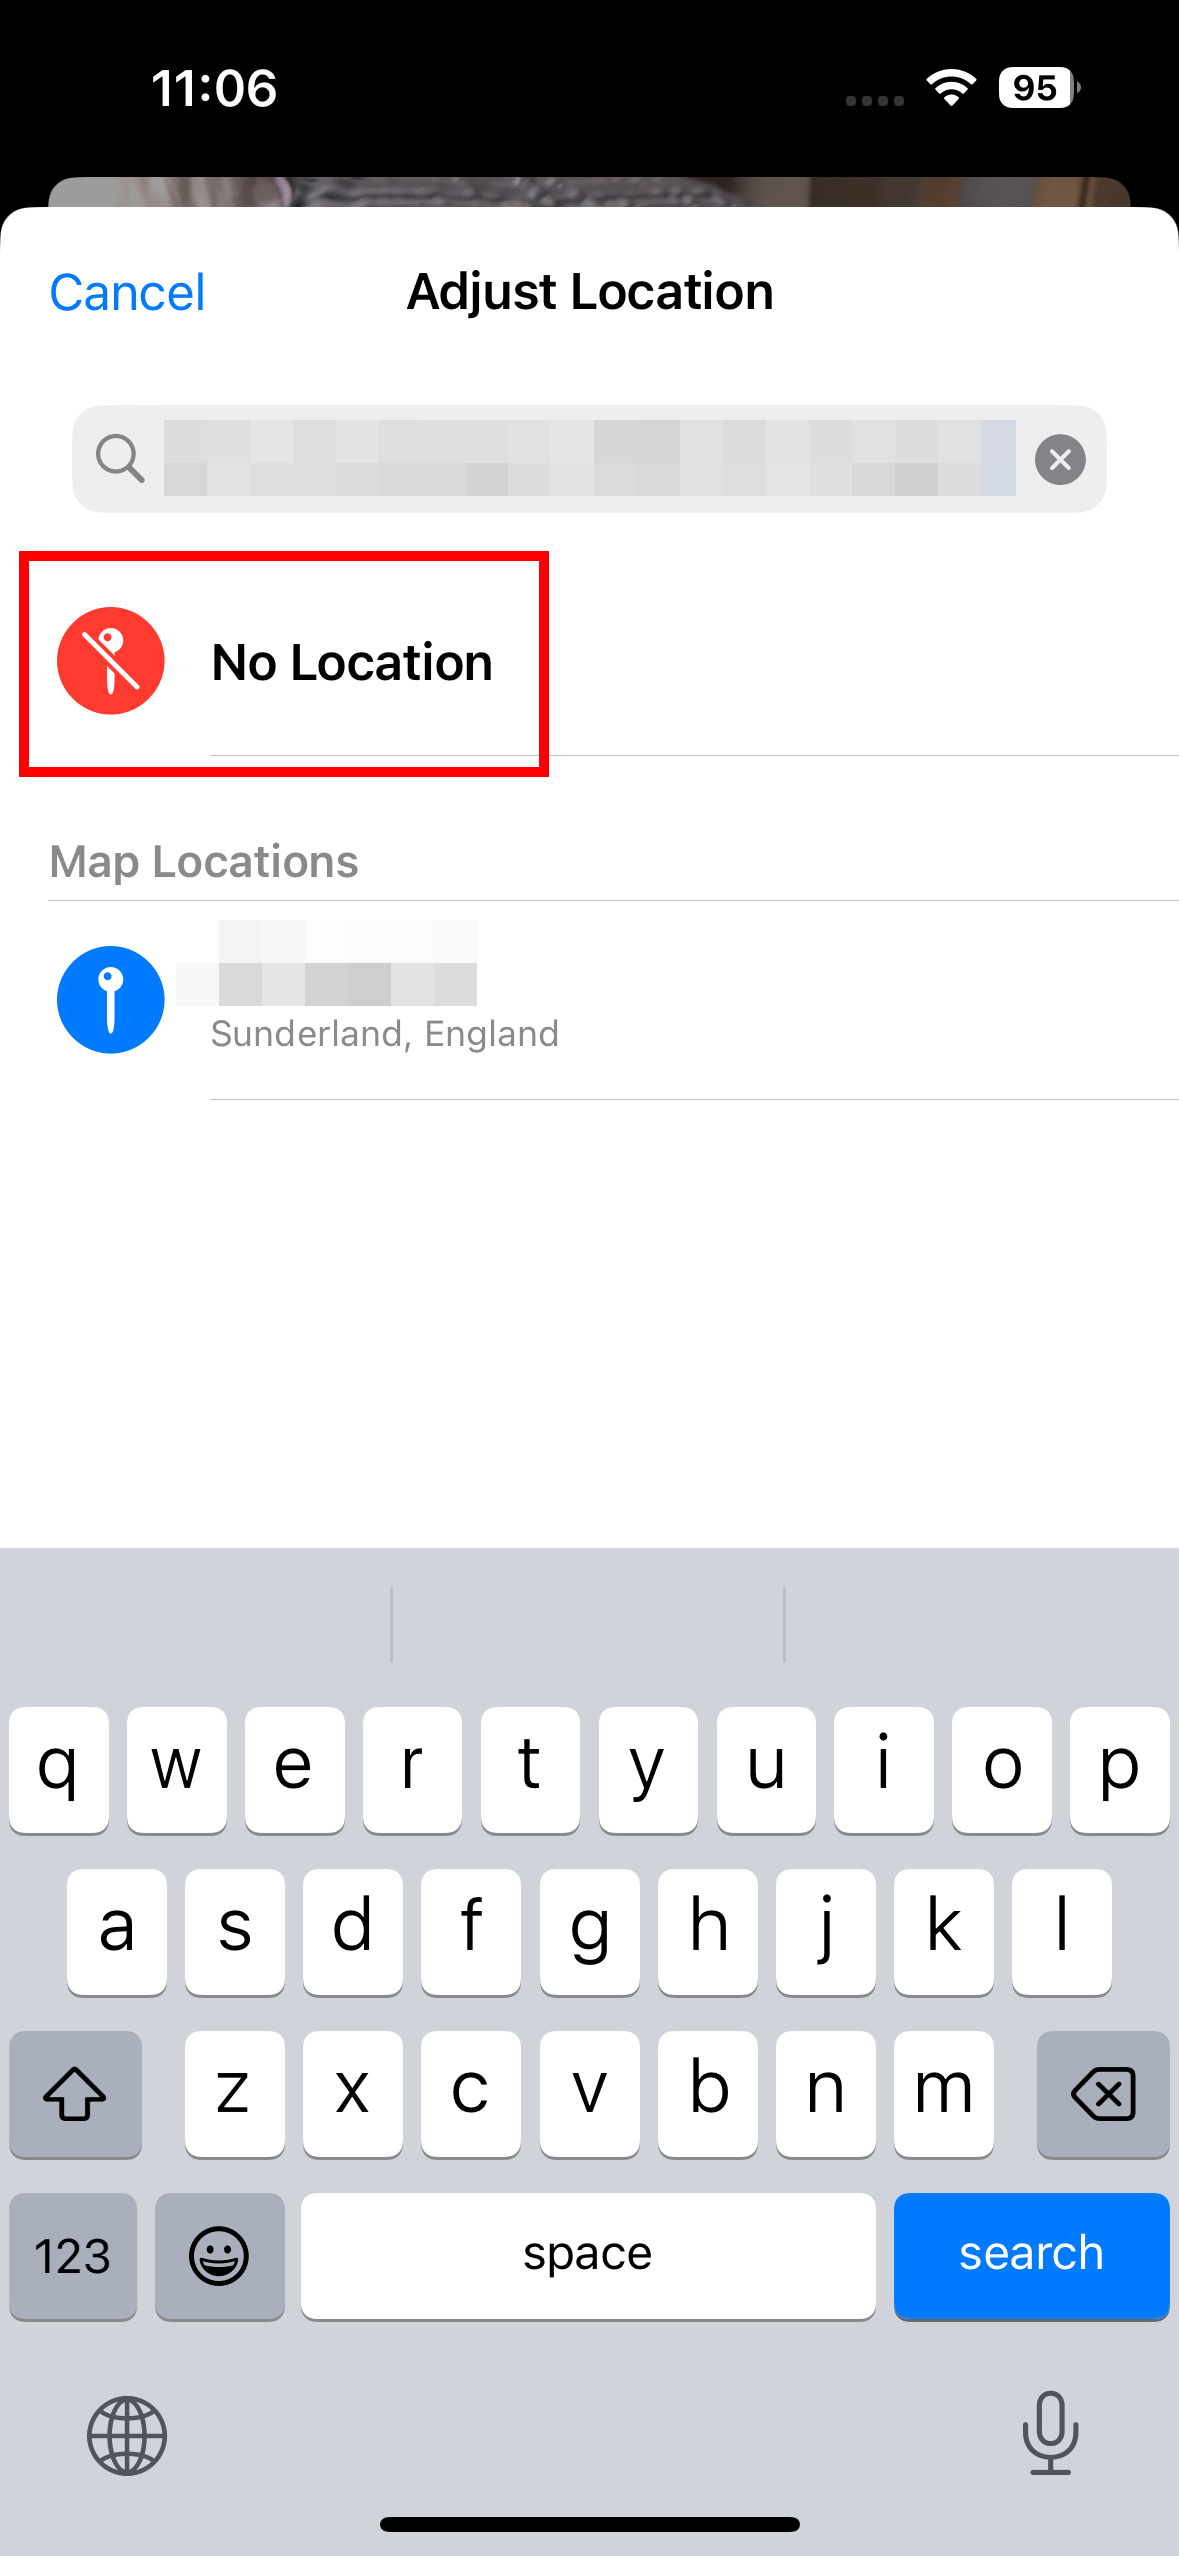
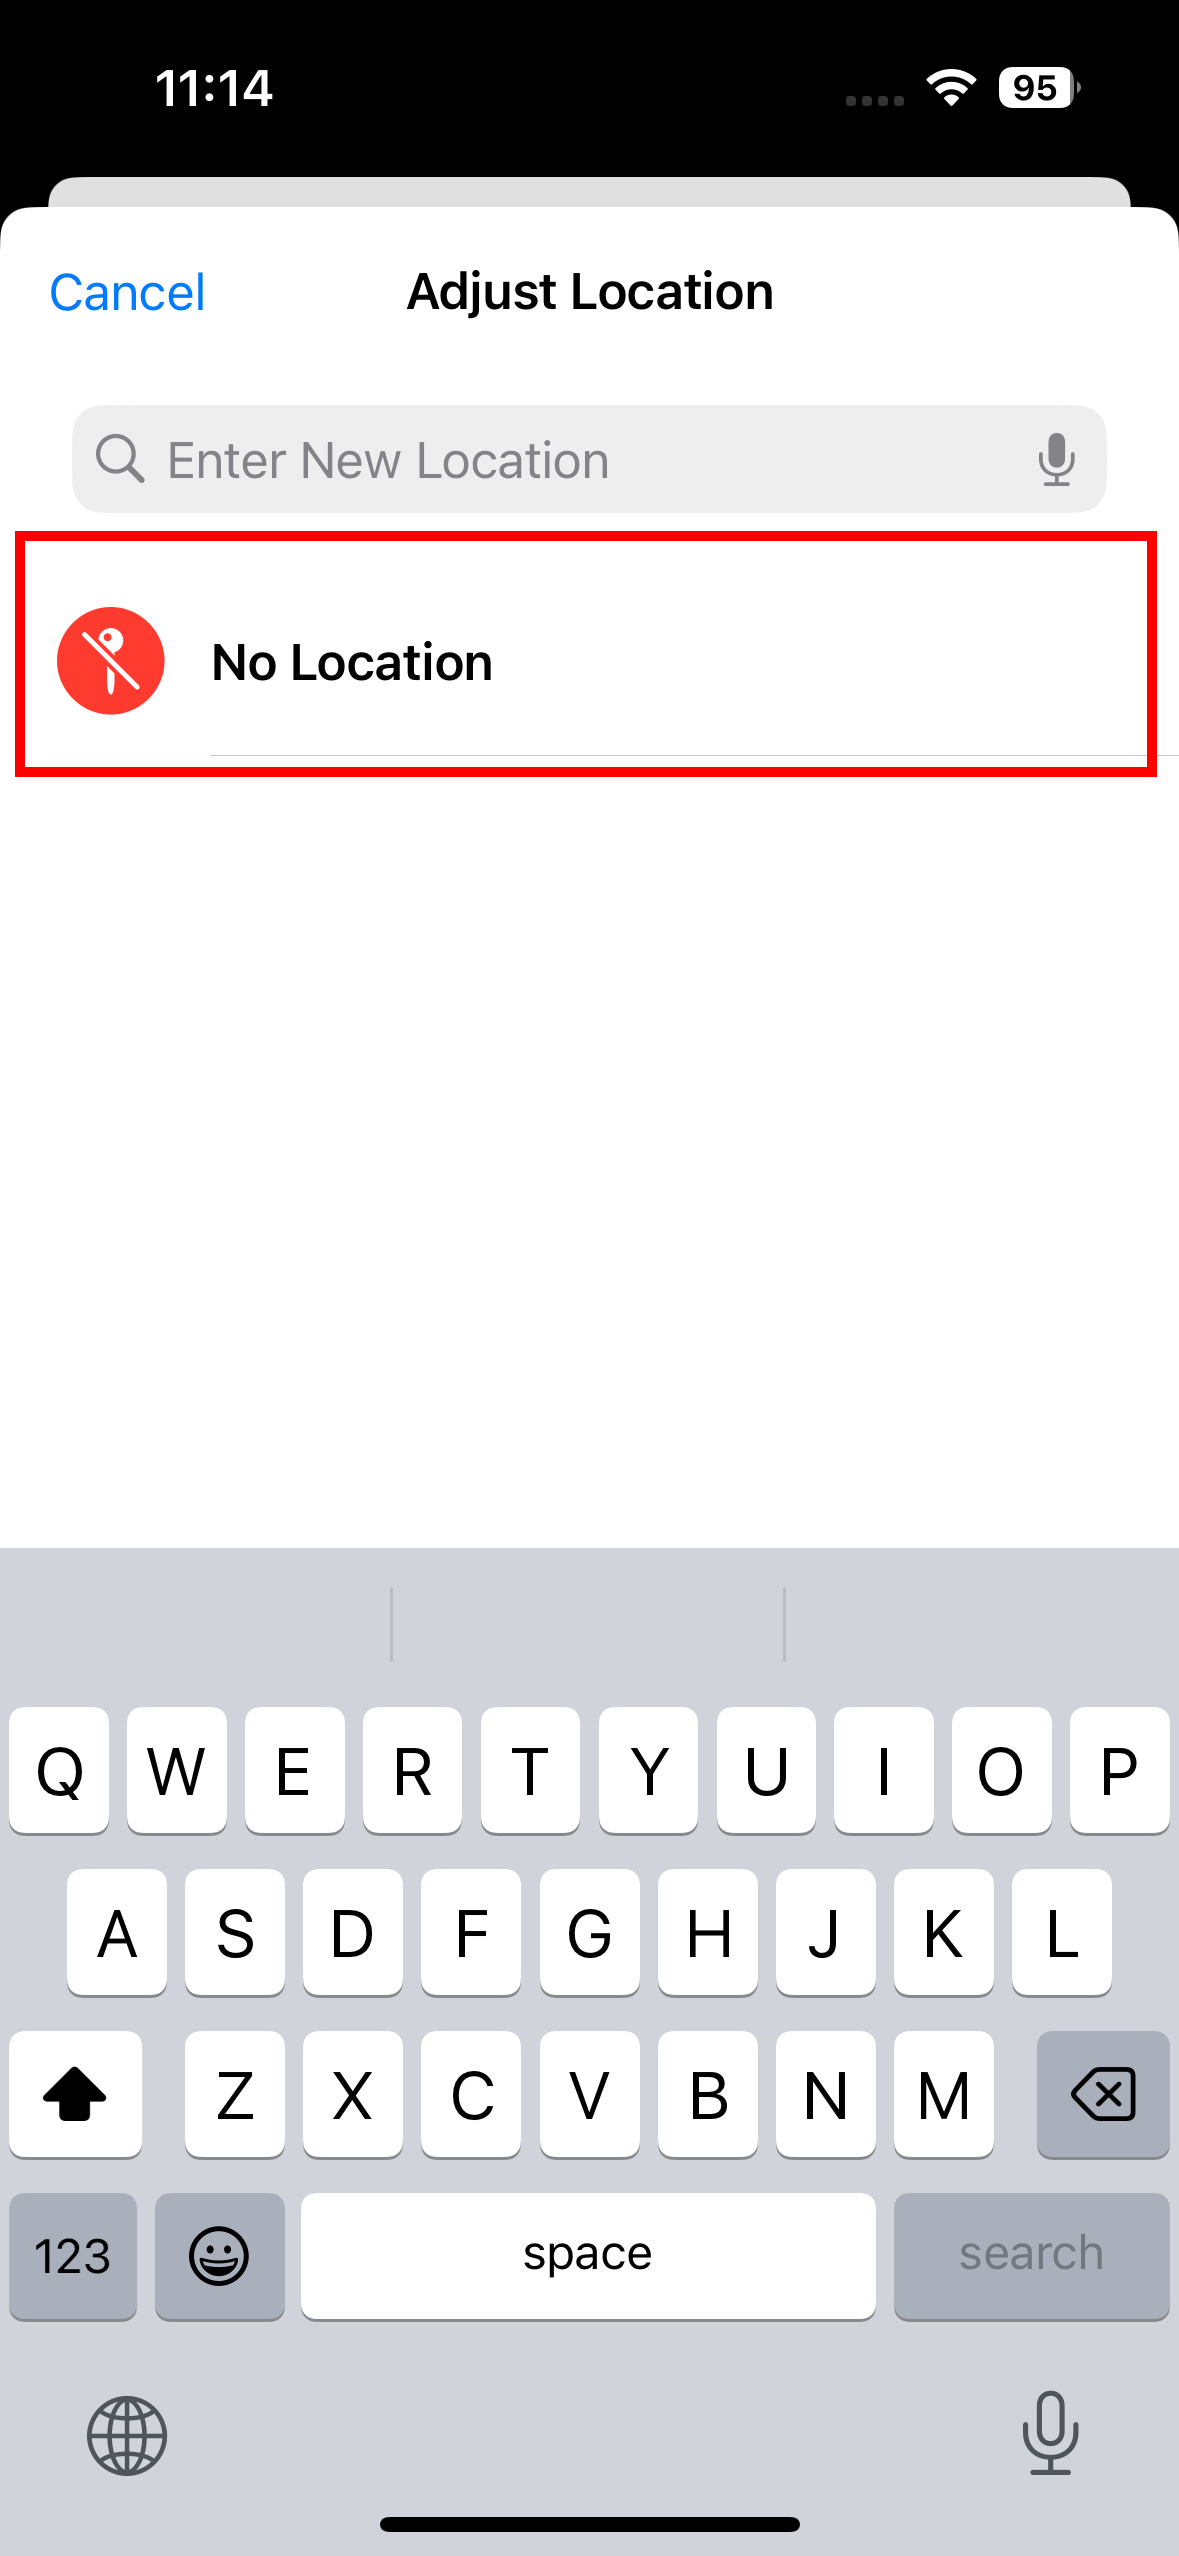
Step 3: Tap the Adjust button in the bottom-right corner of the map. An Adjust location screen will appear.
Step 4: Tap No location. You'll be returned to the info screen and you should see that the map has disappeared and been replaced with an Add a location button.
It's also possible to remove the location information from several photos in your library at once, although the method for this differs slightly as you can't pull up the detailed information for more than one photo at a time. Here's how to go about it.
Step 1: Open the Photos app and locate the group of photos you want to remove the location info from.
Step 2: Tap the Select button in the top-right corner, and choose each of the photos.
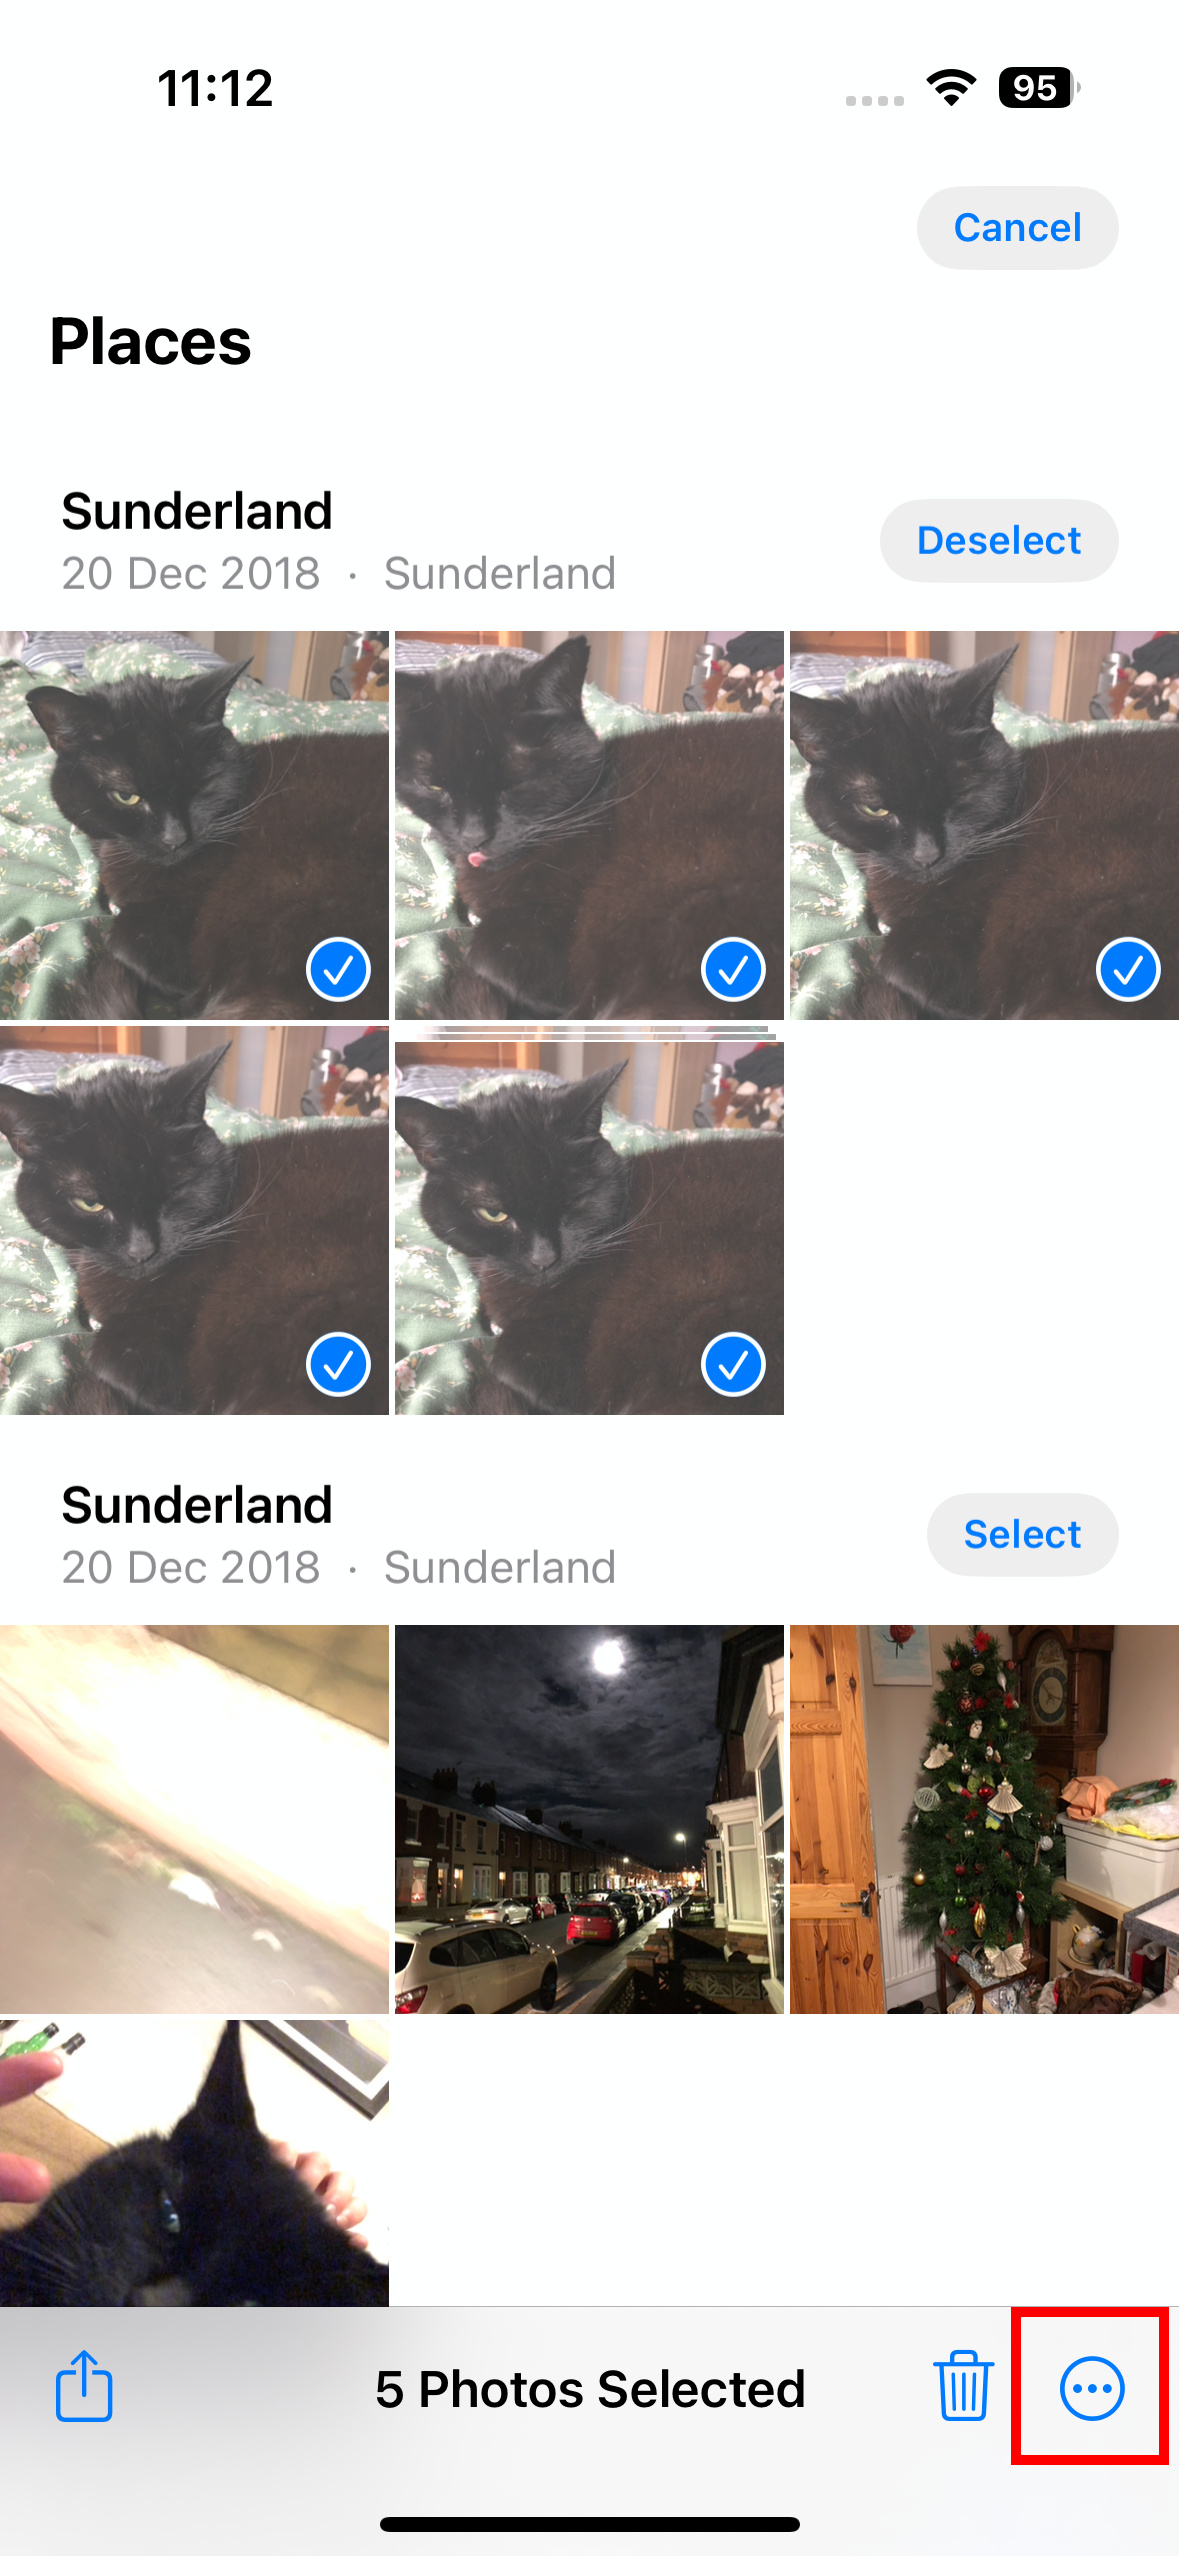
Step 3: Select the Menu option at the bottom-right of the screen, then Adjust location.
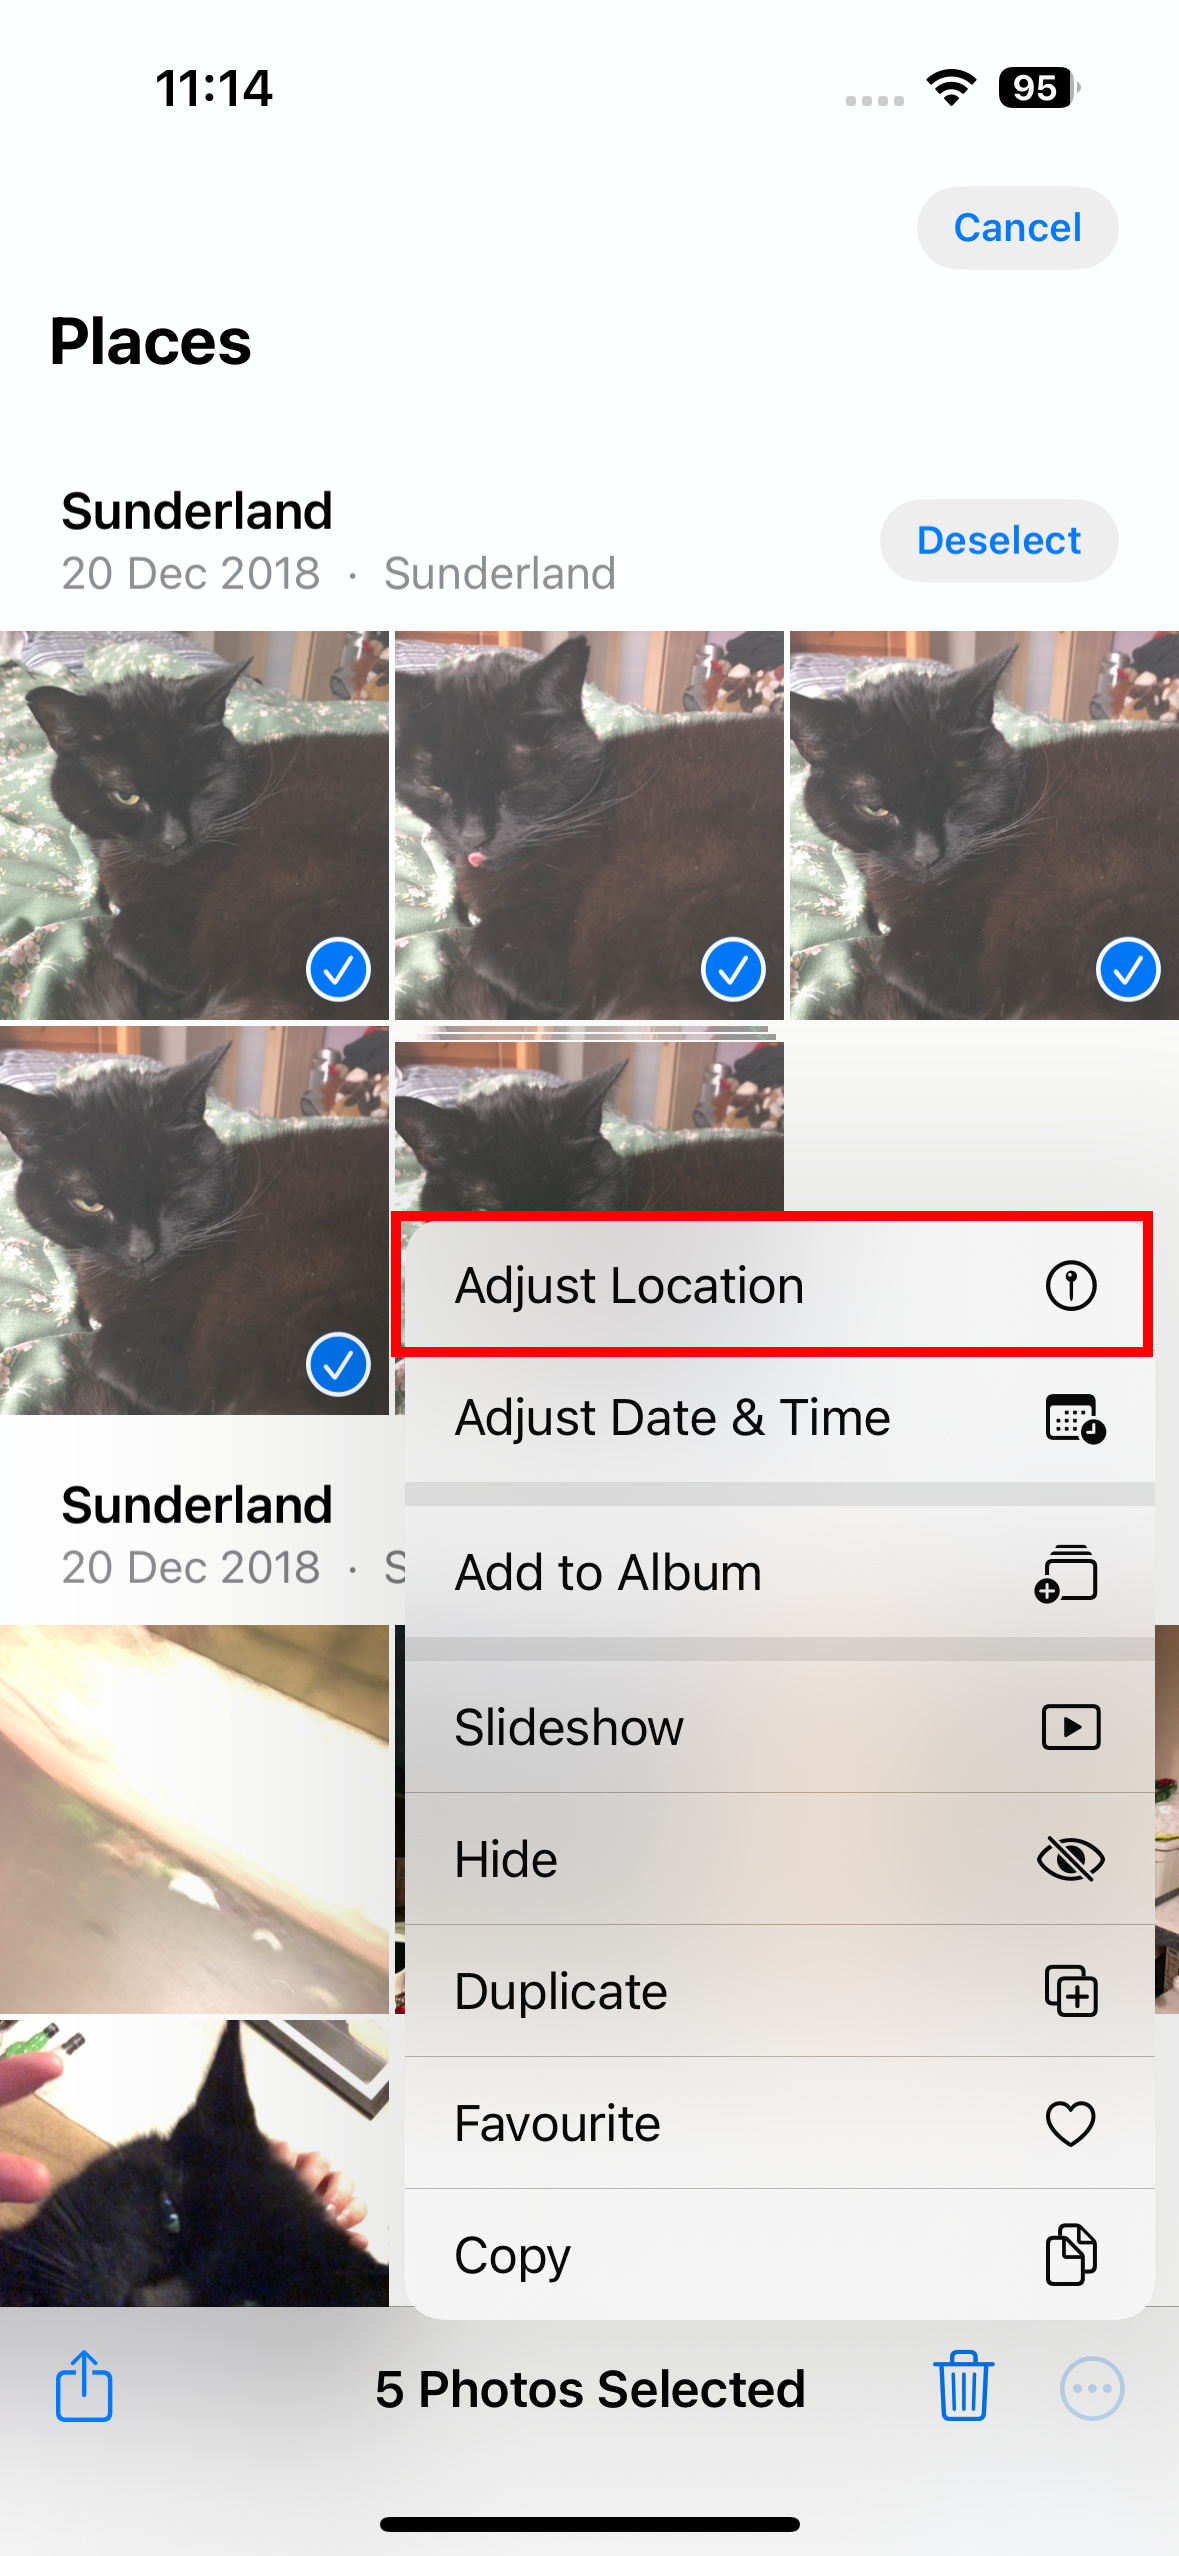
Step 4: Choose No location to strip the location data from the photos.
How to stop adding location data to your photos
Tired of your camera collecting your location data every snap? Well, you can turn it off with one option. Here's what to do.
Step 1: Open your Settings app.
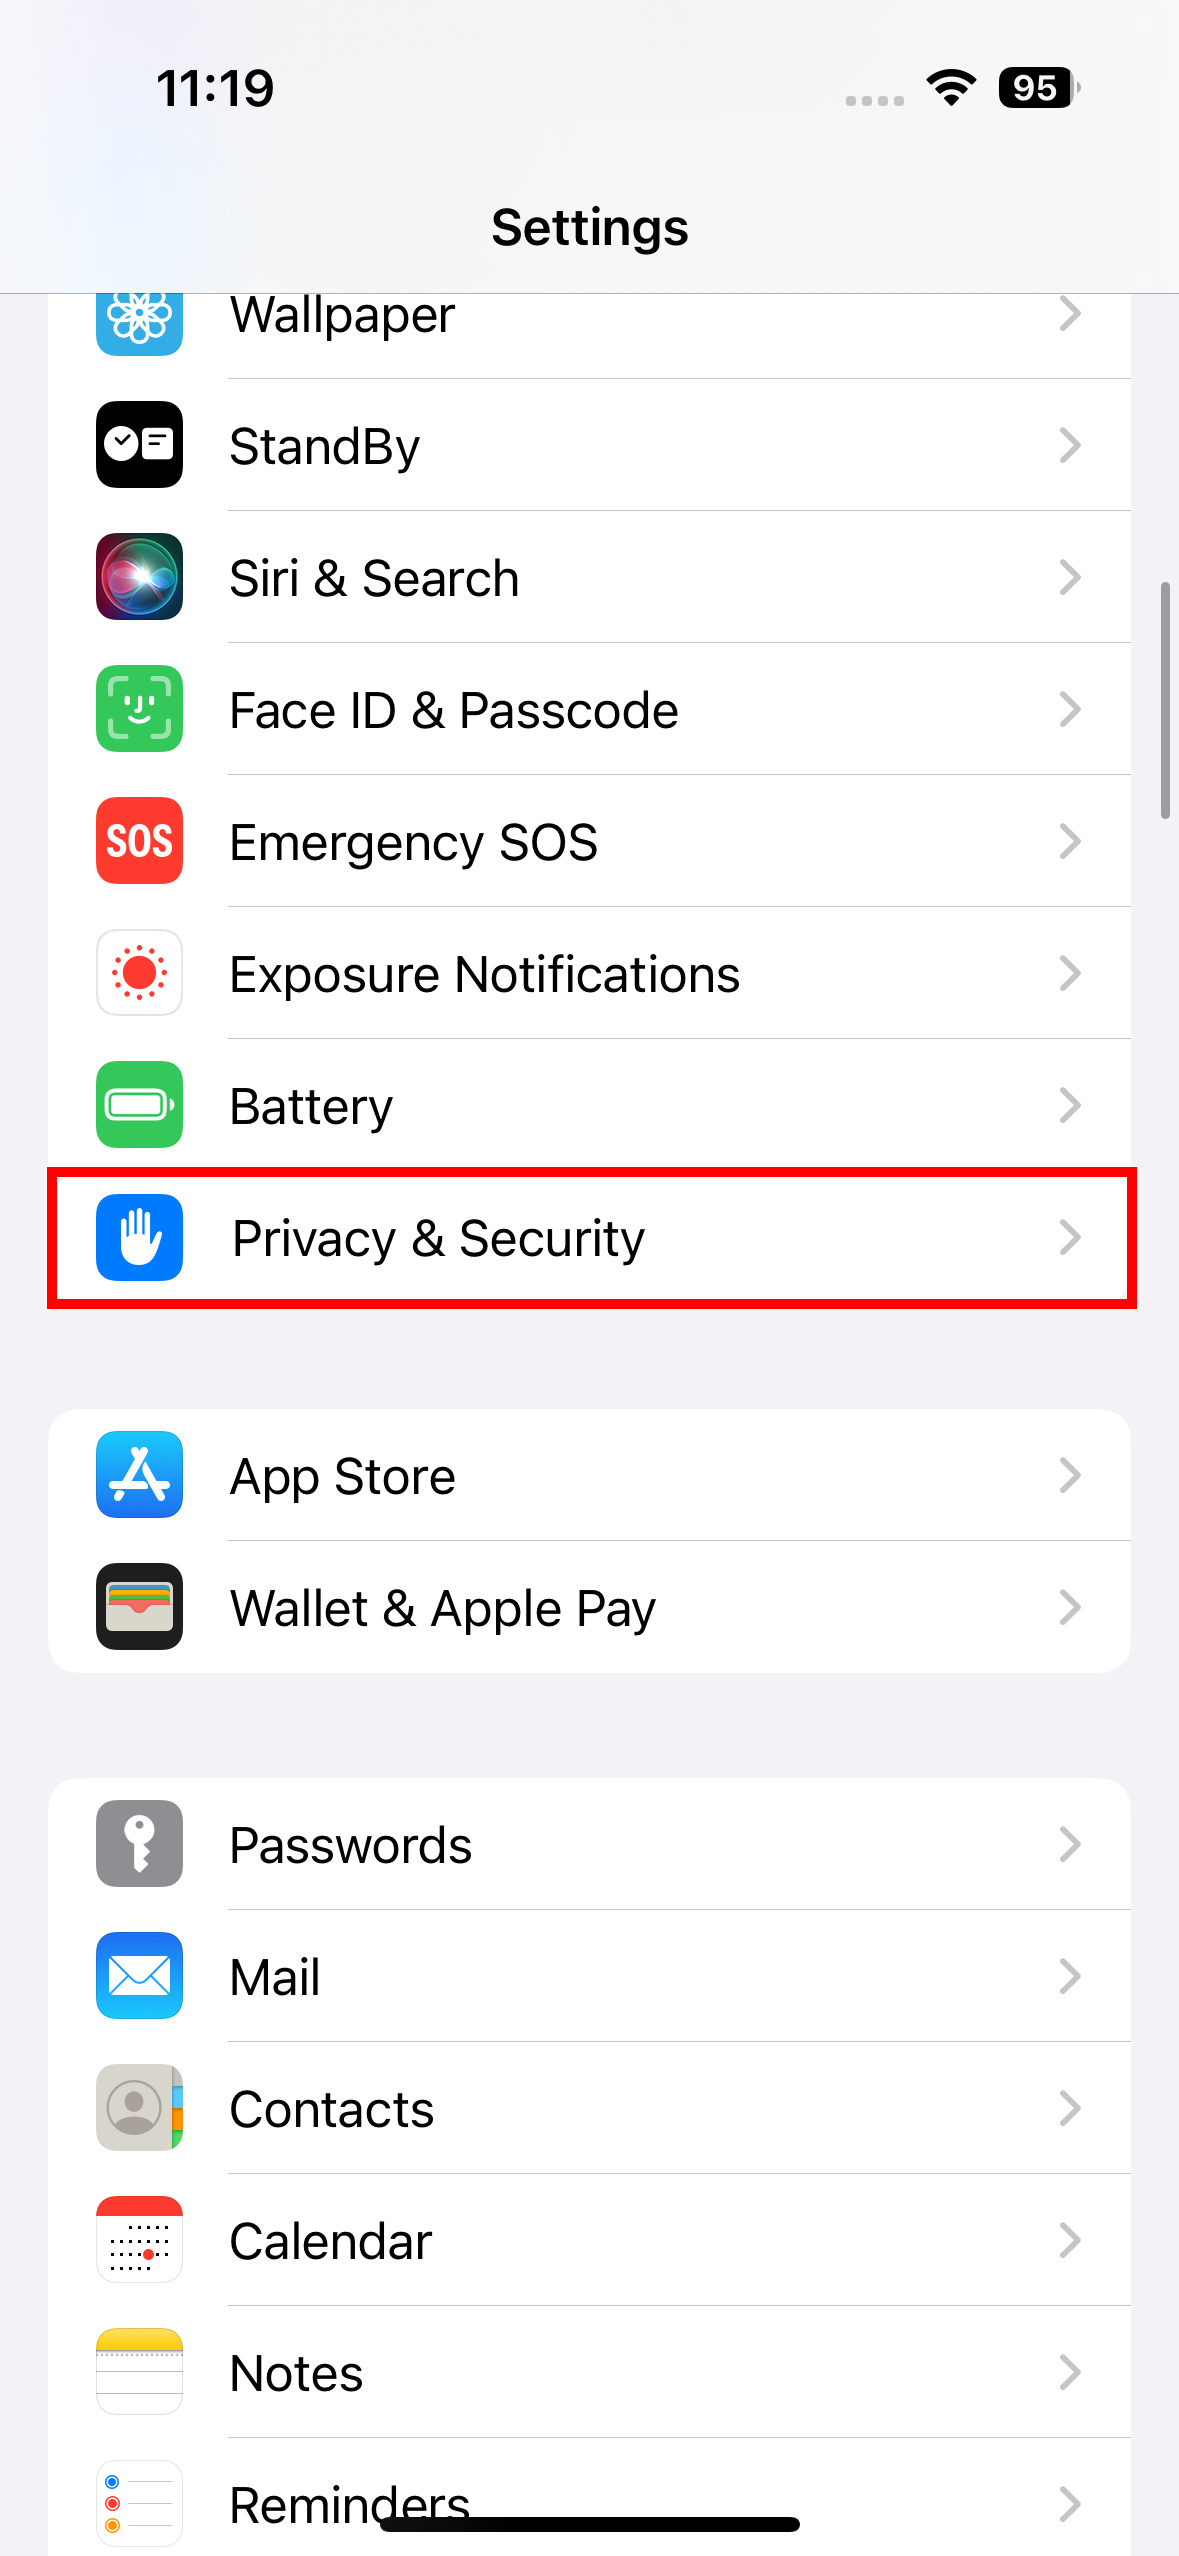
Step 2: Scroll to Privacy & security and select it.
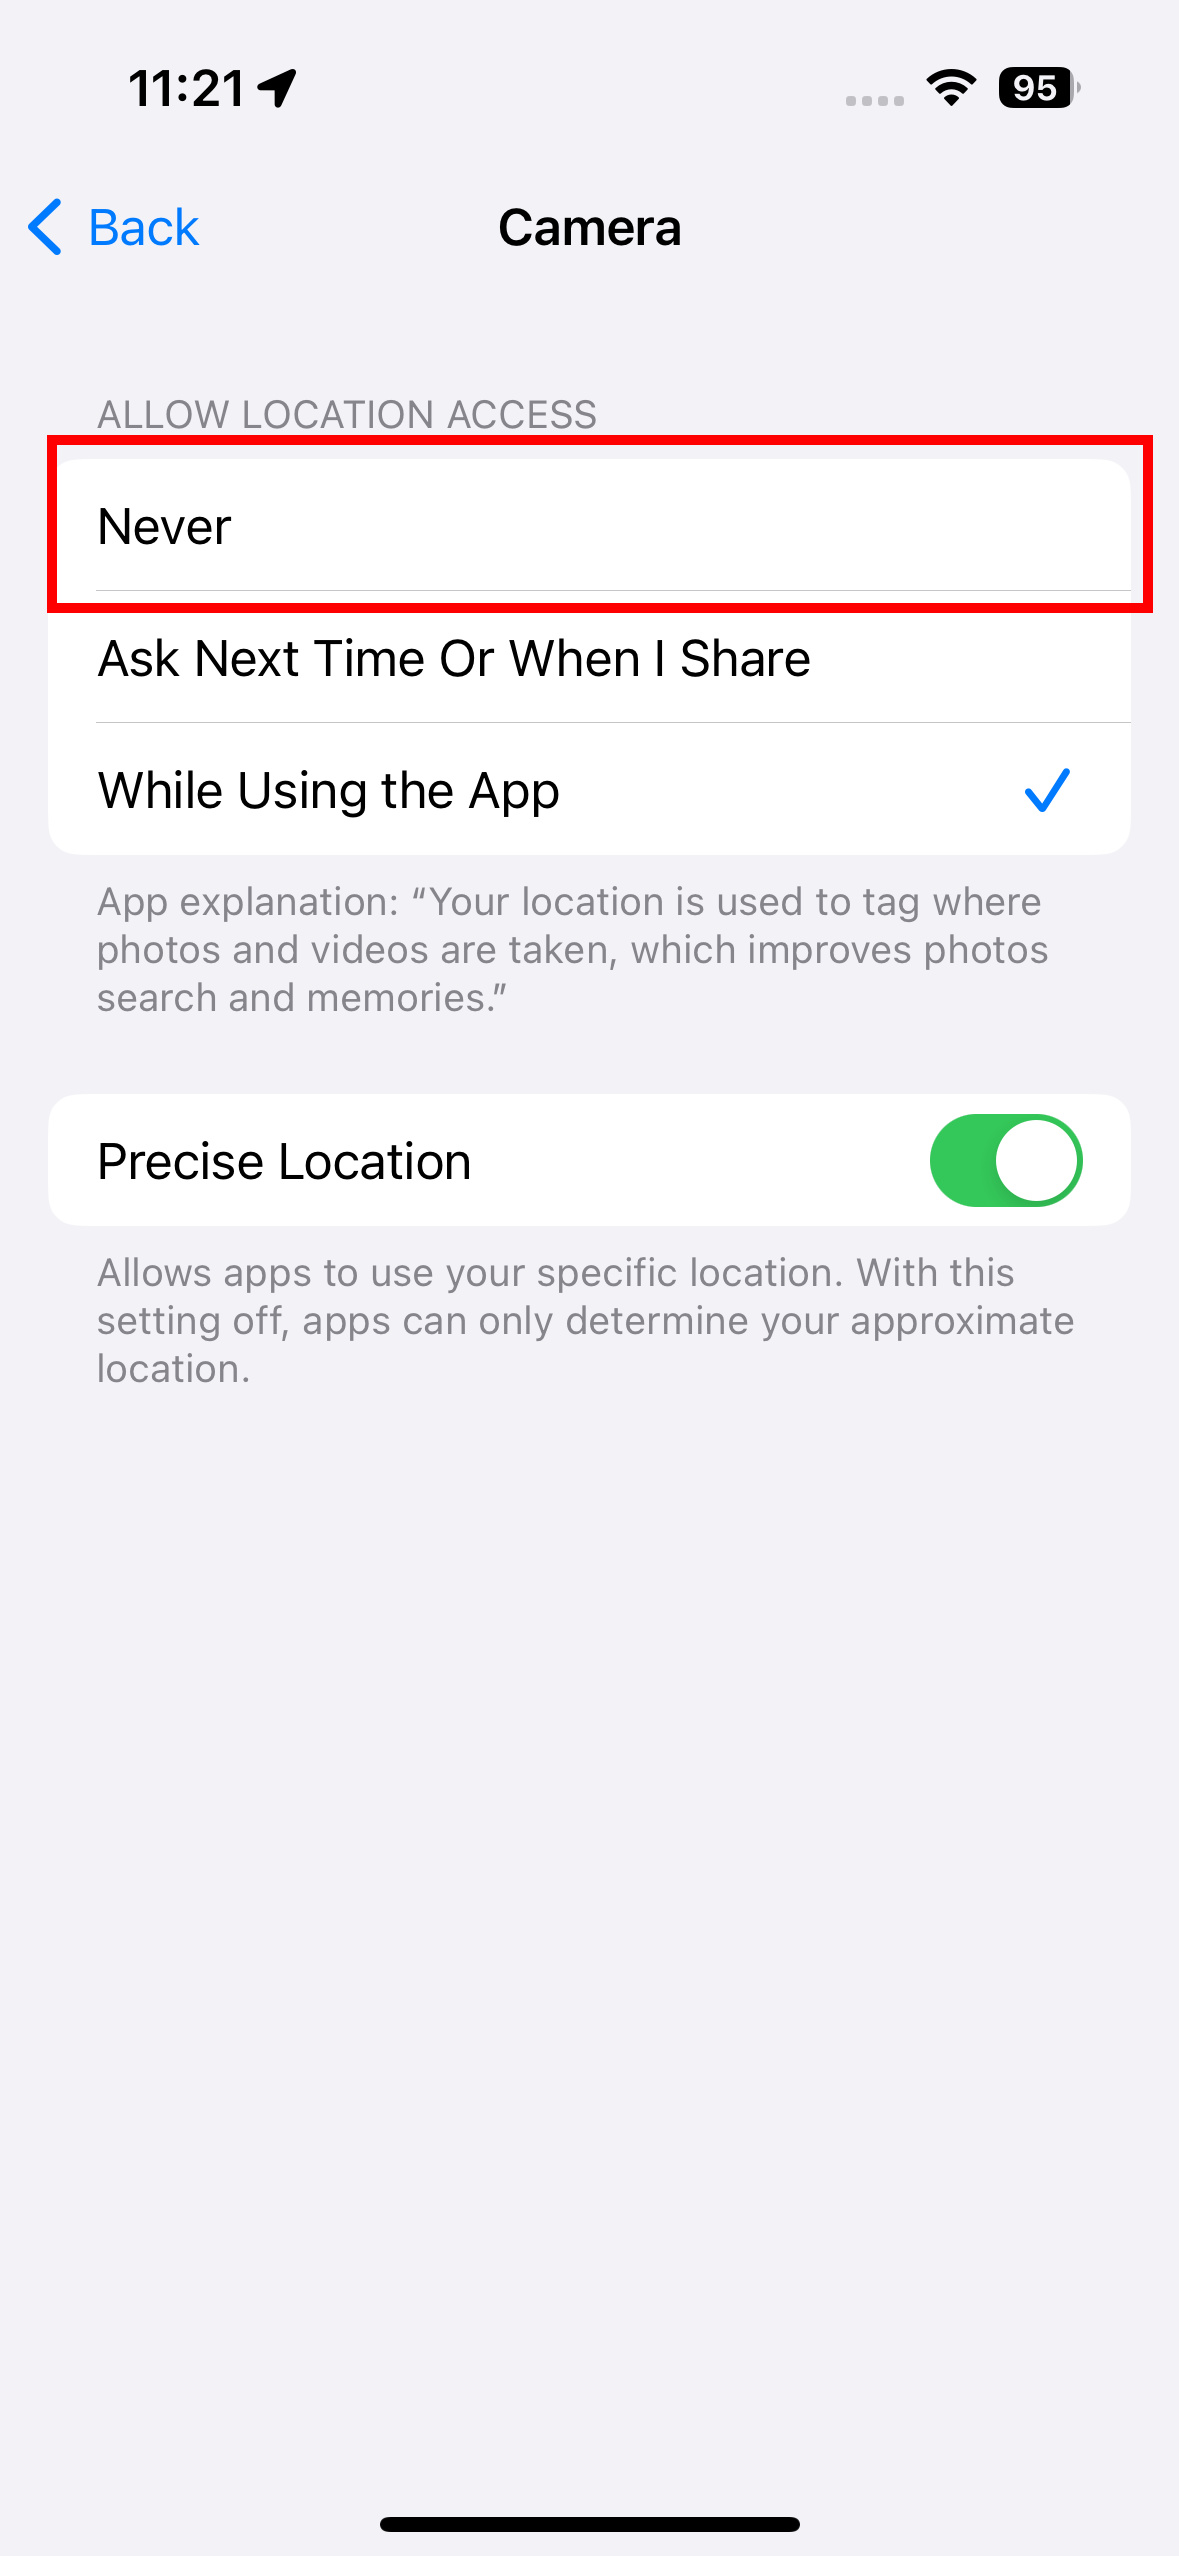
Step 3: Choose Location services > Camera.
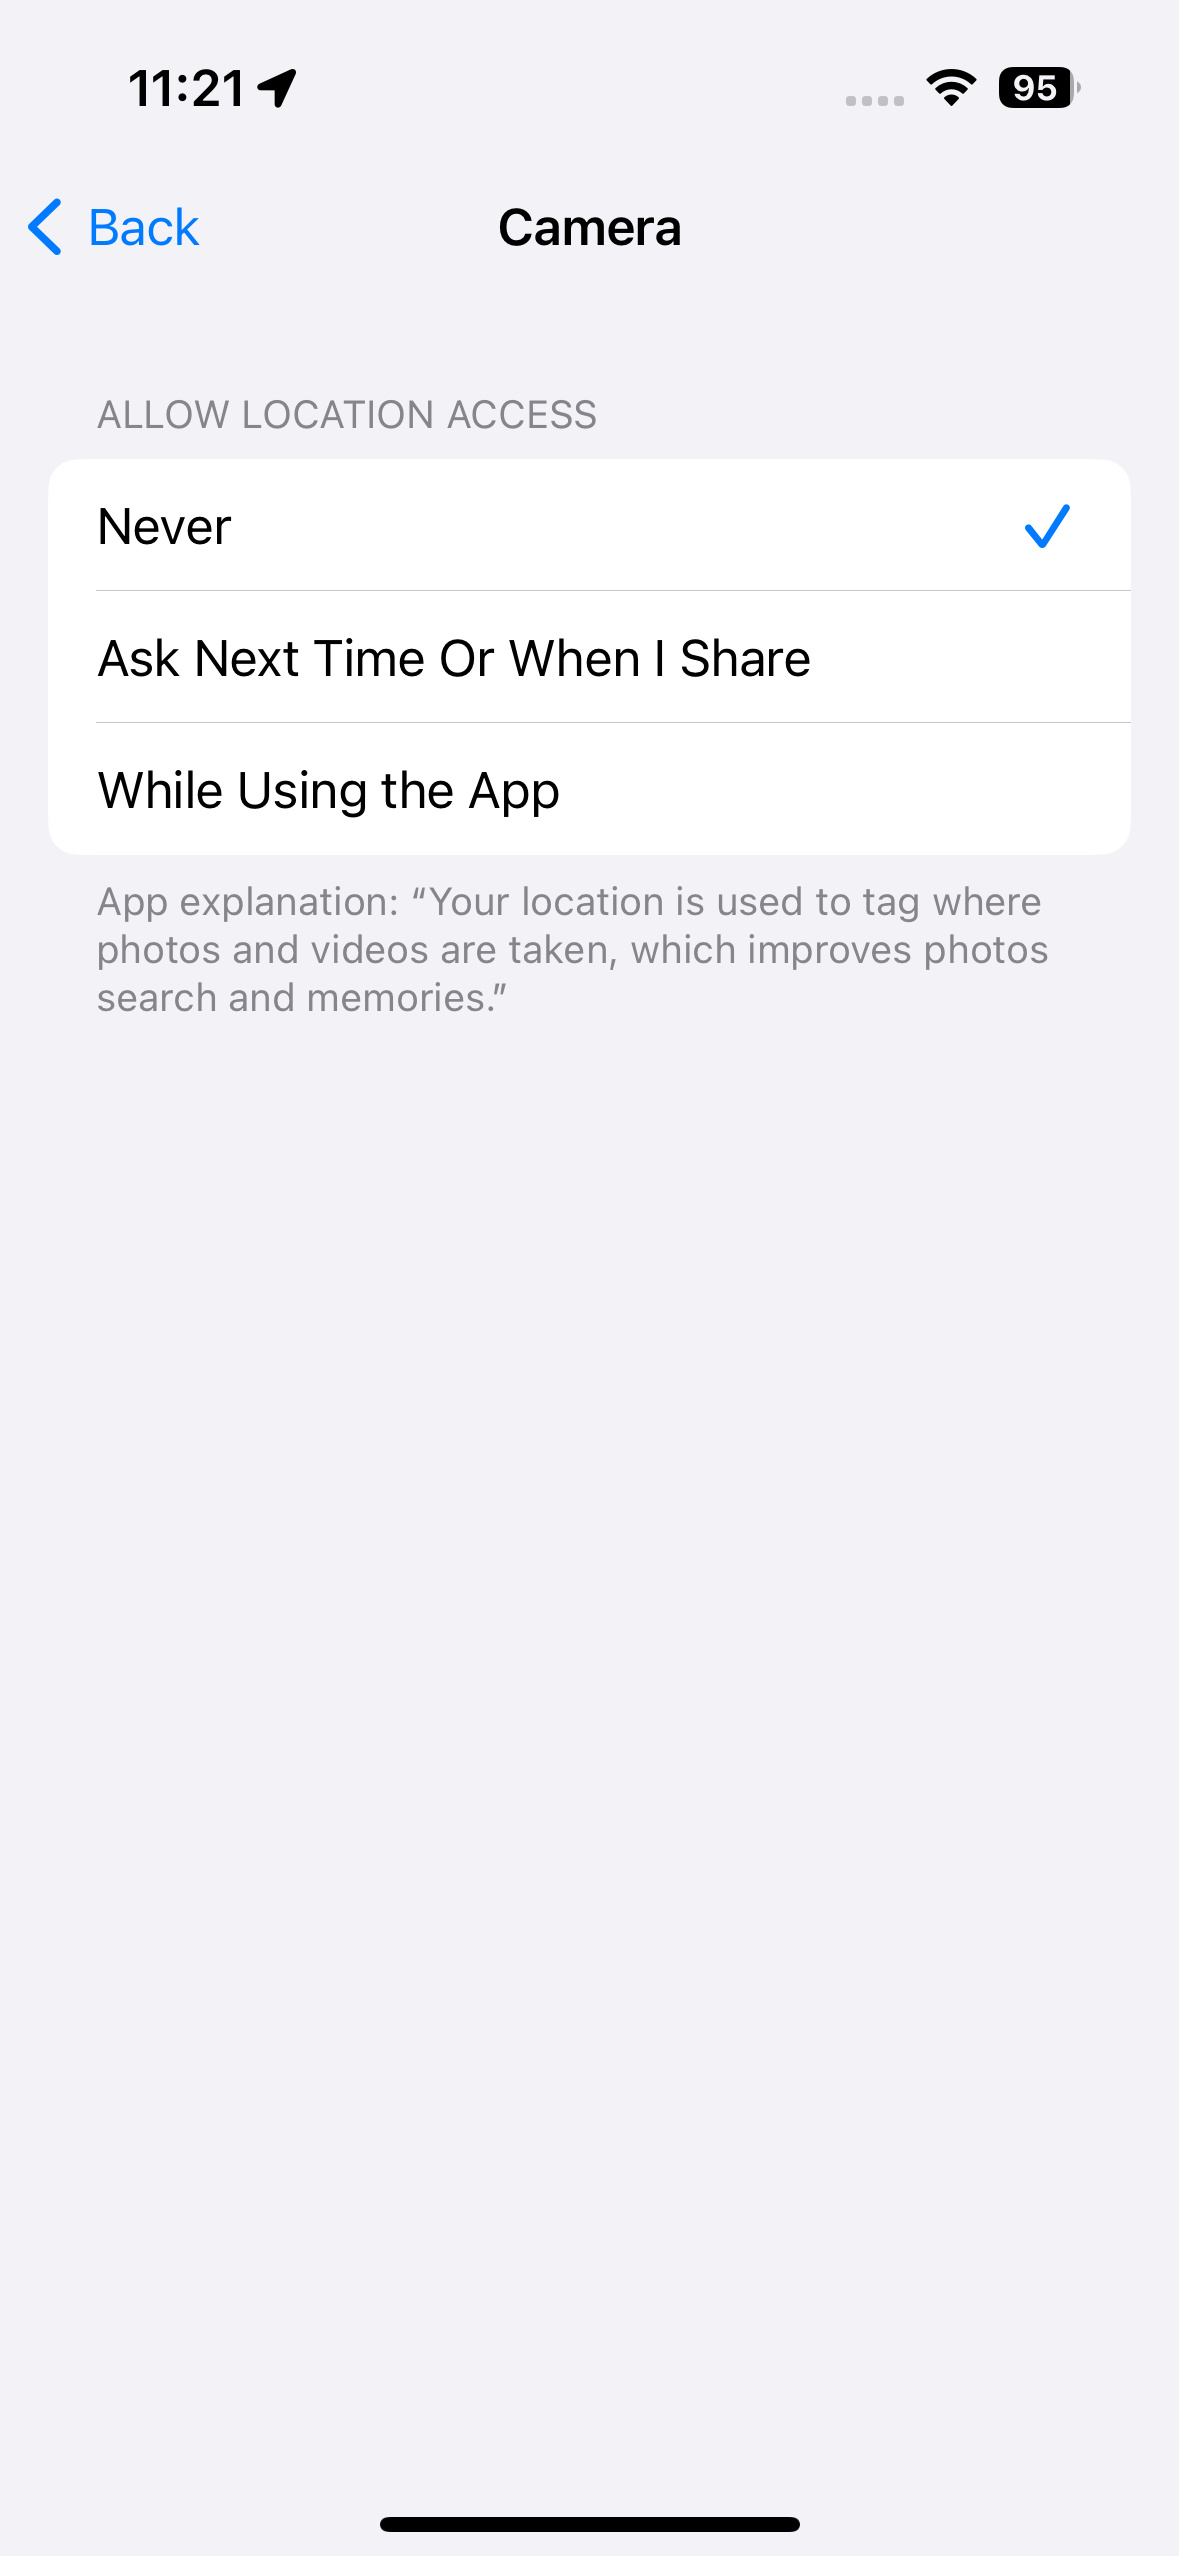
Step 4: Select Never under Allow location access to stop your Camera app from accessing your location.
How to remove location data when sharing photos
Don't mind having location data on your images, but would rather not spread it on social media? Apple has made it really easy to strip out the information before you share photos, but you'll still need to be diligent as you have to use this option each time you share a photo. Here's how to go about it.
Note that you can only remove location information when sharing directly from the Photos app, so you must start from there if you want to be sure your location info is being properly stripped out. This won't be available when you add a photo to a post directly in a third-party app like Facebook or Twitter, or even Apple's own Messages app.
Step 1: Open the Photos app, find a photo you want to share, and tap to open it.
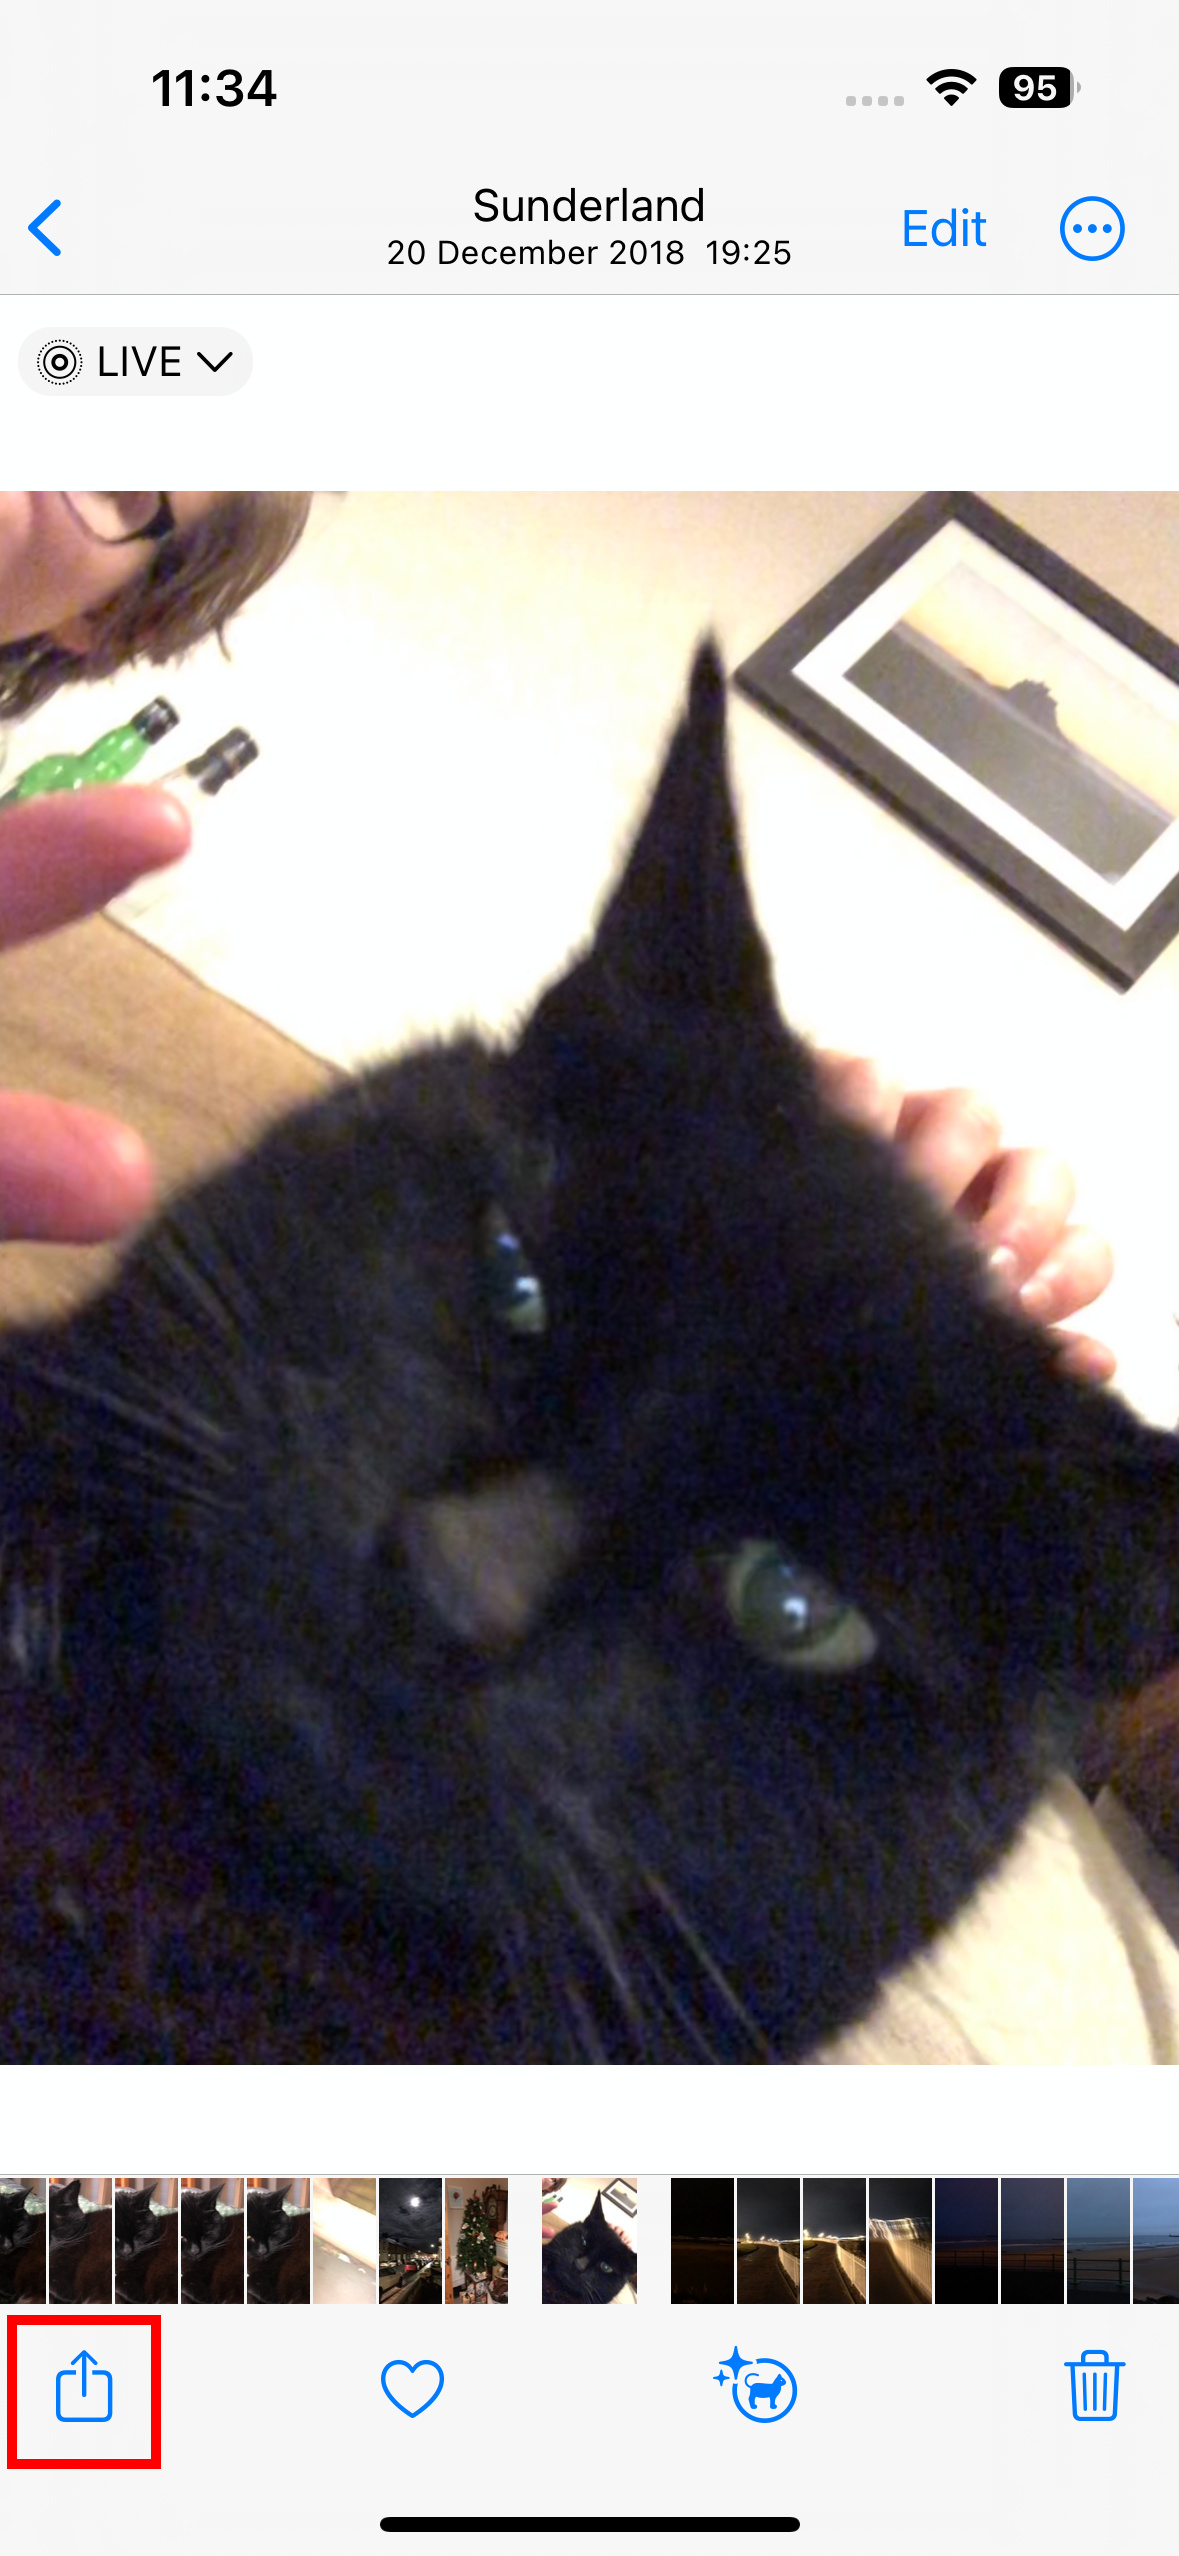
Step 2: Tap the Share button in the bottom-left corner. The standard sharing options should appear.
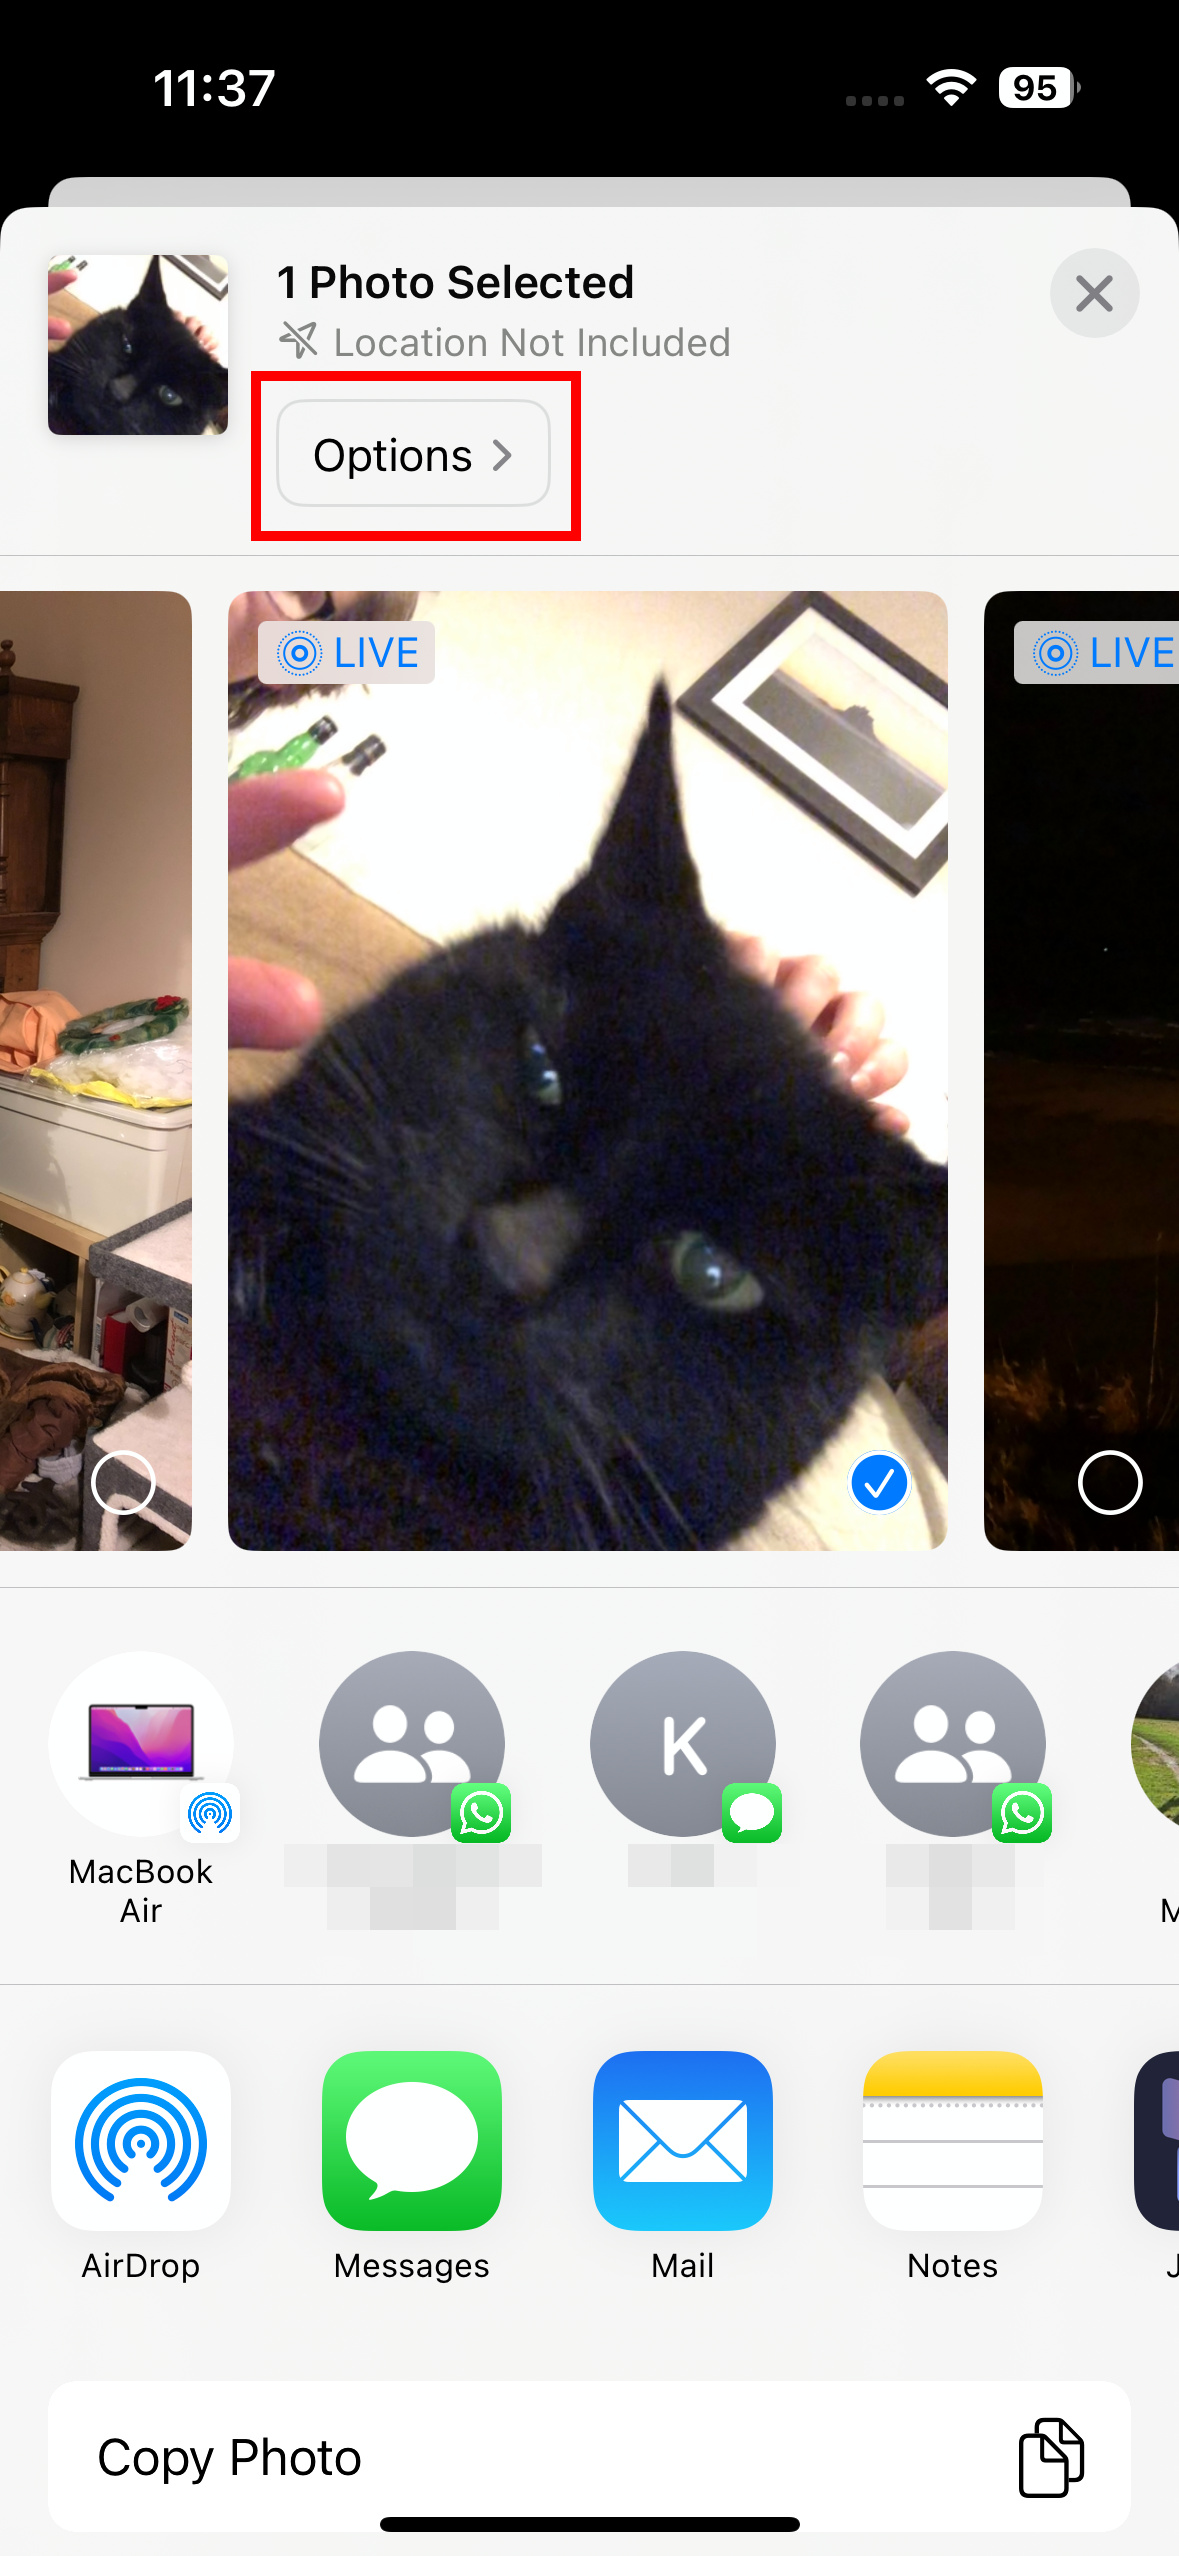
Step 3: At the top, below 1 photo selected, you should see the location that's stored in the photo, followed by a small Options button. Select the Options button.
Step 4: Tap the switch beside Location to toggle it off.
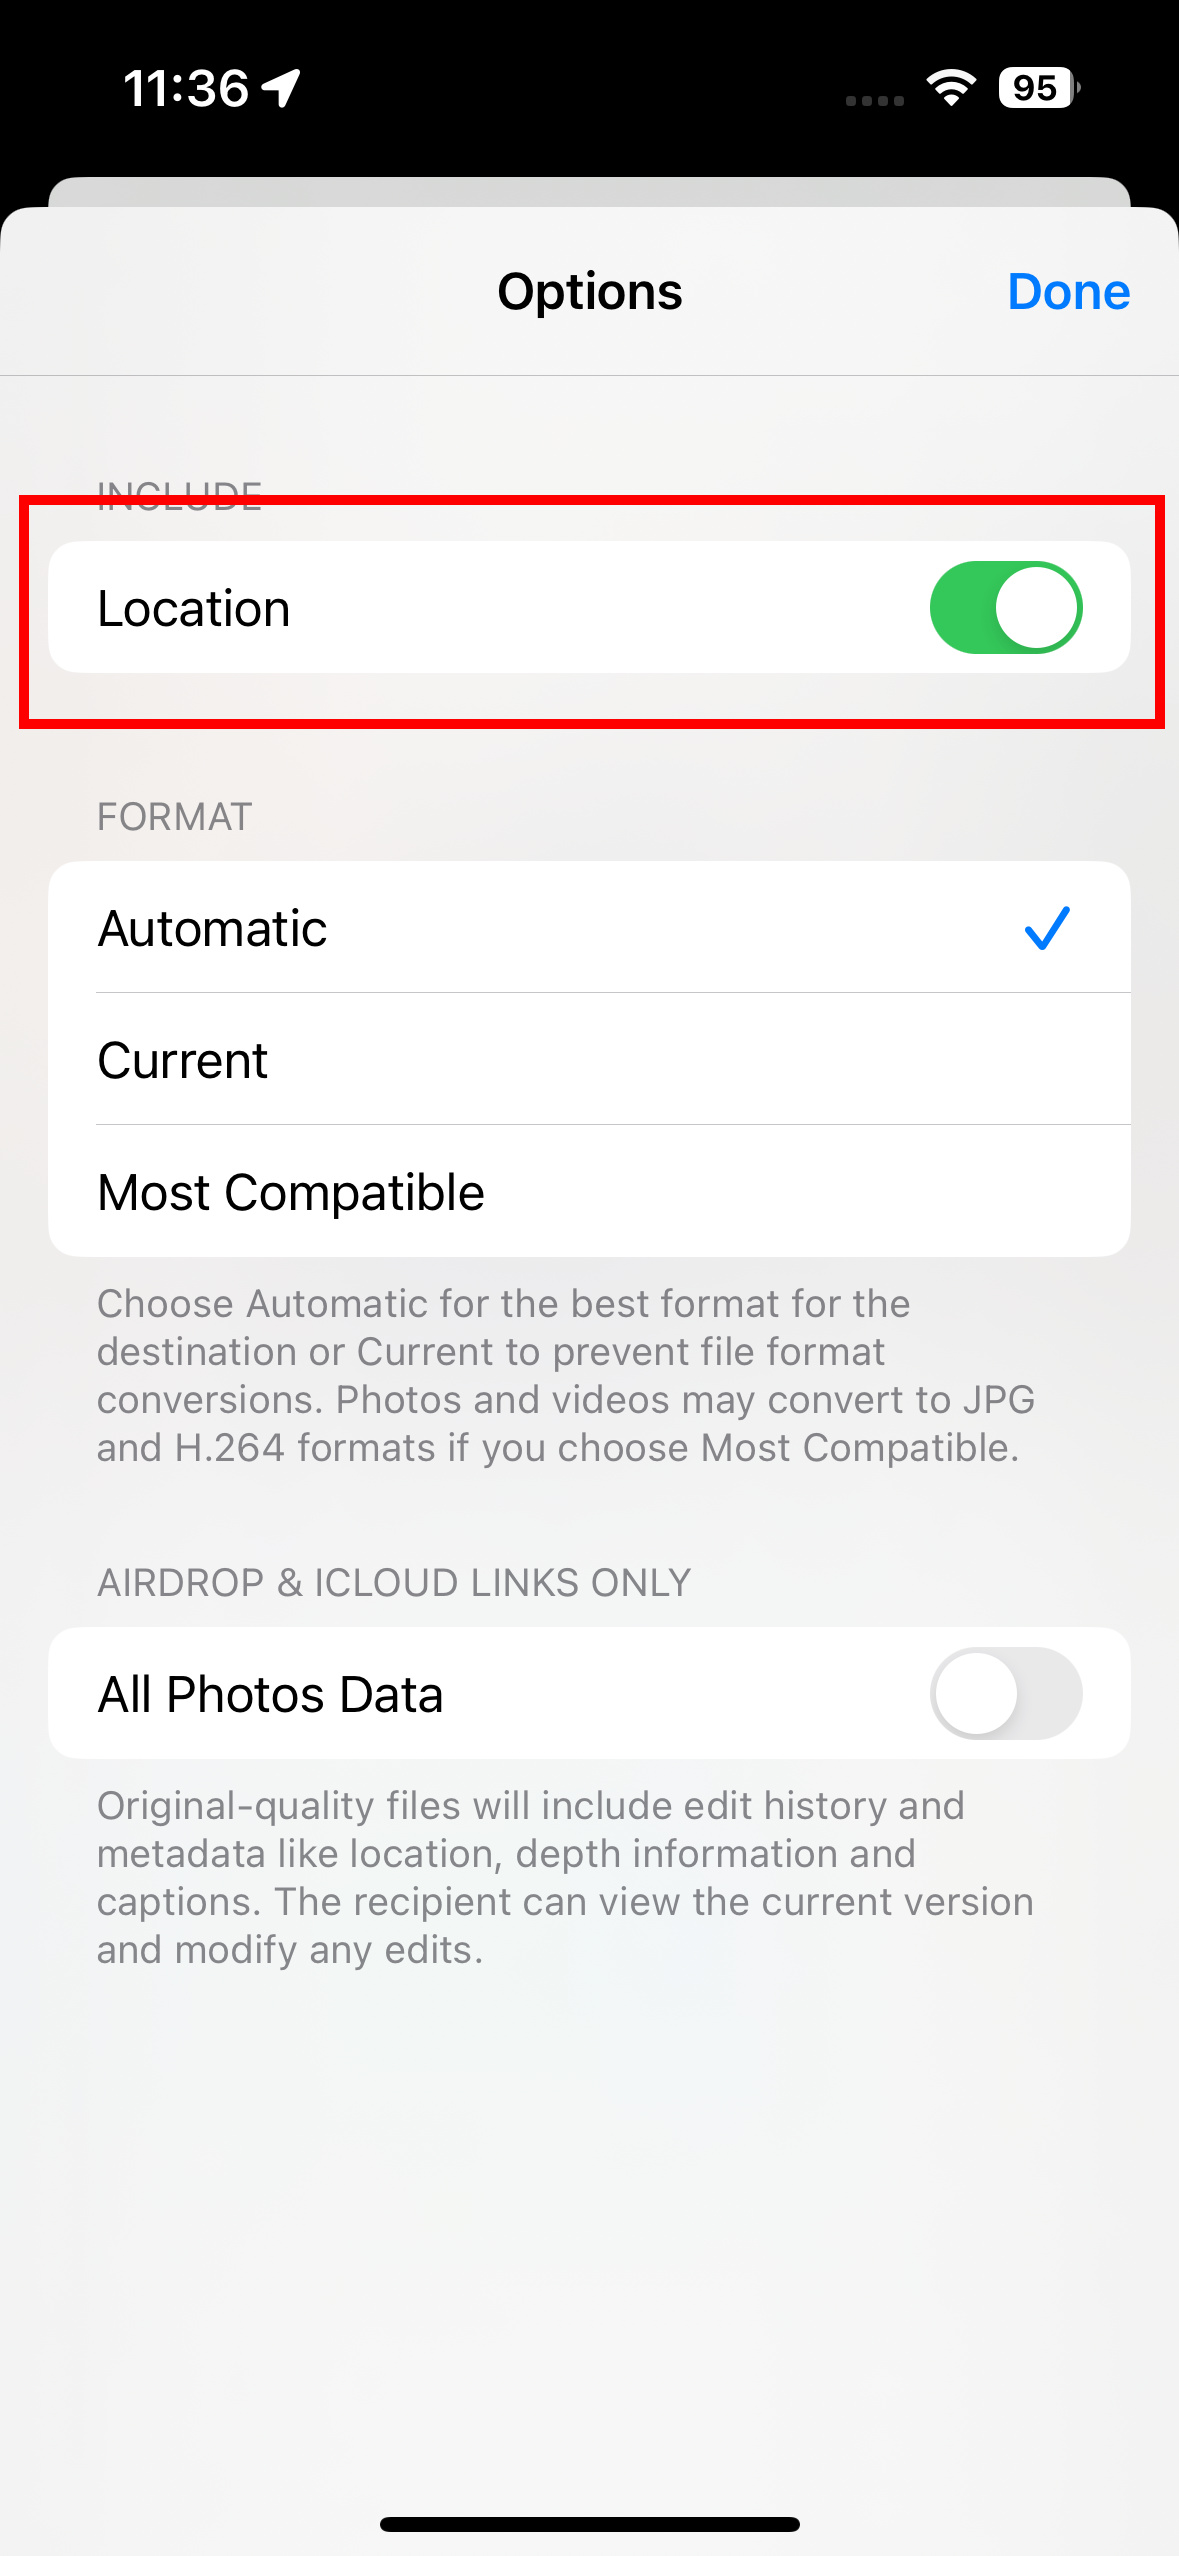
Step 5: Select Done. You'll be returned to the sharing screen, and should now see No location at the top.
Step 6: Proceed to share the photo as you normally would. All location data will be stripped out before sharing, so neither the recipients nor any messaging or social media services you're sharing with will know where the photo was taken.


