Every minute, 300 hours of video are uploaded to YouTube, and over 5 billion videos are watched every day. If you’re creating content, you might be wondering how you can get your videos to stand out. One thing to focus on improving is your video thumbnails, the small still images that are shown alongside videos on YouTube; these thumbnails are your first impression for those scrolling through and looking for content.
Here’s how to make thumbnails for YouTube, to take your subscriber numbers to the next level.
Create thumbnails with Canva
You will need a graphics program or service to start designing your thumbnails. In this tutorial, we’ll use Canva, a simple online design tool. You can always use Photoshop or another digital image editing service if you prefer.
One of the best features of Canva, though, is that the free version of its design software has over 8,000 free templates to get started and hundreds of free photos and graphics. If you enjoy the service, you can opt to upgrade to the Pro version of Canva at $10 a month, gaining access to more templates, premium graphics, and brand identity tools to customize your projects with your brand’s logos and colors in a single click.
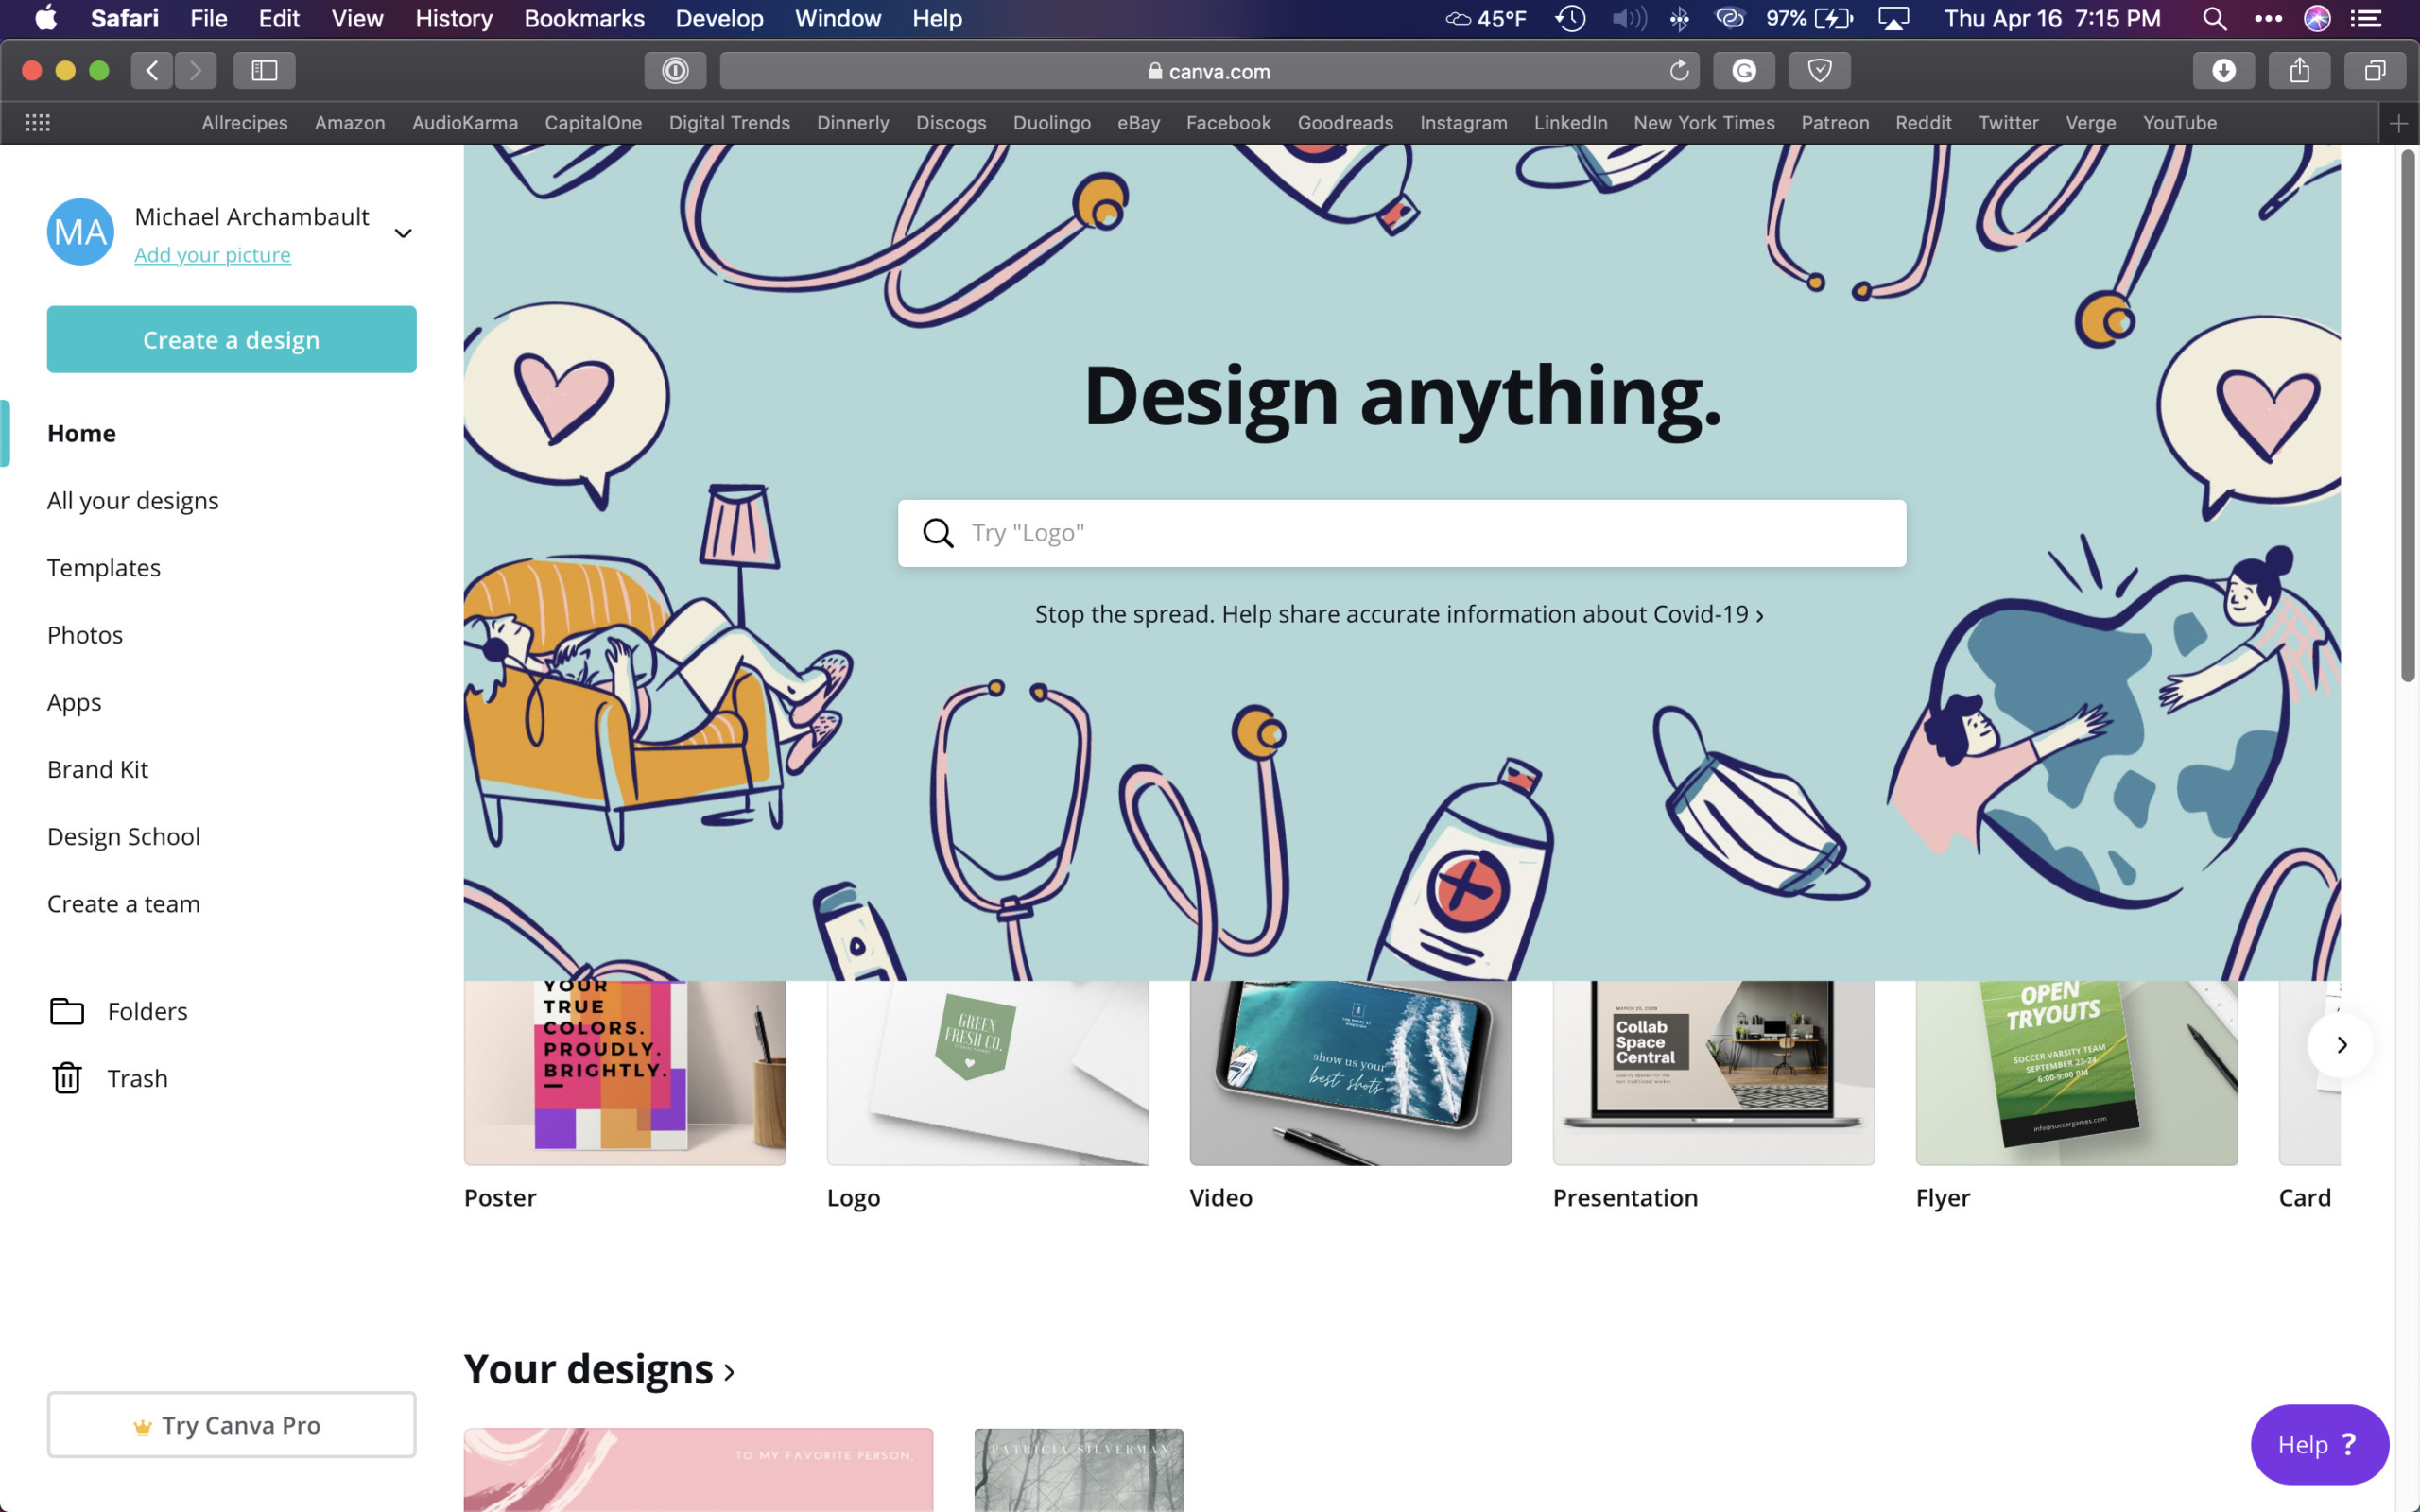
Begin by heading to the Canva website and signing up for an account — you can do so with an email address, Google account, or Facebook account. Once logged in, select the Create a design button to get started. A search box will appear. Type “youtube thumbnail” and then select the YouTube Thumbnail option. The Canva design interface will load, then follow these steps:
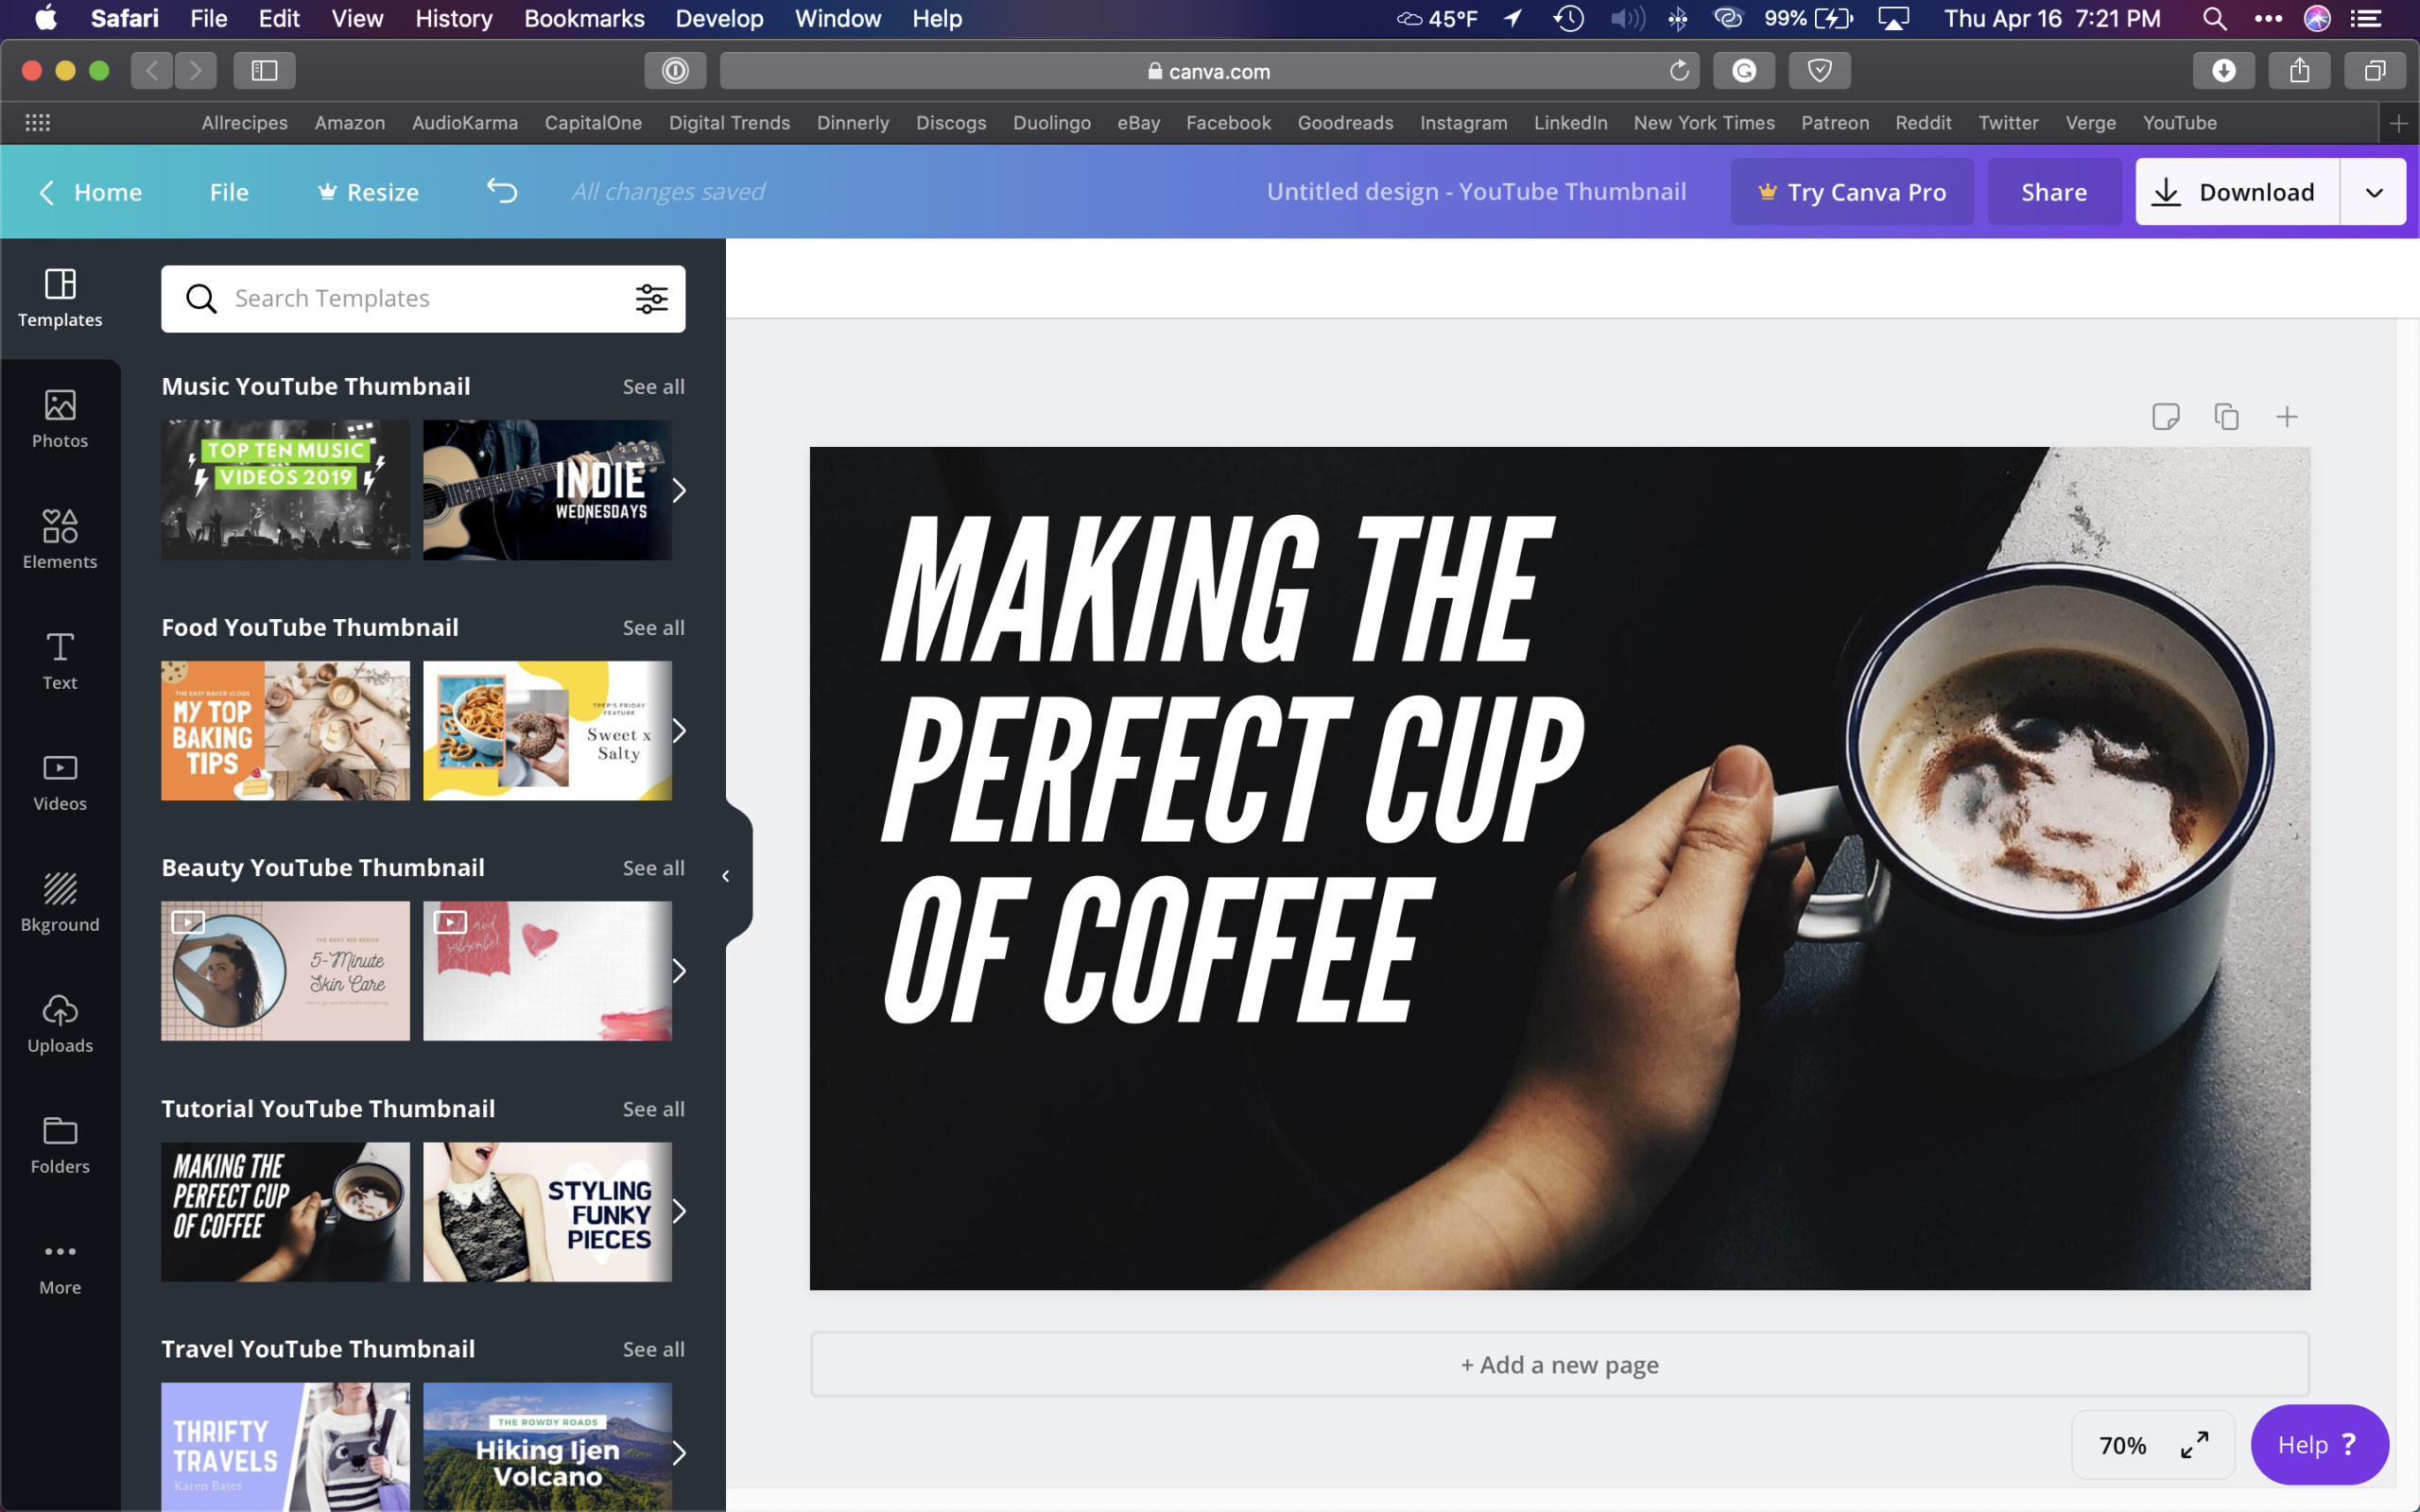
Step 1: Scroll through the list of available YouTube thumbnails provided and pick a starting point.
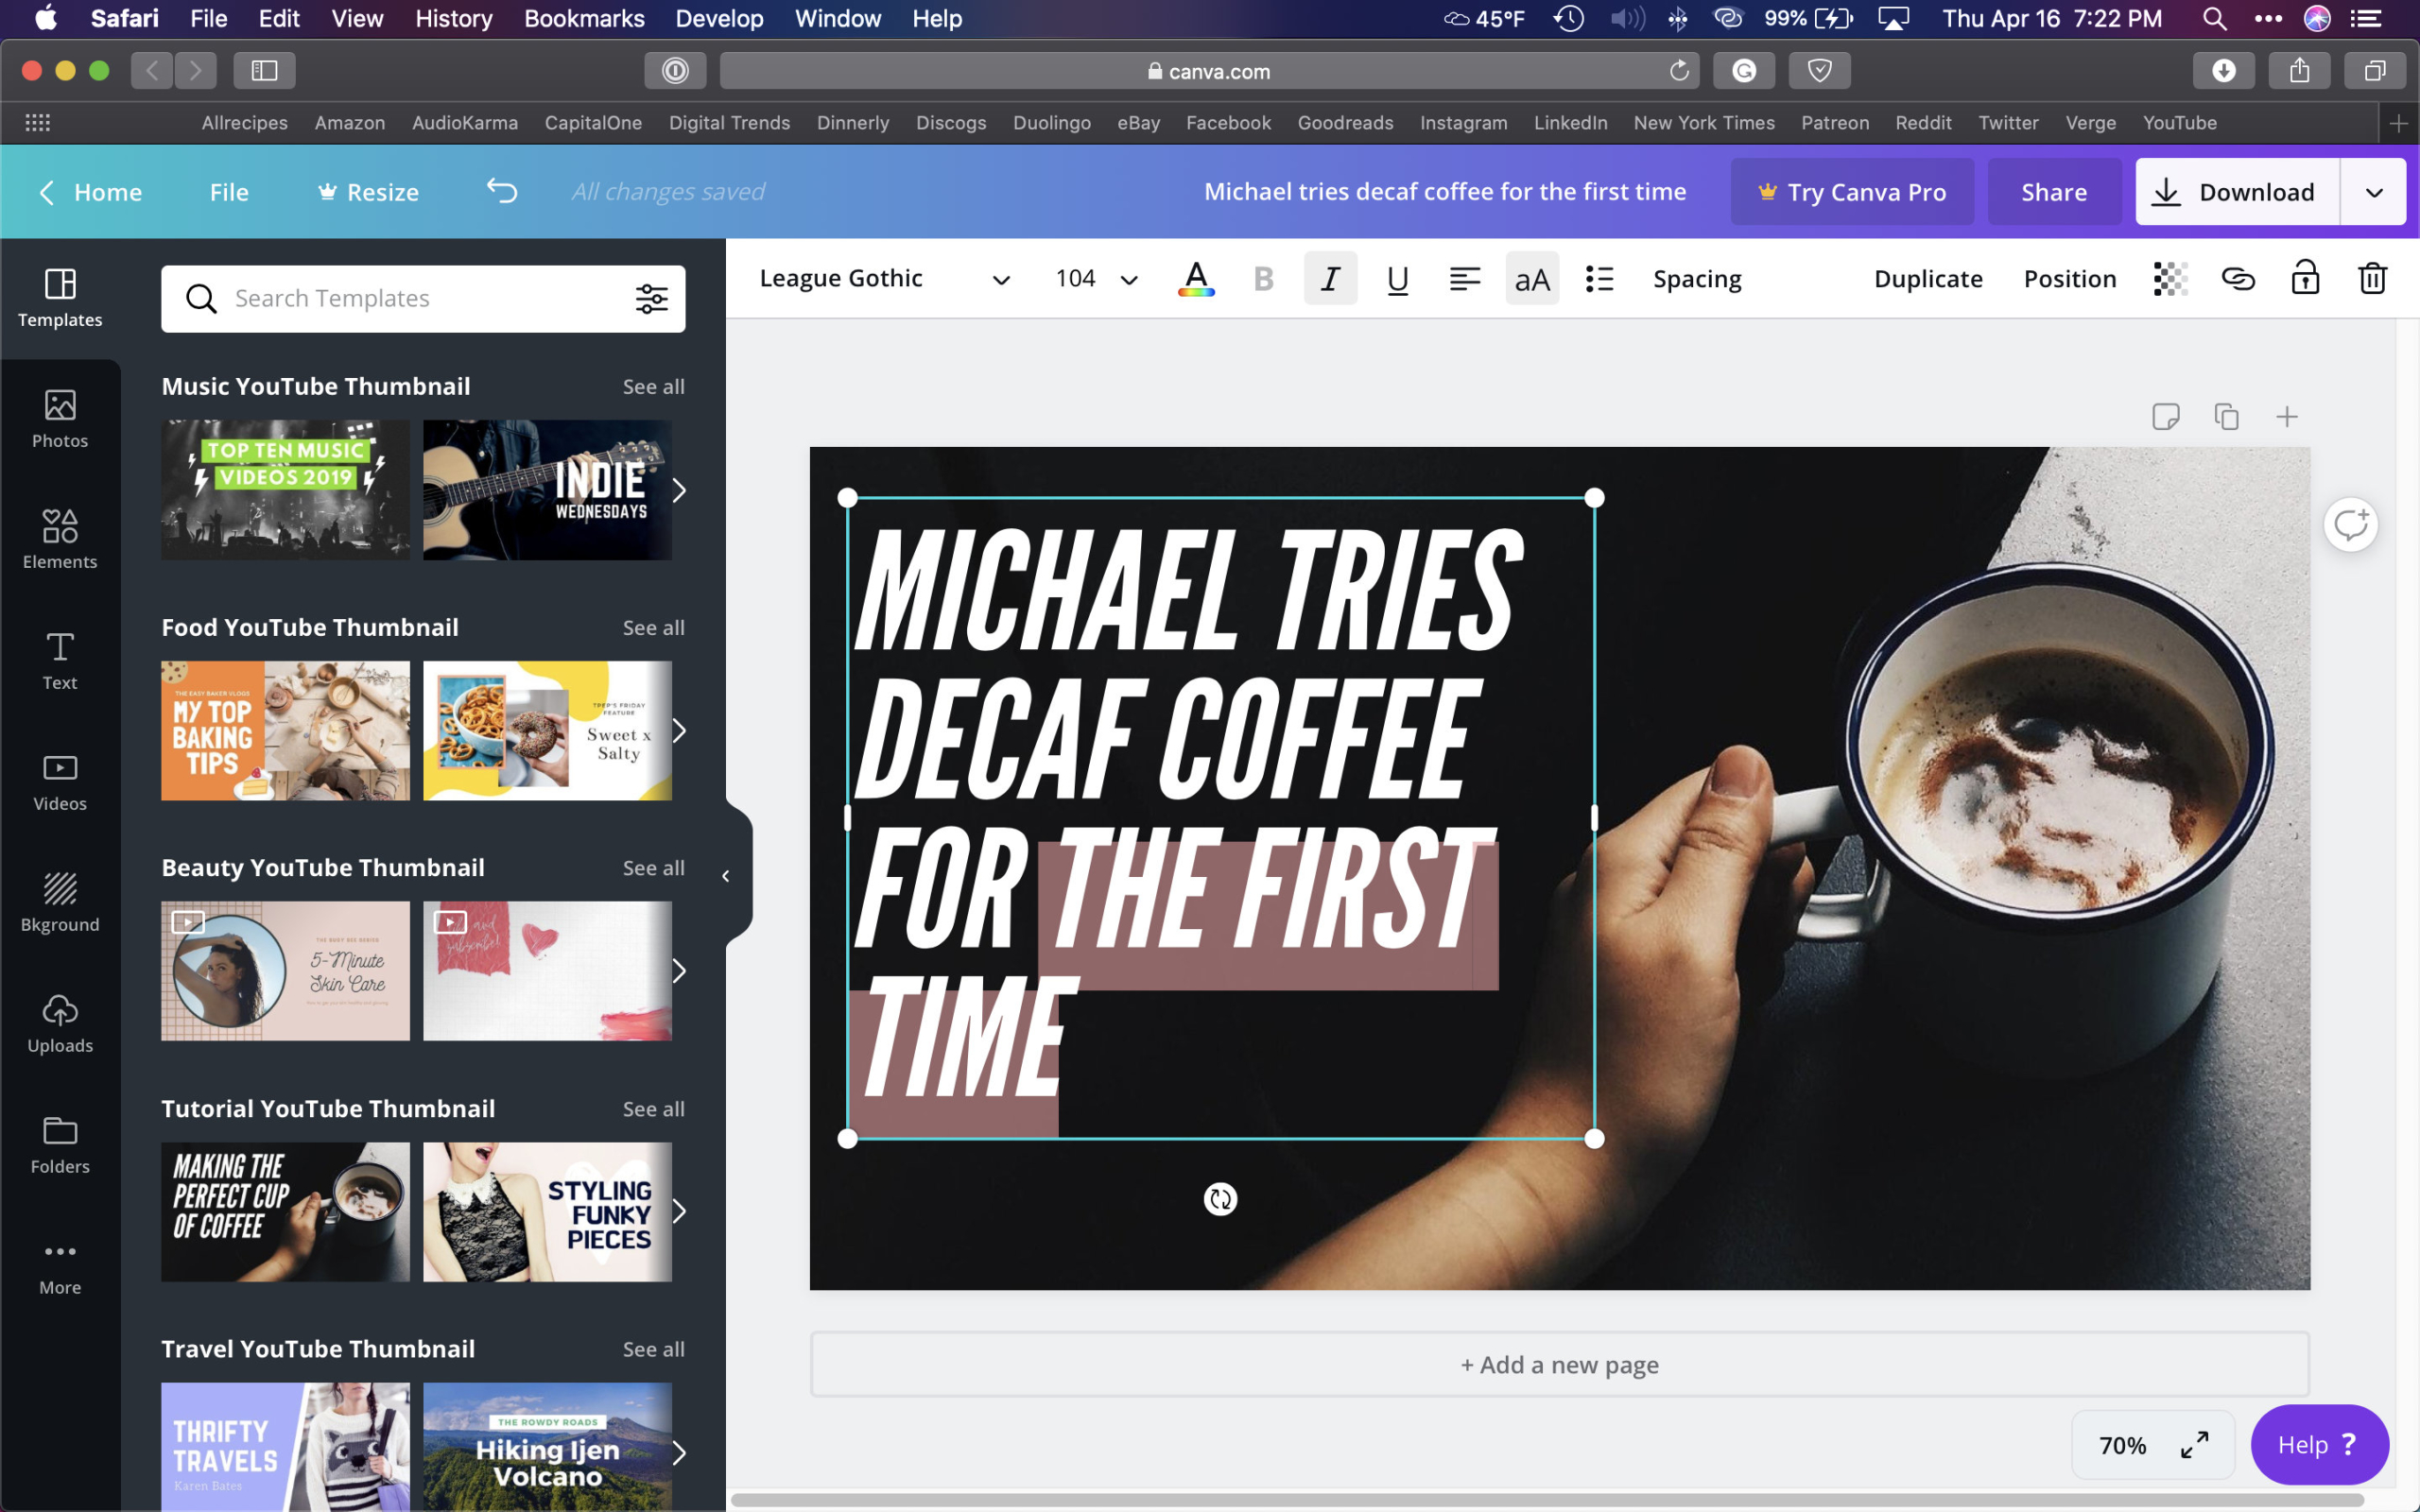
Step 2: Double click on the text to change it to something that matches your video (more on this later).
Step 3: If needed, use the text toolbar to edit text when selected. You can change its font, size, color, and other style options.
Step 4: To move the text, drag the edge of the text box with your mouse. Release it to place the text where you desire.
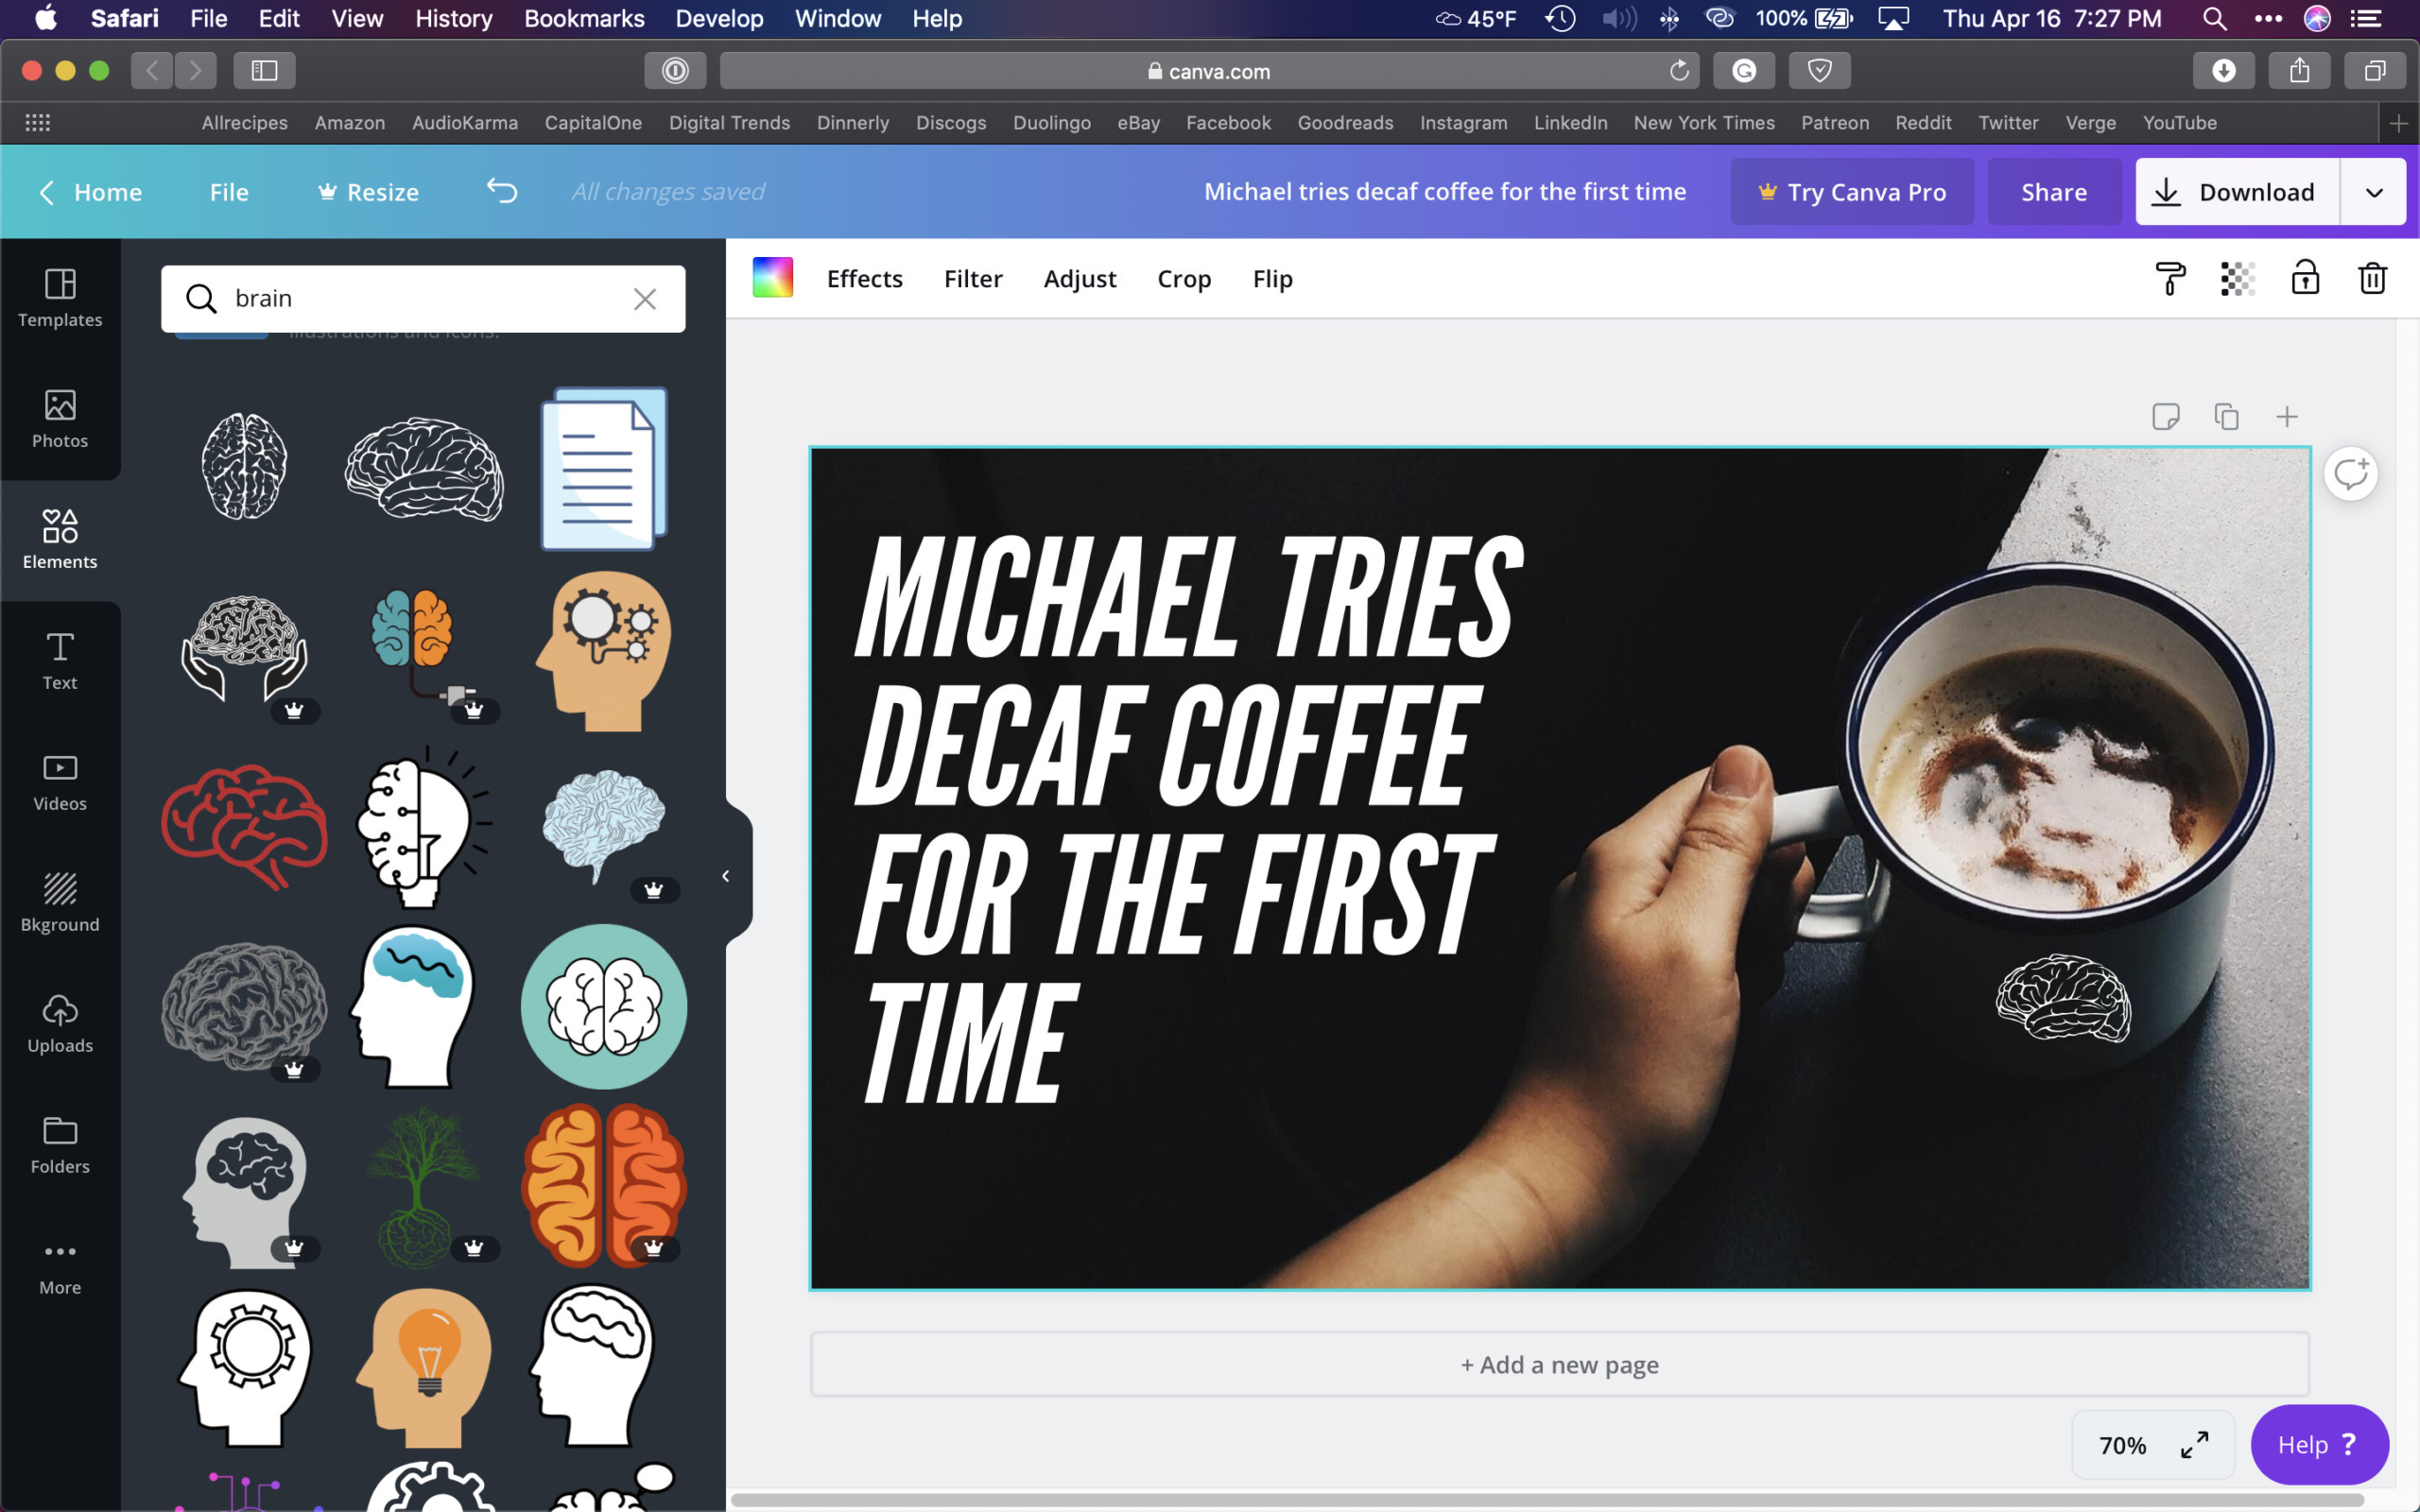
Step 5: If you want to insert additional elements such as icons or shapes, click the Elements button in the left-hand column.
Step 6: Drag and drop any desired elements onto your canvas to add them. You can resize the item or move it using the surrounding box once the component is selected.
Step 7: If you wish to change the background of your thumbnail, click the Background button in the left-hand column, and then select your choice.
Step 8: If you are feeling extra creative, you can click on the Text or Photos buttons in the left-hand column to add additional text or new photographs.
Step 9: Once you are happy with your thumbnail, click the white Download button in the upper-right corner of the screen. Canva will select a PNG file; click the turquoise Download to confirm.
Step 10: Congratulations, you have created and downloaded your YouTube thumbnail! Follow the instructions below to learn how to upload it to your video.
Uploading your YouTube thumbnail

Once you’ve created your YouTube thumbnail in Canva and downloaded it, we can begin the process of uploading it to your video to replace the still-video shot that YouTube uses as a default. Depending on if you’ve already uploaded the video or not, follow the corresponding instructions below to learn the easy process.
Apply to new video
Step 1: Begin uploading your video as usual.
Step 2: While your video is uploading, select the Basic Info tab.
Step 3: Select the Custom thumbnail option.
Step 4: Select the logo we just created on your PC to upload it.
Apply to an existing video
Step 1: Sign in to YouTube Studio.
Step 2: On the left side of the screen, select Videos.
Step 3: Next, select the video you wish to alter — click its title or thumbnail to select.
Step 4: Under the Thumbnail option, select Custom thumbnail.
Step 5: Select the logo we just created on your PC to upload it.
Step 6: Click the Save button.
Further reading
YouTube thumbnail tips and tricks

Creating a YouTube thumbnail has a lot to do with your self-expression and design style, but there are still a few essential tips that can be beneficial to know when designing. These tips and tricks focus on grabbing your audience’s attention and better conveying to them the information available within the video.
- Include a headshot in the thumbnail: As humans, we instantly recognize human faces and expressions. Try including an expressive headshot in your thumbnail to grab attention.
- Ensure text is large and to the point: Large-bold text grabs attention over small text and can convey bits of information better. Keep your wording short; you aren’t writing a novel here.
- Use contrasting colors: Don’t place white text on a light-colored background; select contrasting colors to grab attention and ensure that you aren’t straining your viewers’ eyes.
- Use keywords or restate the title: Try text keywords similar to your topic to garner attention or use the space to restate the title in a larger, bolder setting.
- Use the correct resolution: Tools such as Canva will start you with the right size, but if you are using your own software, ensure that your YouTube thumbnail is at least 1,280 x 720 pixels.
Other thumbnail software options
Not a huge fan of Canva? Although we used it as our example, there are other options out there for creating excellent YouTube thumbnails. Fantastic online solutions include Adobe Spark, Crello, Picmaker, and Visme. Note that not all of the stated options are free, and you may need to play around before finding the perfect choice. If you feel like going pro, explore using more advanced options to create your thumbnails such as Adobe Photoshop or Affinity Photo. Love painting or coloring and want to get creative? Consider creating a thumbnail on good old-fashioned paper, then scanning it into your computer — that’s certainly unique.


