
How to superscript and subscript in Google Docs

Superscript in Google Docs on a MacBook.
Image used with permission by copyright holder

If you’re creating a document for math instruction or scientific information in Google Docs, you may need to use superscript. This type of text appears slightly above the baseline text and uses a smaller font size. While most commonly used for math and science, you’ll also see superscript used to indicate a footnote. Similarly, subscript is usually used to write chemical equations and formulas.

You can apply superscript or subscript to text on the Google Docs website, as well as in the mobile app on Android and iPhone. Let’s take a look at how to superscript and subscript in Google Docs.

Recommended Videos

Difficulty

Easy

Duration

5 minutes

What You Need

  • Web browser

  • Google account

  • Google Docs mobile app (optional)

Superscript in Google Docs on the web

You can apply superscript using the menu or with a keyboard shortcut. Visit the Google Docs website, sign in, and open your document.

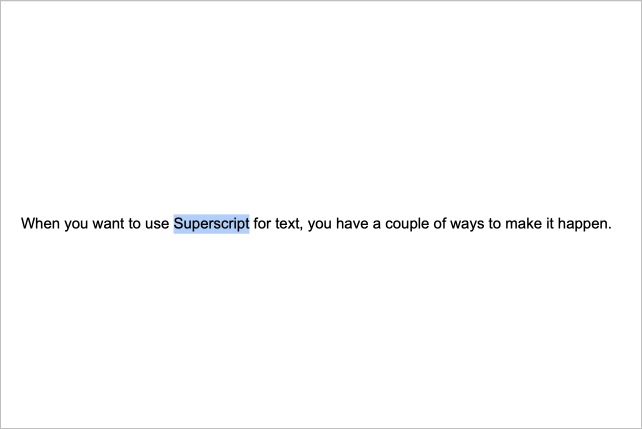
Step 1: Select the text you want to make superscript by double-clicking the word or using your cursor to click and drag through the text to select longer phrases.

Text selected in Google Docs on the web.
Image used with permission by copyright holder

Step 2: Go to the Format tab and then select Text.

Step 3: Choose Superscript in the pop-out menu.

Text, Superscript in the Google Docs Format menu.
Image used with permission by copyright holder

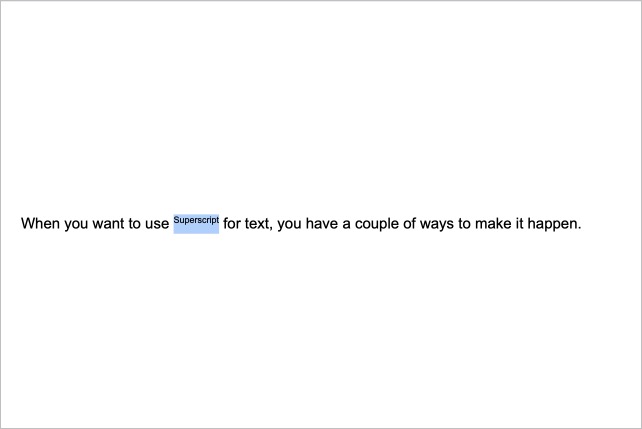
Step 4: You’ll see your selected text above the surrounding text and in a bit smaller font.

To use a keyboard shortcut instead, select your desired text and then press Ctrl + . (period) on Windows or Command + . (period) on Mac.

To remove the superscript, follow these same steps and deselect the superscript format or use the same keyboard shortcut.

Superscript text in Google Docs on the web.
Image used with permission by copyright holder

Superscript in Google Docs in the mobile app

You can apply superscript in Google Docs on your mobile device using the Format tool. Launch the Google Docs app on Android or iPhone and open your document.

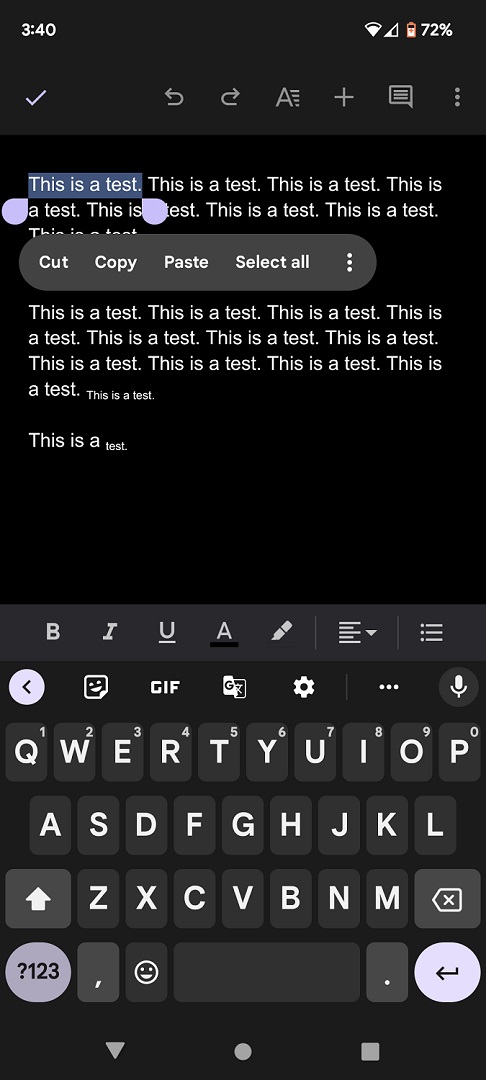
Step 1: Select the Edit button (pencil icon) on the bottom right to open edit mode.

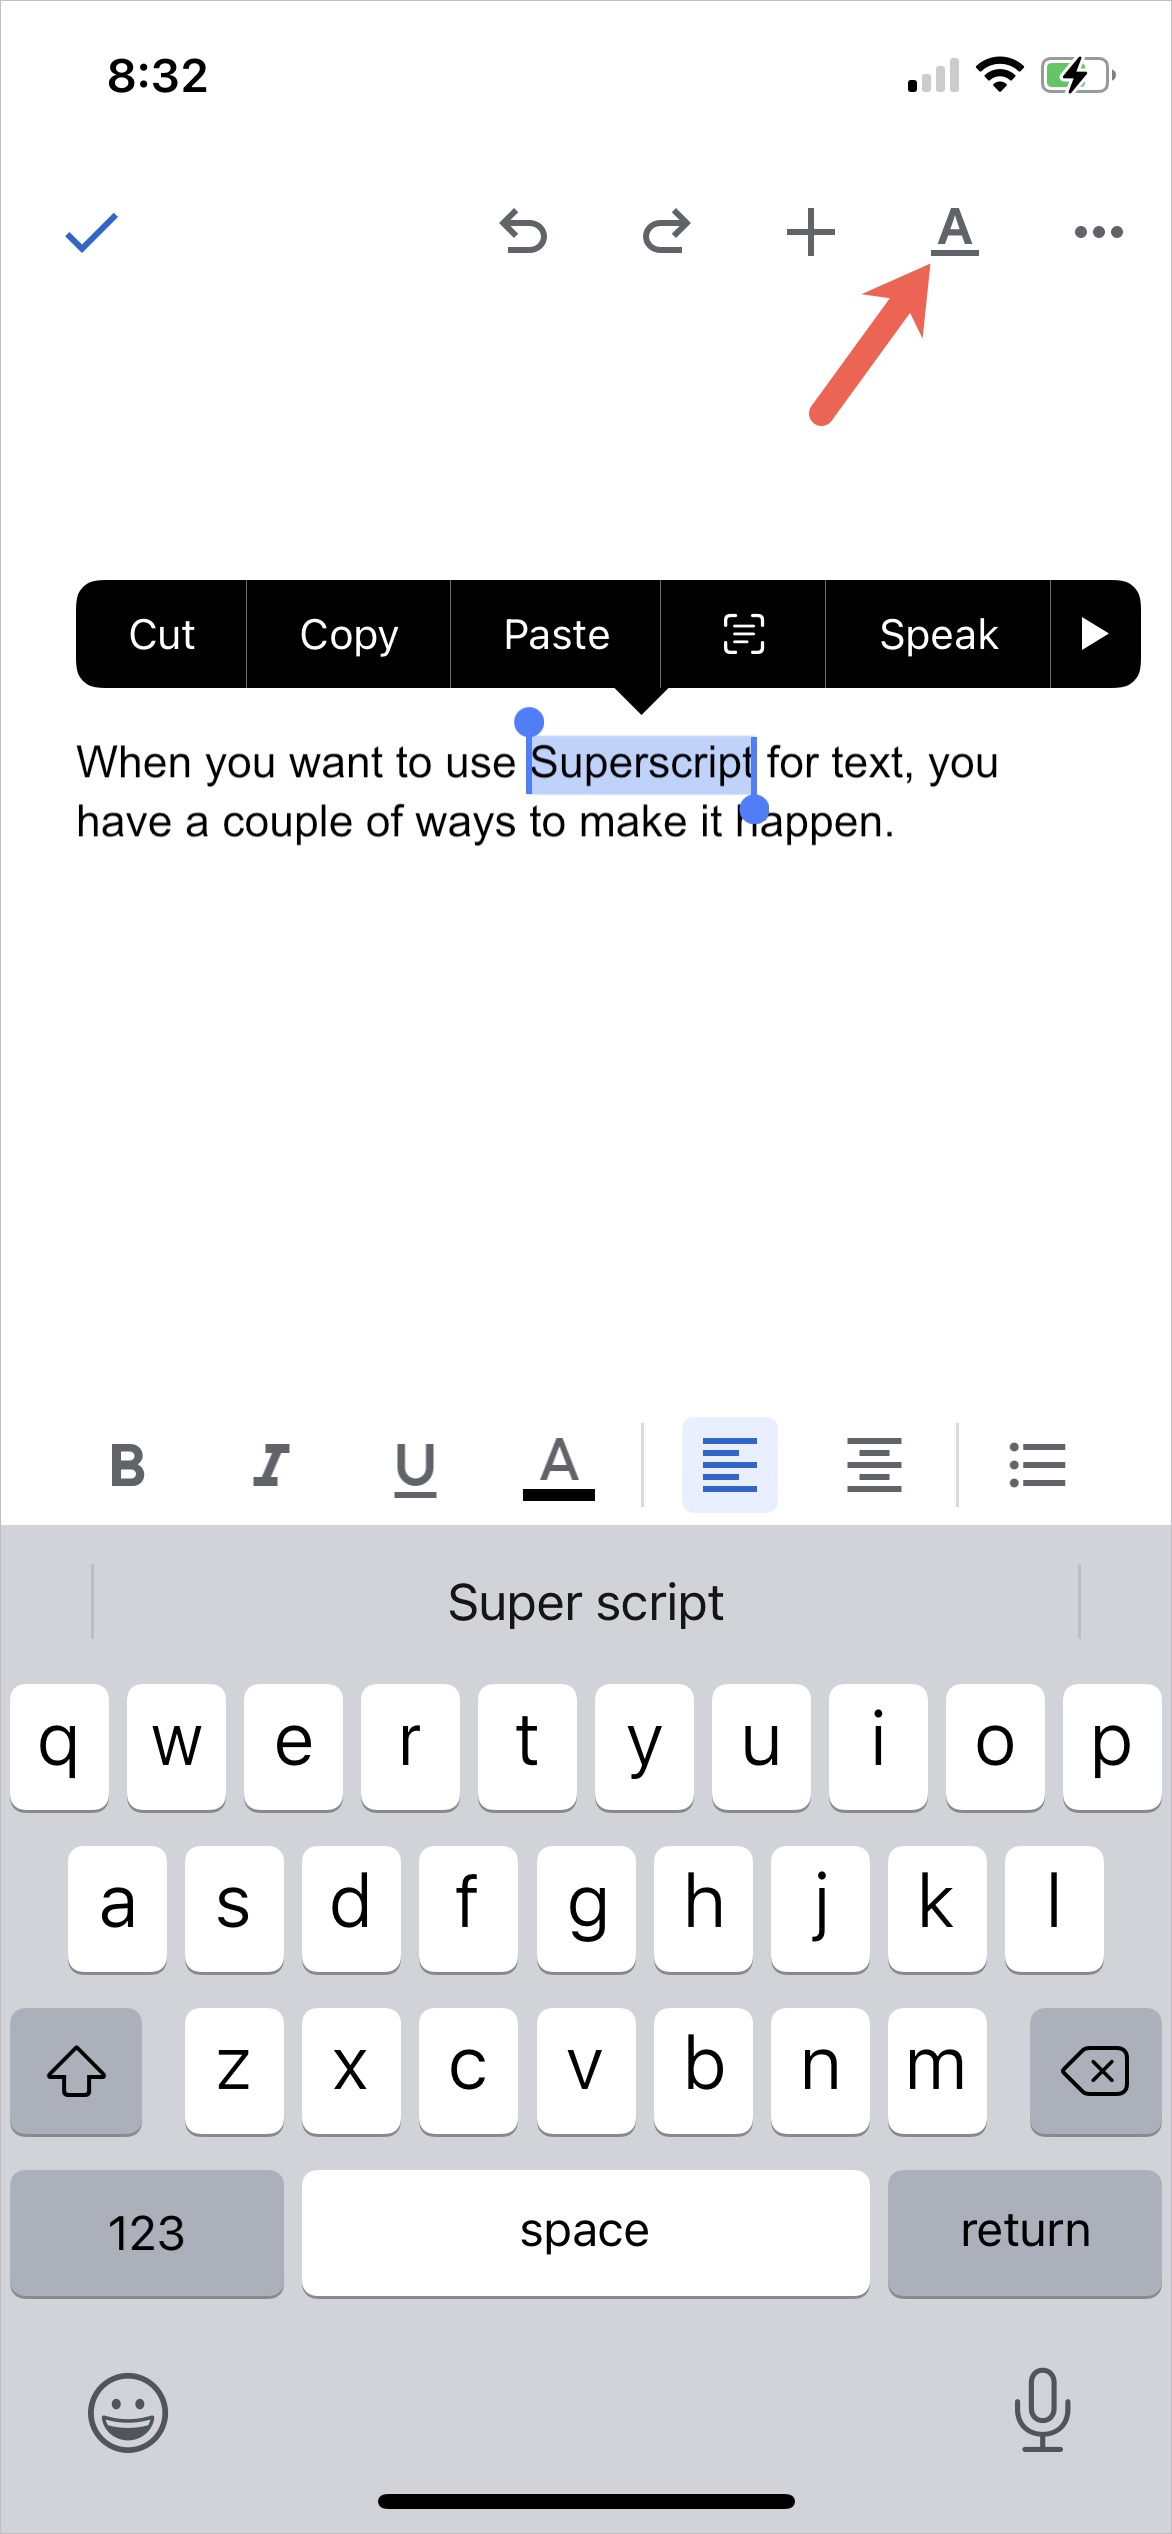
Step 2: Select the text you want to superscript. Tap and hold the word on Android or double-tap it on iPhone.

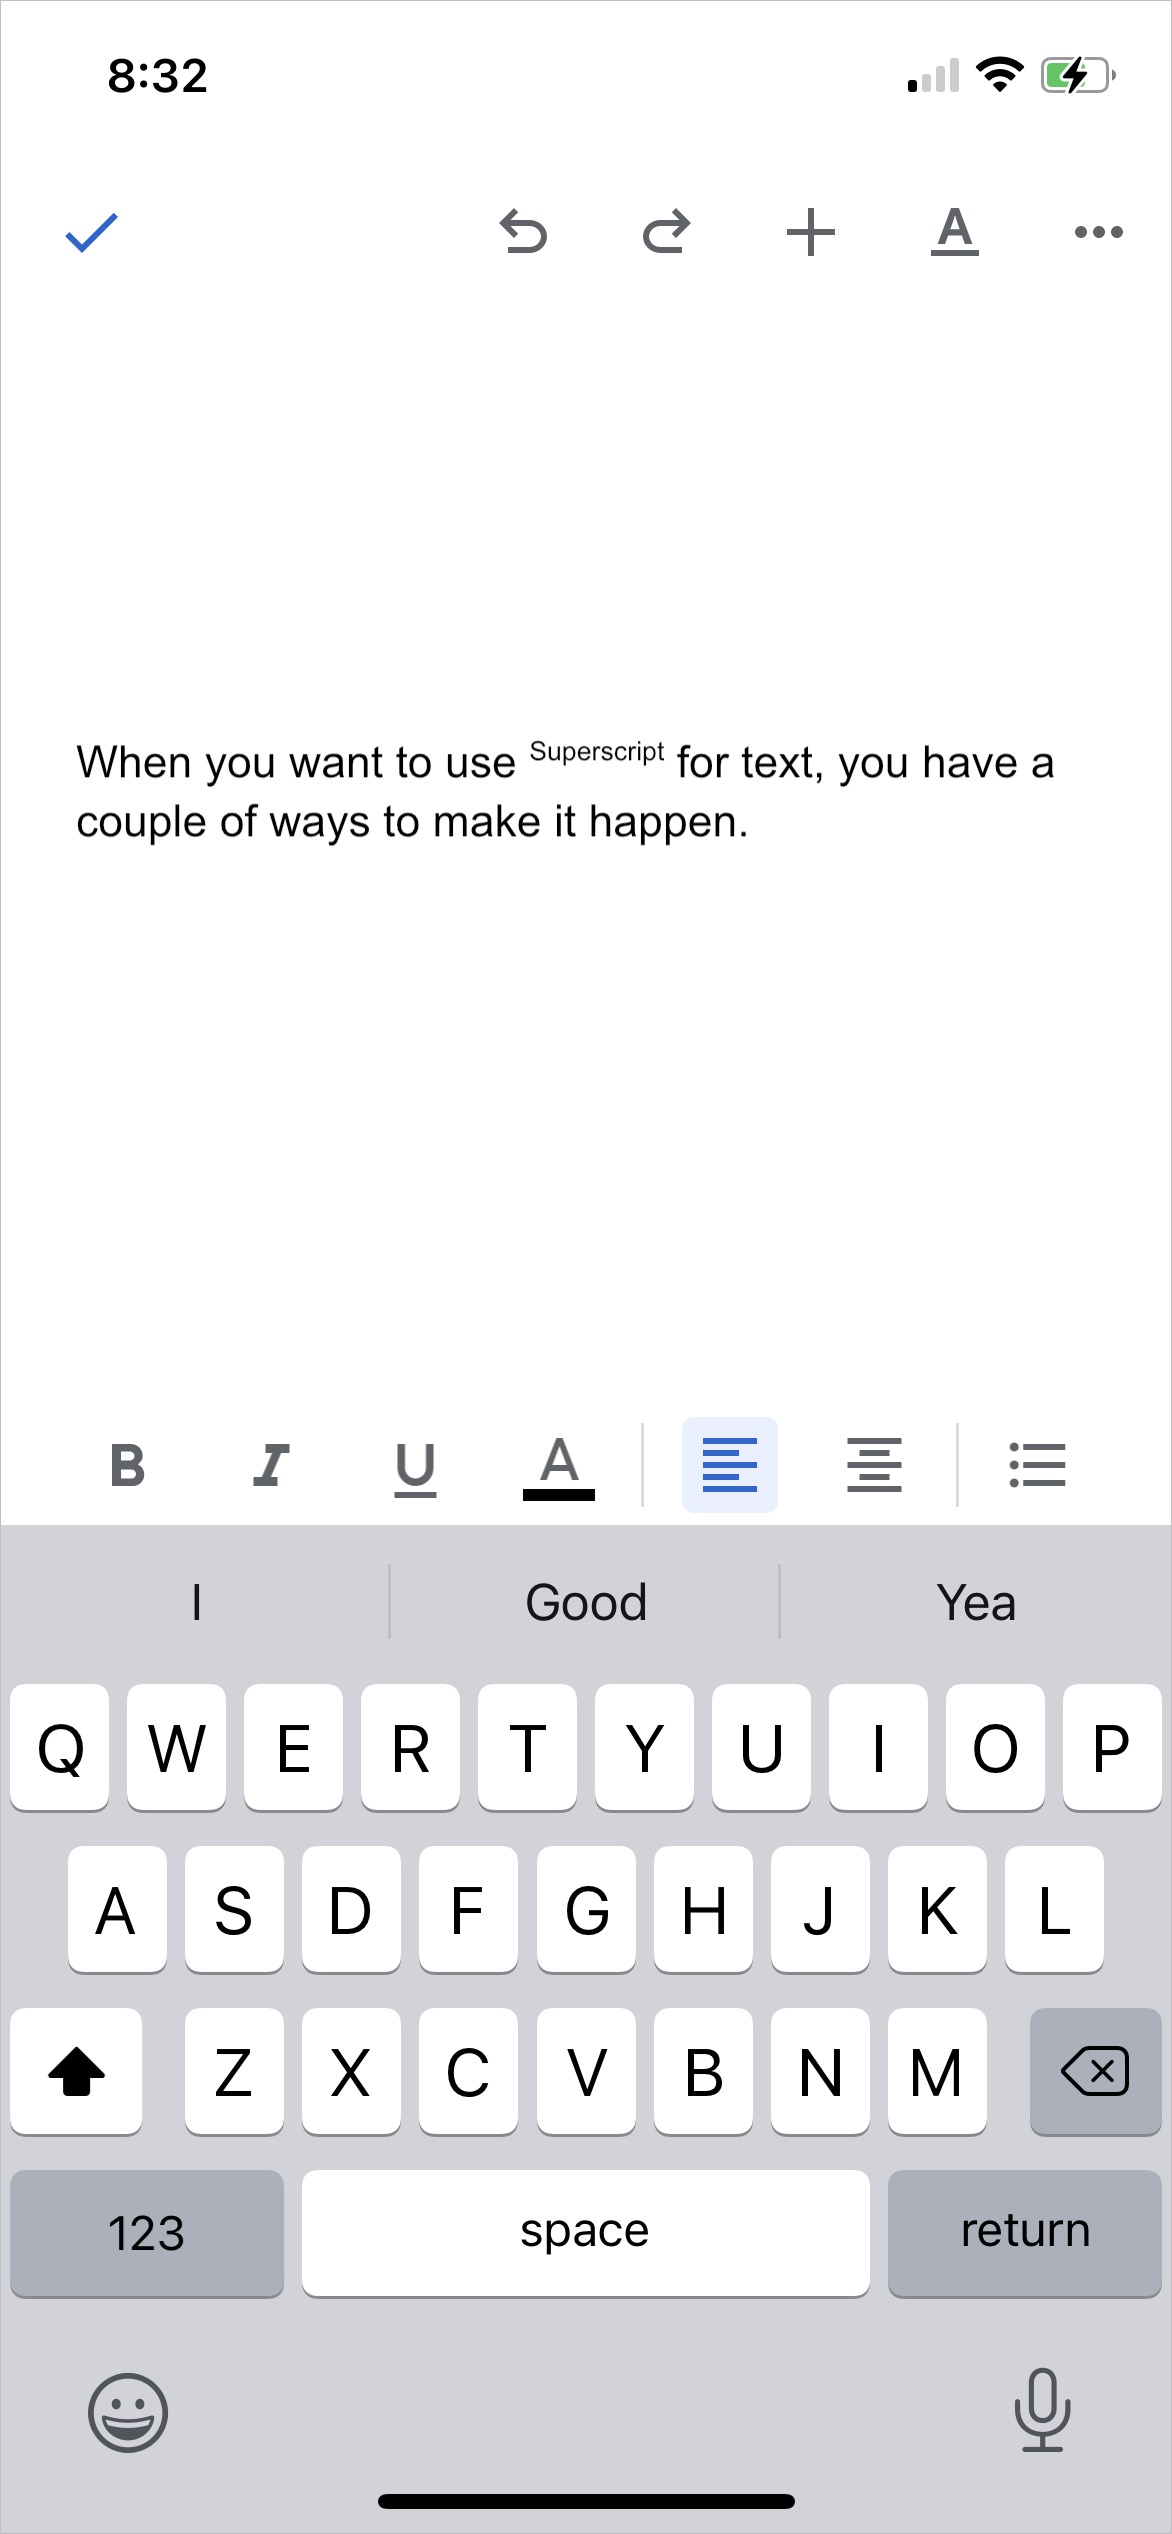
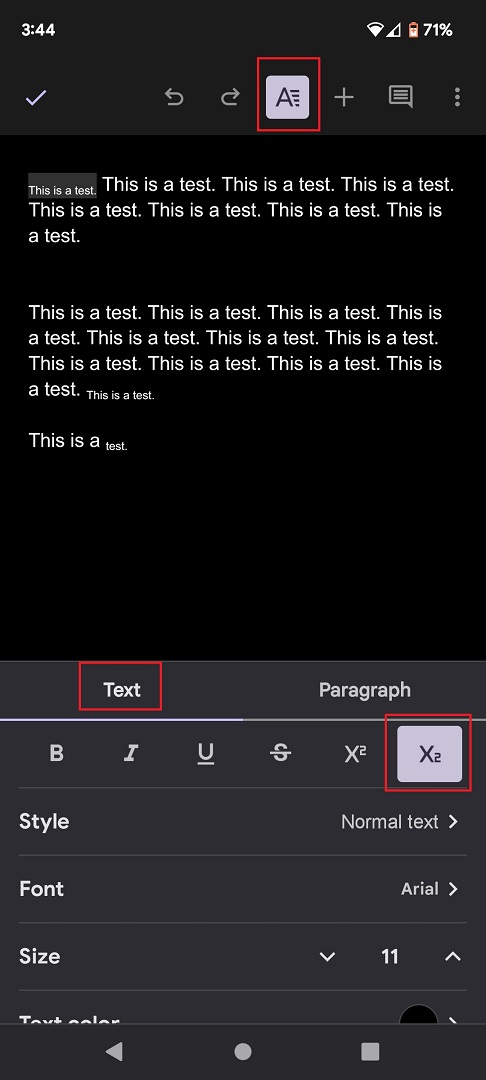
Step 3: Tap the Format button at the top. This looks like an uppercase "A" with four lines on Android and an uppercase underlined "A" on iPhone.

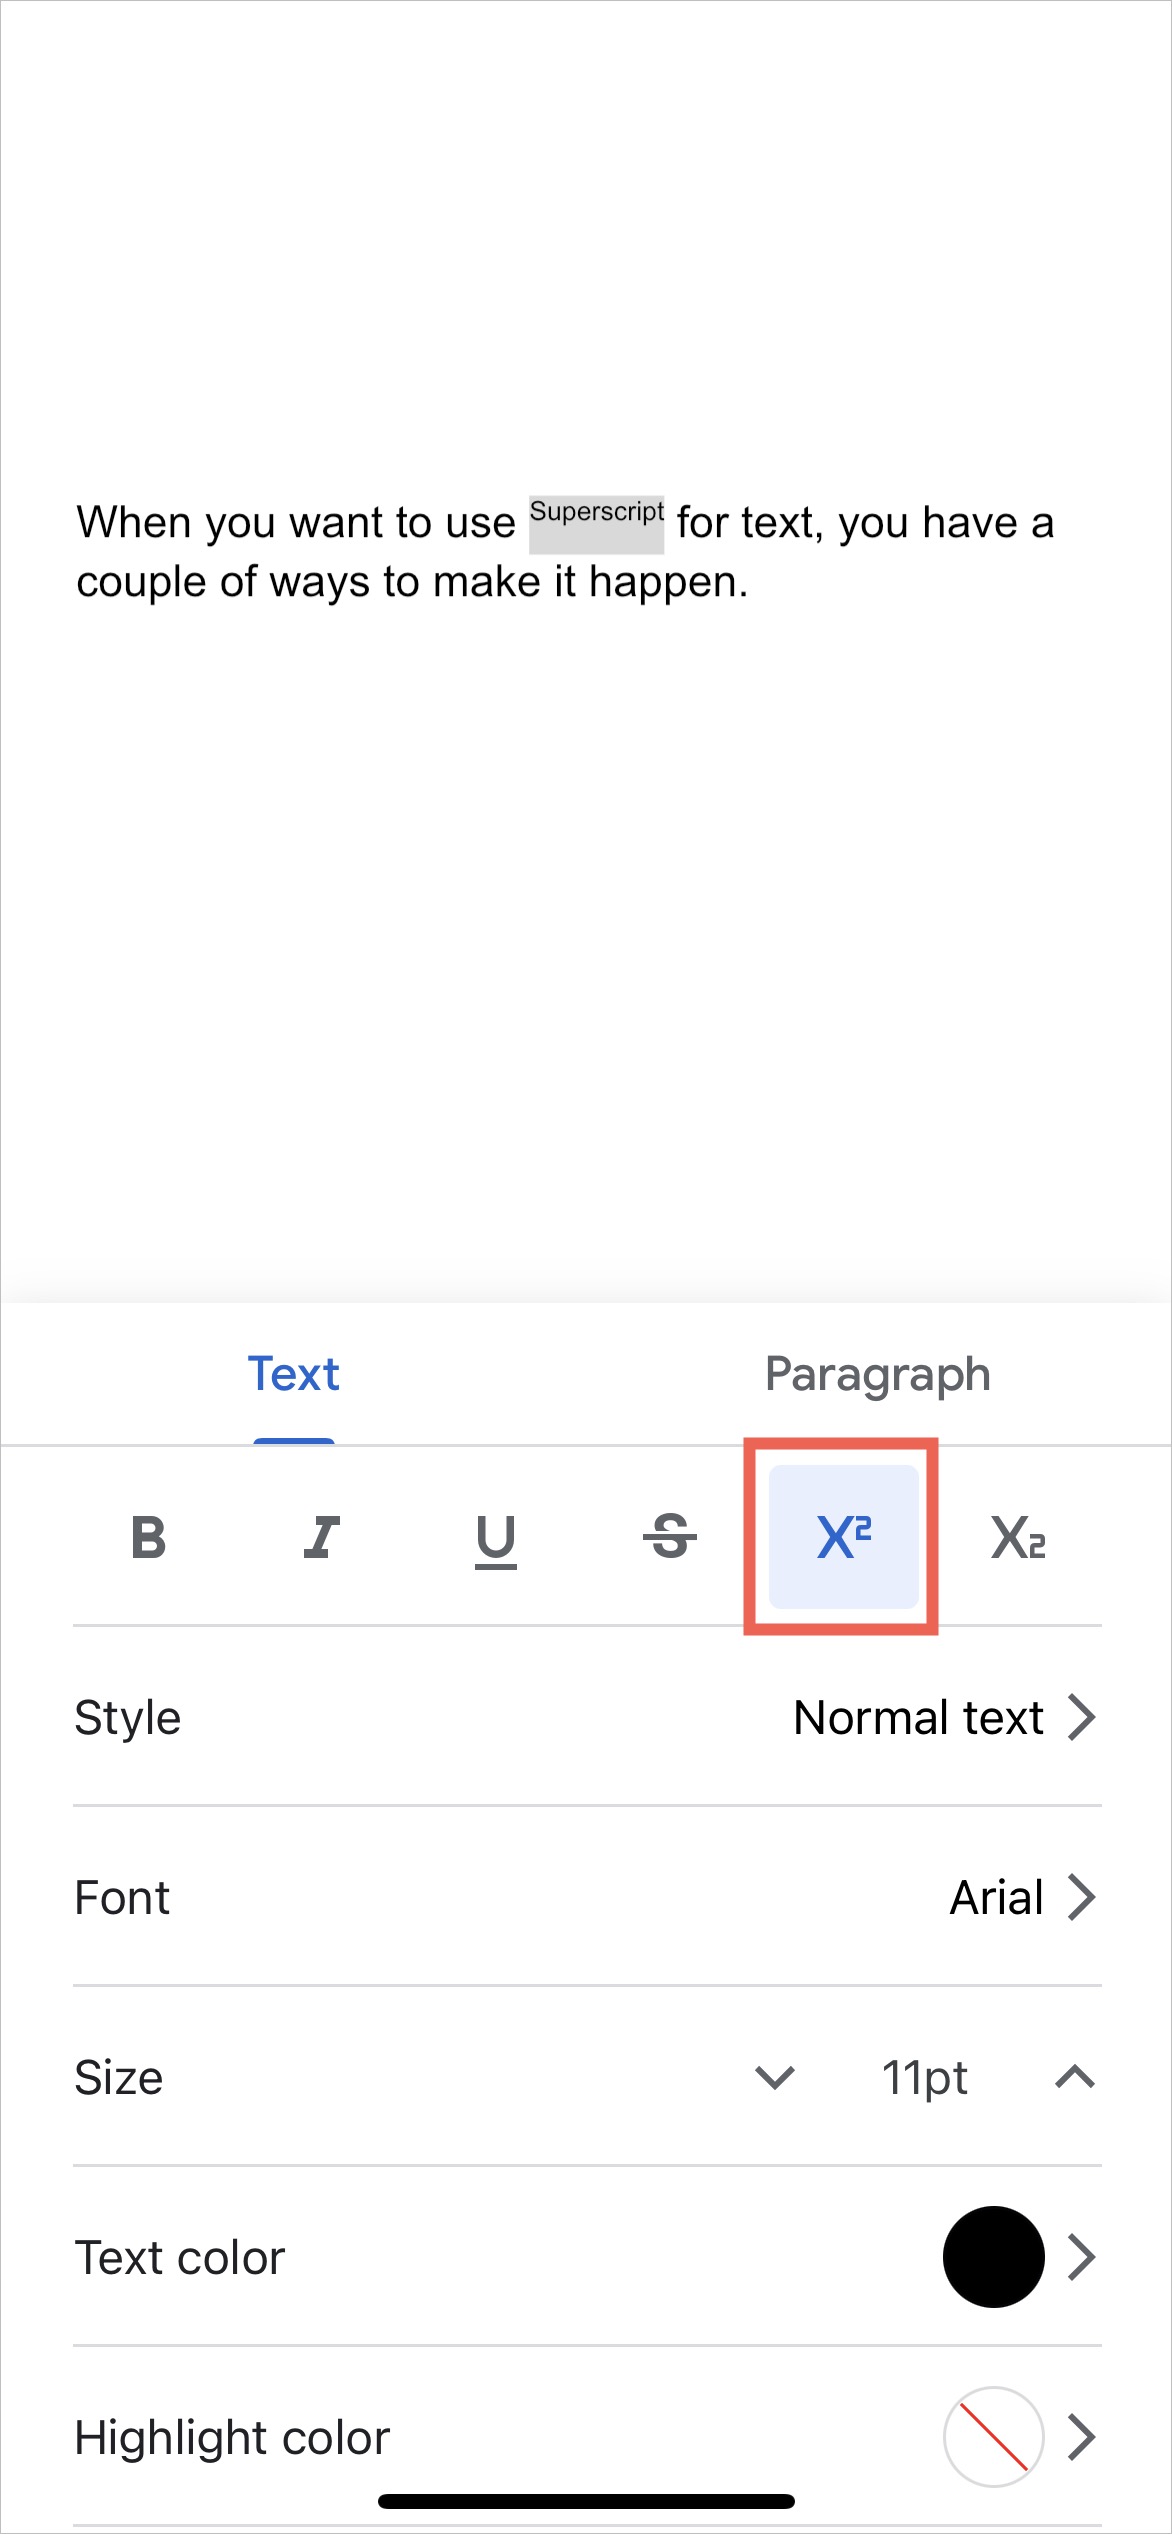
Step 4: When you see the format tools pop up at the bottom, select the Superscript icon. This appears as an "X" with a superscript 2, like an exponent.

Step 5: You’ll then see your text formatted as superscript.

To remove the superscript, follow the same steps to deselect the format.

Subscript in Google Docs on the web

Just like you can superscript on the Google Docs web interface, you can also subscript. Here's how to do so:

Step 1: Go to the Google Docs website and open the document you want to add a subscript to.

Selecting the desired text in a Google Doc and then choosing Format.
screenshot

Step 2: Select the text you want to subscript. Then select Format.

Selecting Text menu option and then Subscript in Google Docs on the web.
screenshot

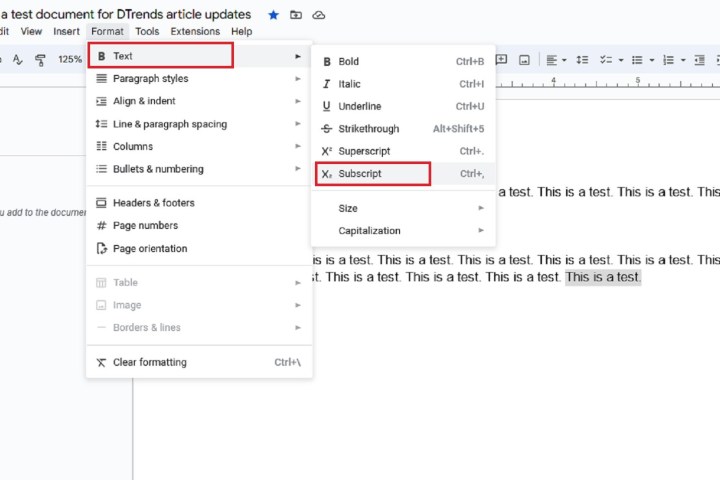
Step 3: From the menu that appears, choose Text. Then select Subscript.

You can also type in subscript by using the following keyboard shortcut: CTRL + , (comma). Then type as you normally would. To turn off typing in subscript, simply press the shortcut again before resuming typing.

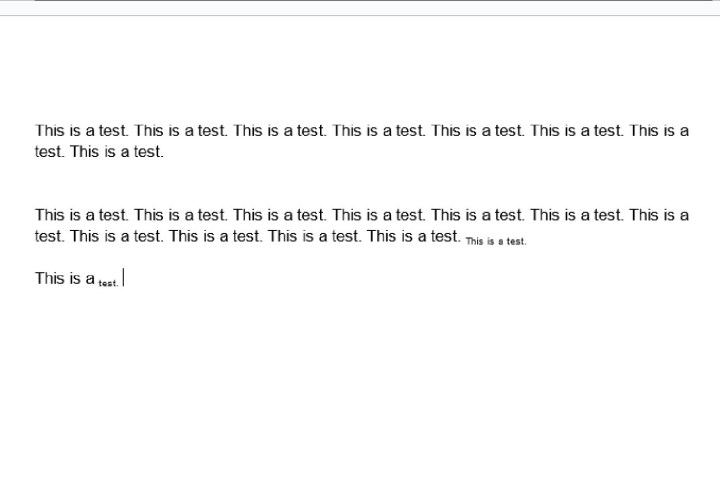
That's it! Your text should now be in subscript.

Text in Google Doc now displaying subscript.
screenshot

Subscript on the Google Docs mobile app

Applying subscript to a Google Doc in the Docs mobile app is actually quite similar to how you would apply superscript in the mobile app. Here's how to do it:

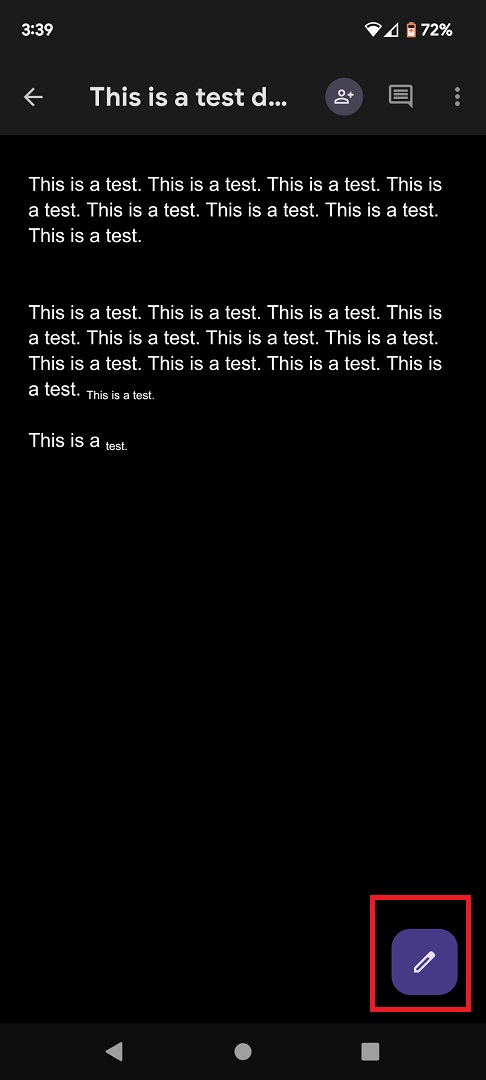
Step 1: Open the Docs app on your mobile device. Then select the document you want to add a subscript to.

Step 2: Select the Edit icon. It looks like a pencil.

Step 3: Now select the text you want to subscript. Then choose the Format icon at the top of your screen. It should have the letter "A" in it.

Step 4: Choose the Text tab in the menu that appears. Then select the Subscript icon. This icon looks like "X" with a little number two at the bottom of it.

Once the Subscript icon is selected, your highlighted text should immediately appear as a subscript. If you want to undo the subscript, just select the Subscript icon again.

Once you're done editing, select the Checkmark icon to save your changes.

Now that you know how to superscript and subscript in Google Docs, learn how to strikethrough in Google Docs or how to select multiple portions of text.

Sandy Writtenhouse
Sandy has been writing about technology since 2012. Her work has appeared on How-To Geek, Lifewire, MakeUseOf, iDownloadBlog…
Google’s AI detection tool is now available for anyone to try
Gemini running on the Google Pixel 9 Pro Fold.

Google announced via a post on X (formerly Twitter) on Wednesday that SynthID is now available to anybody who wants to try it. The authentication system for AI-generated content embeds imperceptible watermarks into generated images, video, and text, enabling users to verify whether a piece of content was made by humans or machines.

“We’re open-sourcing our SynthID Text watermarking tool,” the company wrote. “Available freely to developers and businesses, it will help them identify their AI-generated content.”

Read more
This new Google Docs feature is exactly what I’ve always wanted
Text box in Google Docs on a laptop.

As a writer of a certain age, I've lived a lot of life in Google Docs. It's where my first drafts go, but it's also where my crazy ideas, unhinged brainstorming, and research dumps go. 
There’s so many conveniences about Google Docs that make it my go-to for word processing, but let’s be honest: It’s still fairly barebones, especially when it comes to organizing and managing different files within Google Drive. But this new feature makes all of that much easier, keeping it all contained all within Docs itself.
It’s called Document Tabs, which you may have already noticed floating just to the left of your document.

The idea is simple: It lets you create multiple documents within a single Docs file. Create as many “tabs” or separate documents as a single project might need, and switch between them extremely fast. That accessibility to them is really where the gold is. No more switching between different browser tabs.
It’s even more handy on mobile, of course, where switching applications or tabs is even more cumbersome. Here, you’ll find Document Tabs hovering just at the bottom of the screen with some simple arrows to flip between your different tabs. All we need now is a simple gesture to be added to flip between them even more seamlessly.
Document Tabs takes the place of the old outlining system, which would grab headers and automatically create a table of contents around them. I used this frequently, but it was pretty finicky. More than that, it resulted in overly long documents that I still found myself scrolling through. 
Document Tabs is a really elegant solution to that problem. Whether it’s segmenting chapters in a book, multiple aspects of a project, or even just different parts of an article, it’s already become an extremely useful outlining and productivity tool for me.
It even had a pretty clean way of converting the tabs when you need to export. All the tabs do is combine down into one document, but they’re sectioned off with titles and some basic formatting. That’s not going to be ideal in every situation, of course, so it’s something to keep in mind if you need to export and share it with someone outside of Docs.
At the very least, though, it’s worth trying out. And if you’re a Google Docs fiend like I am, I have a feeling you’ll get quite a lot out of it.

Read more
Google Flights is making it easier to find the best-priced airfare
Plane landing.

Up till now, airfare search results on Google Flights have prioritized a combination of price and convenience over cost alone. This means you might be missing the cheapest options and spending more than you need to.

Via an update to its online tool that's rolling out gradually over the next couple of weeks, Google is finally making it easier to surface the best-priced airfares for your journey, though you may be sacrificing a bit of convenience if you opt for one of them.

Read more