While building a PC is fairly straightforward, there are numerous ways to make mistakes without proper planning and preparation for a new build. We rounded up everything you need to build a gaming PC so you can get past compatibility issues and choose hardware that works for your build.
Hardware that makes sense
The first step in building a PC is selecting hardware that makes sense for both your budget and your interests. Even if you have an unlimited budget, it’s not always the best idea to simply grab the most expensive parts. Here’s an overview of what you need:
- A case
- A graphics card, or GPU
- A processor, or CPU
- RAM
- Storage
- A power supply
- A CPU cooler
The GPU

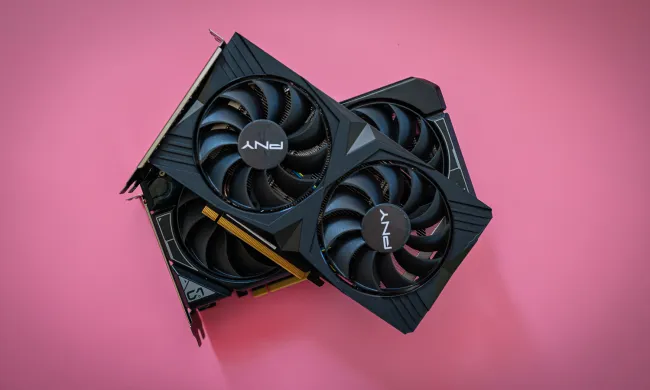
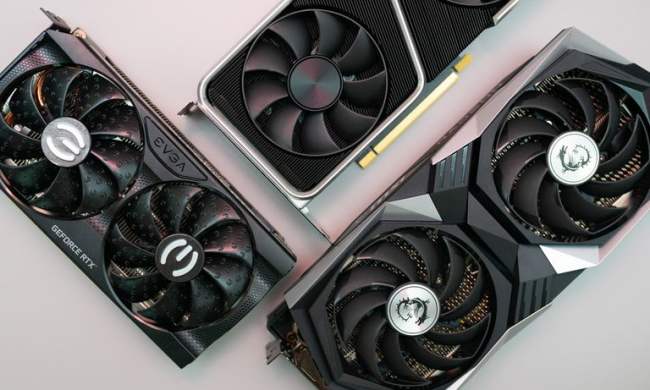
The GPU is arguably the most important component in a gaming PC, and from the get-go, you have to make one very important choice: AMD or Nvidia? At the time of writing, AMD GPUs tend to provide better bang for the buck, while Nvidia GPUs promise better ray tracing performance and superior support for upscaling technology, which for AMD is FSR and for Nvidia is DLSS. AMD is catching up when it comes to upscaling, however.
Right now, AMD’s latest graphics cards are the RX 6000, and Nvidia’s are the RTX 30-series. Previous generations can offer a better value, but they aren’t as performant as current-generation options in many cases.
Overall, we’d say Nvidia is a slightly better option for users planning on building a higher-end PC, since Nvidia GPUs are the most performant at 4K, with or without DLSS. Meanwhile, AMD is the best option for budget-conscious buyers, which fits nicely into AMD’s performance advantage at lower resolutions.
Speaking of resolution, that’s one of the first things you need to think about when planning out your PC. Not every GPU is ideal for every resolution, and we recommend you check out our roundup of the best graphics cards. We also have a roundup of the best 1080p graphics cards for budget buyers, as well as the best 4K graphics cards for staunch enthusiasts.
You should also think about the kind of frame rate you want to see, and the GPU can be pretty flexible in this role as long as you’re willing to lower graphics settings in exchange for more frames. By opting for a more powerful GPU, you can more easily achieve high frame rates without sacrificing visual quality, but faster GPUs are more expensive.
The CPU
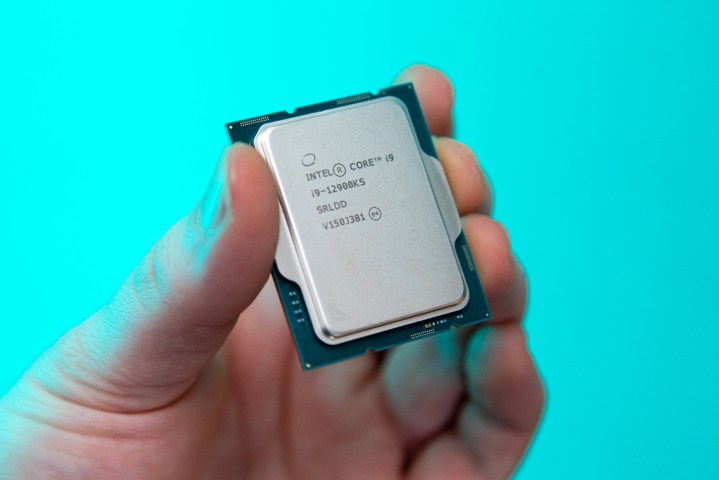
Today, both AMD and Intel provide a wide variety of CPUs with different price points and levels of performance, from the low end at $100 to the high end at around $700. Neither brand is particularly better than the other in the current generation, and we don’t expect that to change much in the next generation.
The CPU doesn’t actually do very much when it comes to gaming, but it can quickly become a bottleneck if you’re aiming for a very high frame rate in the triple digits. Thankfully, most CPUs made since 2017 are capable of 120 frames per second or so in most titles, so if you’re not aiming for 120-plus, you’re good to go. If you are aiming for more than that, however, you’ll want to choose a mid-range to high-end CPU.
If you’re curious about which CPUs are particularly good for gaming, you can check out our list of best CPUs for gaming. You can also read CPU reviews if you want a more in-depth look at performance; just keep in mind that in a CPU review, a gap between two different models doesn’t necessarily mean you need the faster one. If you’re targeting 60 fps, for example, all you really need to care about is whether or not a CPU can achieve that. Good gaming CPUs also tend to have certain qualities:
- A large amount of L3 cache
- A newer architecture
- At least six cores (though some quad-core CPUs can still game well)
- Relatively high clock speed, especially boost clock speed
The CPU cooler
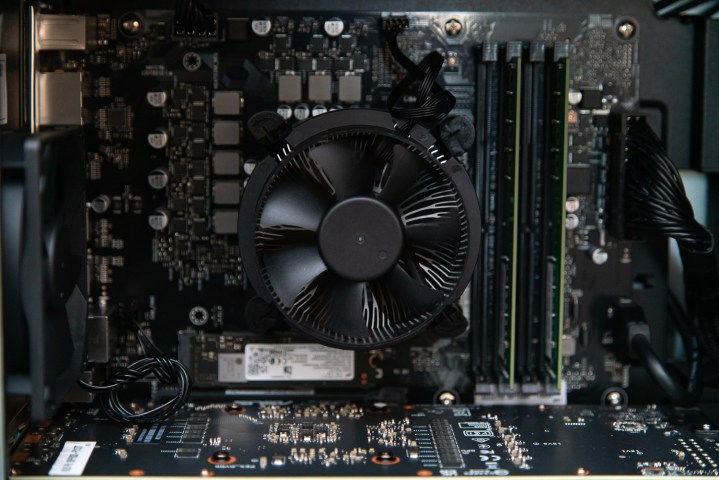
Some CPUs include a stock cooler, but they aren’t the best. You should pick up a third-party CPU cooler (we have a lot of suggestions in our roundup of the best CPU coolers). Even a cheaper CPU cooler will do wonders for your temperatures, assuming it can fit inside of your case.
Instead of an air cooler, you can extend your budget for an all-in-one liquid cooler. These have gotten cheaper and can provide better temperatures as well as clean up the internal layout of your PC.
The motherboard

Unlike the GPU and sometimes the CPU, motherboards don’t often impact gaming performance; you aren’t usually going to get a better frame rate out of a particular board. The motherboard can still be important, however, because it’s the basis of your entire PC.
The two main aspects of your motherboard are its chipset and socket. The socket determines which CPU will work with your motherboard, and the chipset determines which features the motherboard has access to. For example, Intel’s Z690 motherboards support CPU overclocking, but the cheaper B660 motherboards do not. Across AMD and Intel, the letter tells you the series of the motherboard and its features, while the numbers specify the generation.
While the type and speed of the ports on the motherboard don’t directly impact gaming performance, you’ll probably want to get a board with a few specific features, such as M.2 slots, PCIe 4.0 support, four RAM slots, plenty of USB ports, and so on. These features make a big difference when it comes to ranking the best motherboards.
The last consideration is the size of the motherboard. ATX motherboards are standard, but you’ll also find mini ITX and micro ATX boards. We’ll talk more about the motherboard size and how that interacts with your case below.
The RAM
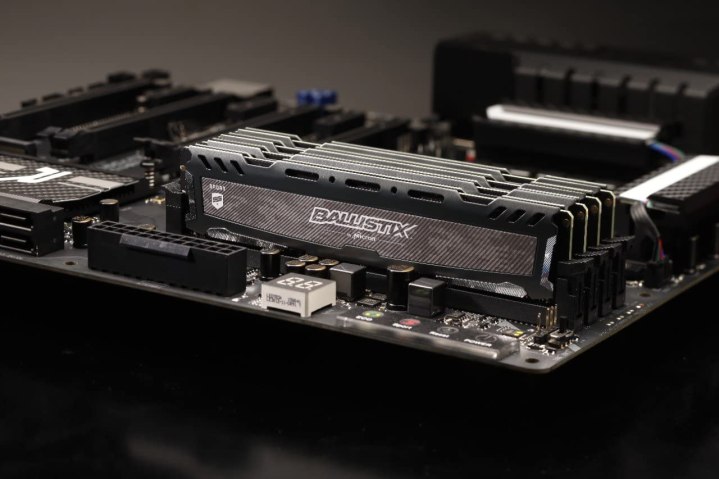
RAM isn’t exactly crucial for a good gaming experience, but it’s not something you should ignore. Compatibility is a bigger issue for RAM than gaming performance, but we’ll talk about that later.
RAM is frequently hyped up as a key driver of a PC’s gaming performance, but in reality, a high-end kit of RAM isn’t much faster than a slower one. However, the price difference between the lowest-end and many high-end RAM kits is usually very small, so we recommend picking up a faster kit if you find a decent deal.
Capacity is also not a very big deal for gaming in particular, but you will want 8GB at minimum, and we recommend 16GB if you can afford it — and you should be able to since many mid-range DDR4 RAM kits cost just $50 at the moment.
That being said, there is one aspect of RAM that is often overlooked: channels. You’ll find that RAM is often sold in kits of two or four sticks, and that’s not a coincidence. Having two sticks of RAM rather than one will always result in better performance in basically every application, even if capacity and speed are identical. The reason why is that CPUs have multiple memory channels, and more sticks mean more memory channels can be utilized, increasing the amount of data the RAM can transfer. Mainstream CPUs from both AMD and Intel are limited to dual-channel support, so you only need two sticks of RAM, as four sticks will still be limited to dual channel. Under no circumstances should you ever just have a single stick of RAM — get two.
The last thing you’re wondering about is probably DDR4 versus DDR5. While DDR5 RAM is certainly faster than DDR4, it’s not so much faster that it’s worth paying twice the price or more. If you’re building a high-end PC and want as many frames as possible, it can be a worthwhile investment, but if you’re gaming on a lower-end to mid-range PC or plan on gaming at a higher visual quality rather than a higher frame rate, DDR4 will suit you just fine.
If you’re wondering about what RAM you should get, then check out our list of recommended kits of RAM for gaming.
The storage

Storage is also an important consideration, and we strongly recommend you choose an SSD instead of a hard drive for your primary drive. You have three options: a spinning hard drive, a 2.5-inch SSD over SATA, or an NVMe SSD. NVMe SSDs are the fastest and most expensive, so an ideal configuration would be an NVMe SSD for Windows and your applications and a larger SATA SSD for your games.
The power supply

There’s no gaming-specific reason to consider one PSU over the other, but since discrete GPUs tend to draw quite a bit of power, you’ll definitely want a PSU that can support both your current and your future GPU.
You can plug your build into a power supply calculator to find out how much power you need. The main components to pay attention to are the CPU and GPU, though. Adding those power demands up and adding 200W is a good rule of thumb to figure out how much power you need.
Outside of wattage, look for a power supply with an 80 Plus rating. This rating is tied to efficiency with various different tiers. Although it doesn’t necessarily mean one power supply is better than another, the 80 Plus rating is a good sign that the unit uses high-quality components.
The final consideration to make when buying a PSU is the brand because getting a high-quality power supply is really important. There’s a reason why many of the best PSUs are from brands like Corsair, EVGA, FSP, and Seasonic. These companies aren’t perfect, but they have very good track records.
The case
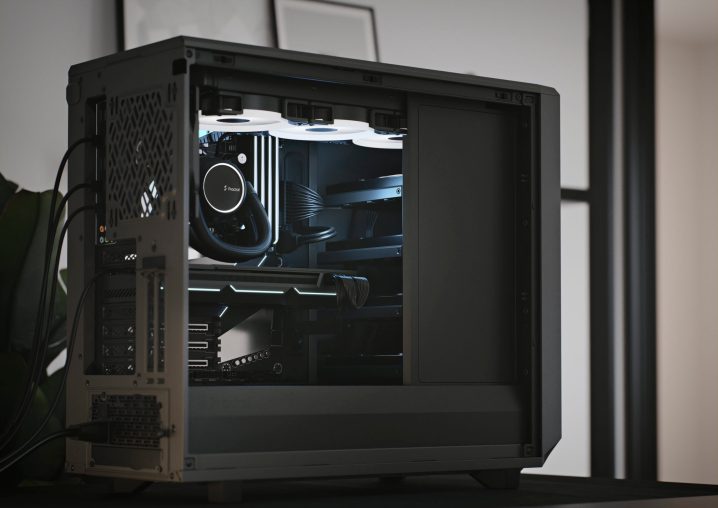
Finally, you need a case to put everything inside of. The best computer cases come with plenty of clear airflow, USB ports in the front, and good mounting options for your CPU cooler. The case you want will also inform what type of motherboard size you can use, as small-form-factor cases like the Lian Li A4H20 only support certain motherboard sizes.
Otherwise, pick a case you like the look of. Style points count for your PC, after all.
Parts that are compatible
Hardware incompatibility can be a big problem if you’re not careful. Attempting to assemble your PC just to find out that you bought the wrong kind of RAM or that your motherboard doesn’t have a slot you wanted to use is a big showstopper. Here are the most common things you need to be wary of.
Thankfully, there’s a great tool that will tell you almost immediately if you have compatibility issues: PCPartPicker.com. By using PCPartPicker’s PC Builder tool, you can start selecting the parts you intend to use, and not only will you see error messages if you pick incompatible hardware, but the PC Builder tool also won’t allow you to select incompatible parts most of the time.
CPU and motherboard compatibility issues

While most motherboards can support many different CPUs and vice versa, “most” doesn’t mean “all.”
The main determining factor is the socket. For example, AMD’s Ryzen processors (outside of Ryzen 7000) use the AM4 socket, so you can use most of those processors on motherboards with the AM4 socket. That’s a good place to start, but make sure to look up CPU compatibility for the motherboard you’re interested in.
There’s one important caveat with AMD boards, though. Many AMD motherboards split CPU compatibility between different BIOS versions, with older versions supporting older CPUs and newer versions supporting newer CPUs. You’ll have to check the manufacturer’s website for compatibility and what BIOS versions support which CPUs.
RAM compatibility issues
Now that new DDR5 RAM is on the scene, there are two different types of RAM you can buy, and they are not backwards compatible at all (DDR5 can’t fit in DDR4 slots and vice versa). You don’t want to end up realizing that you bought the wrong kind of RAM the day you try assembling your PC.
DDR4, the older version of RAM, is the only kind of RAM you can use with AMD 300, 400, and 500 series motherboards and Intel 400 and 500 series motherboards. You can use DDR4 on certain Intel 600 series motherboards, but before you buy, you need to double-check whether the motherboard uses DDR4 or DDR5.
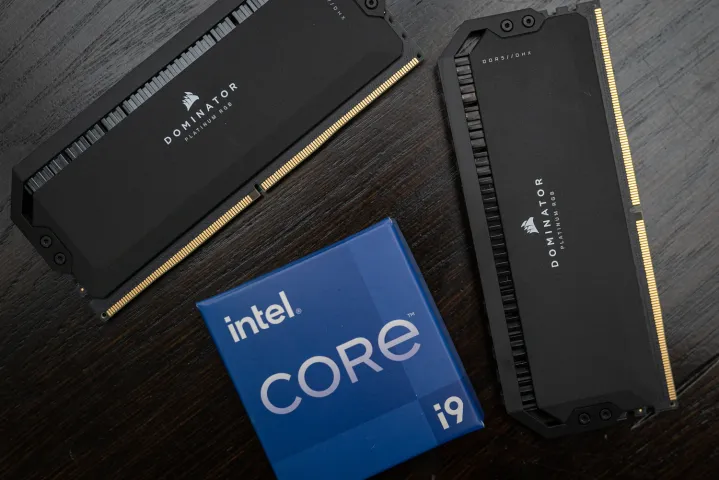
Meanwhile, newer DDR5 is the only type of RAM you can use with upcoming AMD 600 series boards. DDR5 can also be used on Intel 600 series motherboards, but like with DDR4, you need to double-check if the board you’re looking at has DDR4 or DDR5 support.
And even if your board has the right version of RAM, your hardware combination might not be ideal. Many kits of RAM are designed to be used for specific series of CPUs for maximum performance, which is why you might see some kits say they’re made for Intel or AMD. You can pair a CPU with a kit of RAM that doesn’t match, but you might experience stability issues when attempting to enable XMP for the best possible performance, or your PC might not even turn on at all, and solving that can be a big headache. Check the manufacturer’s website for validated kits of RAM.
Power supply compatibility issues
While you may have chosen a PSU that follows the advice we gave earlier, you do need to be careful because power supplies also have plugs, and those plugs determine what you can put in your PC. For example, if you have a GPU that requires three eight-pin plugs and your PSU doesn’t have enough, that means your graphics card is a paperweight until you get a PSU with the right amount of plugs.
Other than the GPU, though, there’s not too much else you need to be concerned about. If you’re planning on using SATA SSDs and hard disk drives (HDDs), you should probably make sure your PSU has enough SATA power cables, but you’ll likely end up having enough, as most power supplies come with at least three SATA power cables, and you can probably get more if you opt for a modular power supply.
Case compatibility and other clearance issues
The final thing you need to consider is whether or not your case can even fit all the parts you plan on using. Since you’re presumably looking at PC parts through a website and not in person, it can be easy to overlook the fact that your case might not have as much room as you thought it did, and while you technically don’t need a case to make a gaming PC, we really recommend an actual case instead of a cardboard box.
The first thing to look out for is motherboard compatibility, as all motherboards are made for standard sizes, and the cases are made to fit the motherboards. Mainstream gaming motherboards generally come in three sizes, from largest to smallest: ATX, mATX, and ITX. Cases that have room for one standard also have room for anything smaller than it; for example, you can put an mATX or even an ITX motherboard in a case made for ATX motherboards. But you can’t put an ATX motherboard in a mATX or an ITX case.
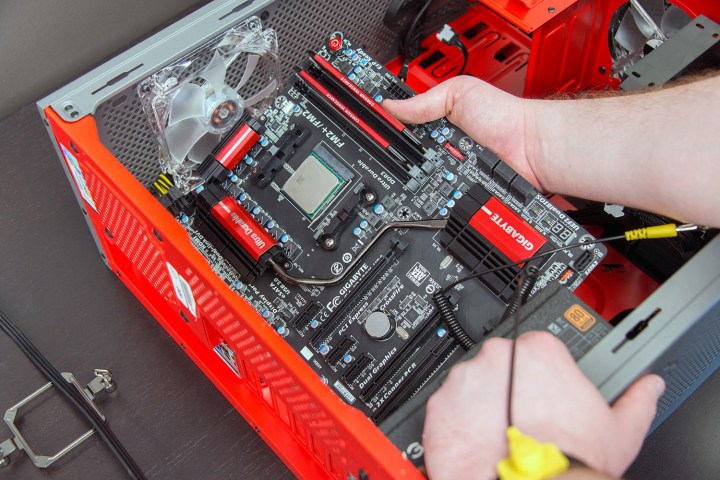
Other devices need to be considered too, particularly the GPU and CPU cooler. Most manufacturers will specify what kinds of CPU coolers, graphics cards, and other components can fit into a case. However, you’ll want to rely on the manufacturer’s website rather than an Amazon or Newegg listing, as measurements on Amazon and Newegg are often wrong. That being said, you really only need to worry about clearance for these components if you’re using big components like a triple-fan GPU, a 360mm AIO, or a large, high-end air cooler, or if you’re building an ITX PC.
You can also run into clearance issues with other components, too. Certain kits of RAM are extremely tall and might interfere with a big air cooler for the CPU. If you plan on buying extra fans for the case or the CPU cooler, make sure they’re the right size. If you’re getting a PCIe 4.0 SSD with a big heatsink, make sure it can go on the front of the motherboard because there probably won’t be room in the back. SSDs with heatsinks can also run into problems with the GPU, especially if it’s more than two slots tall. Just make sure you measure everything out — you should find parts that will all fit together.
CPU cooler compatibility
When choosing a CPU cooler, make sure it’s compatible with the socket you’re using. Companies usually include a variety of mounting hardware and list the supported sockets on their websites. It’s usually not a problem for recent generations, but you need to pick up extra hardware depending on the CPU cooler you want to use.
The right tools for the job

You don’t really need any fancy tools or equipment to put a PC together, but if it’s your first time building a PC, you might not have the best tools for the job. Using tools that aren’t really suitable for building PCs, like screwdrivers that are meant for screws larger than you’d find in a desktop, can waste your time by being ineffective and could even cause damage to your build. Here’s a quick list of what you should get:
- Screwdriver kit for PCs or other electronics
- Zip ties or twist ties
- Anti-static wristband
- Thermal paste
For the typical PC, at minimum, you’ll need a variety of differently sized Phillips-head screwdrivers. While you likely own a Phillips screwdriver already, it’s most likely the medium-sized Phillips 1, which is simply too big to use on a PC. Instead, we recommend using a Phillips 0 screwdriver, which is found in most PC-oriented toolkits. The smaller 00 and 000 heads are also very useful, especially for smaller screws like the ones used for M.2 SSDs. Most kits will include all three.
This can be enough to assemble a PC, but we also recommend getting other things to improve the PC building experience: zip ties or twist ties for cable management, a PSU tester, and an anti-static wristband. Twist ties often come with most PC parts, but higher-quality zip ties are usually only included with mid-range to high-end PSUs. Mid-range to high-end PSUs will also often include a PSU tester, which basically tests whether or not your PSU is dead. A simple PSU tester only costs about $5 to $10, so it’s definitely worth it.
While you can build a PC without an anti-static wristband (and most do), wearing one is an easy way to avert the disaster of statically shocking your PC, which is unlikely but still possible. If you don’t want to wear one, then make sure you touch something that will discharge static electricity like the chassis if it’s metal or some other metallic object.
Thermal paste is not a tool per se, but we recommend buying a tube of it just in case you need it for the PC build or just down the road. Most CPU coolers come with a pre-applied layer of thermal paste, but it’s not always a guarantee. Even if your cooler does have thermal paste, there’s always the possibility you might screw up the installation and end up needing a fresh application. You might also want higher-quality thermal paste just for slightly better thermal performance. You can buy thermal paste for less than $10.
And that’s pretty much all you need to worry about until you actually start to build your PC. Of course, we have a guide for that, which you should read once you’re ready to start putting your PC together.


