Return to Monkey Island: How to solve all three monkey statue puzzles

Guybrush wishing his life was easier.
Image used with permission by copyright holder

This is it, the moment some have been waiting for. Guybrush is back on Monkey Island, and there's nothing that's going to get in his way now. Well, unless there are a few more puzzles involved. It's all been building up to this, so don't let these last few trials keep you from the sweet conclusion that awaits you in Return to Monkey Island.

Recommended Videos

Difficulty

Moderate

Duration

30 minutes

What You Need

  • Get beneath the monkey head in part five

It's a straightforward path to the caverns below the monkey head on Monkey Island (ignoring the dive to certain death you need to take), but eventually, you will come to a split in the path with a message stating that you need to be an organized pirate to get through. This will start the final three challenges of the game. If you're ready, here's how to solve all three monkey statue puzzles in Return to Monkey Island.
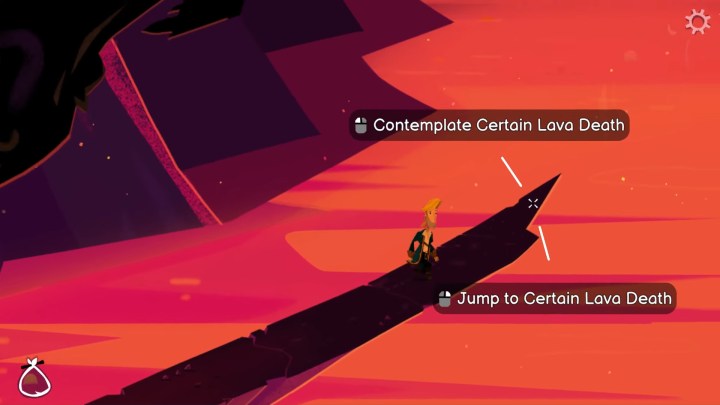
Guybrush running towards lava.
Image used with permission by copyright holder

How to solve the first monkey statue puzzle

Starting with the room on the right, you will encounter several statues all missing something. Here's what they need in order.

Step 1: Use the empty grog mug on the monkey's hand.

Step 2: Use your monocle on the squinting monkey's hand.

Step 3: Before leaving, pick up the pebble.

Step 4: Use your knife on the frustrated monkey's hand.

Step 5: Pick up the coin in the next room.

Step 6: Use the crackers with the statue of the monkey and parrot.

Step 7: Before leaving, go back and take back all your items from the statues.
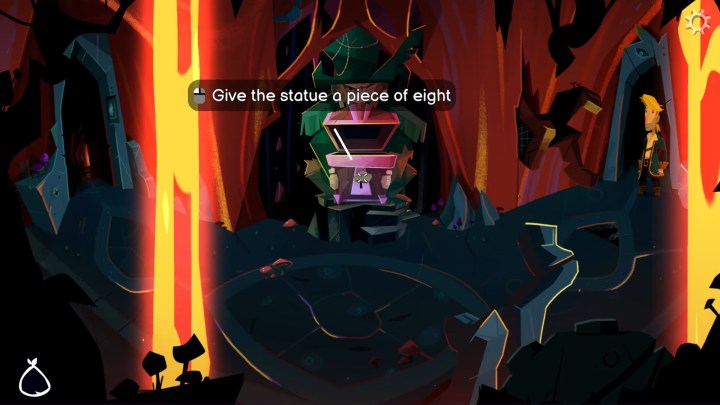
Placing a coin into a chest.
Image used with permission by copyright holder

How to solve the second monkey statue puzzle

After heading down the stairs, a new challenge to be observant will begin.

Step 1: Grab the coin before heading right.

Step 2: Pick up the pebble from the first room.

Step 3: Go all the way to the third room and get another pebble.

Step 4: Place one pebble in the cabin monkey's treasure chest.

Step 5: Place two pebbles in the first swab monkey's treasure chest.

Step 6: Put your last two pebbles in the captain monkey's treasure chest.

Step 7: Add your coin to the captain monkey's treasure chest.

Step 8: Take your coins back and head downstairs.
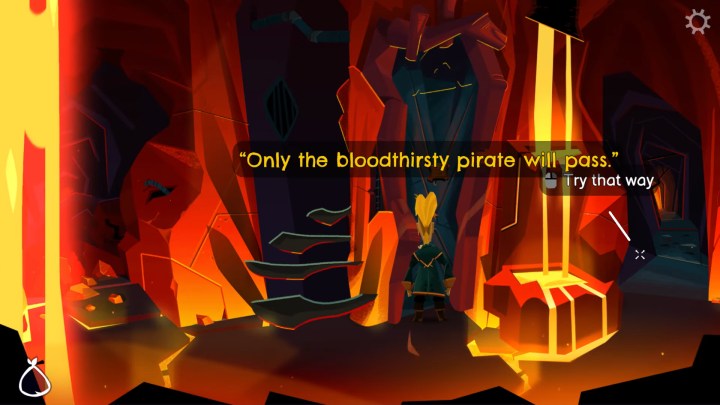
A sign saying only bloodthirsty pirates will survive.
Image used with permission by copyright holder

How to solve the third monkey statue puzzle

This is it, the final puzzle! Are you bloodthirsty enough to solve it?

Step 1: Use your knife on the statue of the sad monkey.

Step 2: Use your knife on the screaming monkey statue.

Step 3: Use your empty mug on the statue to fill it.

Step 4: Use the mug on the grate below the broken statue.

The final room presents one last door you need to open. This wheel will require the numbers listed above each of the doors you entered after solving each prior puzzle. Manage to work this out, and you can enjoy the conclusion to Guybrush's adventure.

Jesse Lennox
Jesse Lennox has been a writer at Digital Trends for over four years and has no plans of stopping. He covers all things…
All weapons in Palworld and how to unlock them
Sheep carry guns in Palworld.

We all know that Palworld is so much more than just "Pokemon with guns." Even ignoring all the crafting, breeding, and survival aspects, there are way more than just regular guns to unlock and make. You have melee options, spears, bows, handguns, explosives, and more at your disposal. If you want to keep up with the difficulty curve and hunt down the higher-level Pals, and especially the Legendaries, then you need the strongest weapons in your arsenal. Here are all the weapons currently in Palworld and how you can unlock and craft them.
How to unlock and craft every weapon
Weapons in Palworld unlock as you level up, but you don't just get them automatically. You will still need to gather all the resources and craft them yourself. Here are all the weapons you unlock in order as you level up, plus the recipe to make them.

Weapon  name

Read more
How to find and catch all Legendaries in Palworld
A giant pal uses a minigun in Palworld.

What monster-collection game would be complete without some Legendary versions to track down and add to your team? Palworld launched with a very respectable roster of Pals across its nine types, but unfortunately, it only has four Legendaries to start. However, even if you have friends along to help you search, this is a massive open world with a ton of ground to cover. If you think your team is up to the challenge and want to take on some of the toughest Pals in the game, here is where you can find all of the Legendaries currently in the game.
All Legendary locations
There are currently four Legendary Pals in Palworld: Jetragon, Frostallion, Necromus, and Paladius. Aside from their raw power, Legendaries in Palworld also have exclusive Legend-level passive skills that give them +20% in Attack and Defense and plus +15% in Movement Speed.
Jetragon
 

Jetragon is a Dragon-type Pal you can ride as a flying mount that resides in the western region of the map near the volcanoes. You can find it by going north from the Beach of Everlasting Summer fast travel point at coordinates -792, -319.

Read more
How to get all Athra Surges in Prince of Persia: The Lost Crown
Sargon leaps in Prince of Persia: The Lost Crown.

Going back to its 2D roots, Prince of Persia: The Lost Crown spices up the formula in regard to design and gameplay to fit the Metroidvania mold. Traversal and navigation are about what you would expect, including the ability to uncover the map by finding a hidden NPC, but combat is a lot more flexible than you might think. In addition to your normal attacks, Athra Surges serve as your most powerful tools to unleash in a pinch. Most come naturally throughout the game, but half are optional and require some extra exploration to unlock. If you want to make the most of your Athra gauge and craft the perfect build in Prince of Persia: The Lost Crown, here's how to get them all.
How to get all Athra Surges
There are 10 total Athra Surgest to collect in Prince of Persia: The Lost Crown, however, only five of them are given to you through natural progression. The remaining five you will need to hunt down and collect by beating the Alternate Sargon in a fight. He will appear at specific areas on the map, and if you can best him, you will be rewarded with a new Athra Surge. The five you get through normal progression are:

Verethranga's Smite: a dashing attack that deals multiple hits.
Bahman's Breath: spawns an HP restoring area of effect.
Arash's Ray: shoots a beam that can pierce enemies
Bahamut's Rage: creates a massive tornado around Sargon that throws any enemy nearby for damage.
Rashnu's Judgment: puts you in a counter-stance that unleashes a powerful attack on any enemy that hits you while active.

Read more