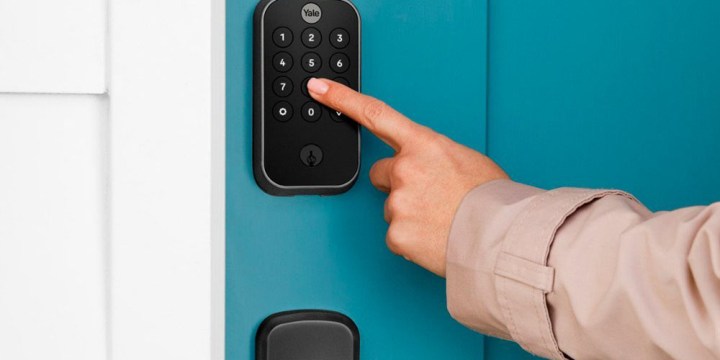
Creating temporary passwords and user profiles is one of the coolest features of the Yale Assure Lock 2. This allows you to send access codes to guests that will expire after a set amount of time. It's especially helpful if you're using your home as a short-term rental, as you can schedule a code to expire as soon as your guests check out, then activate a new code when your next guests arrive. It can even be used to create different codes for visiting family members (if you prefer to keep your master code confidential).
Trying to set a temporary code on the Yale Assure Lock 2? Here's everything you need to know.

How to set a temporary password on the Yale Assure Lock 2
The first thing you'll need to do is ensure your smart lock is connected to the Yale Access smartphone app. You probably did this as part of the installation process, but if for some reason they're no longer connected, be sure to follow the owner's manual instructions to resync your devices. With that done, open the Yale Access app on your smartphone and perform these steps.
Step 1: As soon as you open the app, you'll be greeted with a menu known as the Keychain. This will show you a list of all your properties with Yale products installed. Select the one with the Assure Lock 2 you'd like to customize and navigate to your smart lock.
Step 2: You should now see a large circle on the screen (red means your door is locked, green means its unlocked).
Step 3: Select the Guest List icon at the bottom of the display (the icon looks like a person's silhouette).
Step 4: Press the Invite icon near the top of the menu. This will begin the process of creating a new user profile.
Step 5: Select whether you want your new user to have App Access or Entry Code Only. If you're making a temporary password, the Entry Code Only option is sufficient.
Step 6: Enter the name of the person you want to assign the temporary code to. You can also invite a contact from your phone's contact list.
Step 7: Press the yellow arrow button at the top-right of the screen to advance to the next step.
Step 8: You'll now be at a menu that lets you modify all settings related to this user account. Options on this screen include PIN Access, Entry Code, and Text Code to Guest.
Step 9: Click on PIN Access, then change the mode to Temporary. You can then set the exact time and date you want the code to activate, as well as the date and time you want it to deactivate. This step is crucial! If you don't change this setting, the code you create won't be temporary.
Step 10: Go back to the previous screen, where you can then set the Entry Code for your guest and text the code to one of your contacts (if desired).
Step 11: Click Save Code when you're done.
Step 12: When done properly, you should now see a new user entry on your Guest List menu. It will also display details about when the temporary code will be active.
Step 13: That's it! When the expiration date is reached, the temporary code and profile will automatically deactivate.


