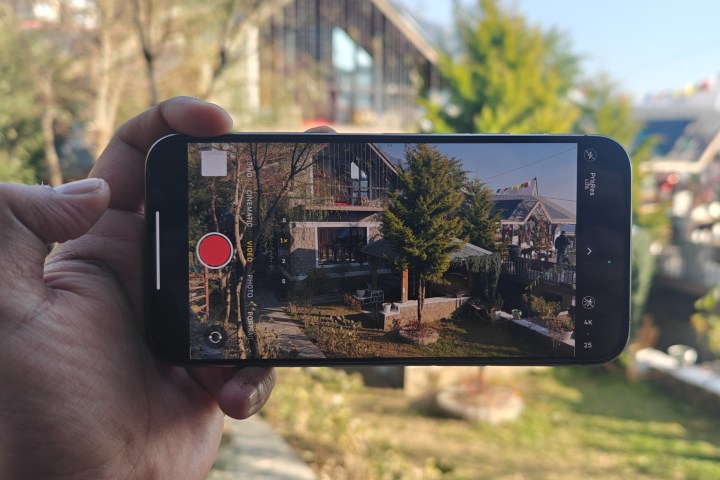
Over the past few years, Apple has been leaning more into pushing the pricey “Pro” iPhones as a creative person’s best friend. Some of the marketing claims don’t sound that outlandish. For example, Cinematic Mode really blew my mind, as long as I had stable hands or a gimbal at my disposal.
With the iPhone 15 Pro pair, Apple introduced the ability to capture videos in Log format. Log takes a mathematical approach to video capture and editing. But to draw a rough parallel, Log capture is to video what RAW format is to a photo.
The end goal is to record a video free from any processing done to it so that it can be color-corrected to your liking while editing. You might argue that there is always the option of using filters on videos to give them a unique tone. That argument is valid, but only to an extent.
Log video on the iPhone 15 Pro cranks things up to 11, and while the results can be jaw-dropping, you have to put in the work to see them.
Why is Log such a big deal?
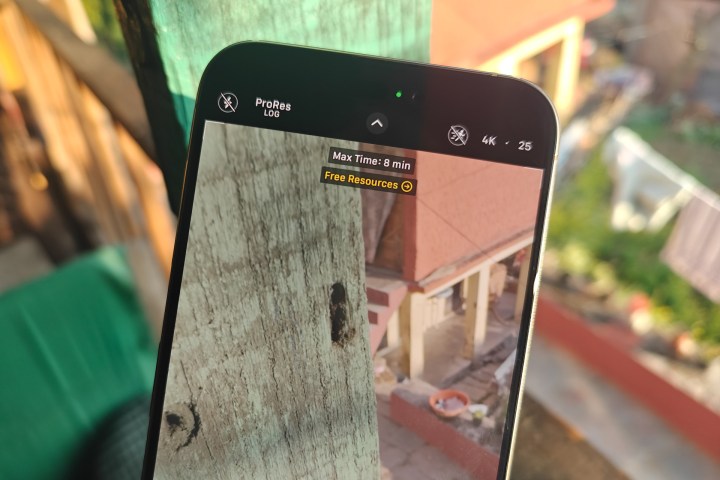
You can add filters to videos and give them a certain feel in terms of color tone and, possibly, some snazzy lighting effects. But that’s as far as filters go. You can’t go around adjusting exposure on a certain area of the video or any such fine refinements.
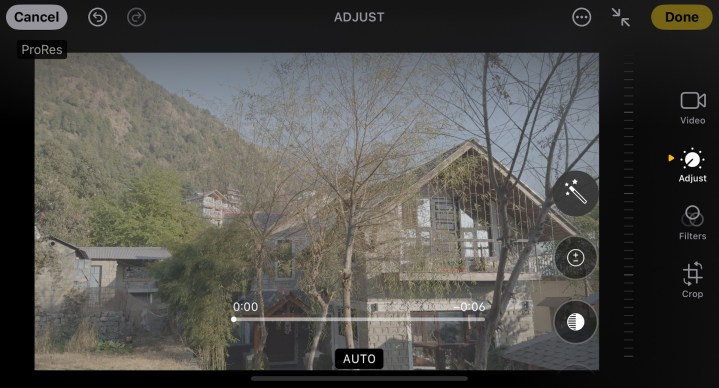
That’s because when you record a video, the iPhone handles all those metrics, such as exposure and white balance, giving the video its own distinct tone. You can play around with a few aspects using the manual controls, but only during the capture process and not after the footage has been saved. Here’s an unedited Log footage sample:
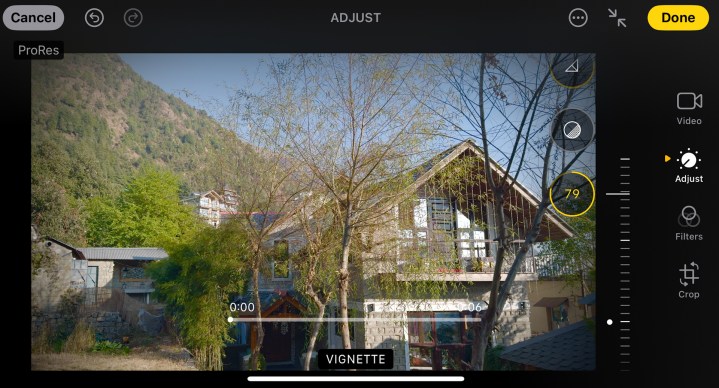
Comparatively, below is the result after some basic editing done right on the iPhone 15 Pro Max:
Log footage offers you a video where you get a blank playfield to adjust almost everything from color chemistry and luminosity to saturation and gamma levels. And that’s where LUTs (or Look Up Tables) come into the picture.
Think of them as filters, but something far more versatile and one that follows mathematical rules for making color adjustments instead of flat color tone overlaying.
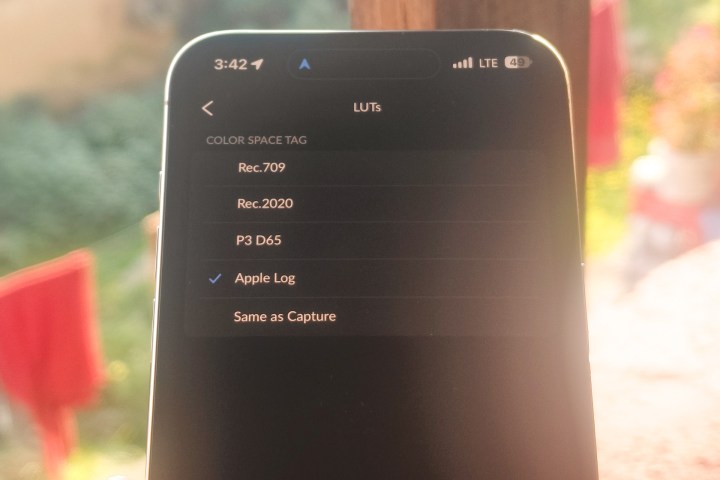
The biggest advantage of LUTs is that anyone with adequate knowledge about films and color grading can create their own custom LUTs. Apple has also created a default ProRES LUT for its take on color grading that can be downloaded externally, and it also ships within apps such as the Blackmagic Camera app.
On the positive side, there are a ton of LUTs available on the web to experiment with, allowing you to ape the specific look you saw in a film or a TV show. On the negative end of the debate, the really niche or good ones come at a premium, which is unsurprising given the amount of work that goes into creating them.
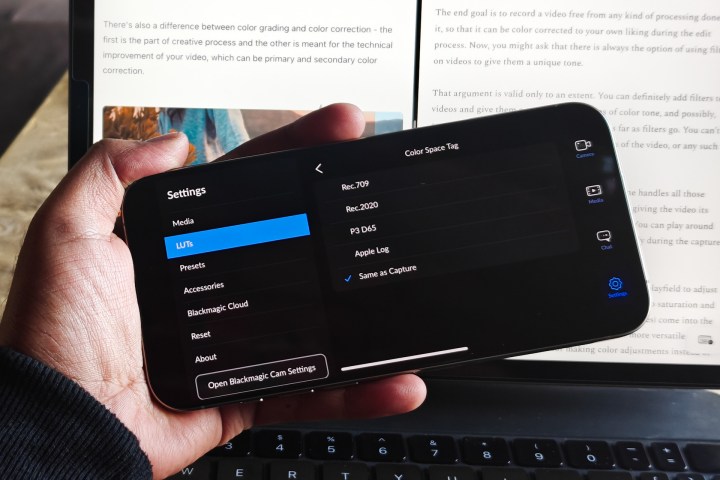
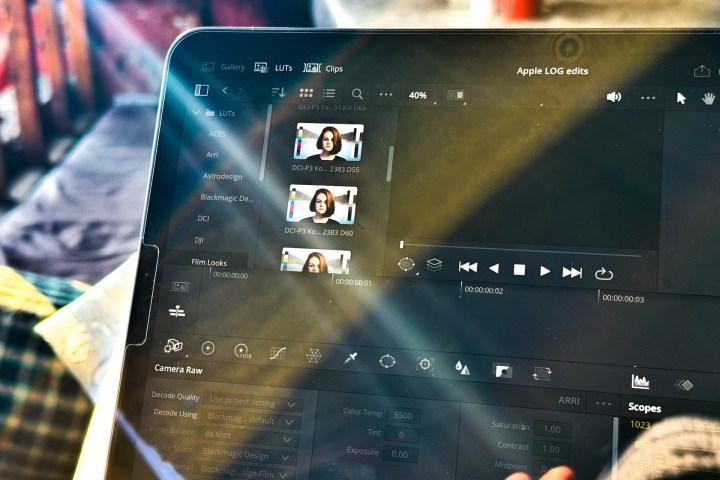
But that’s not the only drawback for an average iPhone 15 Pro owner. It’s easy to download free LUTs, as I did one emulating the desaturated look in Christopher Nolan’s Oppenheimer, but applying them is no cakewalk. Instead, you will need pro-grade software like Adobe Premiere Pro or DaVinci Resolve.
Also, you need video editing skills to apply these LUTs to your Log video. I tried to do the same in DaVinci Resolve, and, to put it simply, I would not go through the painstakingly time-consuming process just to post videos on social media. That’s especially true when platforms like Instagram already offer a healthy bunch of filters that add some zest to your clips.
Amazing results, complicated execution
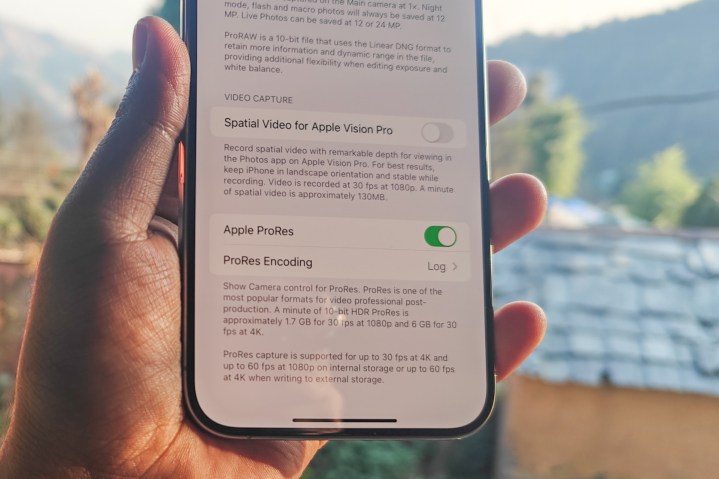
Before you start Log video capture on the iPhone, you need to enable the format by following this path: Settings > Camera > Formats > ProRES Encoding > Log. Keep in mind that the default iPhone camera app is a bit limiting in terms of creative controls, so you might want to pick up a dedicated app like the Blackmagic Camera app.
Moreover, you will have to make a few tweaks in the video capture settings in advance and during the video capture. By default, the iPhone tends to make the scene a bit too bright and lifts the shadows a little too much. To fix it, you need to adjust the exposure. The best way to perform that correction is to make the best of the focus lock system.
Talking about focus lock, though, you can’t shoot ProRES Log videos in Cinematic Mode. Introduced with the iPhone 13 series, Cinematic Mode is essentially a glorified portrait mode for video capture but with extensive flexibility to adjust the focus and depth.
The default iPhone camera app prefers the Apple ProRES 422 format. To save storage space, you need to change the codec to HEVC (H.265) format in the Blackmagic Camera app, which will more or less match the quality but in a dramatically smaller file size.
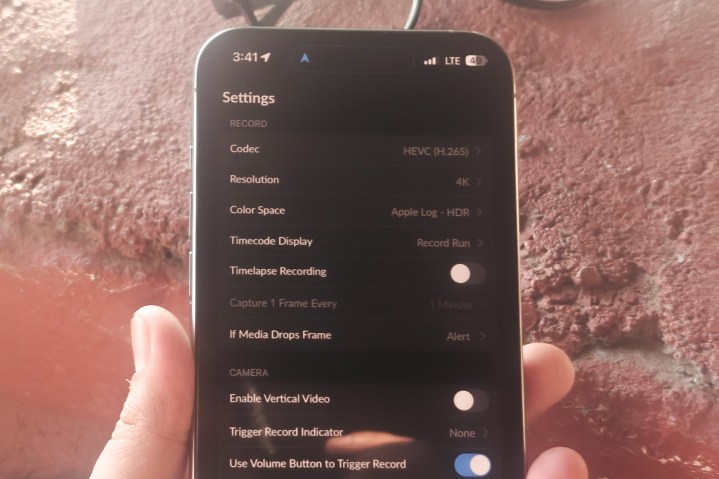
To address the problems that come with the iPhone camera app’s video capture algorithms, you need to switch the color space to Apple Log – HDR format. Now, back to the Log video capture.
You might want to use the tap-and-focus trick to focus on a subject. Doing so locks the exposure level and makes color correction easier. This is a crucial step, especially if you are shooting in an environment where you are shifting between bright and dark areas.
If the exposure level is not locked, you will end up spending a lot more time adjusting the color profile scene by scene as the focus switches between light and dark sections of the frame. Also, given the iPhone’s preference for capturing videos at a high exposure value by default, you might want to narrow it down manually by a notch.
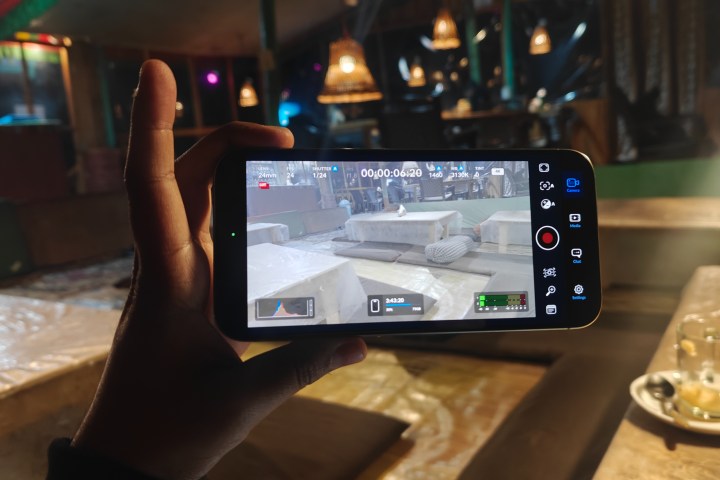
You can do it right on the screen by using the slider. However, instead of using the slider beside the focus lock square, use the scale slider right above the camera shutter button for more granular control over the exposure value.
Depending on the frame rate and resolution you pick, you might end up eating around 6GB of storage per minute worth of footage. An 11-second clip I shot in ProRES Log format at 30fps ended up eating around 1GB of storage space.
Before you start shooting, you need to adjust the white balance depending on the light sources illuminating the frame. Next, you need to adjust the ISO. That’s because, at lower ISO levels, the iPhone dials down the dynamic range to control noise.
I am not sure how exactly it plays out indoors under artificial light at night time, but during my testing, I noticed that by keeping the light sensitivity level close to the 1200 to 1300 bracket, you get the best dynamic range in the footage and overall more lively color profile in the edited footage.
Now that you’ve arrived at the secret sauce for ISO levels, you will encounter a focus-linked auto adjustment issue. Every time you tap to lock focus on the subject or any other part of the frame, the ISO level automatically changes, which is not desirable.
Unfortunately, there isn’t an option to lock the ISO value directly during video capture. However, you can indirectly keep it steady by locking the shutter speed, which disables the automatic exposure adjustment system tied to the focus-switching mechanism in the app.
There is another reason to switch away from the default iPhone camera app to something like the Blackmagic camera app. If you seek to record 4K 60 fps ProRES Log footage, you will need external storage because the file size is too big.
There are just too many technical aspects here. The learning curve is steep, and you need to pay for the editing software and possibly external storage, as well, to take advantage of Log videos. Alternatively, you might need an expert to shoot and edit footage for you.
On one hand, it is amazing that the iPhone 15 Pro lets you shoot videos in a deeply customizable high-quality format that can rival those of film cameras. But at the same time, this trick should be reserved only for the special moments where color-graded video footage is truly worth the effort.
A professional or creative will find it a godsend. For an average iPhone 15 Pro user, ProRES Log capture is just too cumbersome to reap its benefits. For them, the default video mode and the handful of native editing tools are more than enough to record memories with a stunning amount of details still intact.
A great iPhone 15 Pro feature you don’t need
I talked to a few creatives making content professionally for contract clients as well as their own social media, and their takeaway is clear: They love the flexibility of Log videos on the iPhone. Not having to change lenses, benefiting from the iPhone 15 Pro’s terrific sensor-shift stabilization, and the flexibility to achieve the desired look using LUTs have drastically eased their creative process.
Then I tried explaining the whole Log video capture perk to my travel mates, who are self-professed iPhone photography fans. They didn’t seem particularly psyched about the whole idea because of the knowledge curve and the technical efforts involved, even though they were impressed by what it could accomplish when done right.
A majority of the iPhone 15 Pro buyers fall into that category. For them, the standard video capture from the iPhone, coupled with perks like Cinematic Mode, is good enough to capture videos that will leave most viewers in awe, social media or otherwise.
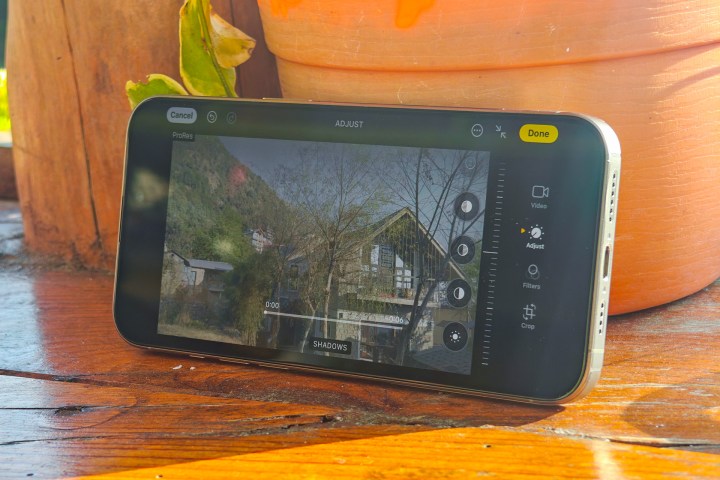
If you want to get a taste of what it feels like getting a free hand with creative controls, you can edit the Log footage right on your iPhone 15 Pro and see the grey-ish footage come to life with some basic adjustments.
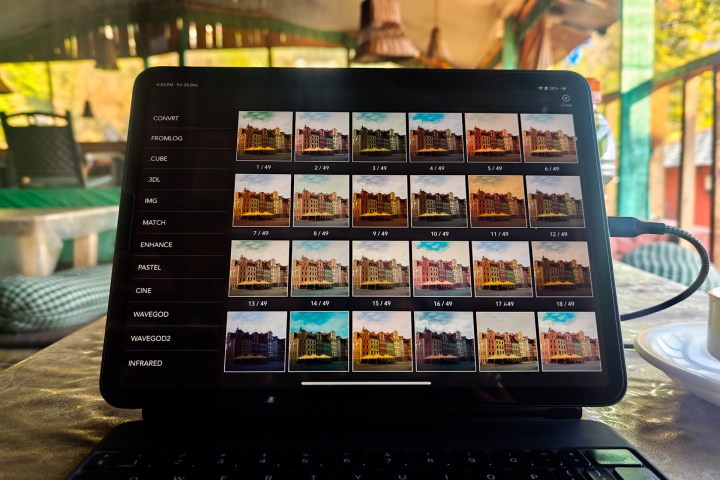
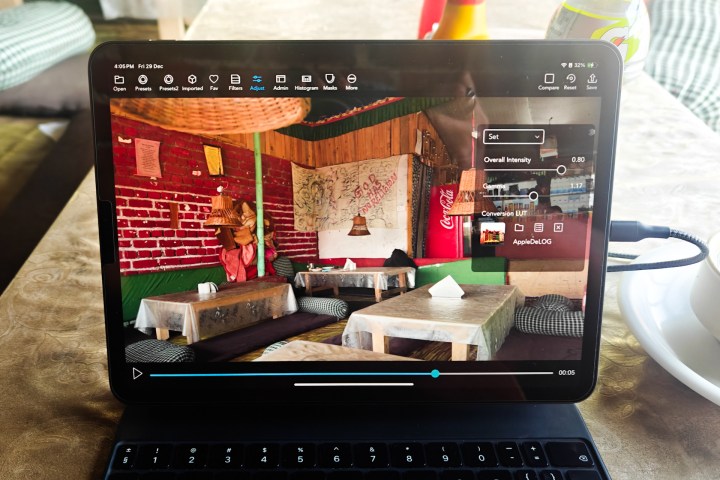
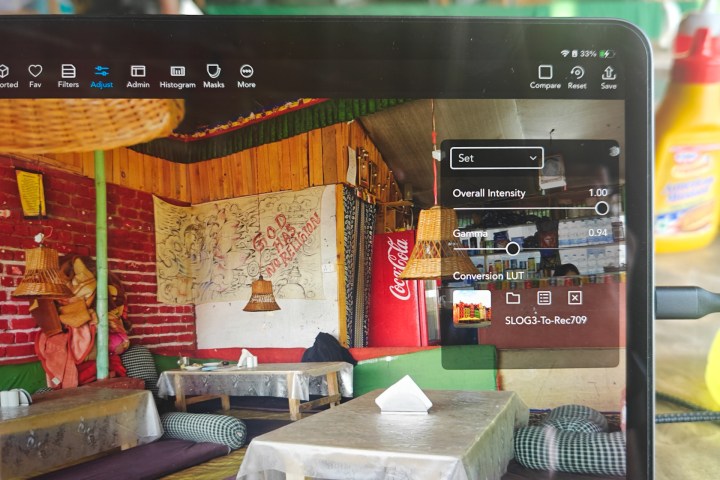
Notably, the pre-installed Photos app on the iPhone already offers plenty of controls to adjust the look of your Log videos. Of course, there’s always the easy route with the pre-built filters, but you might want to go the extra mile and experiment with third-party editing apps, as well, for more granular controls.
Some apps like VideoLUT make the whole process quite simple and offer a huge selection of LUTs, but you will have to part ways with a one-time or subscription fee at some stage. I, for one, would recommend trusting this new feature more like creative flexibility than something you would want to use on a daily basis.


