
Senua’s journey through Senua’s Saga: Hellblade 2 is mostly a linear one meant to keep you fully engaged with the story and characters. However, there are a few reasons to look for side paths and hidden areas during your travels, and those include the Lorestangirs. These tall totems are one of two main collectibles in the game and each tells a small piece of lore about the world of Senua. Like with any collectible in games, finding them all earns you an Achievement, but they can be very will hidden in this beautiful world. To make sure you get the full picture of Hellblade 2, here are all the Lorestangir locations.
All Lorestangir locations
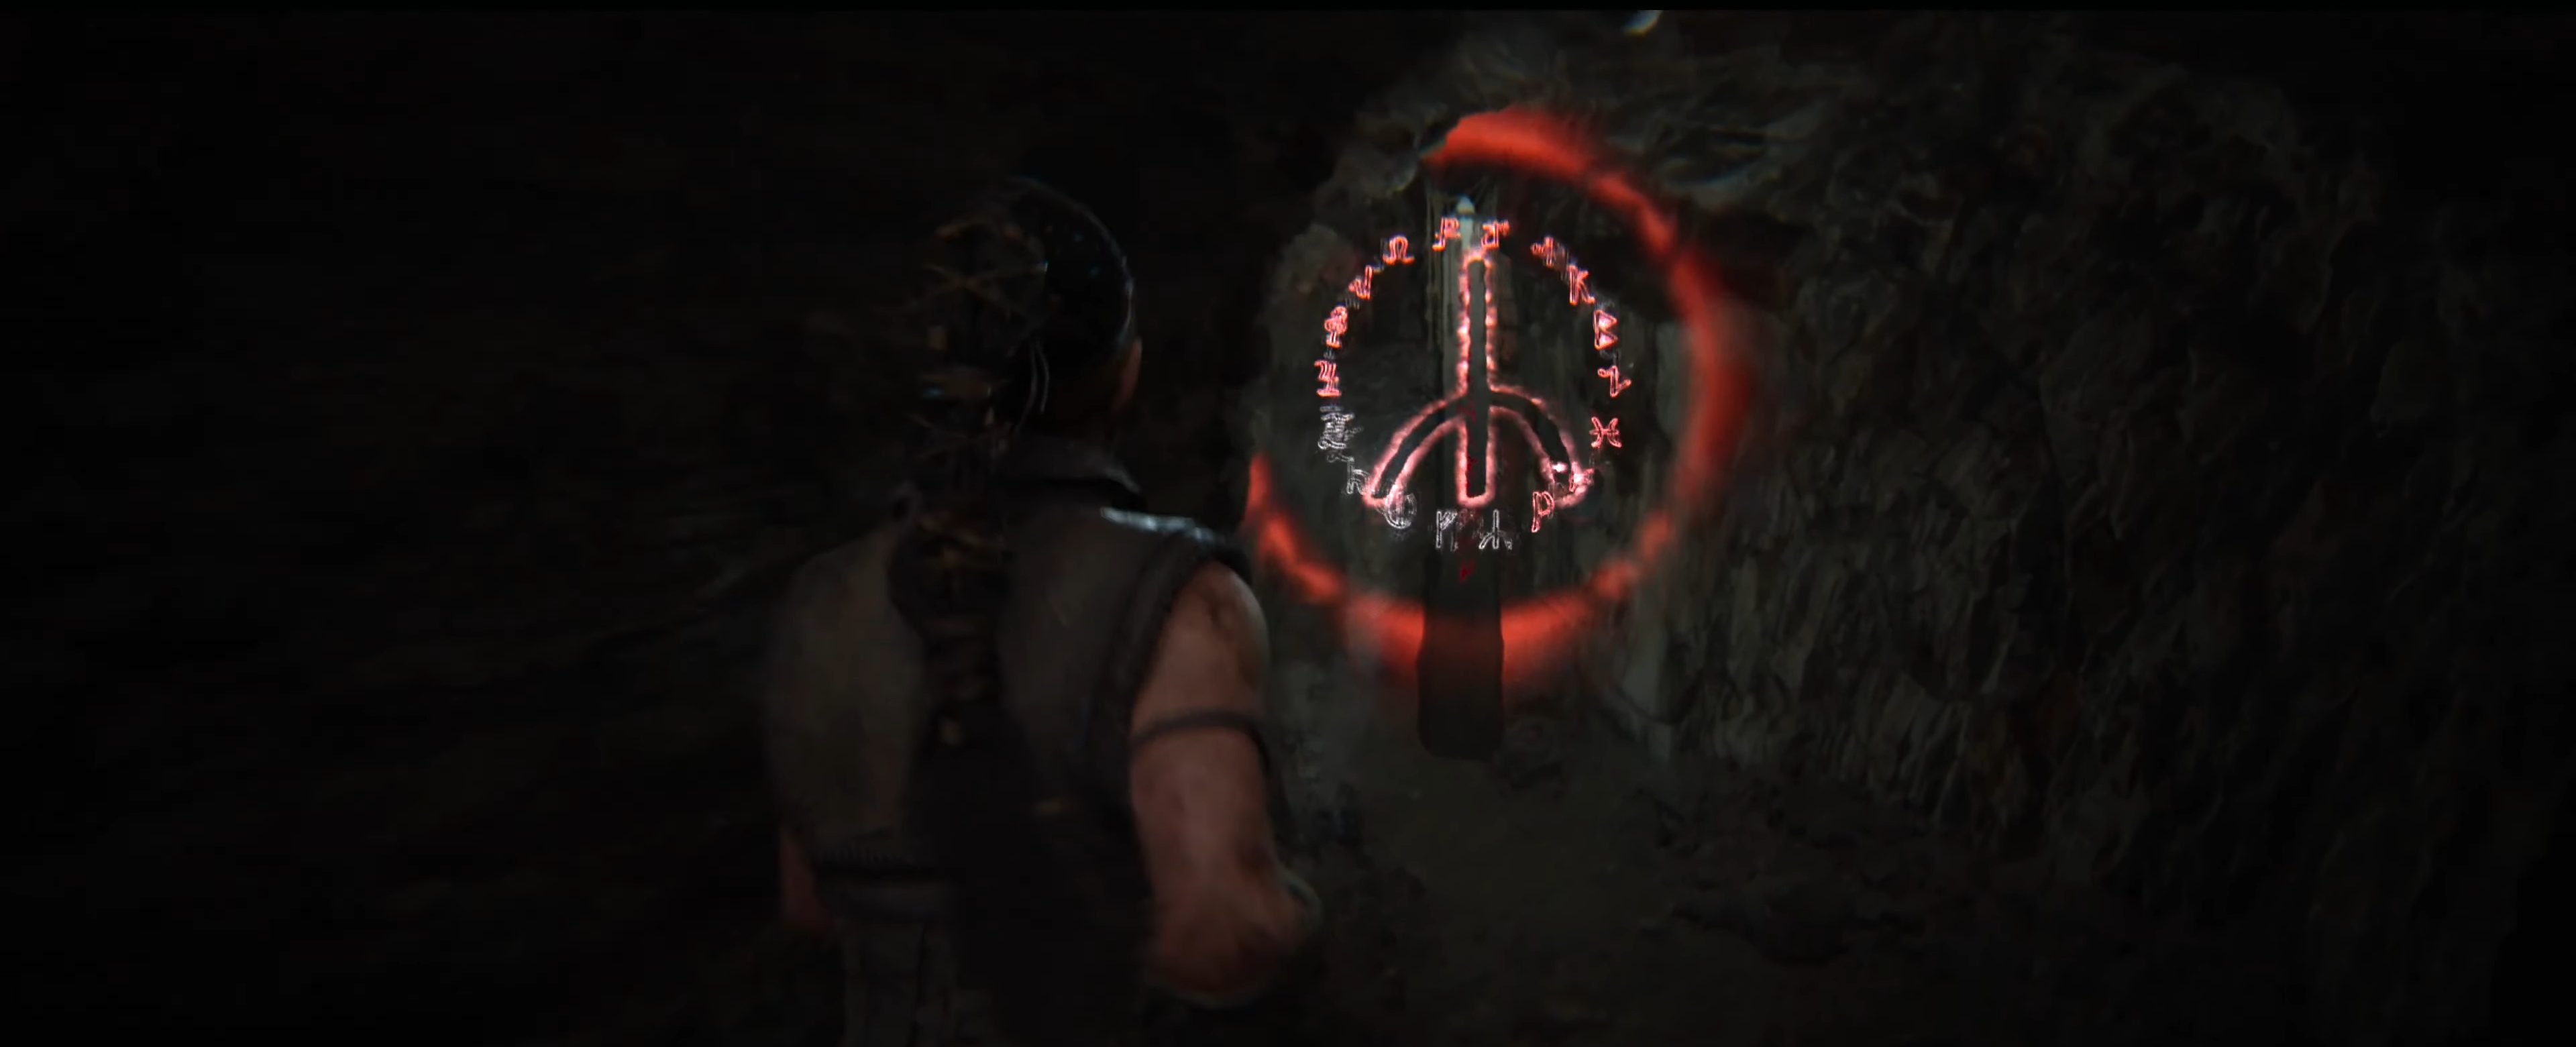
Hellblade 2 has 18 Lorestangirs to interact with to earn the “Tales of Midgard” achievement. Upon finding one, you will need to focus on it to activate it and light up the corresponding rune so you can add it to your tracker on the chapter select screen. You don’t have to find them all in a single playthrough, however, and can use chapter select to collect any you missed the first time through.
Chapter 1 Lorestangirs
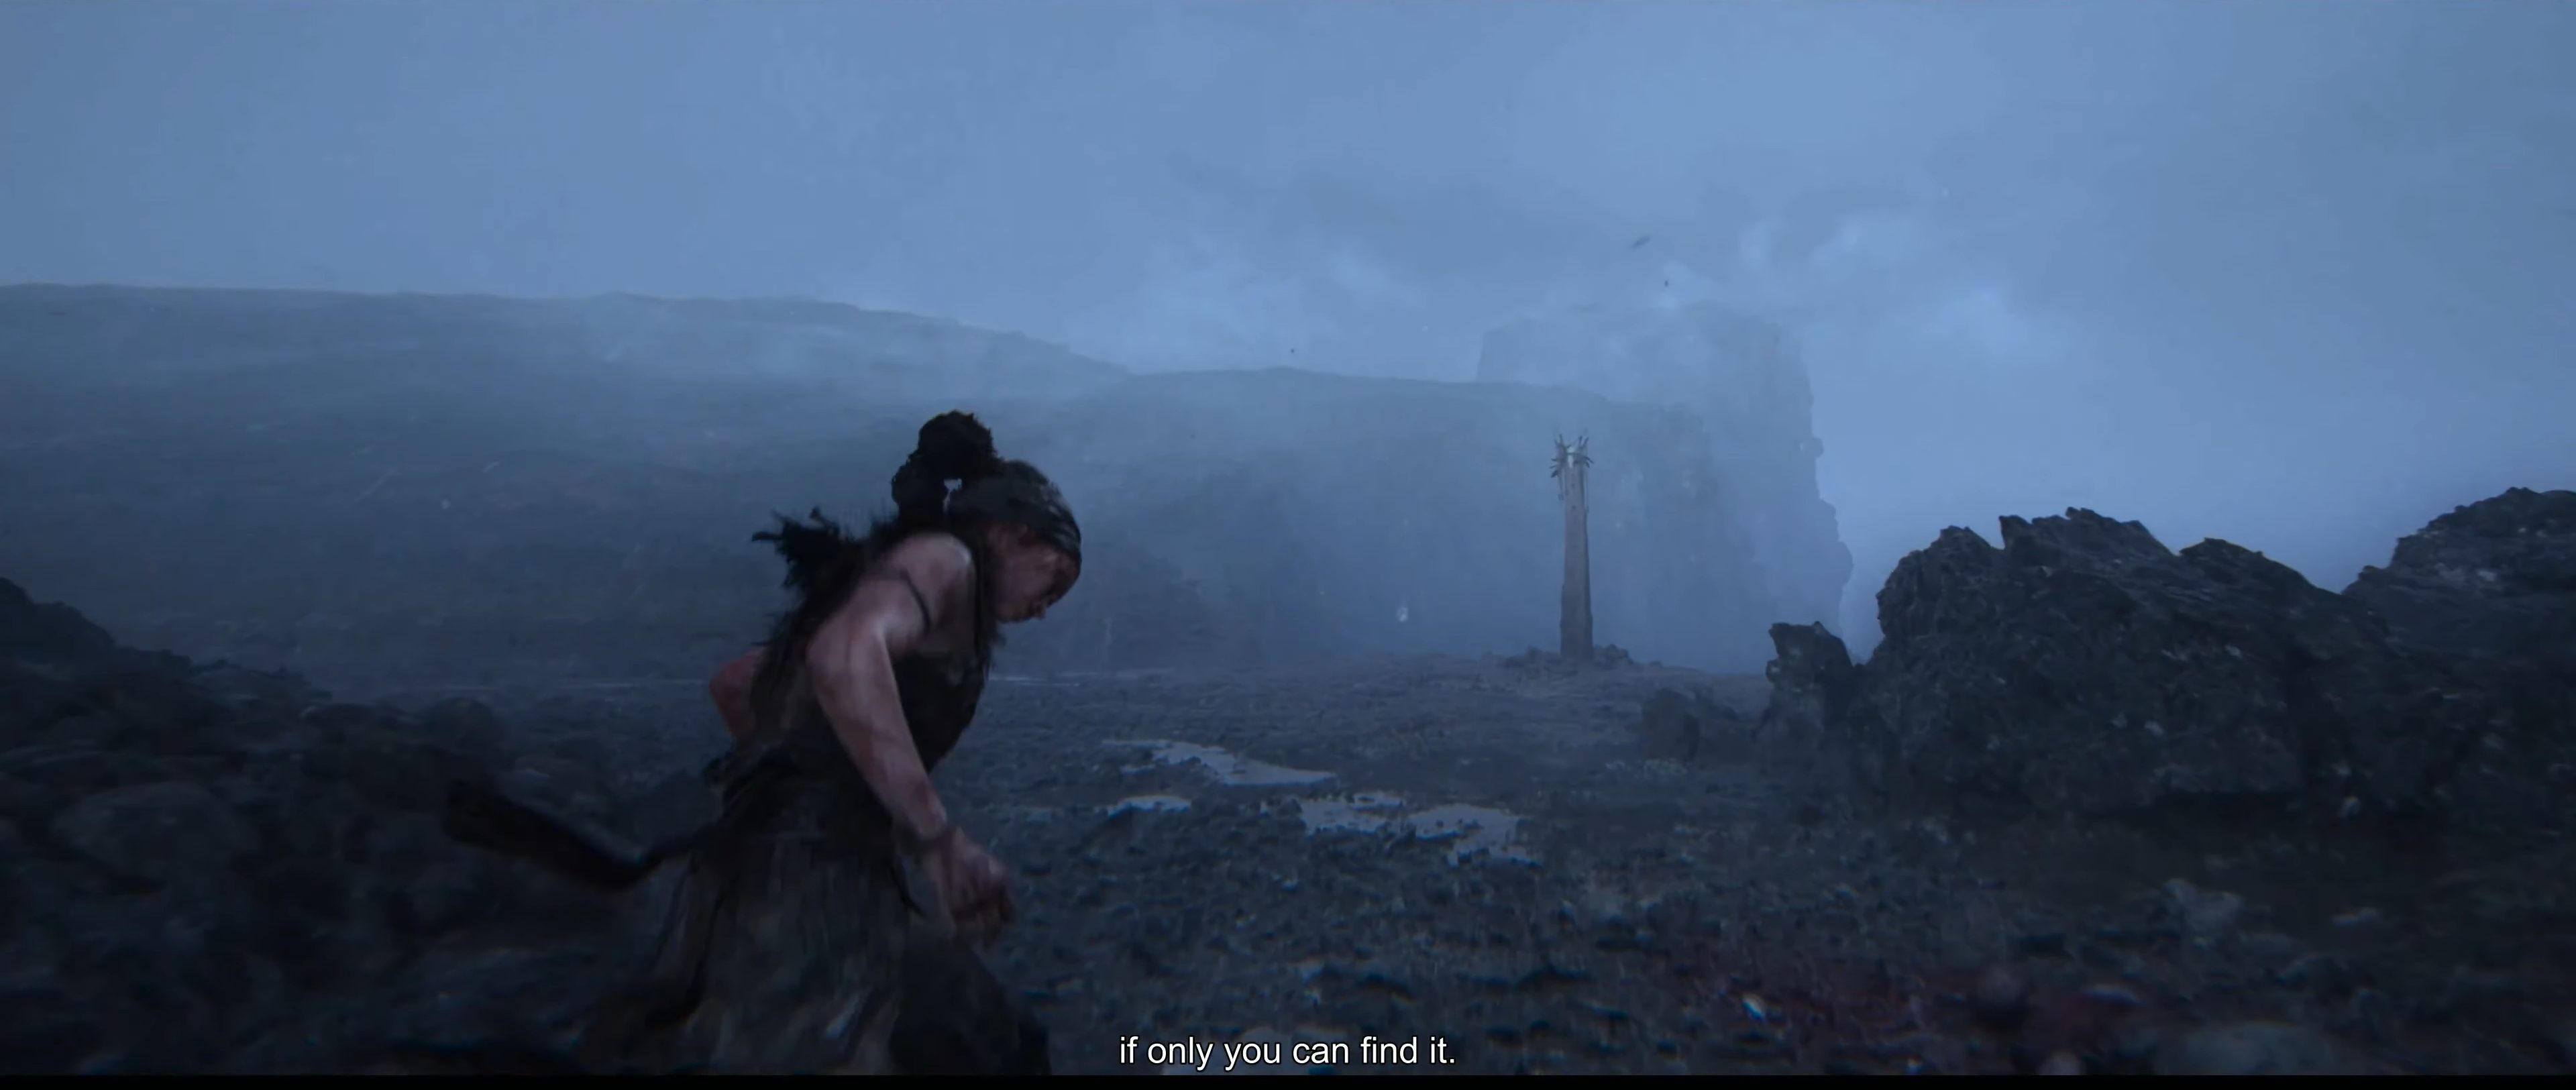
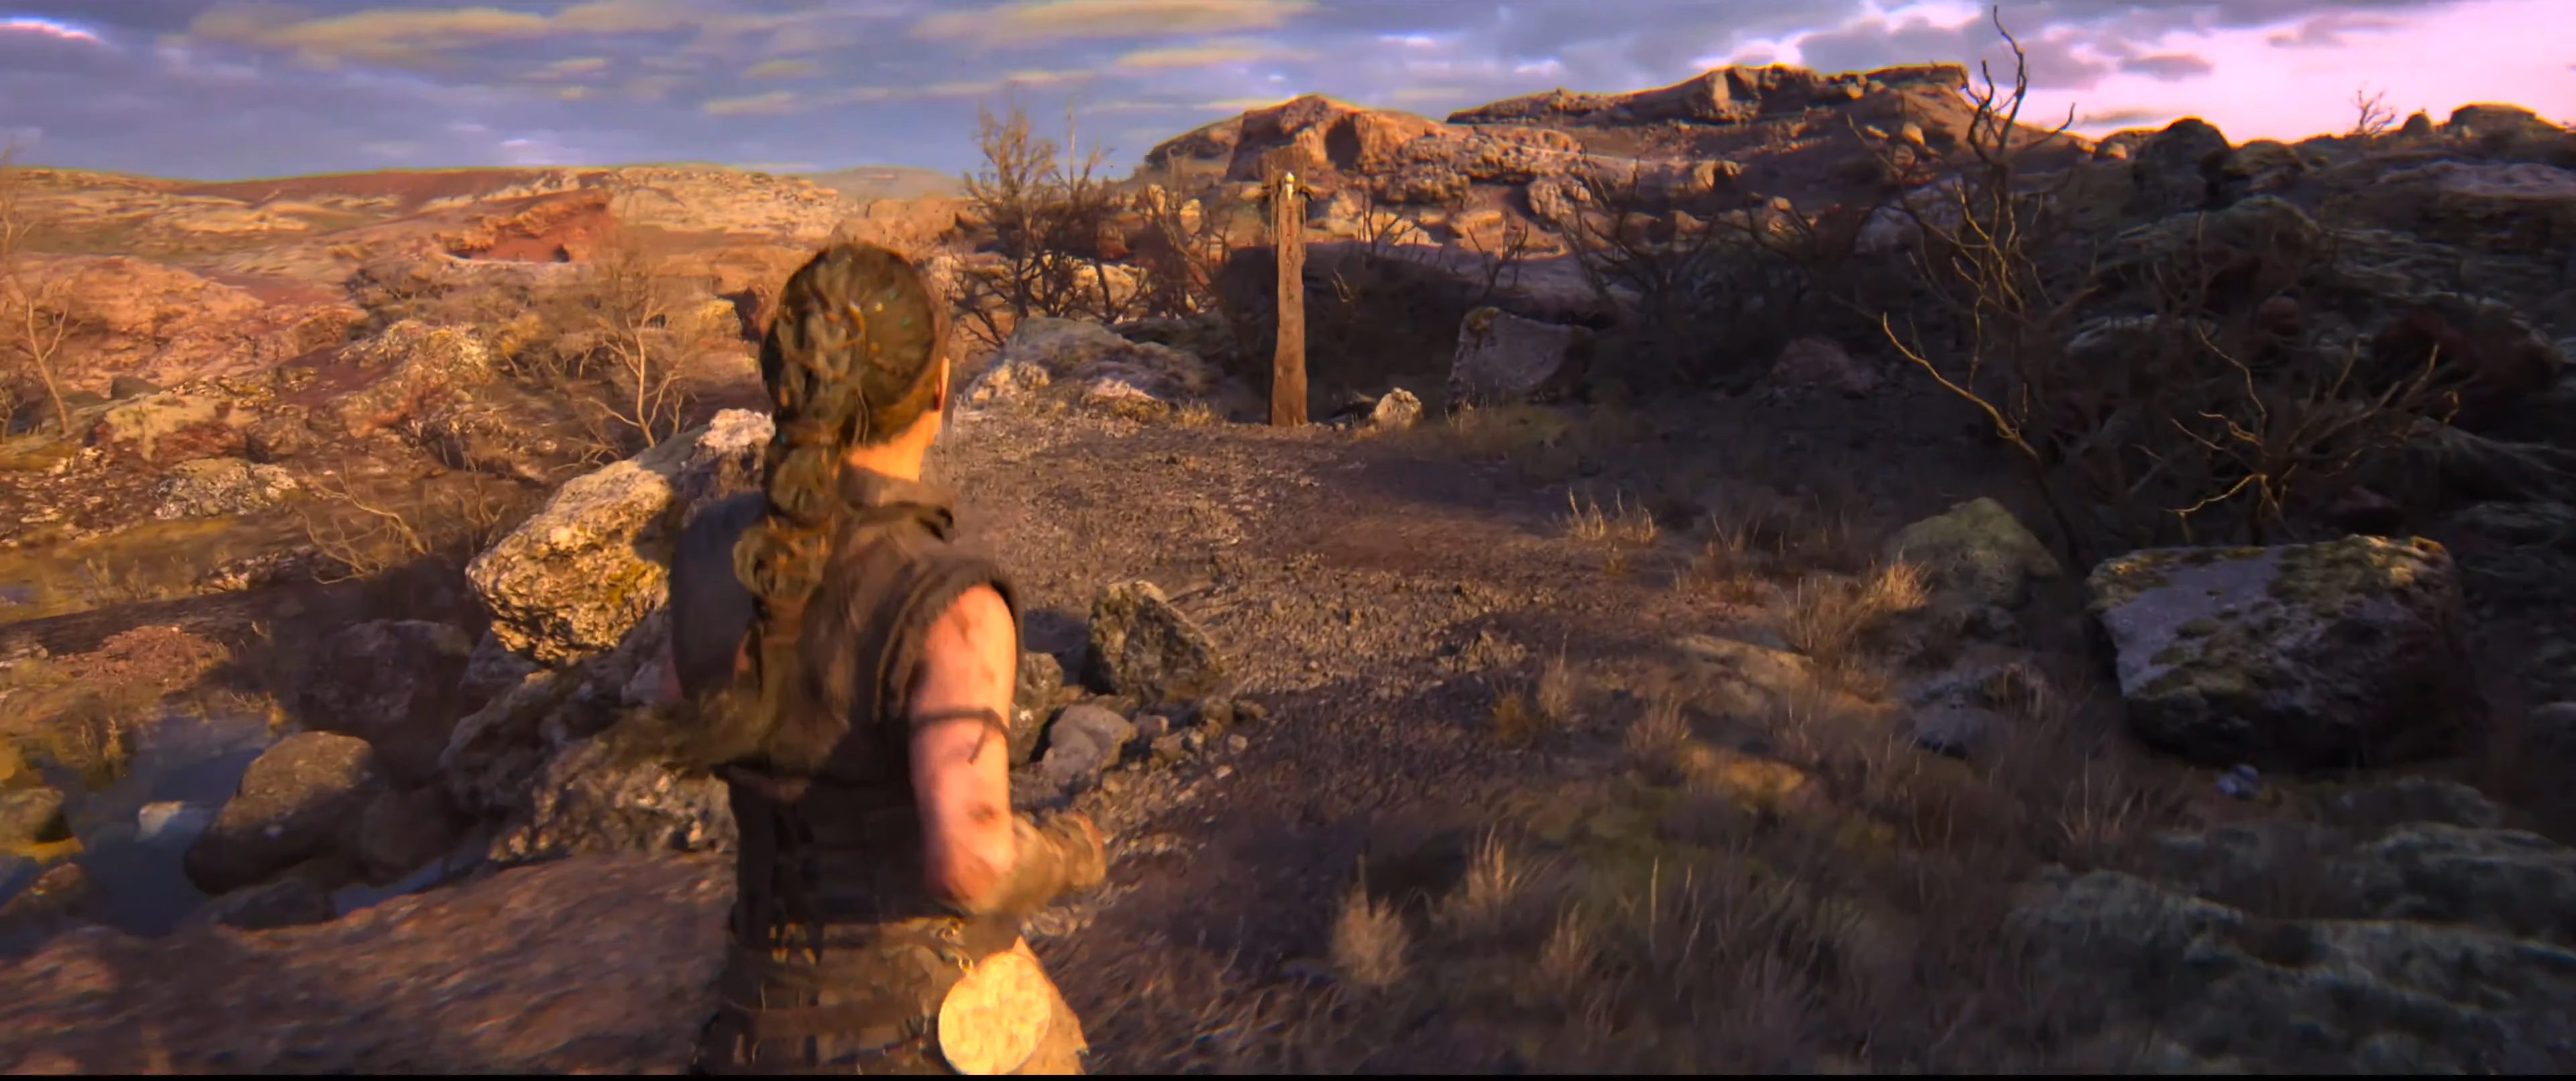
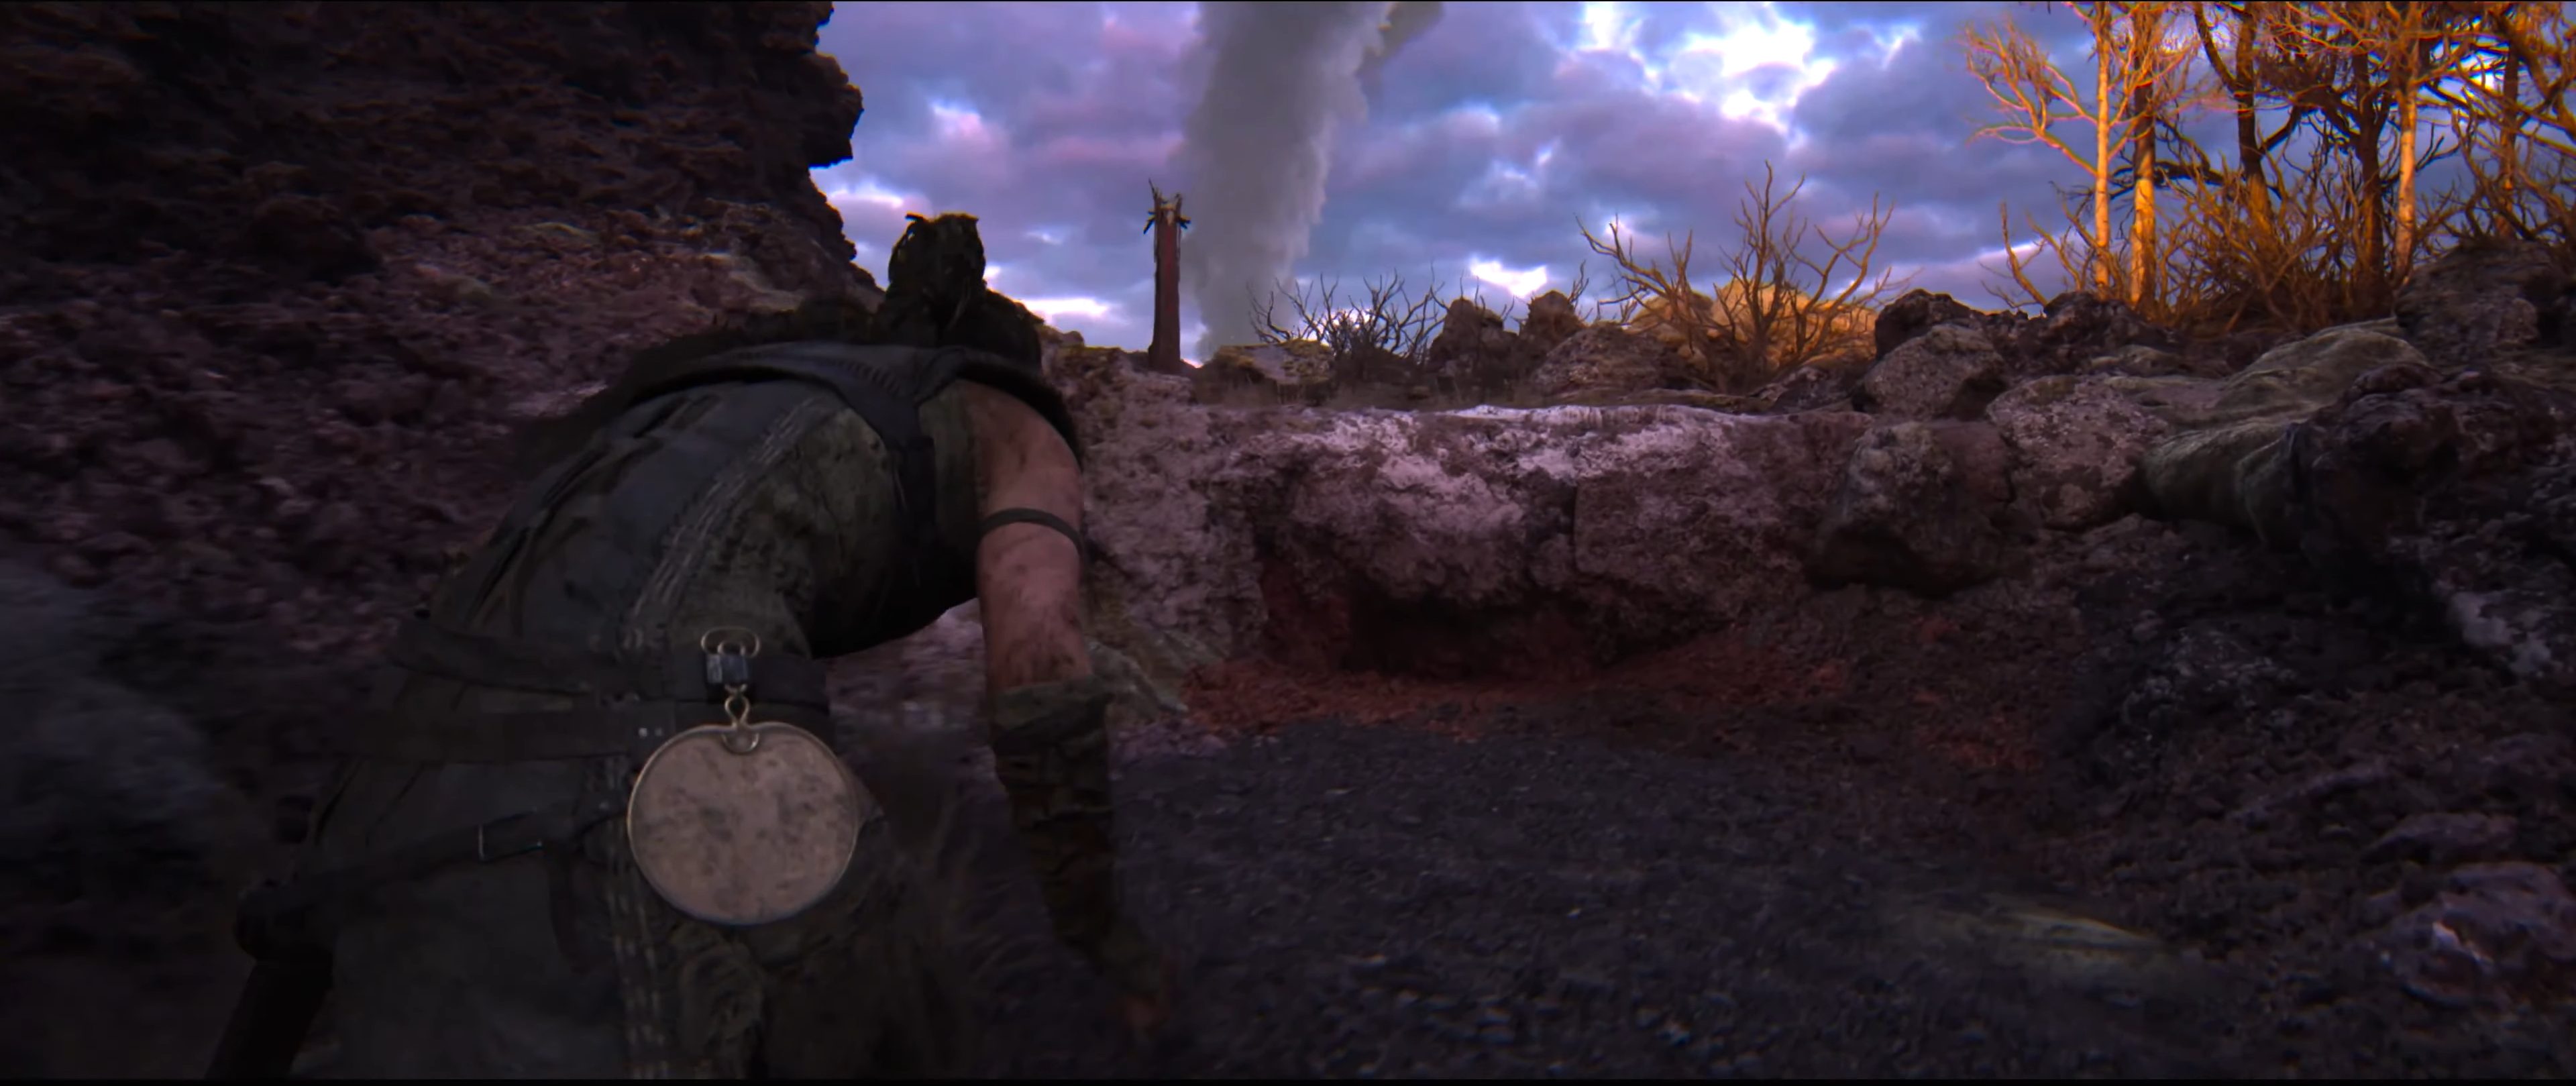
There’s only one Lorestangir in Chapter 1 and is almost unmissable. After climbing the rocks from the beach, you will follow a path leading straight to it.
Chapter 2 Lorestangirs
We have four collectibles to get in this chapter.
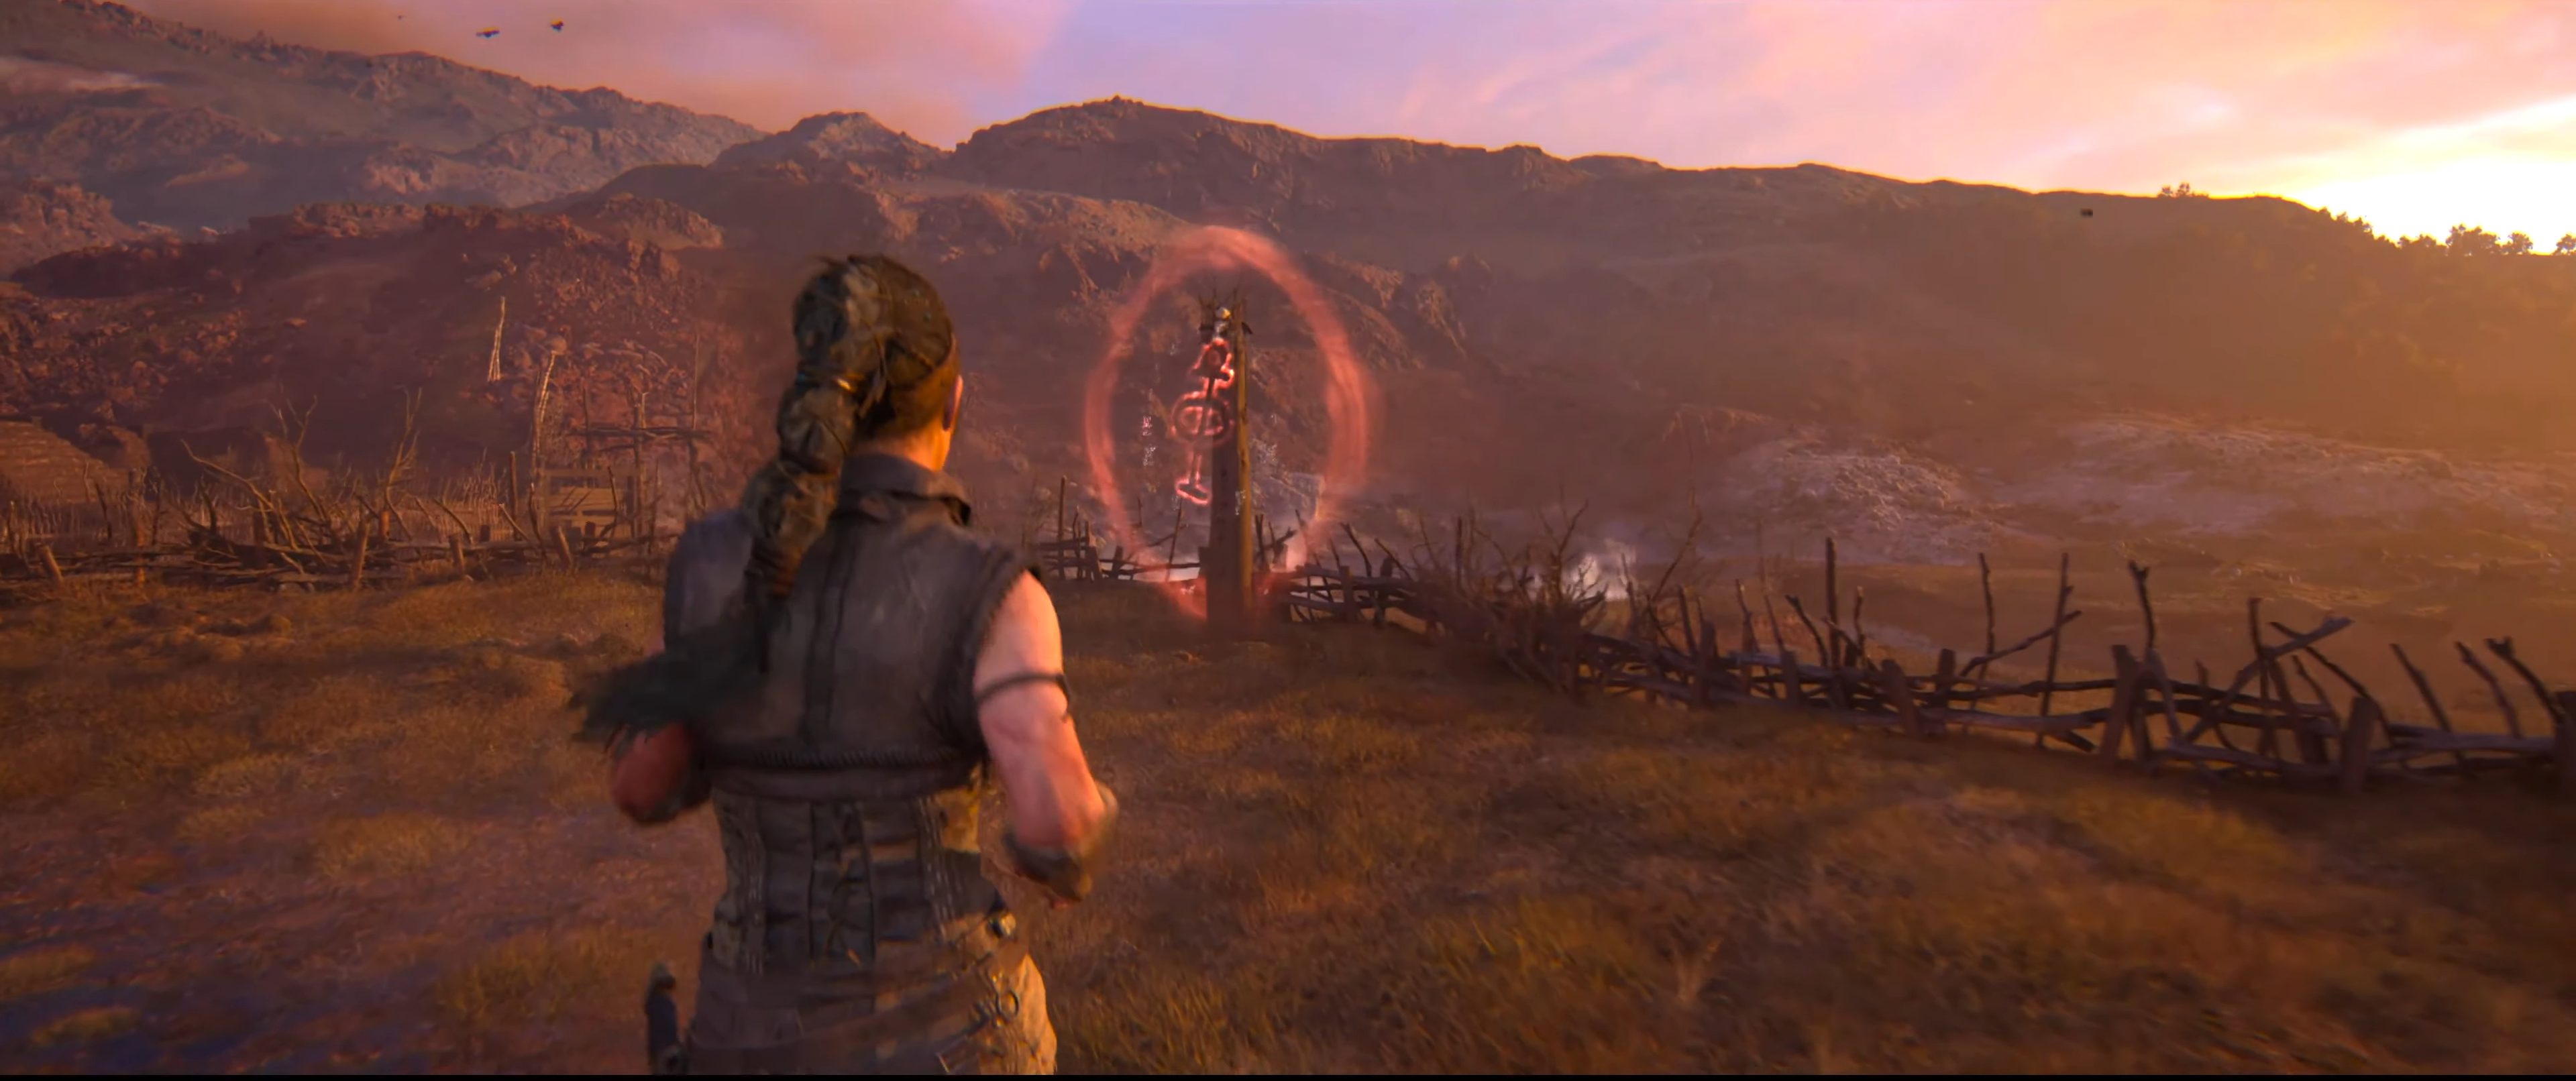
The first is right at the beginning of the chapter while you’re walking with the captured slaver. Turn to your right into a fenced-off yard and find the totem near the back corner.
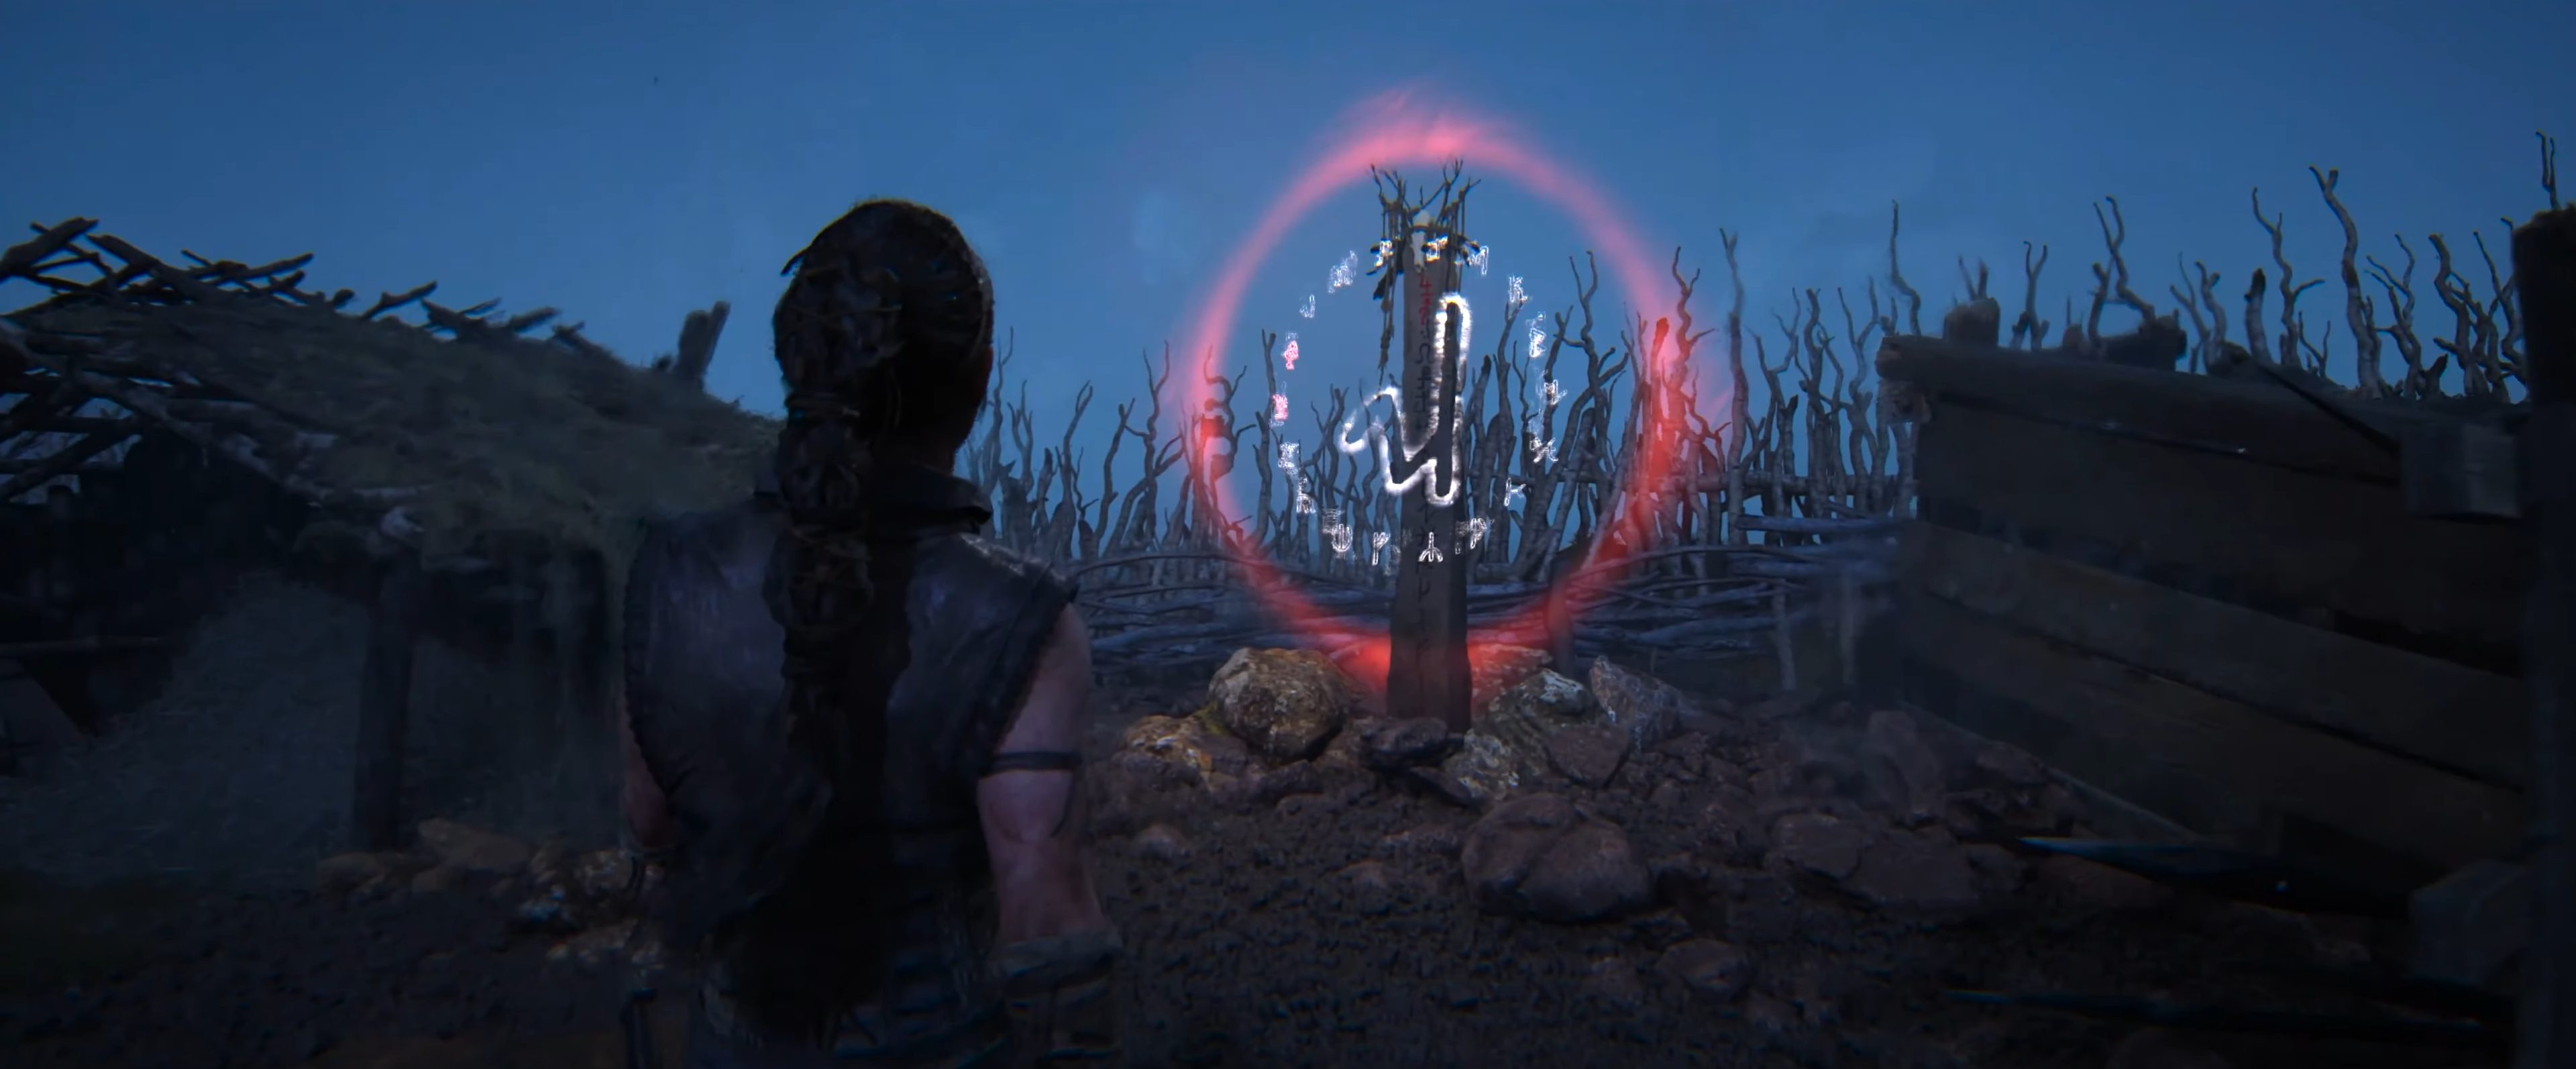
The second is found after obtaining the mirror. Go along the main path until it turns to night and you go through a barn. Turn left when you exit, through the yard, and left again to pass under some wood to find the collectible.
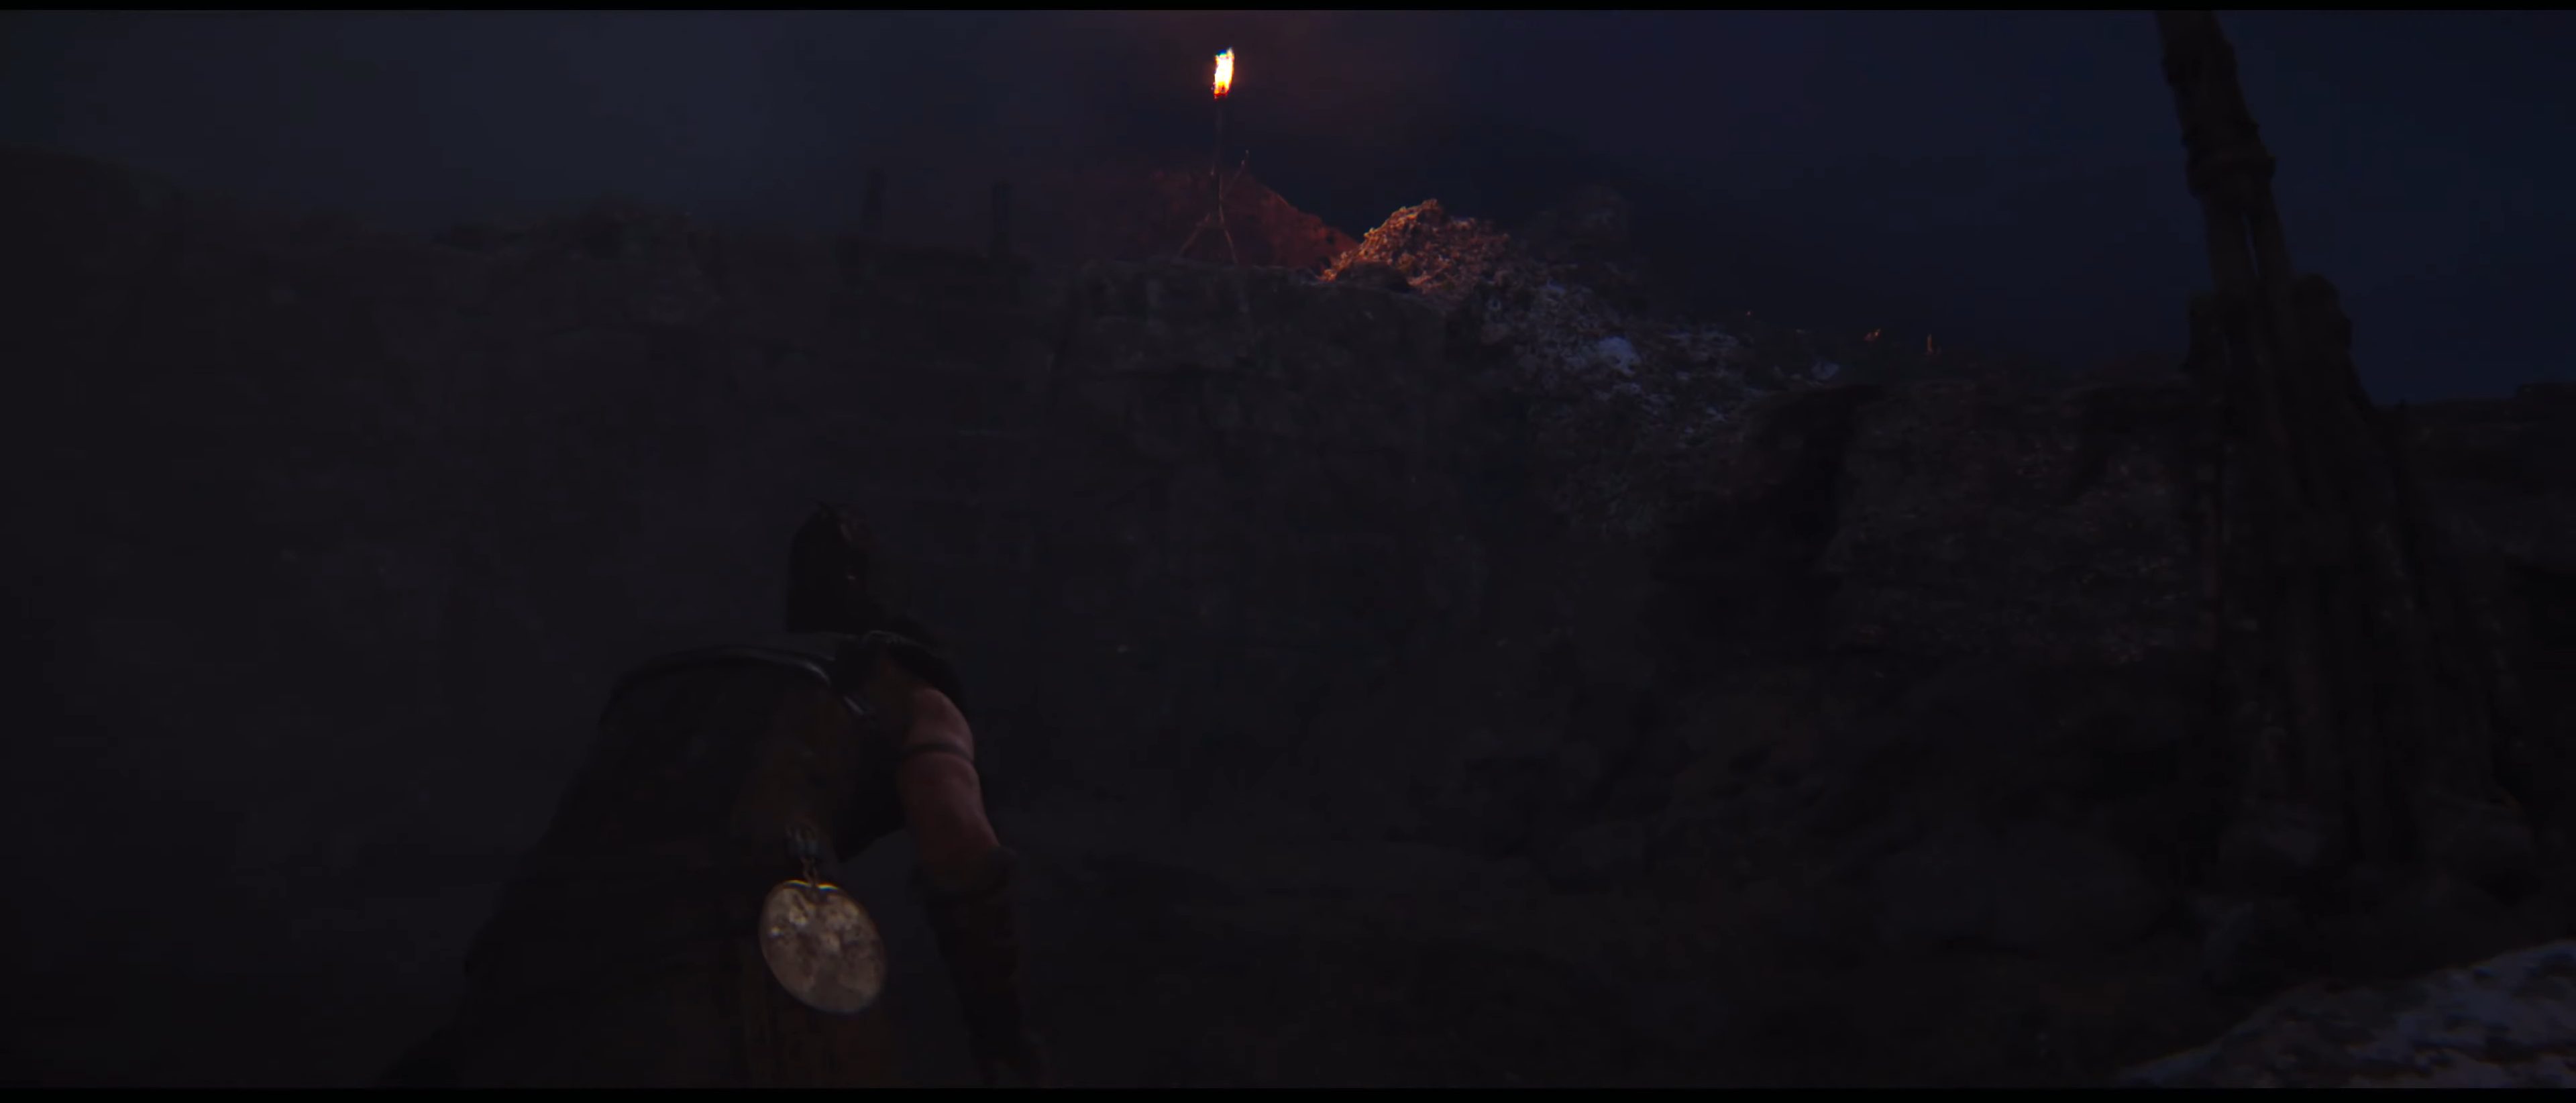
After the chilling cutscene of hands grabbing at Senua, go forward and shimmy along the ledge and drop down the ledge. Take an immediate left here to climb a ladder to find the path to the totem.
Once you rescue the man bound to a stake and escape, you will walk to a broken bridge. The man will lead you right, but go left instead to spot the Lorestangir.
Chapter 3 Lorestangirs
Chapter 3 has the most Lorestangirs of any at six, so let’s hunt them down.
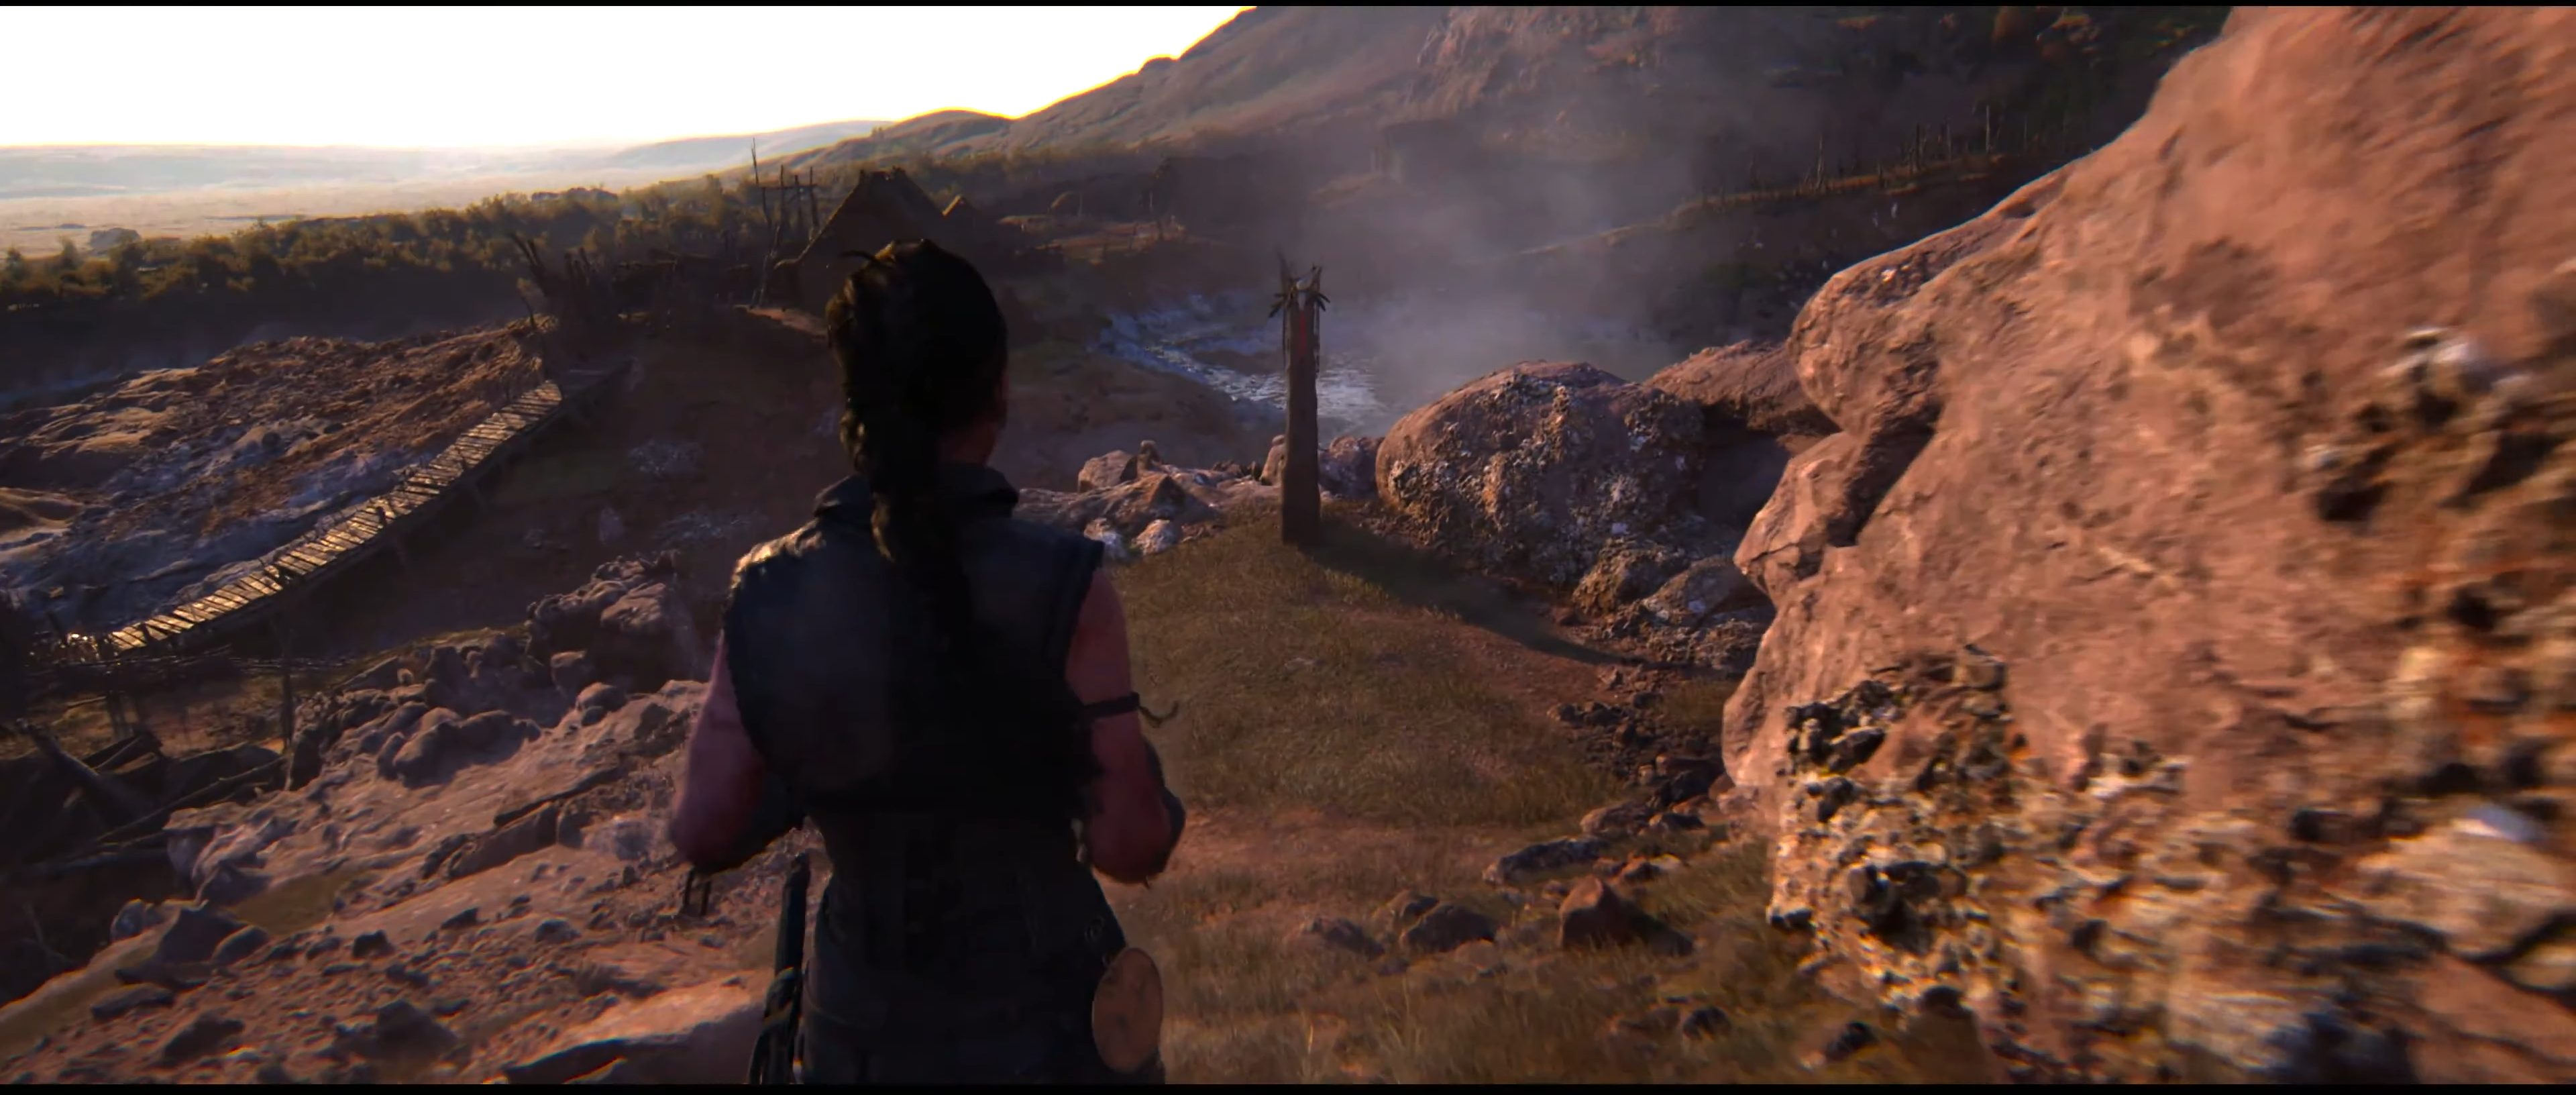
Once the chapter begins and you approach the village, go left and behind the collapsed house to find the first totem.
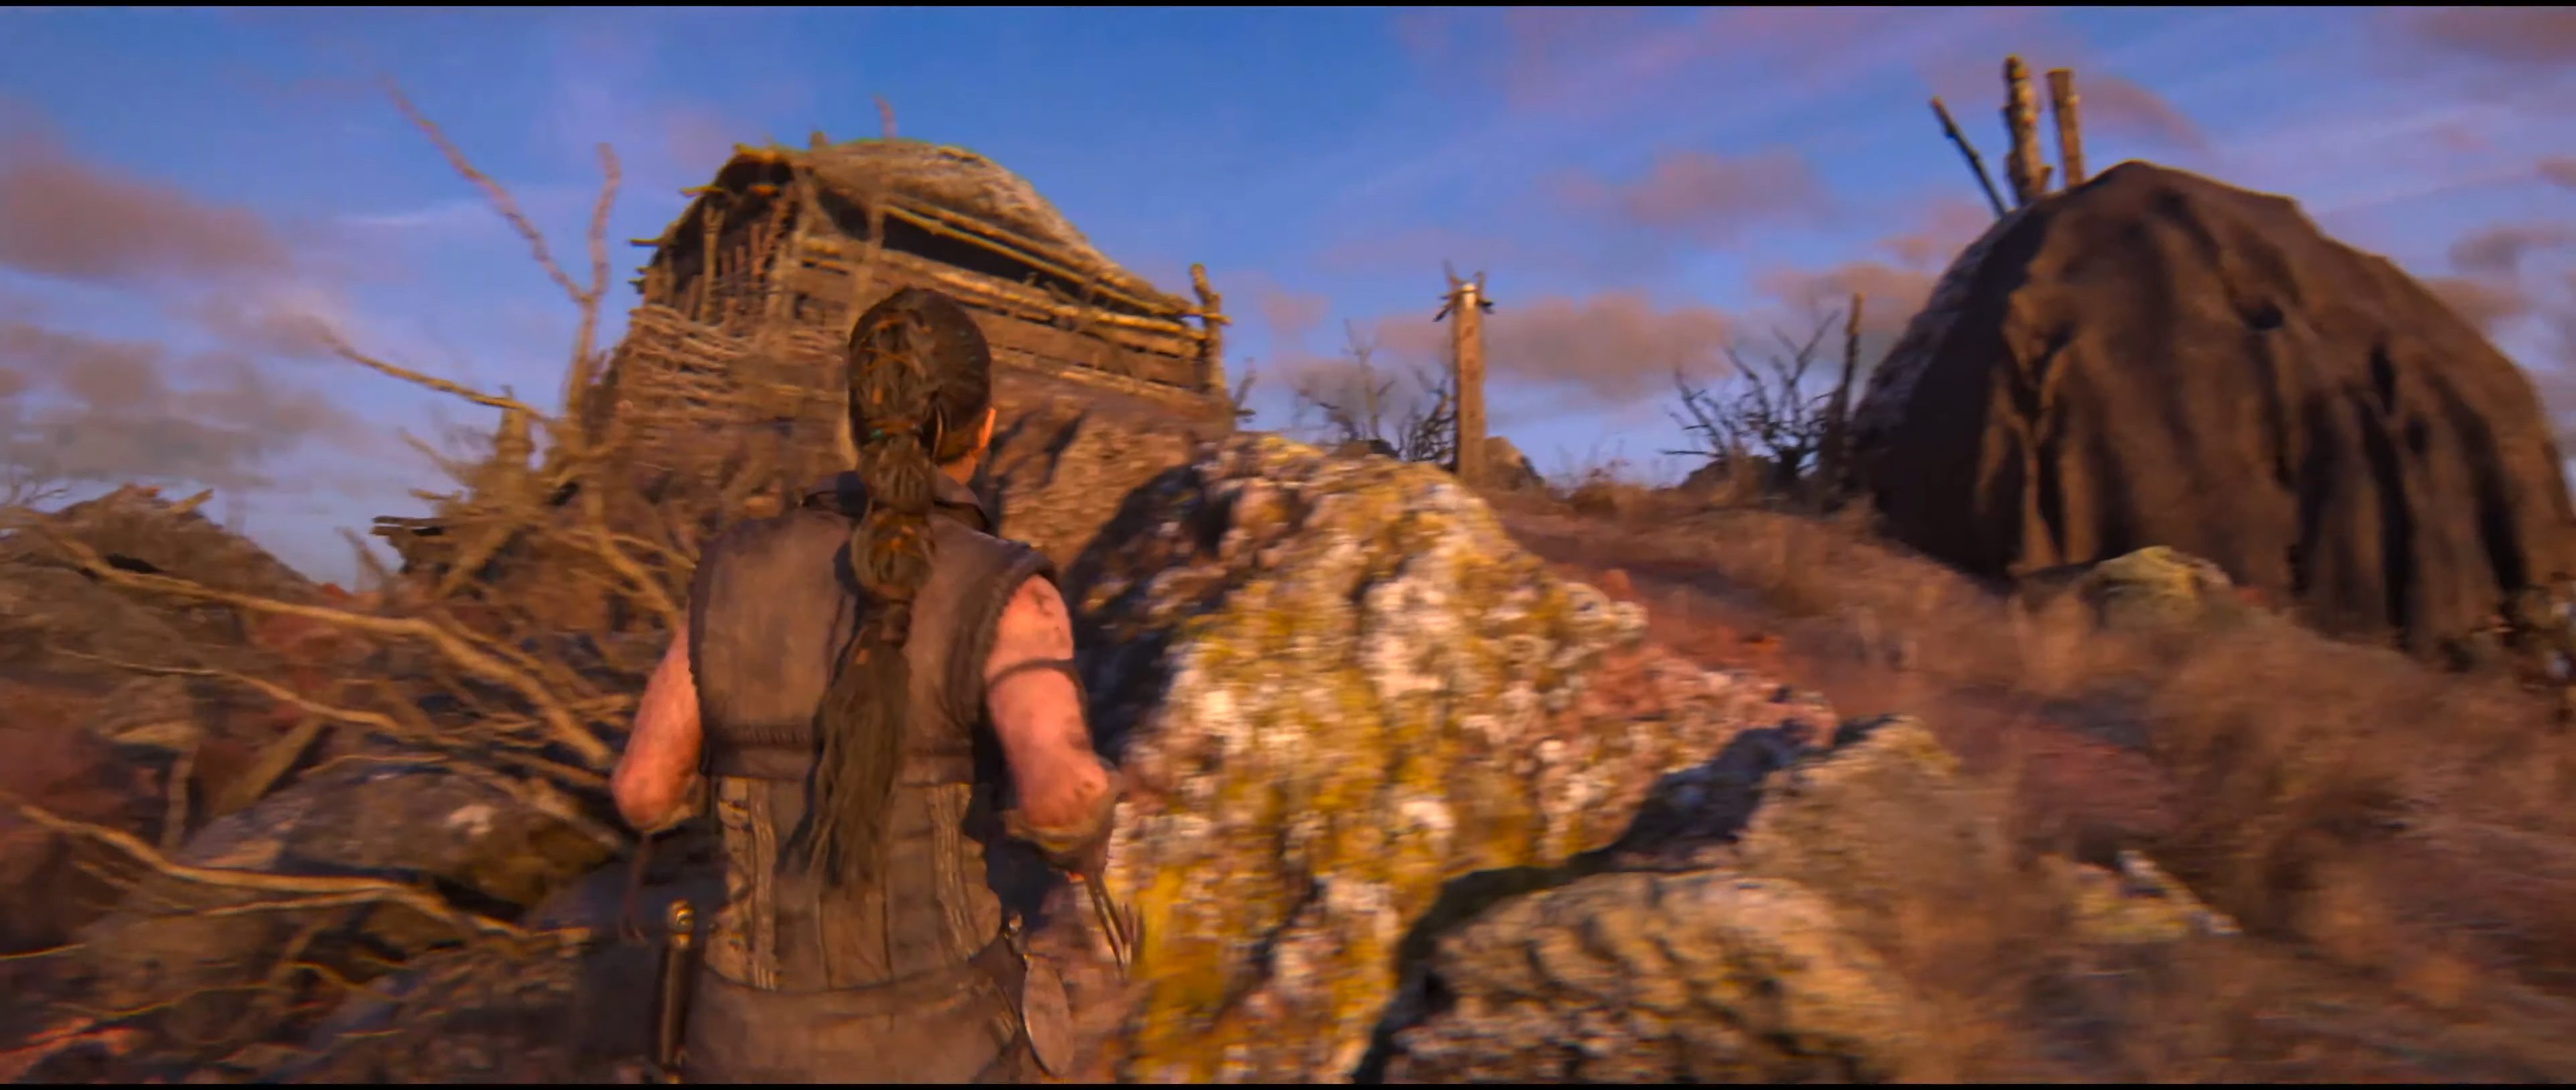
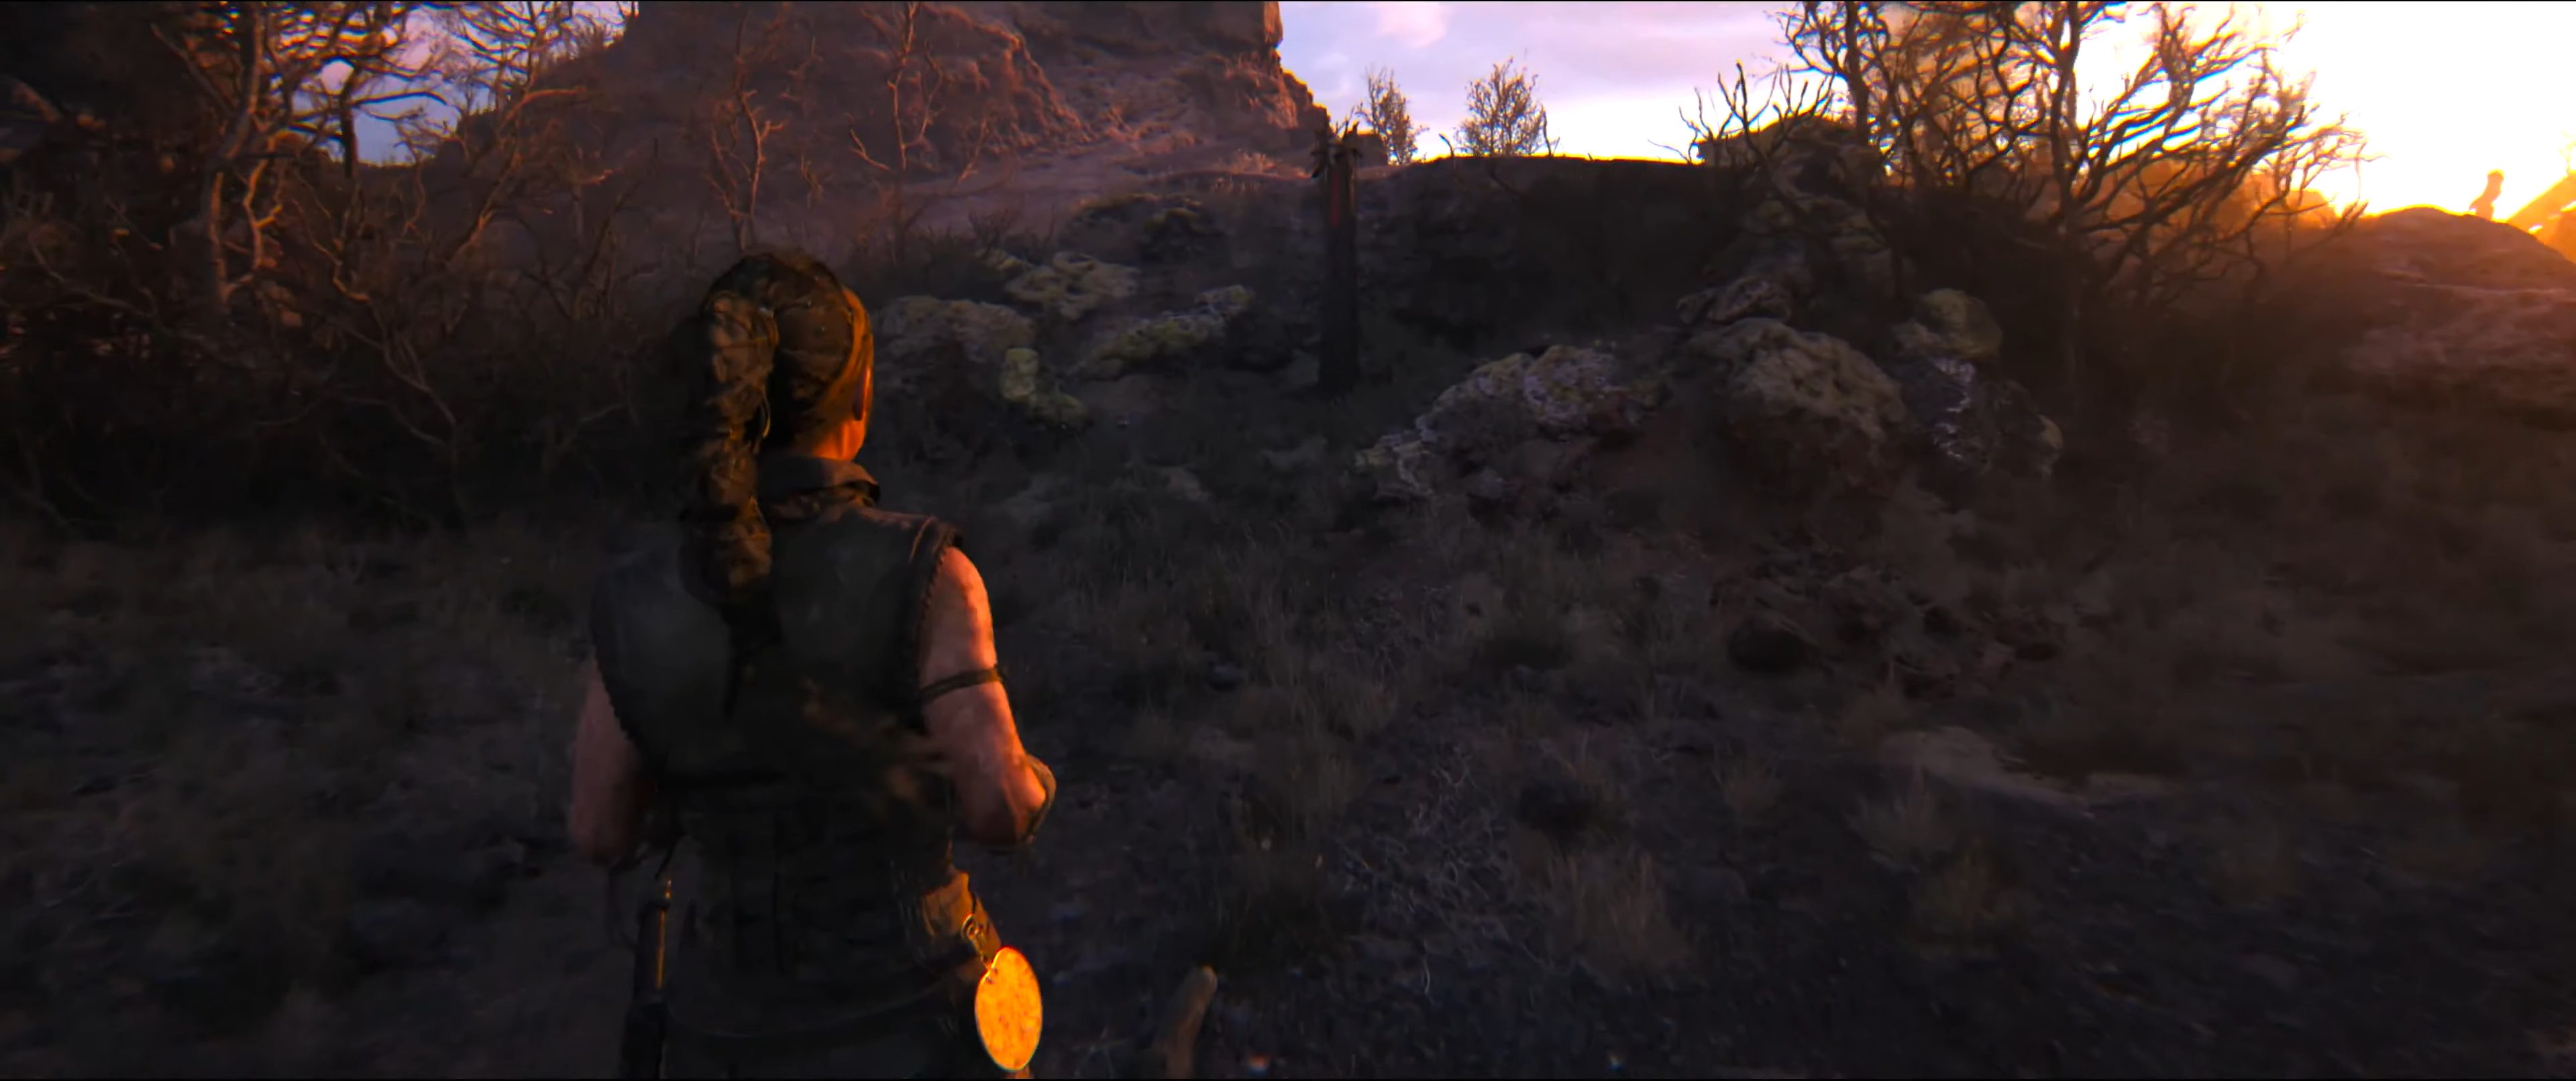
After you get through the forest and trigger a short cutscene, go to the very top of the hill and grab the totem near some houses.
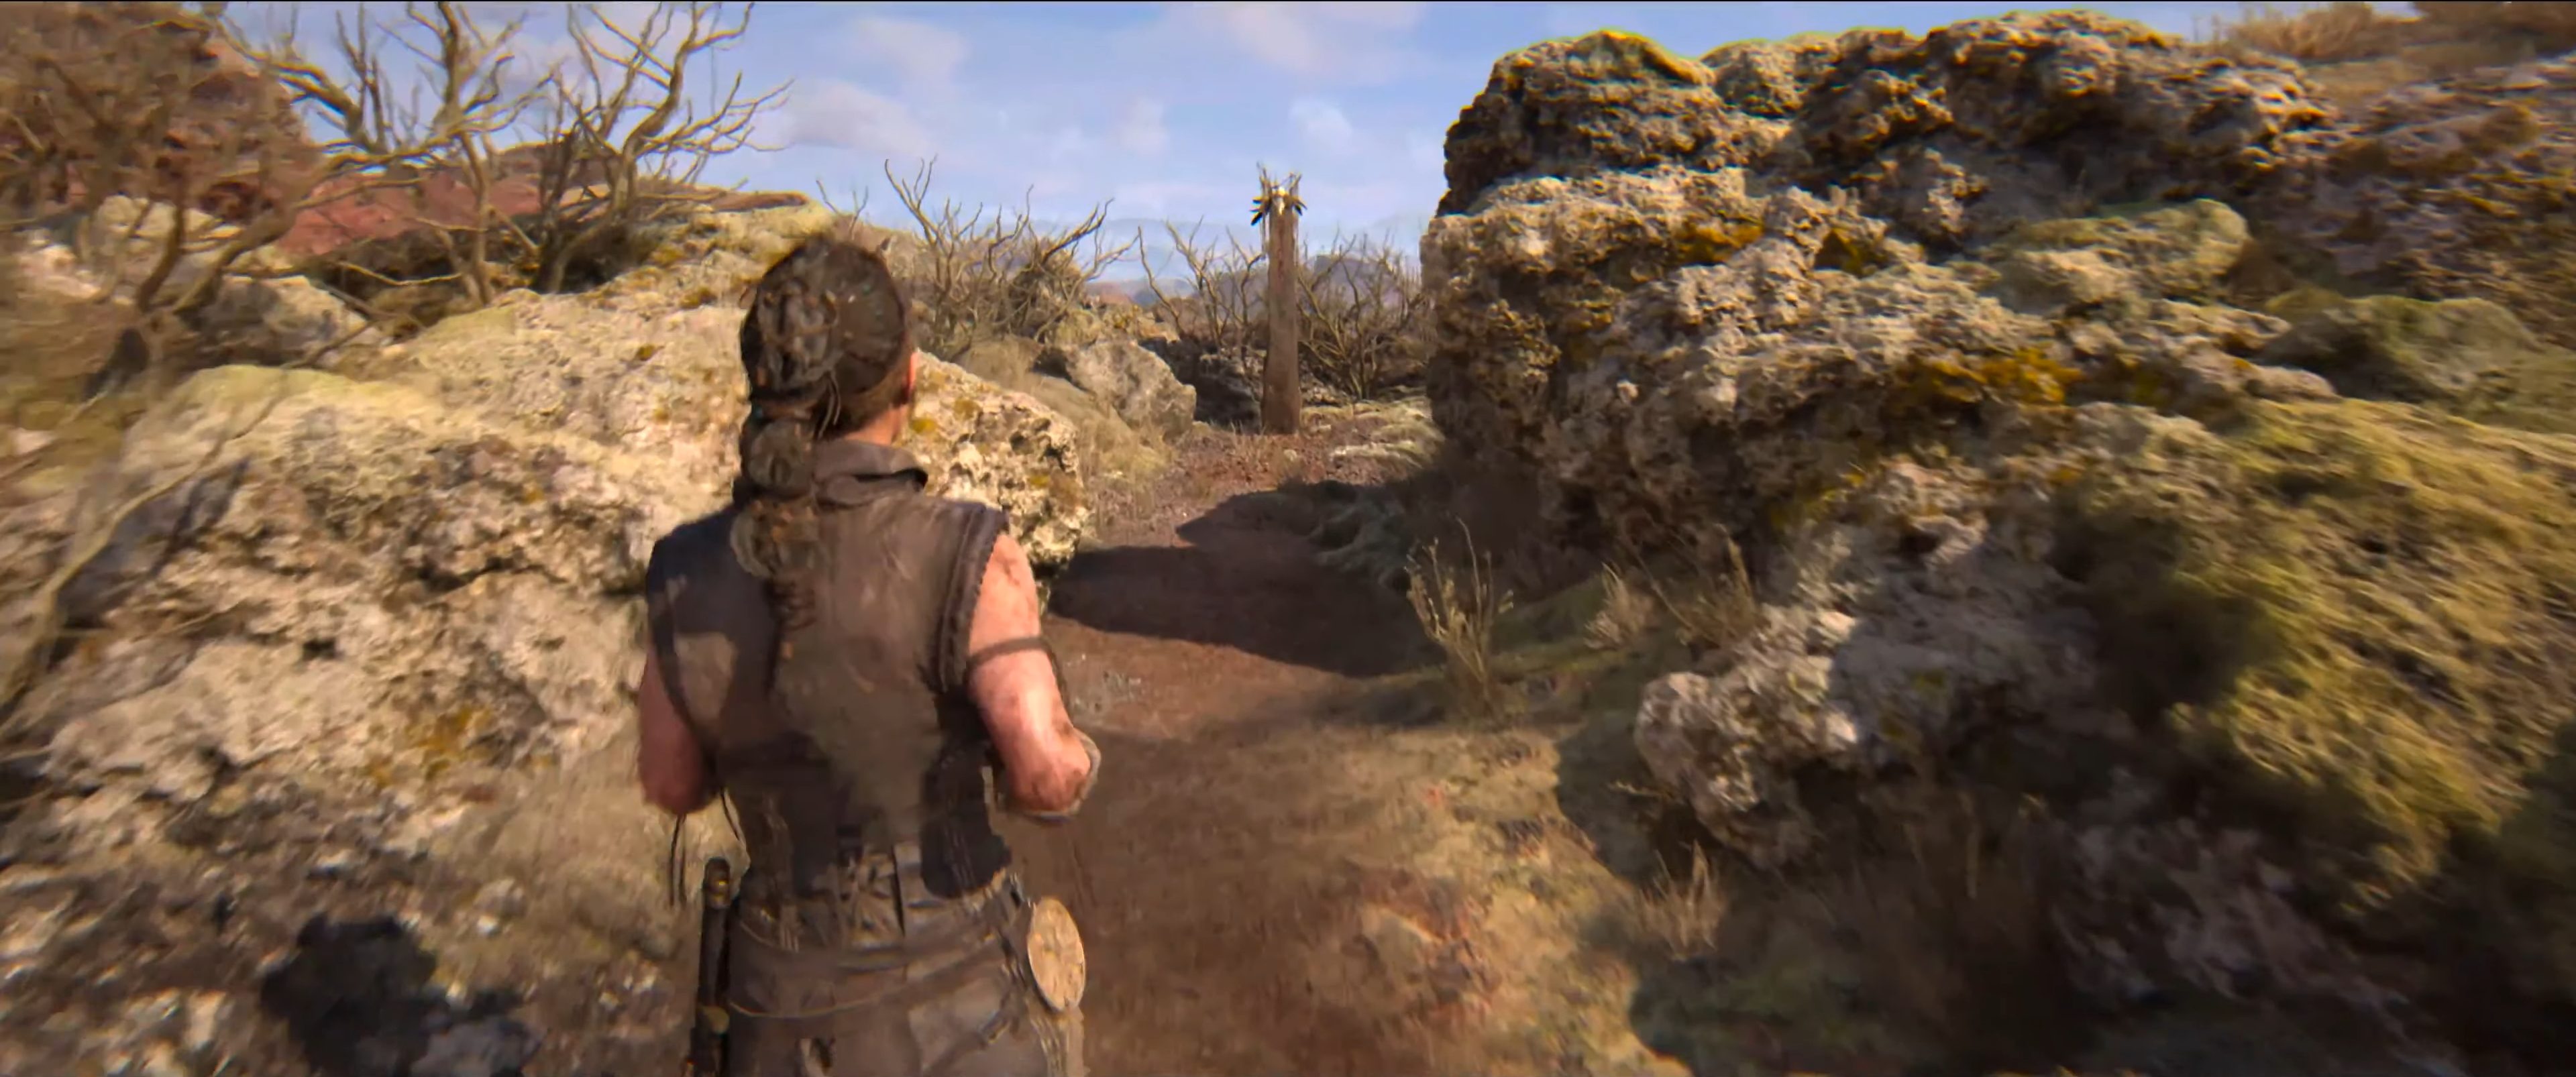
The first new puzzle involves putting two spheres into pedestals to clear the way. Follow that path, but stop before you need to duck under a tunnel to proceed and instead take the side path to the left.
You will have a similar puzzle as the last, but this time with three spheres to solve. Once done, go down two ledges and hug the left wall to find a gap Senua can squeeze through.
From where you found the last Lorestangir, drop down a level and stick to the right to find a cave you can crouch under to get the next totem.
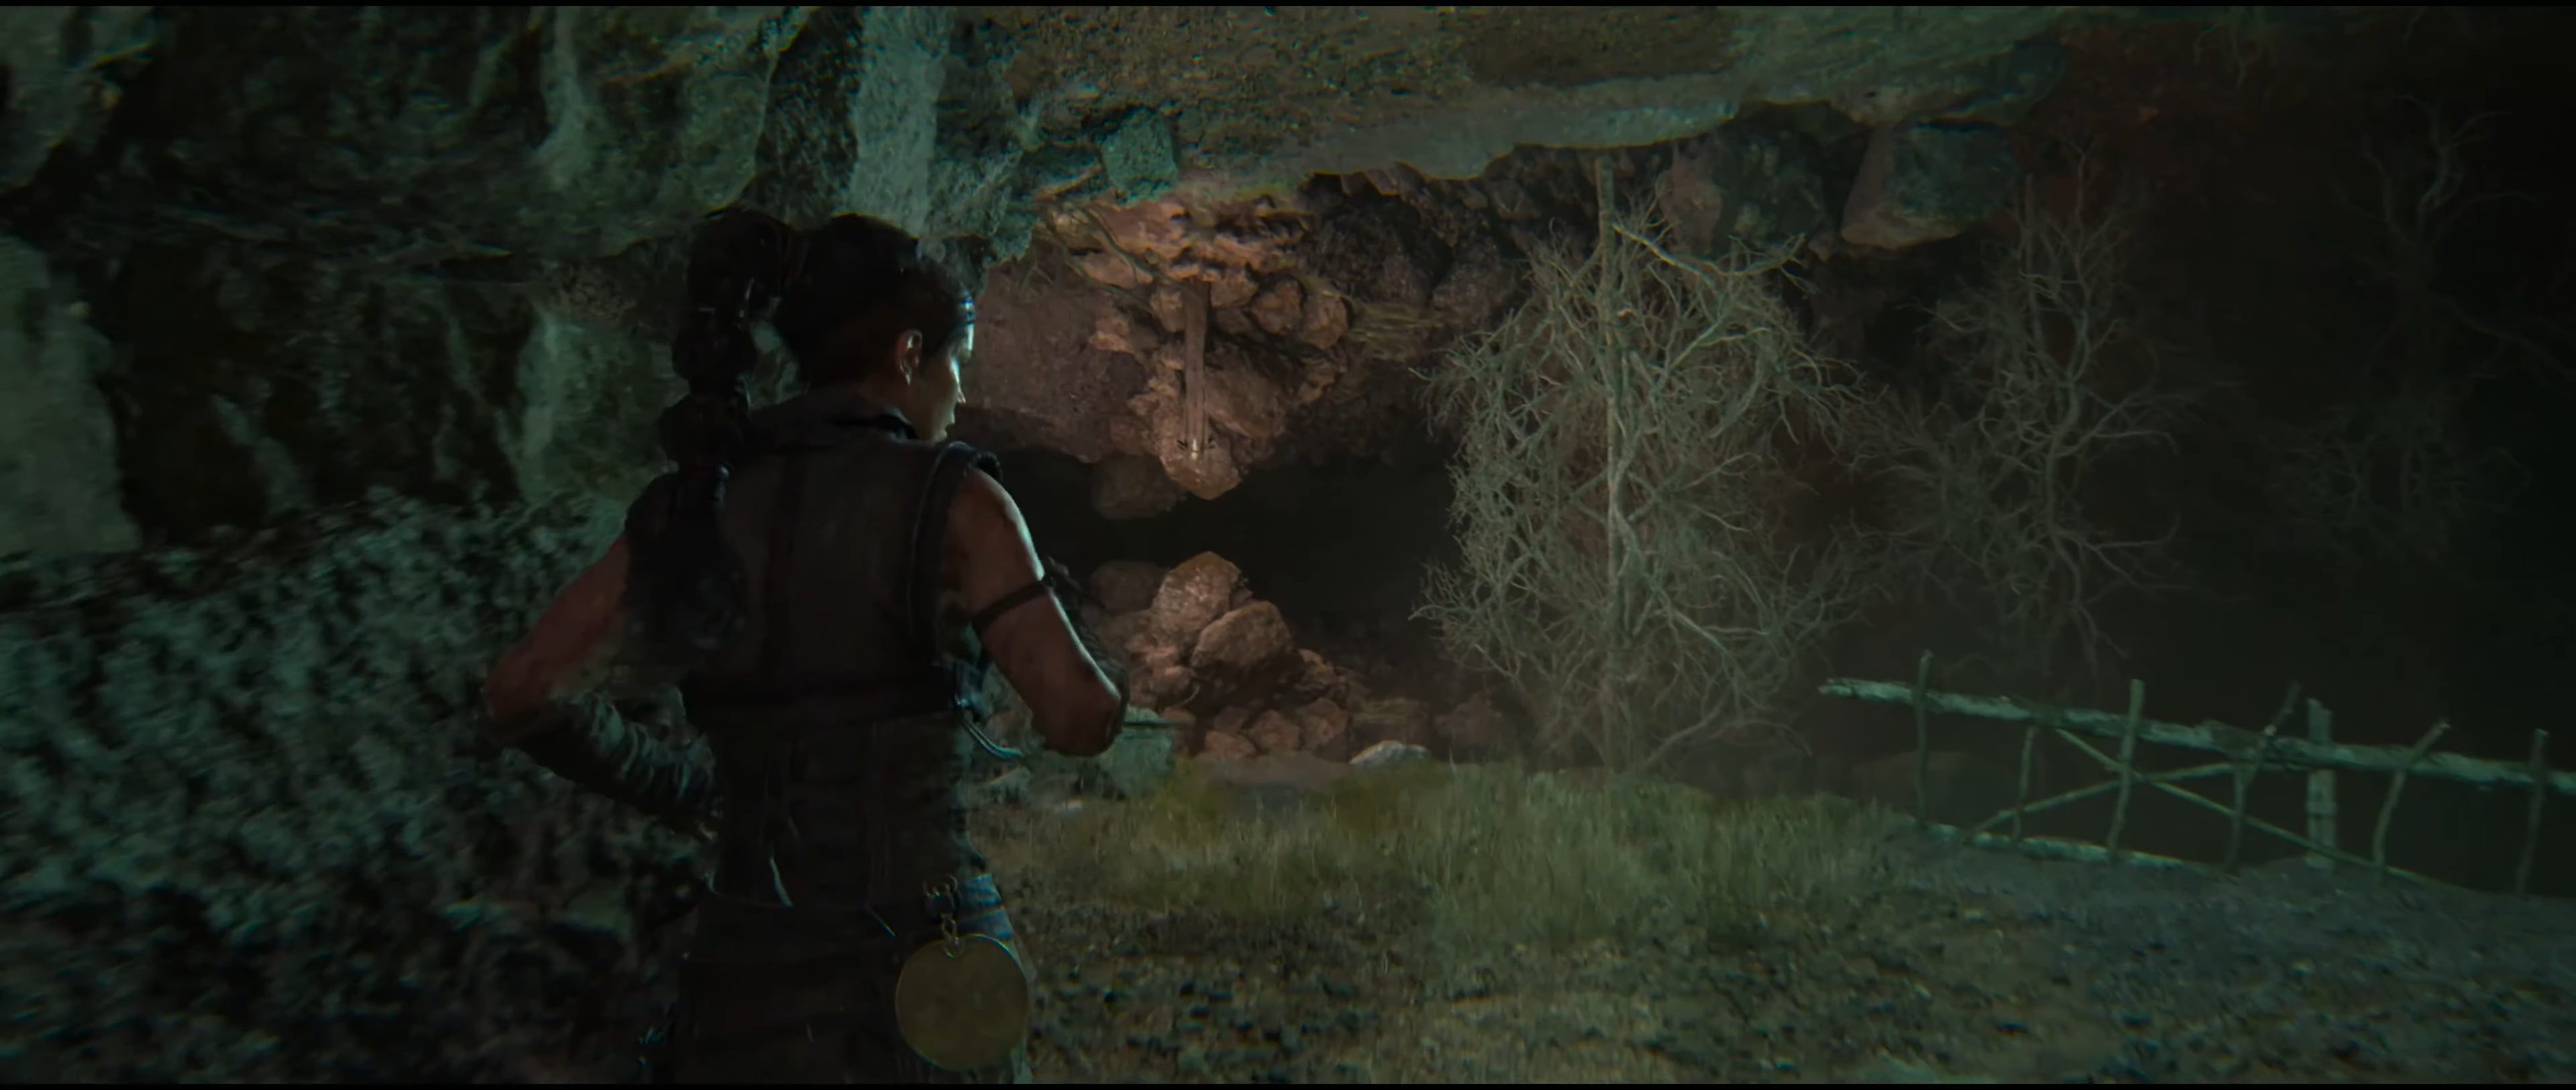
When you hit the next sphere puzzle, proceed as normal until you pick up the third ball. Turn around and you can see the Larestangir hanging upside down.
Chapter 4 Lorestangirs
We have three more collectibles to get in Chapter 4.
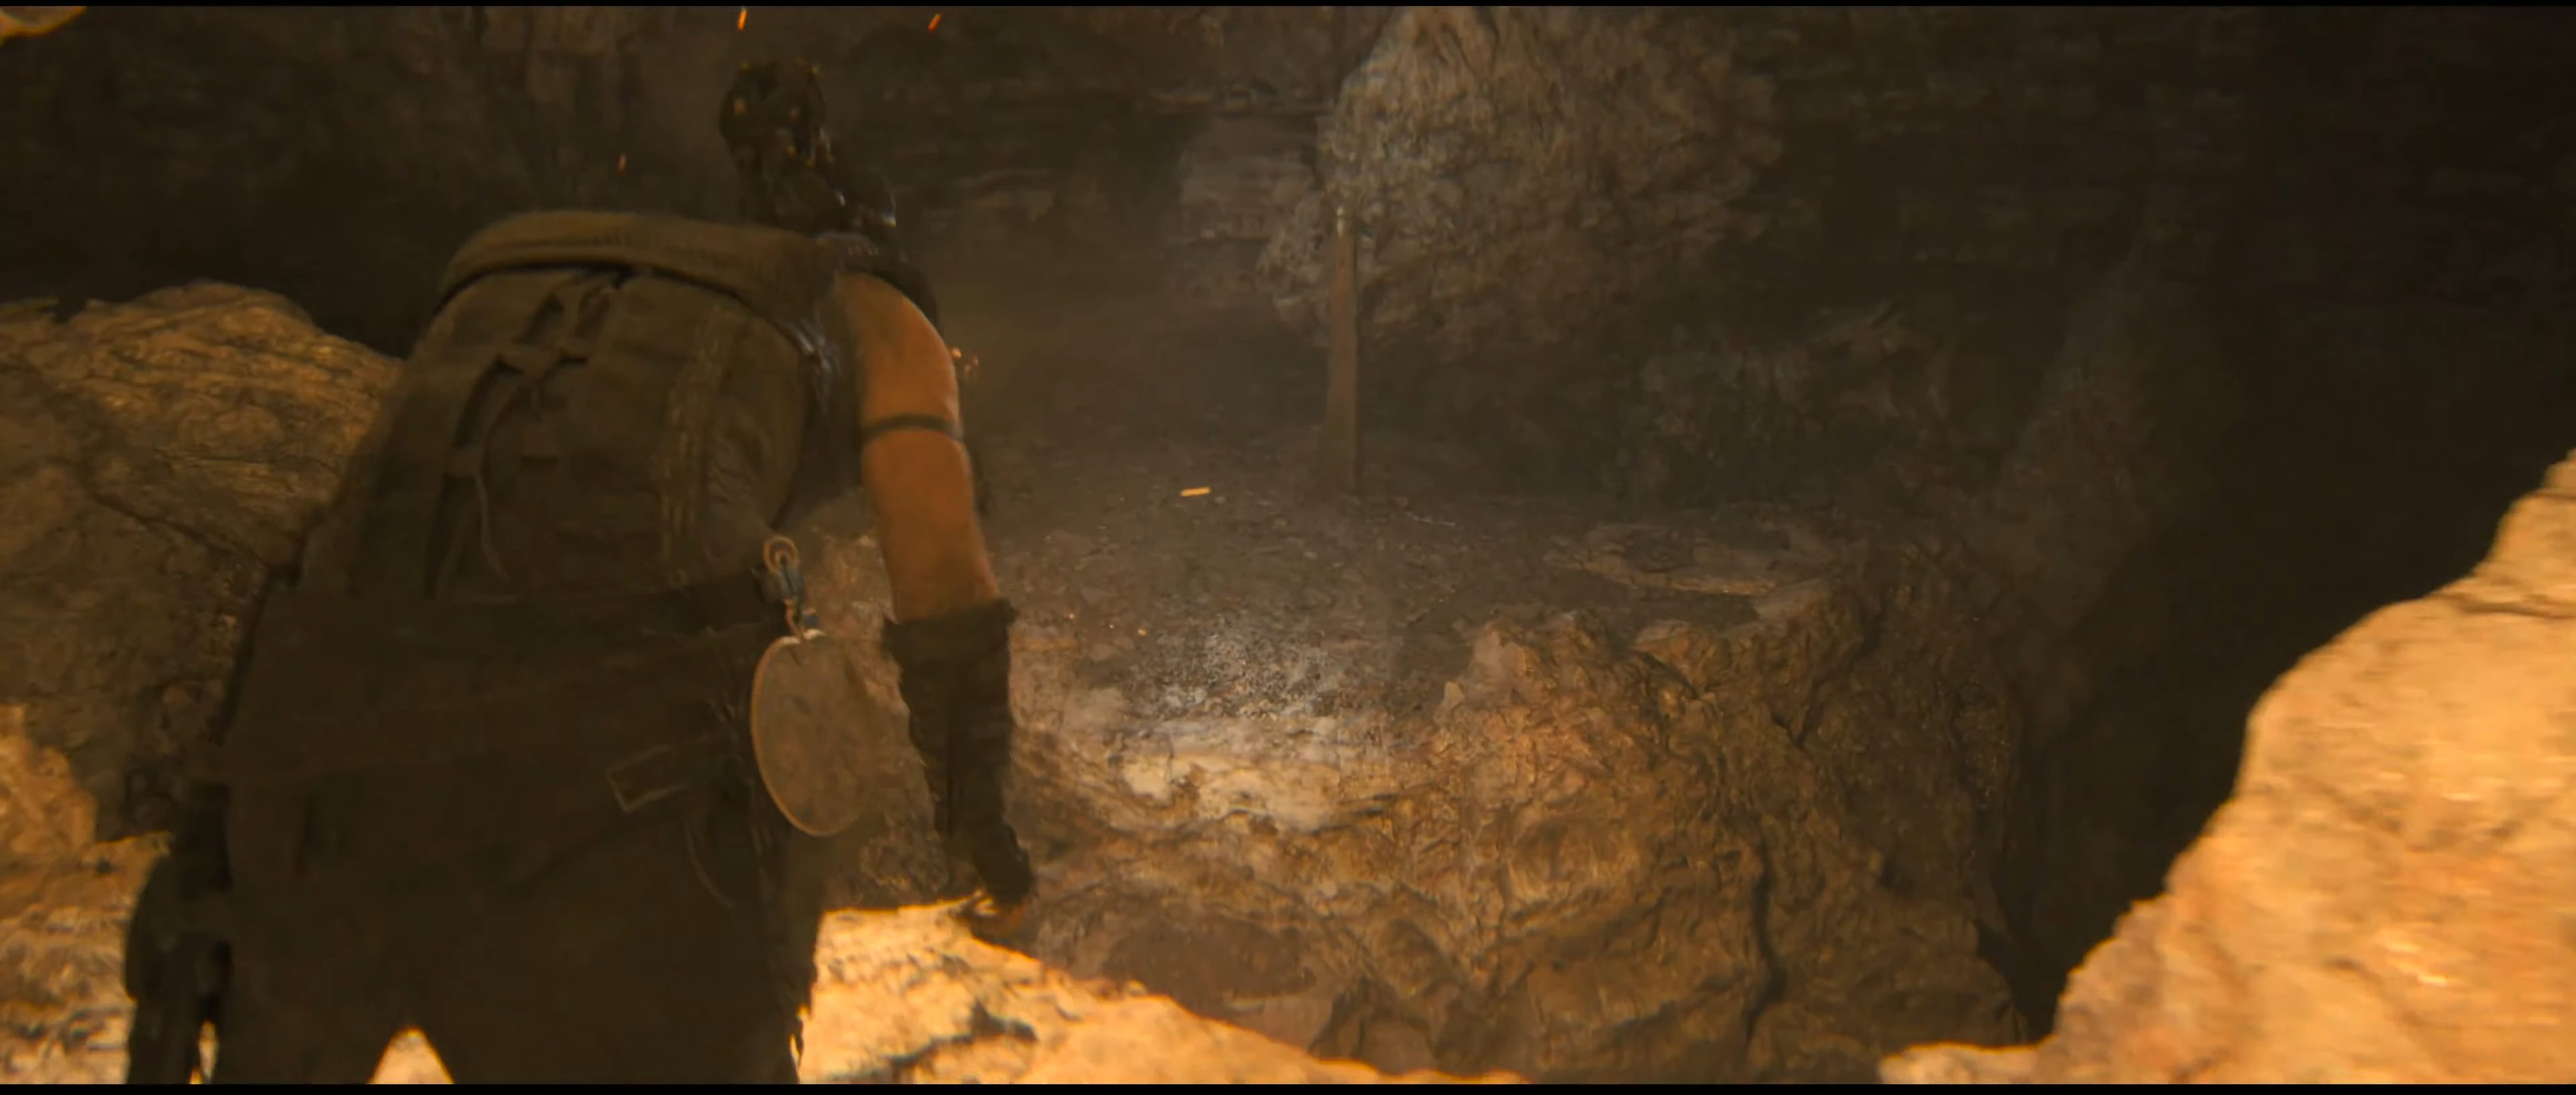
As you descend into the cave at the start, drop down four times, then turn right to find a different ledge you can climb back up. This will take you to the collectible.
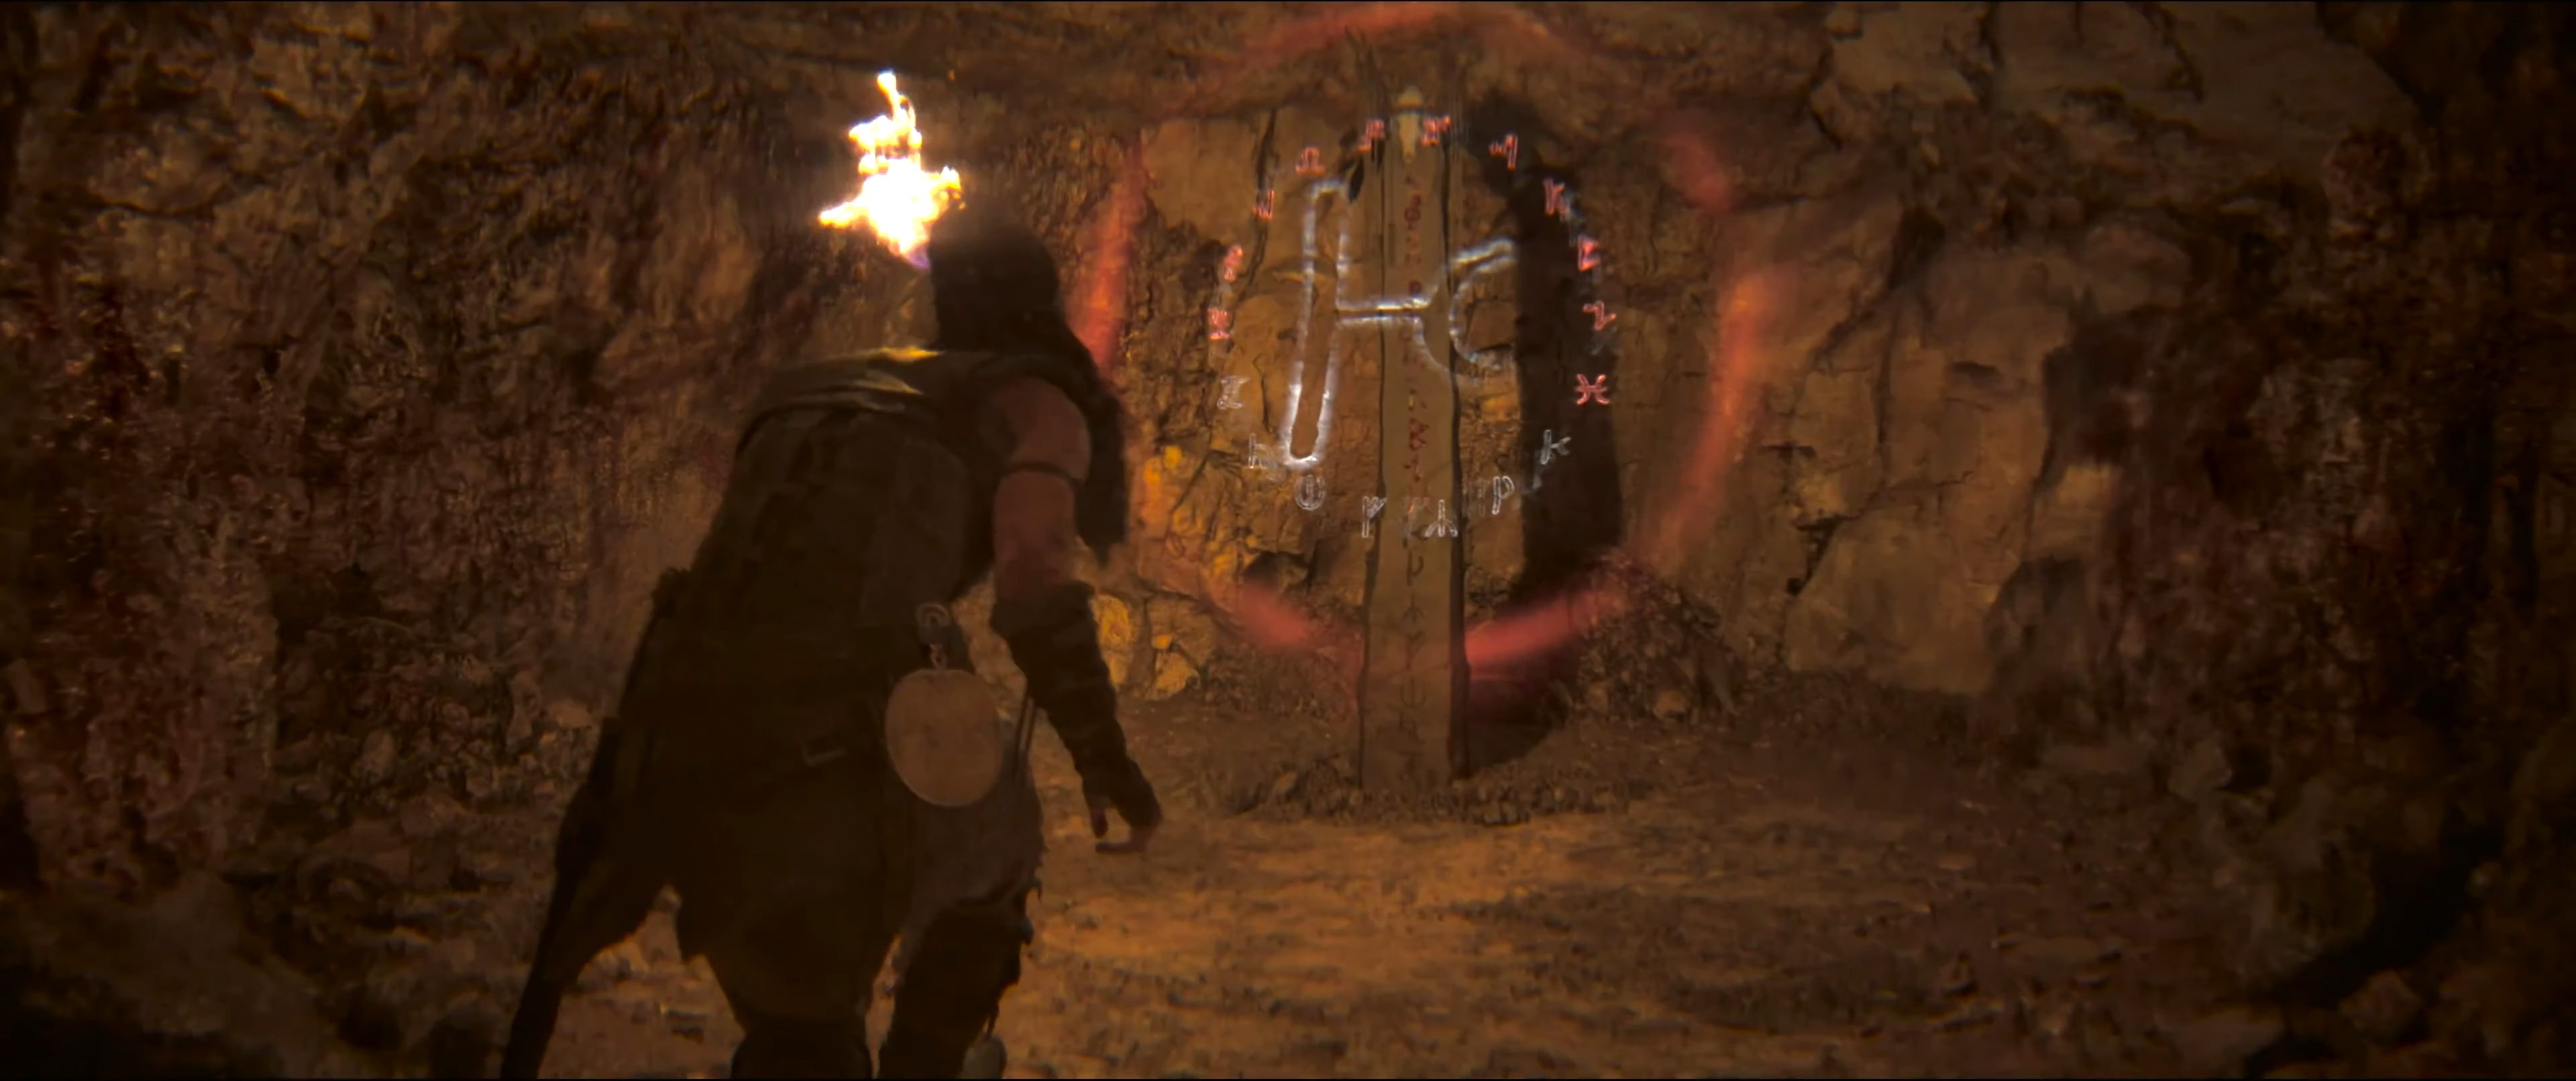
The first time you interact with the blue fire to make a bridge, go across and hug the right wall to find a secret point you can drop down from.
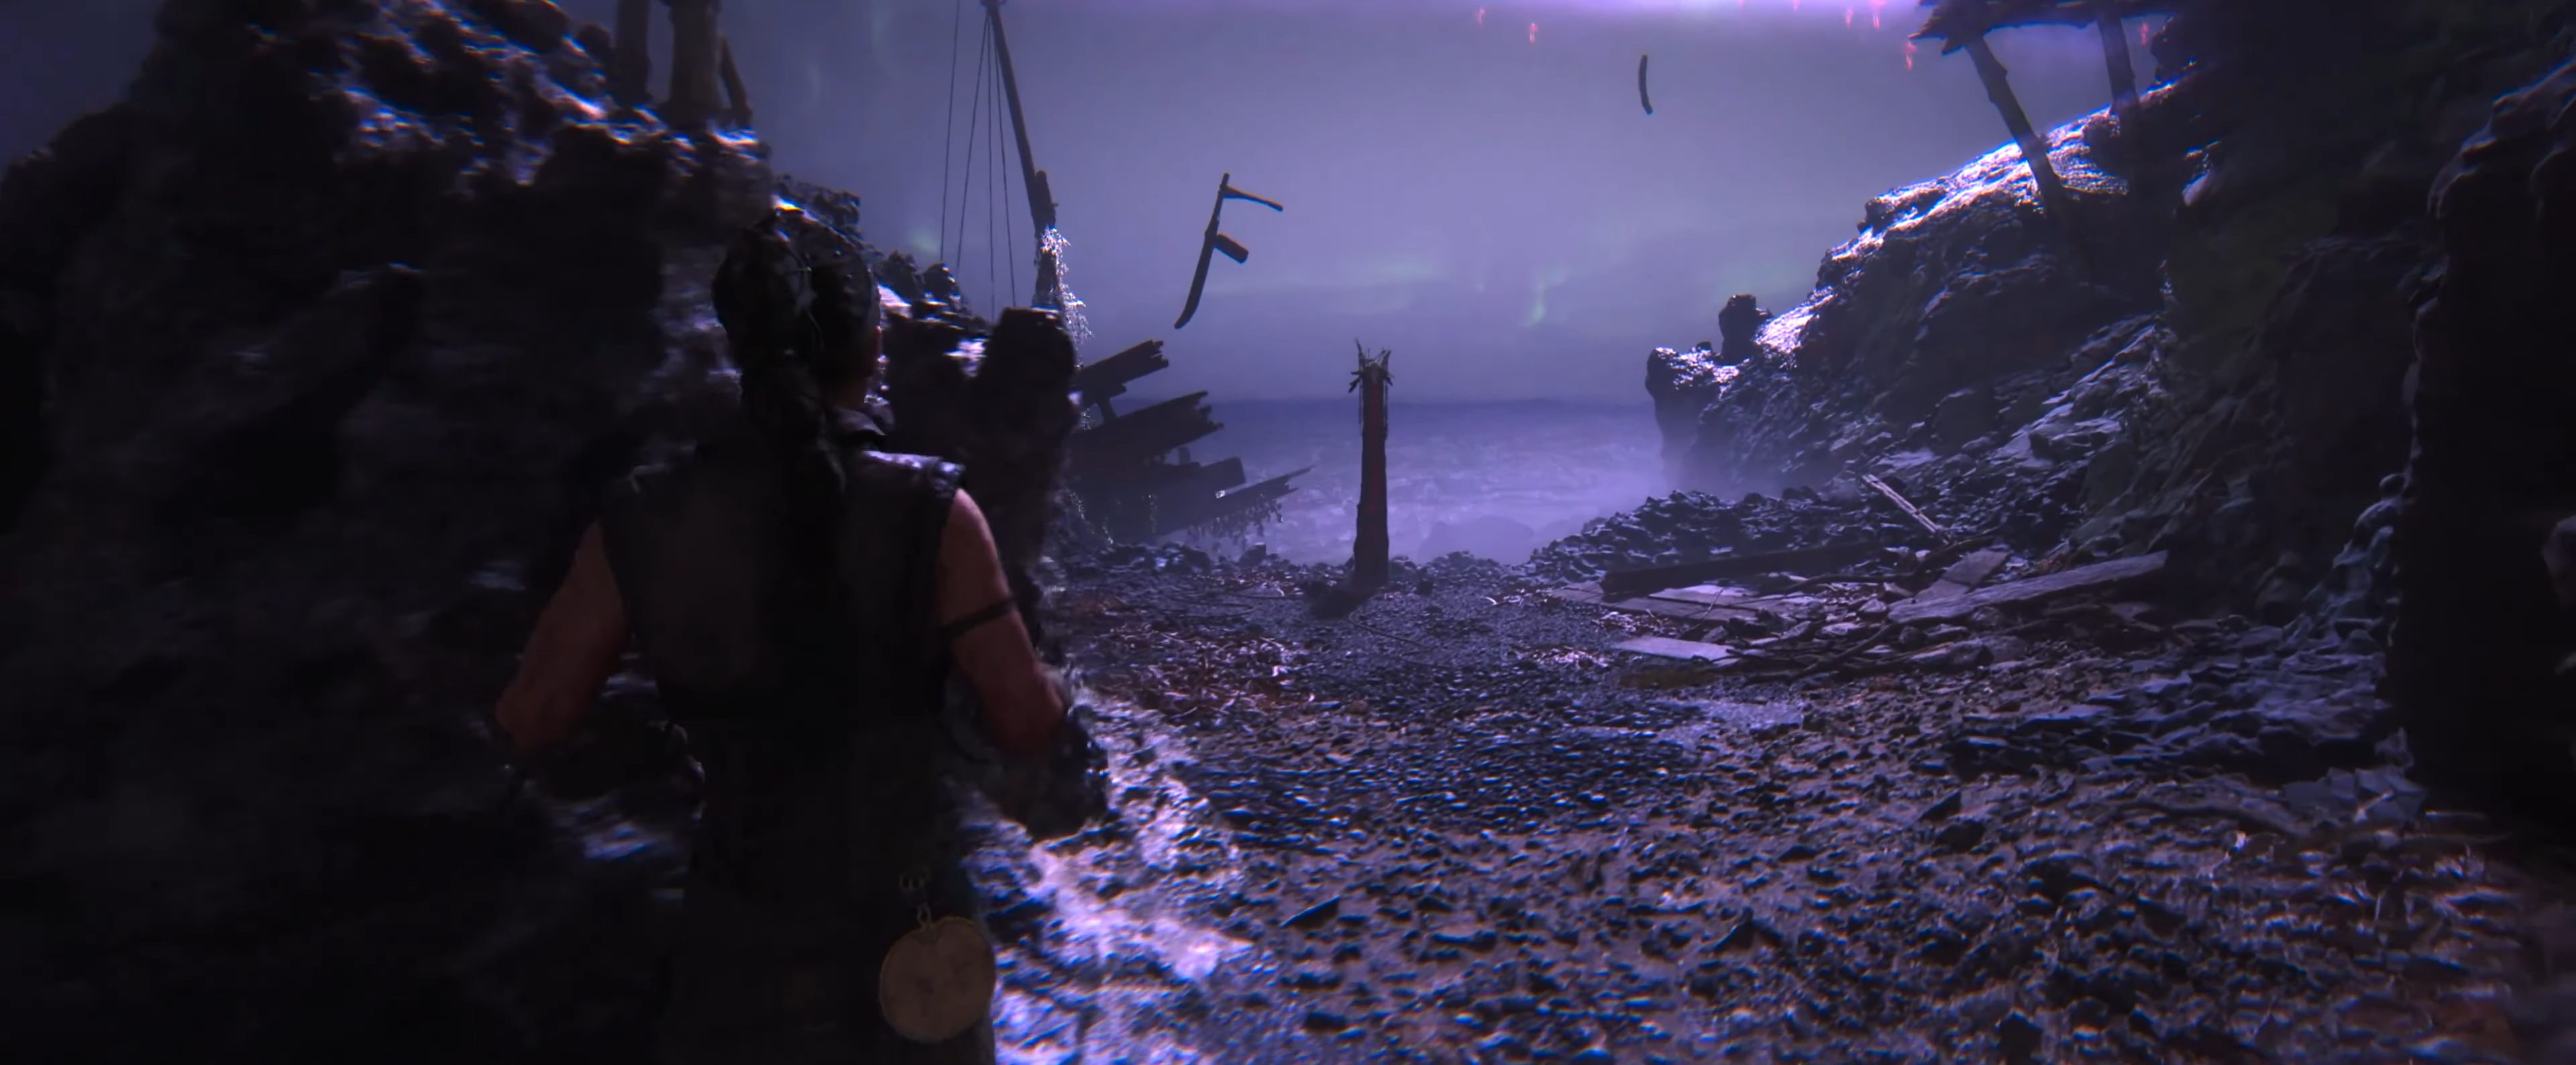
Farther into the chapter, after you escape the cave and the shadowy monster, you will squeeze into an opening with some daylight shining in from above and floating rocks around. Ahead, you will drop down a ledge and need to head right instead of left.
Chapter 5 Lorestangiers
There are no Lorestangirs in Chapter 6, so the remaining four are all in this chapter.
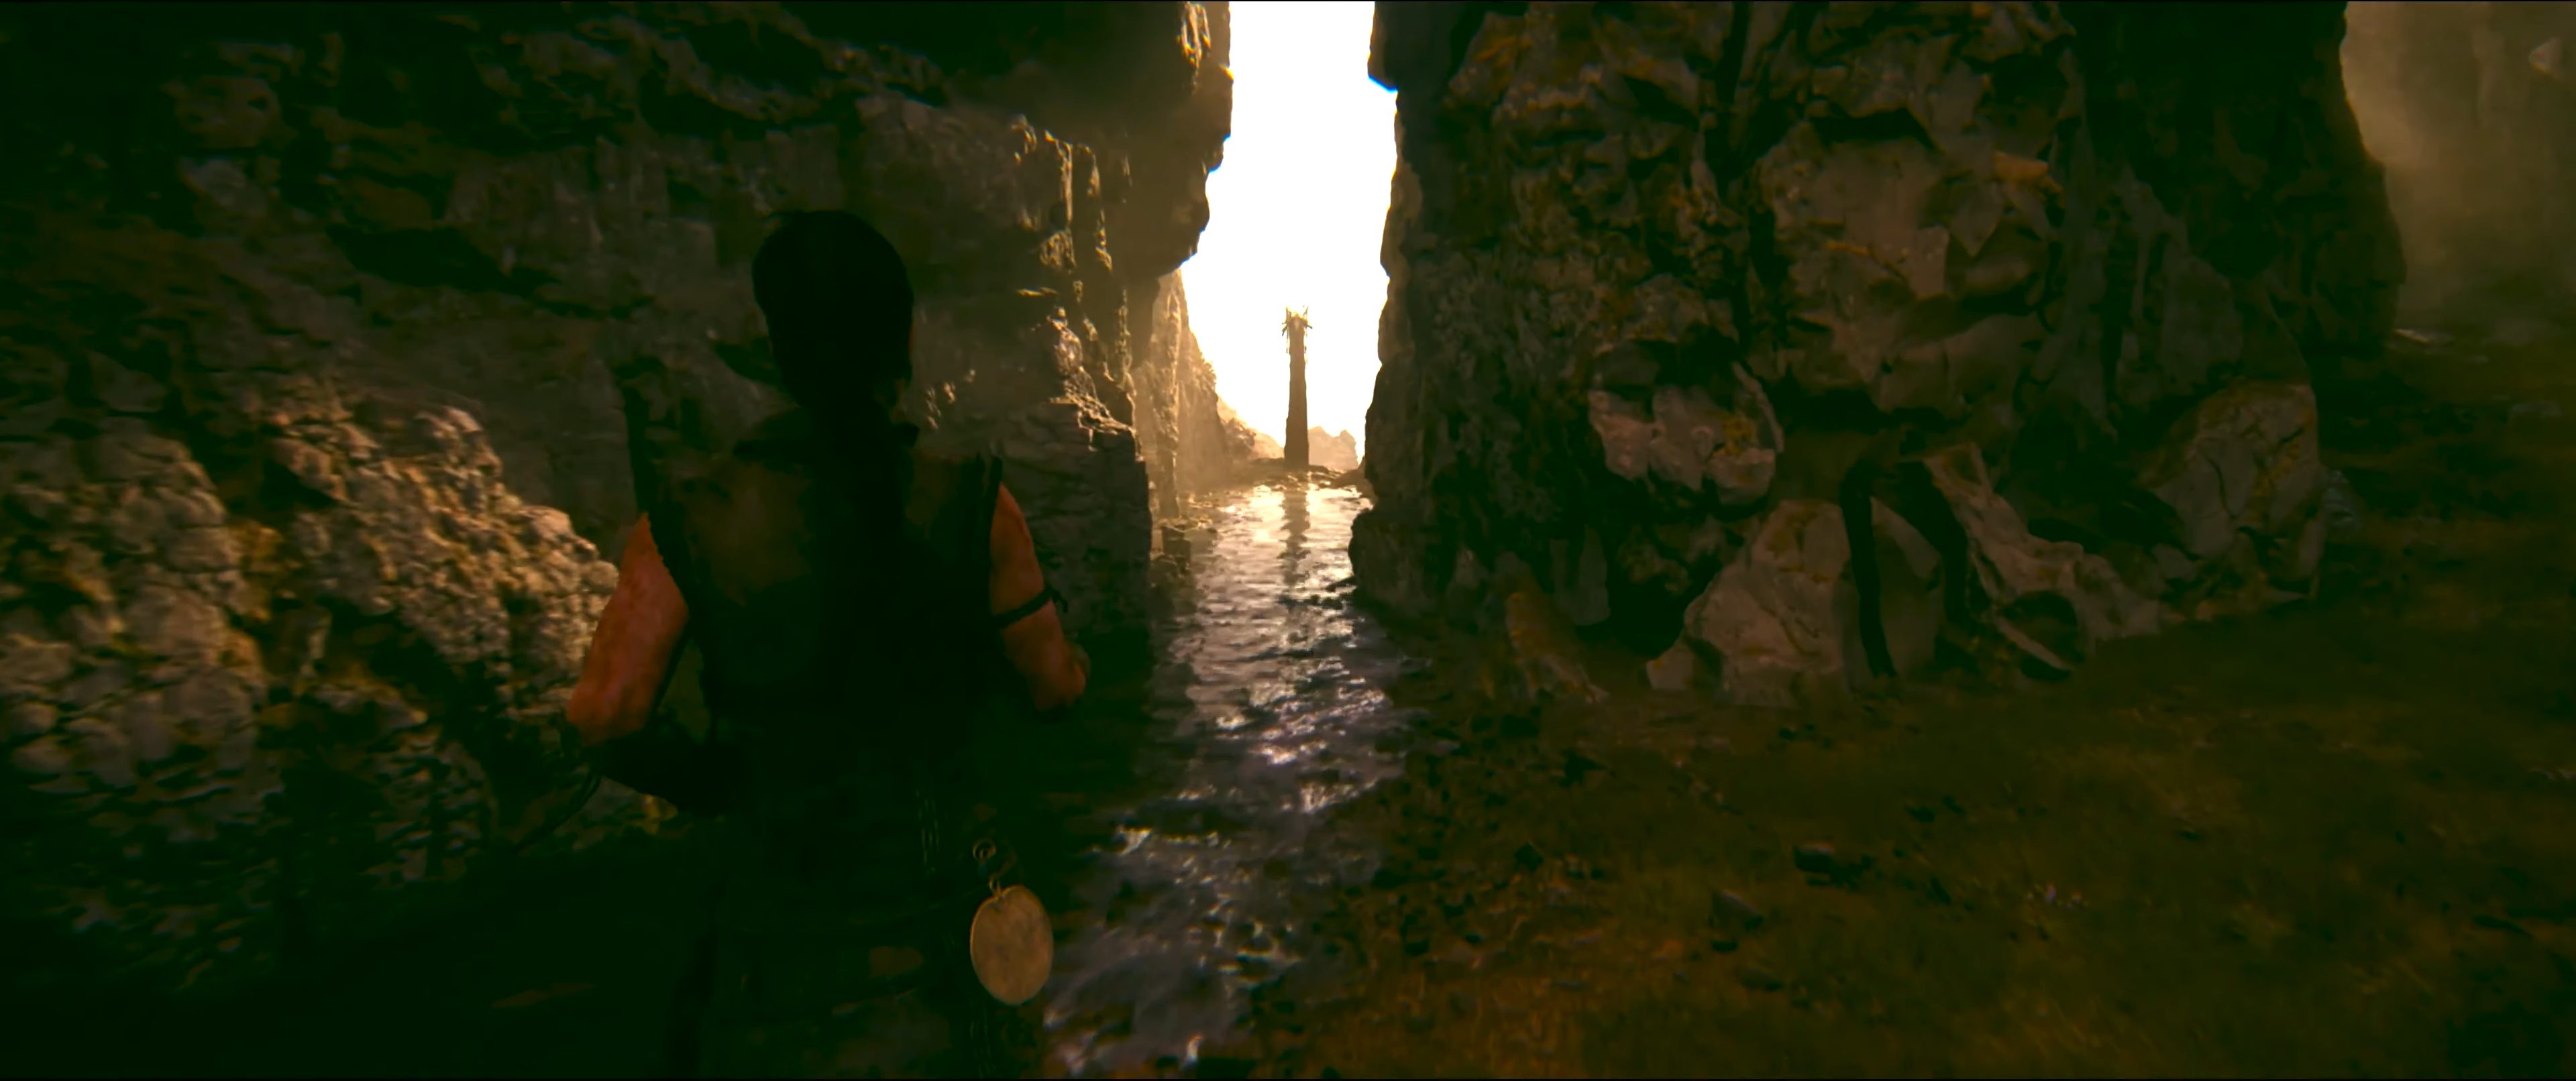
Proceed as normal until Senua is separated from the others. You will go down and then up a hill and encounter a waterfall. Enter the cave near it and turn right to follow the water to the totem.

After a cutscene where you are reunited with one of your companions, follow her until you squeeze through a gap. Go over the next set of ledges and then turn right to duck under some rocks to find the Lorestangir.
When you hit the puzzle on the beach, take the right path and spot the first glyph. Drop down and go through the green mist and squeeze through a gap to the shore to find the totem.
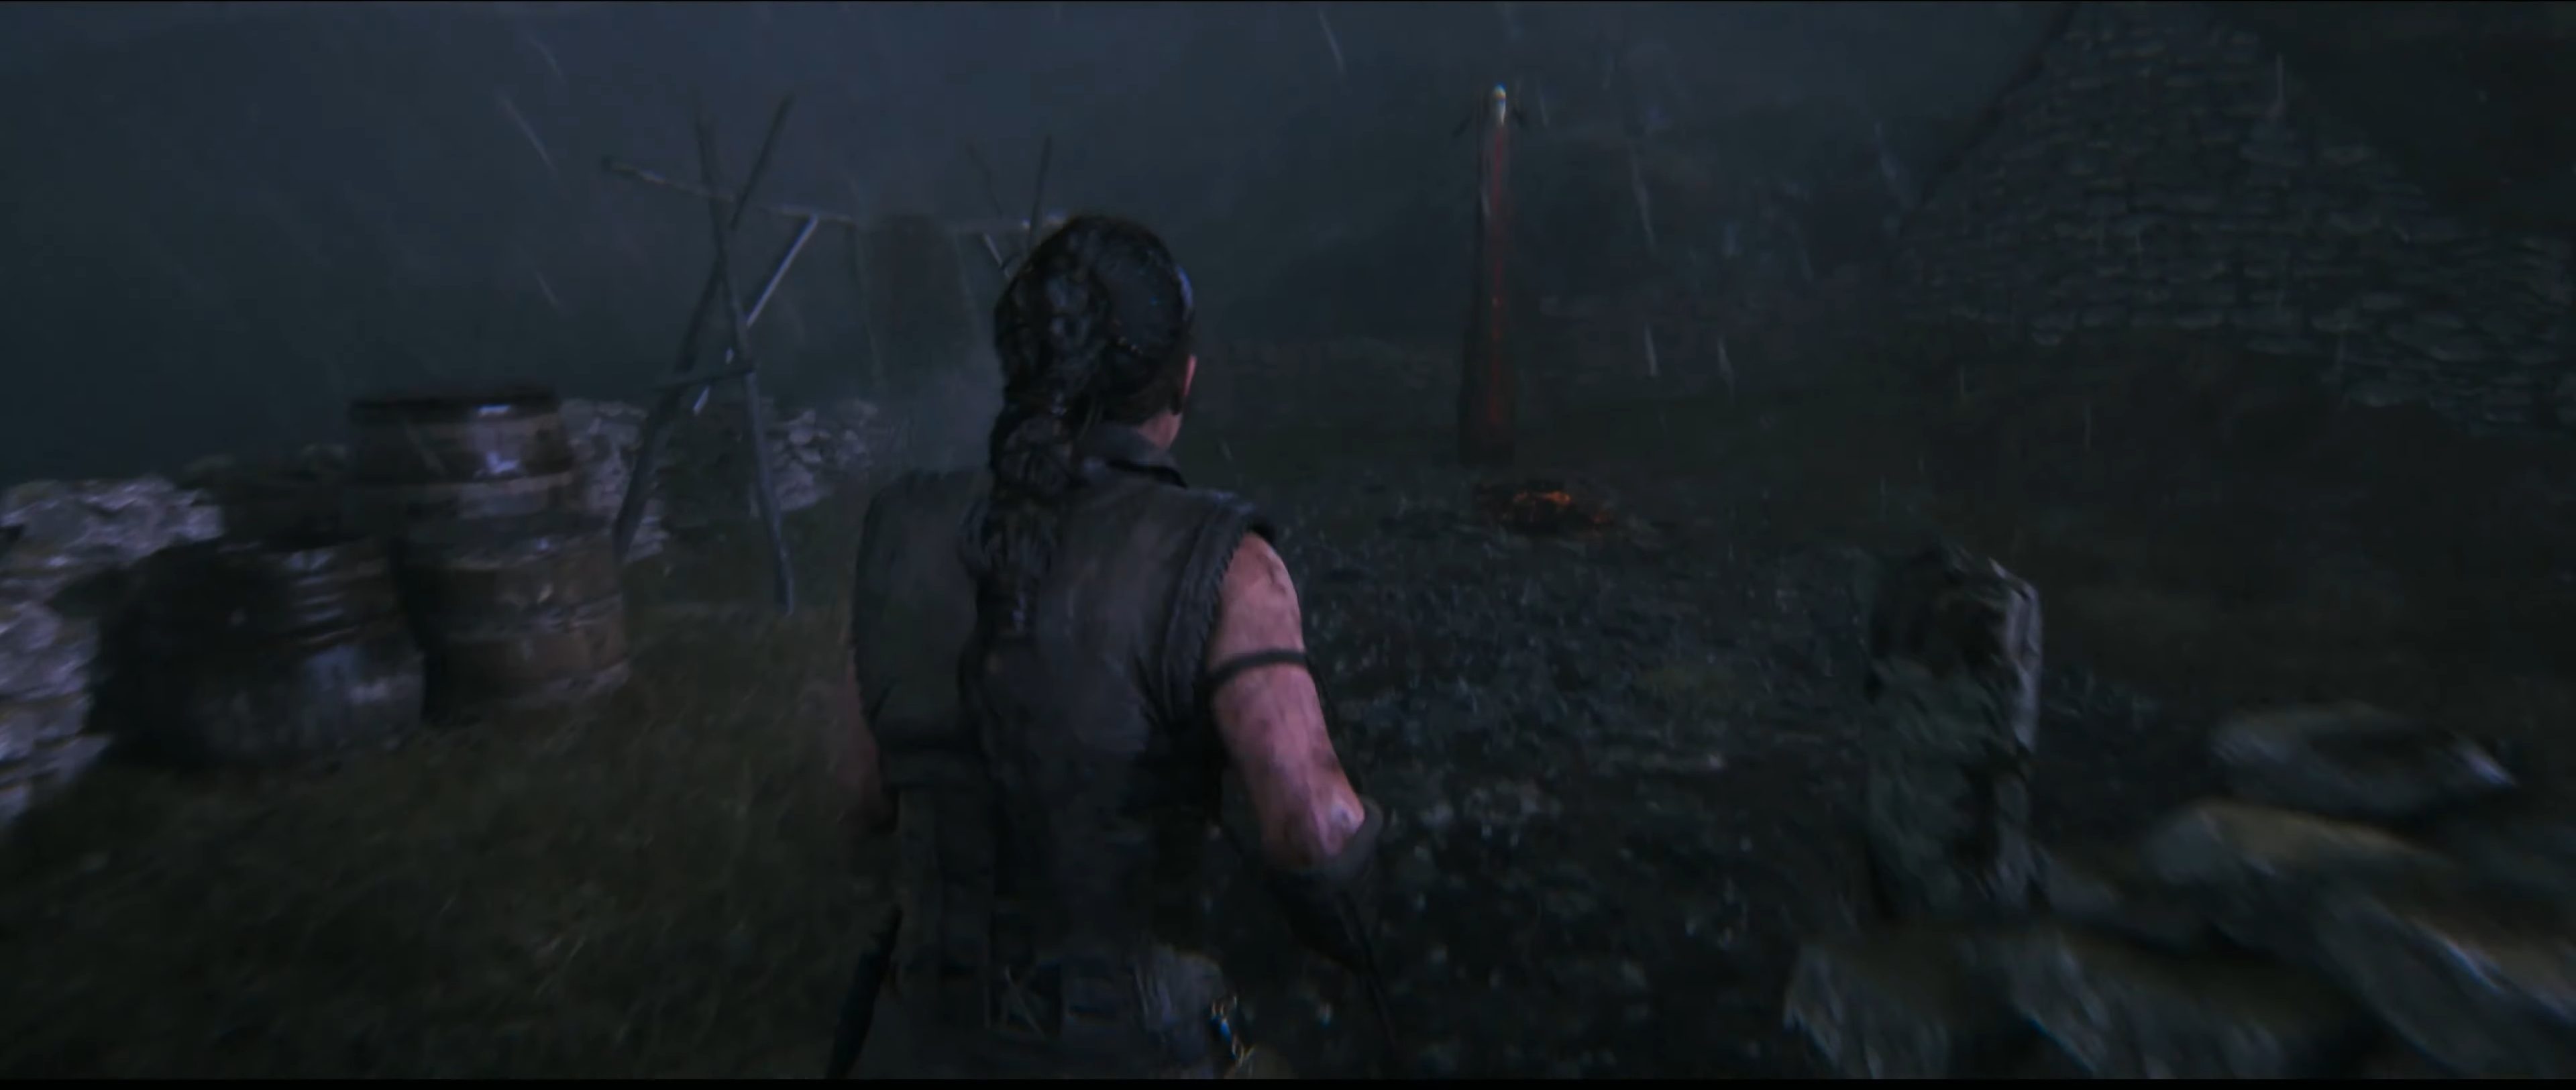
The last totem is in the village during the thunderstorm. Go down the main street past four huts and take the left path up the hill and go to the left to reach the final Lorestangir.


