While most iPad apps have built-in sharing features, taking a screenshot is still one of the easiest ways to capture information from your iPad. Whether that's an interesting news article or recipe, directions to your favorite restaurant, or a cool scene from one of your favorite games from the App Store, iPadOS makes it easy to capture a quick image of whatever's on your iPad and either save it for future reference or share it with your friends and family.
See more
- How to take a screenshot on a Chromebook
- How to take a screenshot on a Mac
- How to take a screenshot on an iPhone
Note that while you can capture a screenshot from just about any app on your iPad — even games — screenshots taken in premium streaming apps like Netflix and Disney+ will result in a black image rather than a still frame of the movie or TV show you're watching. This is not a bug — these apps are specifically designed to prevent you from capturing screenshots for copyright reasons.
How to take a screenshot on an iPad without a home button
The process for taking screenshots differs slightly depending on which iPad model you have. Here's how to take a screenshot if your iPad has an edge-to-edge screen with only a side button and no front home button, such as the iPad Pro (2022), iPad Air (2022), iPad mini (2021), or iPad (2022).
Step 1: Make sure whatever you want to take a screenshot of is shown the way you want on your iPad.
Step 2: Simultaneously press the top button (located on the top-right edge when holding your iPad in portrait orientation), and either one of the volume buttons.
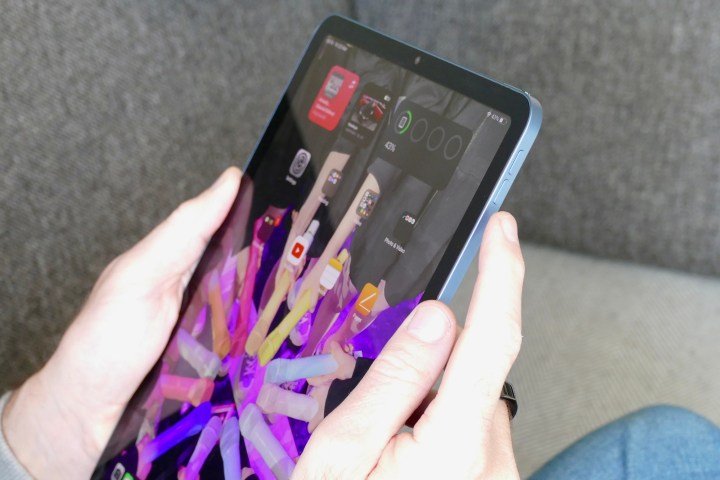
Your iPad screen will flash momentarily, and a thumbnail preview of your screenshot will appear in the bottom-left corner of your screen. You'll hear a shutter-click sound if your iPad isn't in silent mode.
Step 3: After a few seconds, the thumbnail preview of the screenshot will disappear, or you can swipe it off the edge of the screen to dismiss it manually. In either case, the image will be automatically saved to your Photos app.
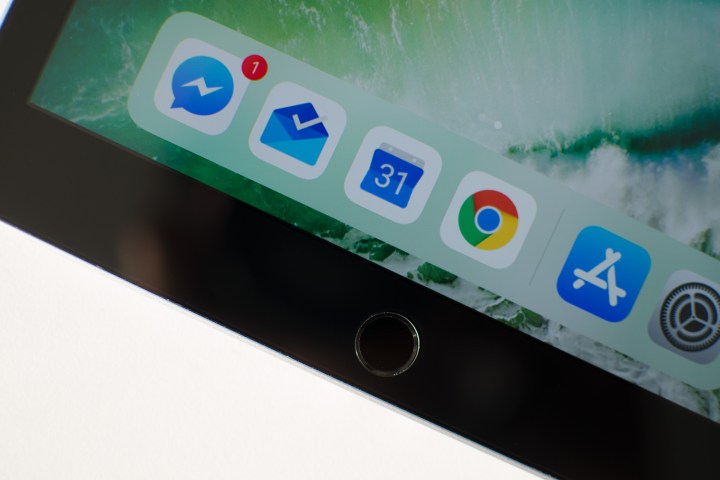
How to take a screenshot on an iPad with the home button
If you have an older iPad model with a home button on the front, such as the iPad (2021), then the process to take a screenshot will be slightly different — and it can also be a bit trickier since you'll need to use two hands.
Step 1: Make sure whatever you want to take a screenshot of is shown the way you want on your iPad.
Step 2: Simultaneously press the top button (located on the top-right edge when holding your iPad in portrait orientation), and the home button. Unlike the newer iPads, this is a two-handed operation, so make sure you press them at the same time; otherwise, your iPad may simply turn off instead of capturing a screenshot.
Once you've successfully captured a screenshot, your iPad screen will flash and a thumbnail preview of your screenshot will appear in the bottom-left corner of your screen. As with the newer iPads, you'll also get a camera-like shutter-click sound as confirmation, assuming your iPad isn't in silent mode.
Step 3: Wait for the thumbnail of the screenshot to disappear or swipe it off the edge of the screen to dismiss it manually. You'll be able to find the image saved in your photo library in the Photos app.
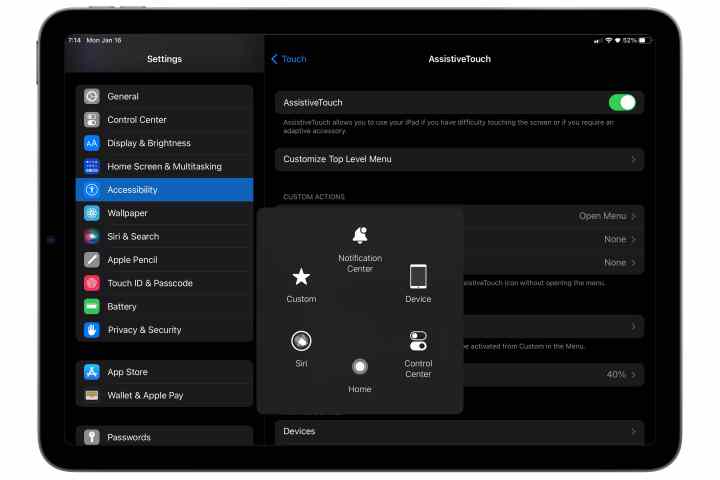
iPad screenshot Accessibility options
If you're unable to press the two physical buttons at the same time, then Apple's AssistiveTouch accessibility feature offers an entirely buttonless way to capture a screenshot.
AssistiveTouch is designed to help you perform a range of more complex touch-based commands on the iPad through a simple menu that is just a few taps away. This can be handy for many things, one of which is an alternative way to get screenshots. Here's how to turn it on.
Step 1: Open the Settings app.
Step 2: Select Accessibility.
Step 3: Select Touch.
Step 4: Select AssistiveTouch.
Step 5: Toggle AssistiveTouch on. You'll see the AssistiveTouch button appear on your screen, which resembles a series of faded, concentric circles.
Step 6: Select Double-Tap.
Step 7: Select Screenshot.
Step 8: Swipe up or press the home button to return to the Home Screen. The AssistiveTouch control should remain visible on the screen.
Step 9: When you find a screen that you want to save an image of, double-tap the AssistiveTouch button. Your iPad display will briefly flash white, and you'll also hear the same shutter noise that you do when taking a picture in the Camera app, as long as your device isn't in silent mode.
Step 10: A thumbnail of the screenshot will appear in the bottom-left corner of the screen. After a few seconds, this will disappear and the screenshot will be automatically saved to your photo library. You can also swipe it away at any time to save it to your photo library immediately, or tap on it to crop, annotate, or share it using the steps described earlier.
How to screenshot with Apple Pencil
If you have an Apple Pencil, you can also use that to take a quick screenshot, which is even handier when you're already working with your stylus.
Step 1: Swipe your Apple Pencil from the bottom-left corner of your screen up toward the center.
The bottom-left corner is the default setting, with a swipe from the bottom-right used for the Quick Note feature. This can be changed in the iPad Settings app under Apple Pencil > Pencil Gestures.
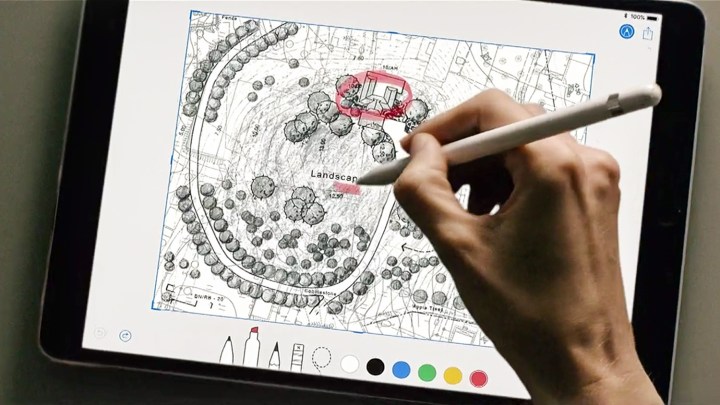
Step 2: You'll see and hear the same flash and shutter-click sound that occurs when taking a screenshot with the buttons. However, when using the Apple Pencil, you'll be taken directly to the editing and annotation screen.
Step 3: Perform any edits or markup you want on your screenshot.
Step 4: When finished, select Done in the top-left corner to save your screenshot. You can also use the Share button in the top-right corner to share your screenshot in the normal way.

How to edit and annotate a screenshot
Once you've successfully captured a screenshot, you'll see a small preview in the bottom-left corner of your screen. This thumbnail will automatically disappear in a few seconds, or you can swipe it to the left to dismiss it manually. In this case, the screenshot gets tucked away safely in your photo library, and you can carry on with whatever you were doing before.
However, you can also pull up the screenshot to make some quick edits and annotations before that happens. Here's how.
Step 1: After taking a screenshot, select the thumbnail that appears in the bottom-left corner of your screen.
Step 2: Your screenshot will open in a simplified editing window, ready to be cropped or annotated.
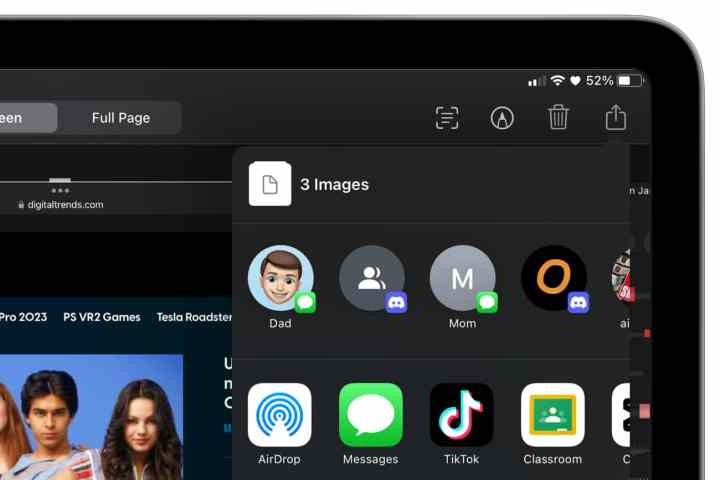
Step 3: For screenshots taken from certain supported apps, such as Safari or Mail, you may also see two extra buttons at the top. In this case, you can choose Screen to save a normal screenshot that includes only what's shown on your screen or Full Page to capture an entire article, web page, or email. This can be annotated and cropped in the same way as any other screenshot, but the results will be saved to a PDF file in the Files app rather than your Photos library.
Step 4: To save only a portion of your screenshot, adjust the cropping handles to draw a box around the portion you want to keep. You can also use the standard pinch-to-zoom gesture to enlarge a portion of your screenshot.
Step 5: You can also add markup and other annotations to your screenshot by drawing with your finger or an Apple Pencil. Several annotation tools can be found in the annotations panel on the editing screen, along with Undo and Redo buttons so you can walk back any edits you don't like.
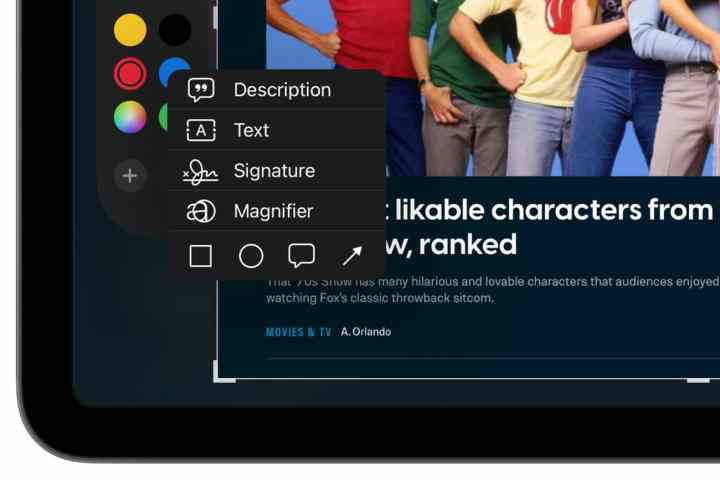
Step 6: You can also add advanced annotations, such as a text box, magnifier loupe, or your signature, by selecting the Plus button and choosing the appropriate options from the pop-up menu that appears.
Step 7: When you’re finished making edits, select Done in the upper-left corner.

Step 8: Choose Save to Photos or Save to Files to save the resulting image to your photo library or a destination in the Files app, respectively. You can also select Delete Screenshot if you've changed your mind and don't want to save it.
How to share a screenshot
You can also share a screenshot with any of your contacts directly from the editing screen. This is both a fun way to show your friends and family members what you're up to, and also handy for quickly sharing information such as directions and maps, articles, and snippets of text.
Step 1: After taking a screenshot, select the thumbnail that appears in the bottom-left corner of your screen.
Step 2: Crop and annotate the screenshot if desired.
Step 3: When you're ready to send it out, select the Share button in the top-right corner. The standard iPadOS sharing options appear.
Step 4: Choose an option from the row of icons at the top to quickly share with one of your frequent contacts or an option from the second row to share via a specific app such as Mail or Facebook or send to another device using AirDrop. You can also find the usual sharing options here for saving your screenshot to other apps like Notes.