Summer is road trip season, which often means it’s also car maintenance season. If you’ve just driven halfway across the country and back, you’ll want to change the engine oil and rotate your tires. Don’t fret if you don’t have access to a lift — jacking up a car is easy, quick, and 100% safe if you take basic precautions. Here’s what you need to know.
- What you will need
- What to understand before jacking your car up
- Step 1: Park your car on level ground
- Step 2: Secure your car in place
- Step 3: Locate the suitable jack points
- Step 4: Position the floor jack under the appropriate spot
- Step 5: Slowly raise the jack until it meets the car
- Step 6: Raise the car
- Step 7: Test the raised vehicle’s stability
- Step 8: Use extra jack stands
- Step 9: Lower your car back down
What you will need
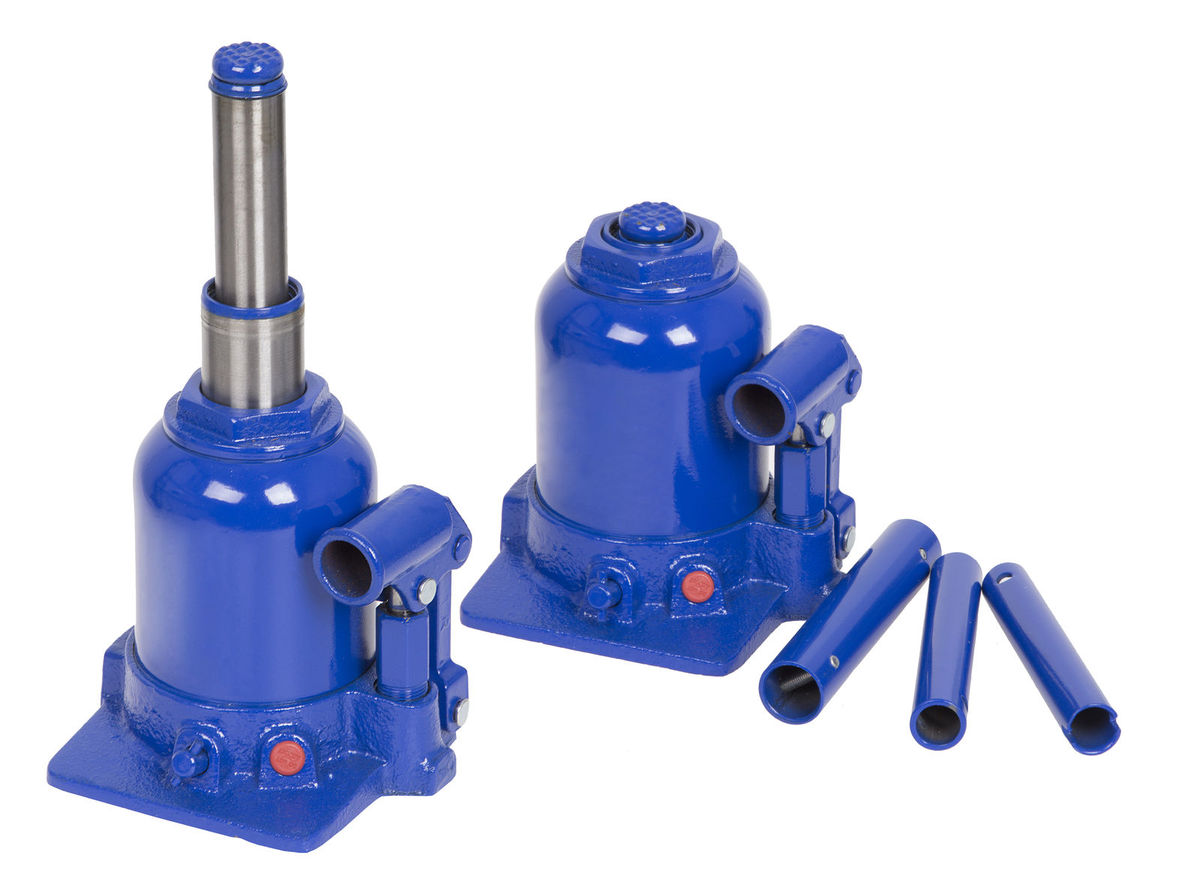
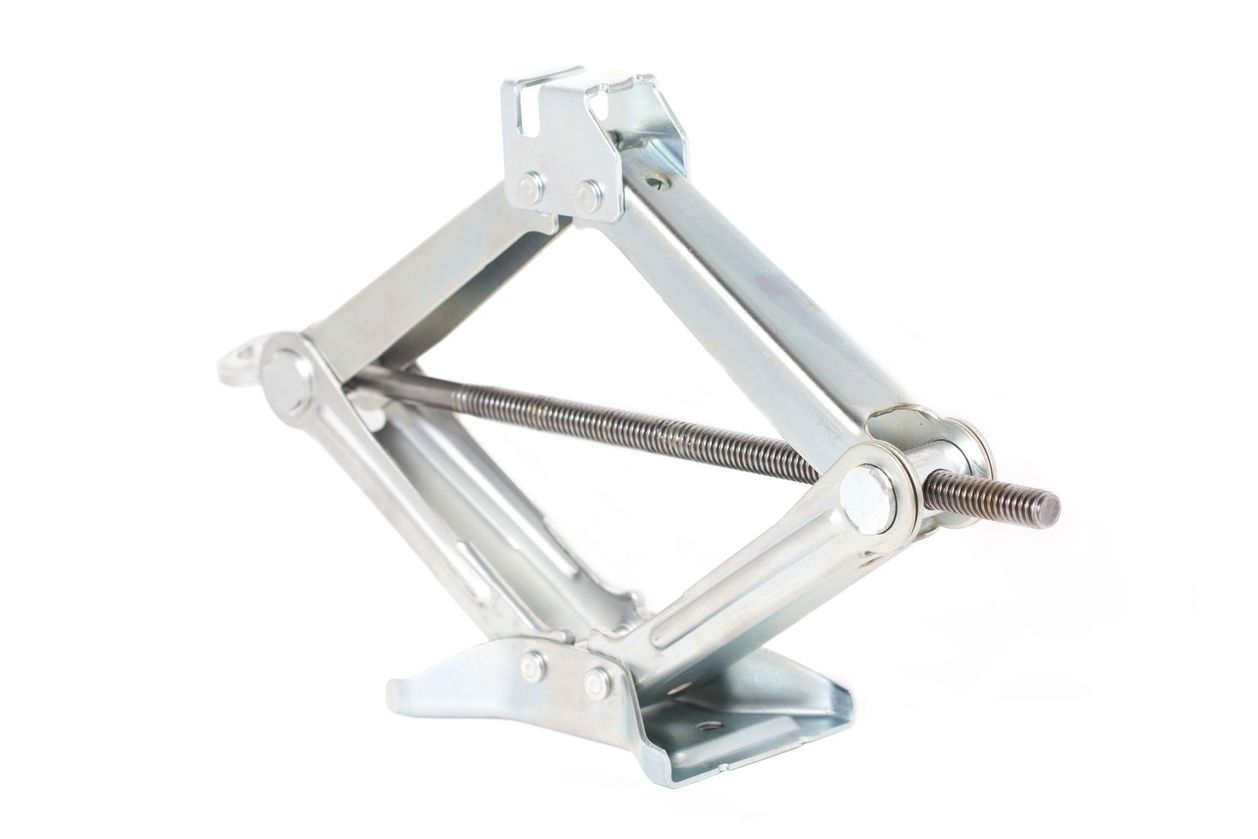
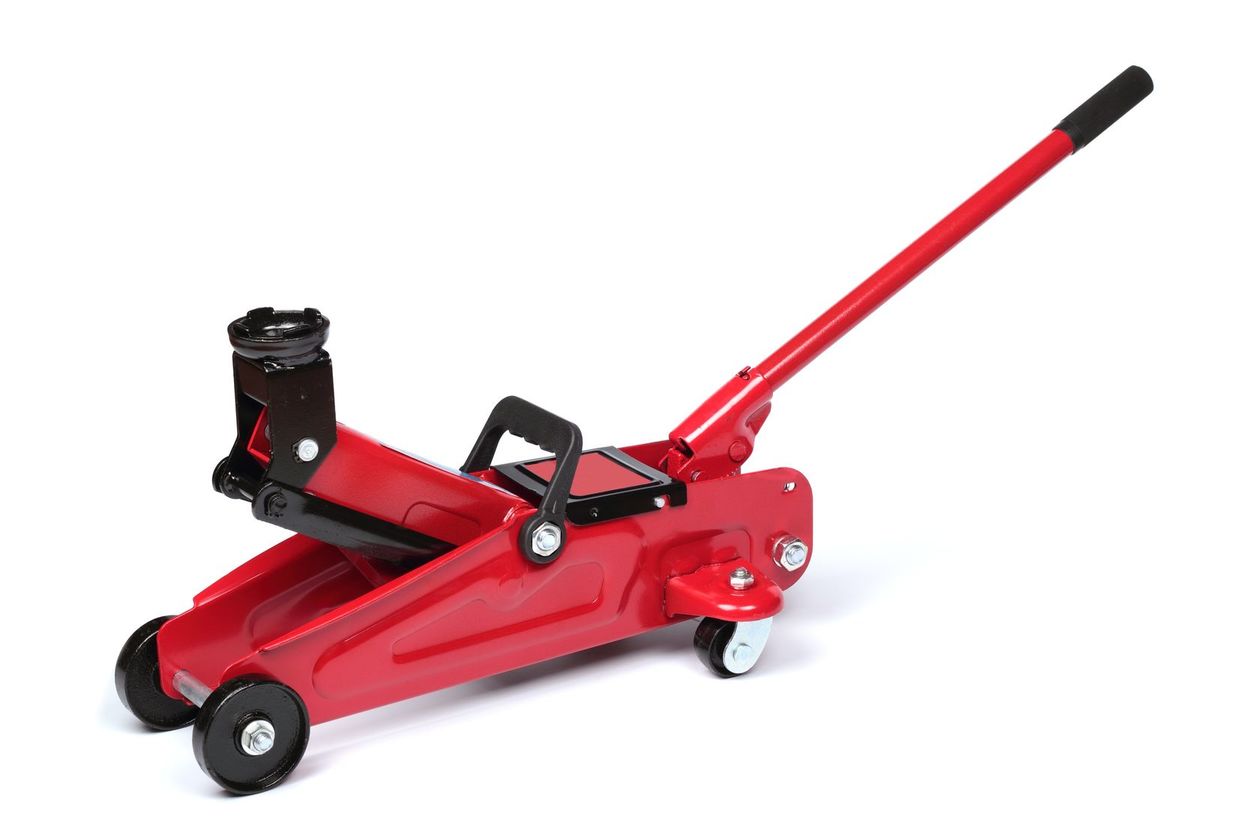
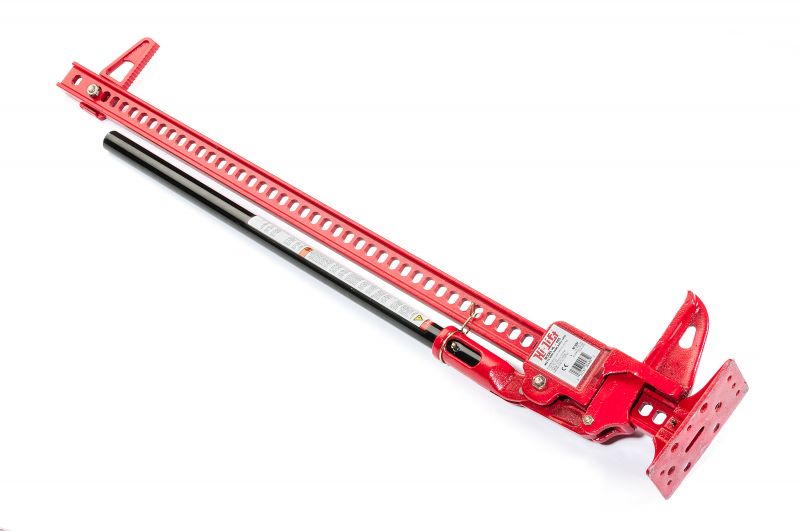
The only tool you need is a jack. Nearly every car comes with one, it’s usually in the trunk, but there are aftermarket options which are sturdier and easier to use. We recommend using the factory jack if you’re simply changing a flat tire, but it’s wise to invest in a hydraulic unit if you need to crawl under your car on a regular basis.
Here are some of the most common types of jacks:
Alternatively, you can use a set of floor ramps if the wheels don’t need to come off. Floor jacks and ramps are relatively affordable and available at every auto parts store or online. For example, a set of RhinoRamps costs less than $50, while a traditional floor jack rated at 3 tons (6,000 pounds) can be bought for around $100. Jack stands are useful, too, but be careful if yours come from Harbor Freight. In May 2020, the company recalled 1.7 million jack stands that can suddenly collapse due to a defect. It then recalled the replacement stands it gave its customers.
There are other, optional tools that can make your life easier:
- The car’s owner’s manual (to reference engine oil types or bolt torque ratings)
- Jack stands (to add extra stability and safety, especially if you’re tackling a longer job)
- Several pieces of wood capable of bearing weight (to protect your car’s underbody)
- Cinder blocks or similar (to block the wheels)
- Additional lighting equipment (to improve visibility)
- Heavy-duty utility gloves (to protect your hands)
What to understand before jacking your car up
First, ask yourself which part of your car needs to go up in the air. For instance, if you need to change your oil, you should be raising the end of the car that houses the engine. For most cars, it’s at the front, but in some, it’s in the middle or at the rear. If you just need to change a tire, it’s the corner that’s flat that needs to get off the ground.

Additionally, keep in mind there are four wheels, so four points where the vehicle’s total weight is distributed. If your car weighs 4,000 pounds, you’ve got approximately 1,000 pounds weighing down each wheel, though the its layout and its weight distribution could alter this equation. Floor jacks and stands vary in weight capacity, so read the fine print carefully before you buy to ensure what you take home is sturdy enough for the job.
Step 1: Park your car on level ground
Always raise your car on level ground. If you don’t, it could roll or slip off the jack. It’s also best to park it on a hard surface, like tarmac, instead of on grass or on a dirt road.
Step 2: Secure your car in place
Straighten the steering wheel, put the car in park (or in first gear if you have a manual transmission; never in neutral), and firmly engage the parking brake. This keeps it from moving unexpectedly when you’re under it.
Step 3: Locate the suitable jack points
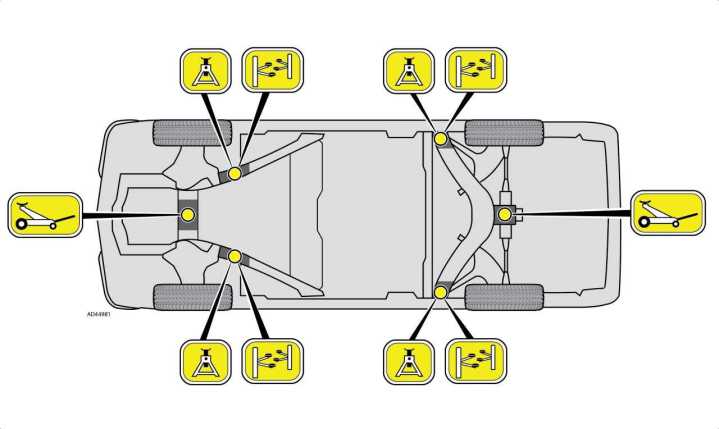
On every car, there are specific spots where a jack plate is welded to the body. This is where the jack needs to go, because not every spot under a car is load-bearing. You can find this information in your owner’s manual, or online. Jack points are normally behind the front wheels and in front of the rear wheels; the diagram below is an example.
Step 4: Position the floor jack under the appropriate spot

In our case, it was in the middle of the crossmember. Place the optional pieces of wood on the jack plate to wedge in between the car’s jack point and the jack itself. This minimizes the risk of damaging the vehicle.
Step 5: Slowly raise the jack until it meets the car
If you’re using a traditional floor jack, make sure the release valve is closed, which is typically done by rotating the main lever clockwise. Then, start raising the jack until it’s in contact with the part of the car going up in the air and check that nothing has moved before you go further. Keep an eye on how it comes in contact with the body.

- Side tip 1: If you need to remove the wheels, remember to loosen the wheels with a lug wrench before they come off the ground.
- Side tip 2: Do not use suspension components as jack points! They are generally not load-bearing and you could damage them. There are exceptions, but since this is a DIY for newcomers, we’ll keep those out for now.
Step 6: Raise the car

Watch how the car moves as you jack it up and stop immediately if it’s tilting to one side. If everything checks out, raise it high enough so that you have enough space to work. You don’t want your rib cage rubbing against the oil pan, but you also don’t need it eight and a half feet off the ground to change a fuel filter.
Step 7: Test the raised vehicle’s stability
Firmly shove the car atop the jack when the vehicle reaches the height you need so that you ensure full stability.
Step 8: Use extra jack stands
The whole reason you’re using a car jack is to lift the car up. Unless you’re switching out the wheel, we highly advise against using the jack as an anchor. Use the jack stands to secure the vehicle in its position. Make sure to put the jack stands in the correct place before you crank up the jack and allow your car to put its weight down on them.

Step 9: Lower your car back down
It’s critical to disassemble your jack stands before you start to lower your car. You cannot overlook this step, as it can be dangerous if ignored. If you are replacing a wheel, make sure to put it back on with the lug nuts you tightened with your hands. After the tires have made contact with the ground, you can finish tightening them to full capacity using a wrench. Once you’re done, go back to steps five and six and perform them in backward order. If you’re using a standard jack, you’ll need to use a counterclockwise motion to open the release valve. If you’re using a scissor jack, you’ll need to crank in a counterclockwise motion. In all cases, it’s crucial to perform these actions slowly and carefully.
Do not remove the floor jack until your tires hit the ground and your car is in a comfortable position. Now that you know how to use your jack, you’re prepared to take on any jack-requiring situation that comes your way.
