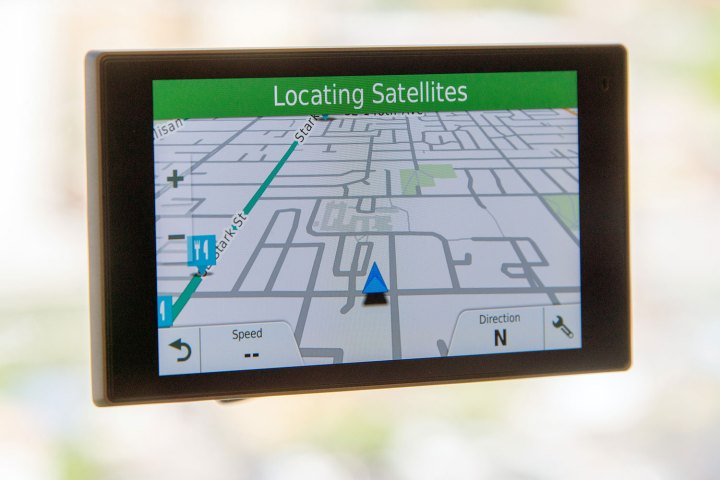
Streets and routes change constantly, and if you don’t keep your GPS current, you’re bound to be that person sitting in the middle of nowhere cursing at your dashboard. Fortunately, keeping your GPS unit updated is easy, especially with Garmin’s Express software, which essentially reduces it to plugging the device into your computer and letting the software work its magic. You can use Express whether you’ve got a Drive, DriveAssist, Zumo, Nuvi, or any other model in Garmin’s lineup. Here’s an easy, step-by-step guide on how to update a Garmin GPS.
Step 1: Connect your device to your computer
Before beginning the update, connect your Garmin GPS device to a computer. To do this, remove it from your car, truck, or motorcycle, and make sure the device is powered on. Using a mini USB cable, hook the GPS to your laptop and wait while the progress bar scrolls. If you’ve connected the device before, prompts should begin automatically. If it’s your first time, you might need to manually sign in to your Garmin account before starting.
Step 2: Install Garmin Express
Next, you’ll need to make sure Garmin Express is installed on your computer by navigating to the Garmin Express download page and selecting either Download for Windows or Download for Mac. Once the appropriate file downloads, click the install button and follow the on-screen prompts. As mentioned above, Garmin Express works with all GPS units, including Drive, DriveSafe, Nuvi, and Zumo.
Step 3: Access or purchase updates
Now it’s time to install your updates. If Garmin Express hasn’t already opened on your computer after installing, select it, and make sure your internet connection is working properly. Click Add a Device and locate your GPS. The app will search for any available updates and offer you a list. Click Select All and keep your device connected while the updates install. Once complete, you’ll have all available apps that are either free or came standard with your device. If you didn’t purchase lifetime updates, you may need to purchase them at this time.
When you’ve finished installing the free updates (or purchased anything new), select Eject to safely disconnect your device and unplug the USB cable. Once unplugged, simply install your GPS back in your desired vehicle, and rest assured your directions will (hopefully) be accurate.


