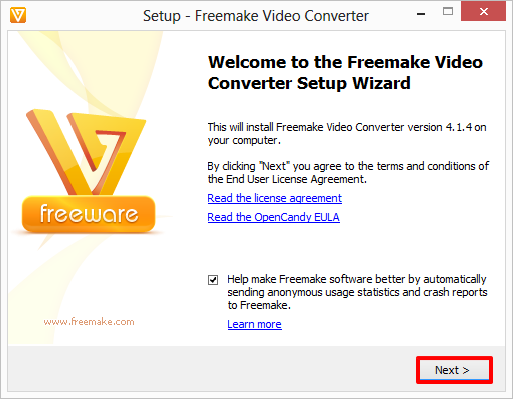
Freemake Video Converter for Windows offers multiple options for converting your audio and video files to other formats. Using this program, we were able to successfully convert MP4 files to AVI without breaking a sweat.
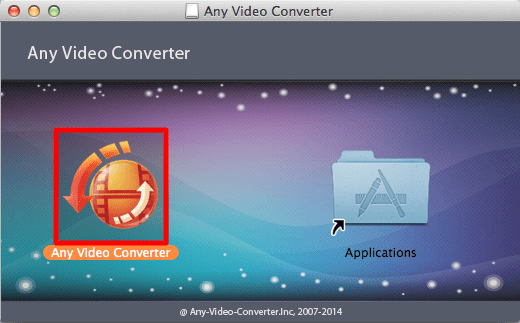
Meanwhile, if you’re using a Mac, your best bet for this task is Any Video Converter, which is the best free media conversion program that’s available for Apple users. With this guide, we’ll show you how to convert your MP4 files to AVI, whether you’re using a Windows PC or a Mac-based computer.
Click here to jump to steps for converting MP4 to AVI on a Mac
How to convert MP4 to AVI in Windows
With Freemake Video Converter, changing your media files from one type to another takes just a few clicks of the mouse. Freemake offers free downloads of its video converter through this website, and it’s compatible with Windows XP, Vista, 7, and 8/8.1.
Step 1 – Download Freemake Video Converter
Once you open the page we linked you to above, click the green download button to the left of Freemake Video Converter at the top. When the download is complete, double-click the installer to begin setting up Freemake, then follow the on-screen instructions. We recommend that you un-check the option to install Conduit Search Protect. Also, choose Custom install, and de-select the bloatware that Freemake Video Converter attempts to load onto your system.

At 78.3MB, Freemake is a pretty small program, and takes just a few moments to install. Click Finish when install is complete, and Freemake Video Converter should launch automatically.
Step 2 – Converting an MP4 file to AVI
Click the +Video button in the upper left corner of Freemake, and find the MP4 file that you want to convert. Once you do, double click on it to add it to the work list.

Step 3 – Click the “to AVI” button on the bottom-left part of Freemake. From here, Freemake offers multiple output options to choose from, including screen resolution, which codecs to use, and more.
Once you’re done customizing the options, choose where Freemake should save the converted file, and click Convert to kick off the process.

Step 4 – Lastly, click Okay in the Success screen to finish the job. Your newly minted AVI file should be located in the destination folder that you specified. To play it, double-click on it like you would with any other video.
Next page: How to convert MP4 to AVI using a Mac
How to convert MP4 to AVI in Mac OS X
Step 1 – Download and install Any Video Converter
Open the link above, and click the button labeled “Download Intel” to start pulling Any Video Converter to your Mac. Once prompted, drag Any Video Converter into your Applications folder.

Step 2 – Open Any Video Converter from your Applications folder. Click Open when your computer asks whether you trust the downloaded application.

Step 3 – Convert an MP4 file to AVI
Click the Add File(s) button in the lower left corner of the screen and locate the MP4 file that you wish to convert.

Open the drop-down menu on the right side of the screen in the “Profile” window and click on the film reel logo at the bottom. Then, select “Customized AVI Video” to set the conversion type to AVI format. Click “Convert Now” to begin the process. After a few moments, Any Video Converter should be spitting out a new AVI for you.

Step 4 – Finding and playing your new AVI
If you want immediate access to the new file, click the “History” tab on the left side of the screen to view the freshly converted video. You can watch the clip from the application itself. Alternatively, you can click on the magnifying glass on the right side of the screen to open the folder containing the finished product.

Did this walk-through teach you how to convert your MP4 files to AVI? If you’re having trouble, let us know in the comments section below.


