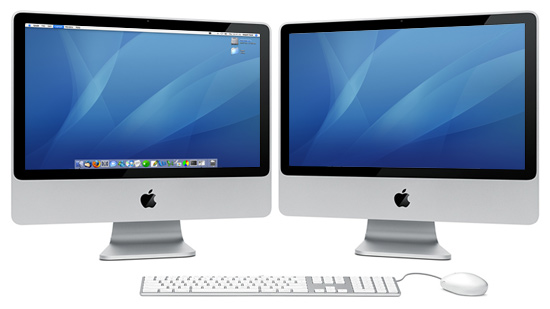
 Perhaps you’re sitting there staring at your iMac and thinking, “You know what? This single monitor is not enough.” If so, go no further because we’ve got the steps to get you hooked up with dual monitor computing.
You’ll need a few items for this process so gather that following items:
– A monitor with a DVI input
– A mini DVI adapter
– A DVI cable
Now that you’ve gathered the necessary items, we can get started.
1. Turn on your iMac.
2. Look on the back side of your computer. You should see an input with an IOI symbol above it. This is the mini DVI port. Plug your adapter into it.
3. Now, hook the DVI cable into the other end of the adapter. Connect that to the other monitor.
4. Plug in and power up the second monitor. Your iMac should immediately recognize the new monitor.
5. Now you’ll need to go into “System Preferences”. To do so click the Apple icon in the upper left corner. Preferences will appear in the drop down menu. Inside that select “Monitors”.
6. Under the “Arrangement” tab you can orient how the two monitors interact with one another. For example, you can select which monitor will be the dominant monitor which will display the dock and the primary opening of applications.


