One place that many computer users take for granted is the desktop. It can be so simple to save an image from the web or a file from an email to the screen you see most. But with this can come clutter, and before you know it, you can have 20 to 30 icons filling your screen.
One way to clean up your desktop but still keep your items organized is by using Stacks. On MacOS, Stacks are groups of files. So, if you regularly save items to your desktop, each time you do, the item will be automatically placed in a Stack.
Let’s walk through how to turn on Stacks, choose how they’re grouped, browse or open the files, and change the appearance of Stacks.
Turn on Mac desktop Stacks
You have three quick and easy ways to enable Stacks on your Mac desktop.
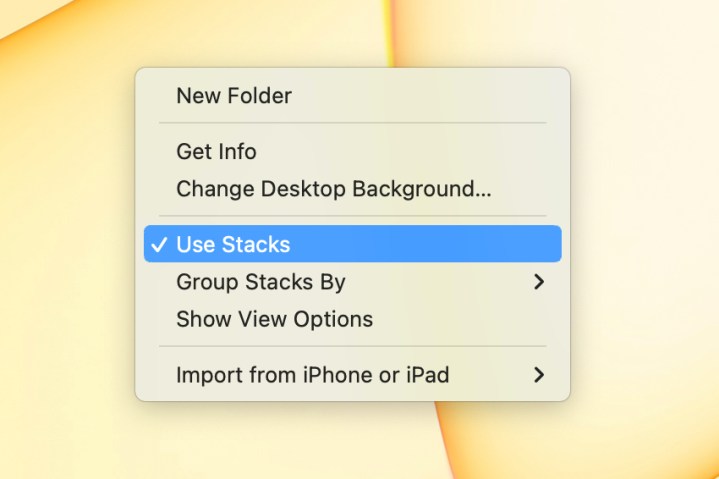
- Click your desktop, select View in the menu bar, and pick Use Stacks.
- Right-click your desktop and pick Use Stacks.
- Press the key combination Control + Command + 0 (zero).
As soon as you enable Stacks, you’ll see your icons move and your files placed into groups.
To stop using Stacks, use one of the above options to deselect Use Stacks or press the above-mentioned keyboard shortcut.

Choose how to group Stacks
The nice thing about using Stacks to stay organized is that you can group them in a way that makes sense for you.
- Kind: This places the same types of items in Stacks, like images, PDF files, screenshots, and so on.
- Date: You can choose from Last Opened, Added, Modified, or Created to group by date.
- Tags: If you use Tags to keep files and folders organized on Mac, this is a handy way to go.
To change how you want your Stacks grouped, click the desktop and select View in the menu bar or right-click the desktop. Move to Group Stacks By and pick an option.

Browse, expand, and collapse Stacks
With your Stacks set up on your desktop, you can browse through the files or expand a Stack to view and open a file.
To browse, place your cursor over the Stack and then swipe to the right or left with two fingers on your trackpad or one finger on your Magic Mouse. When you land on the file you want, double-click to open it.
To expand, simply click the Stack and then double-click to open a file. To collapse the Stack again, click the Arrow.
Change the appearance of Stacks
Just like other file and folder icons you have on your desktop, you can change the way that Stacks appear. You can increase the size of the icons, move the labels, adjust the spacing, and more.
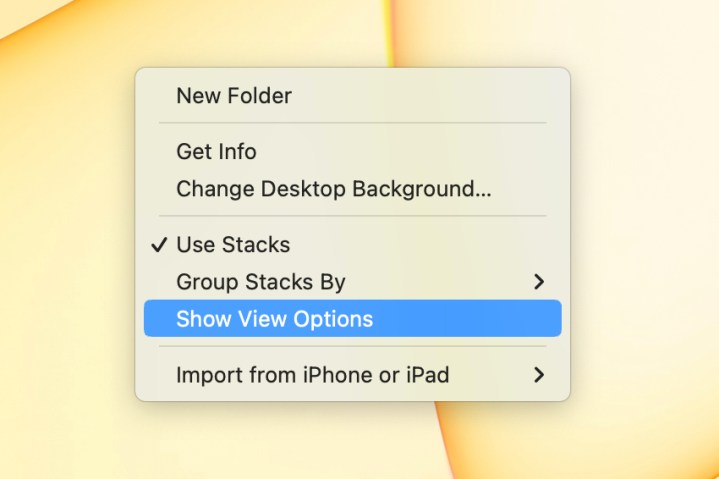
Step 1: Click your desktop and open View in the menu bar or right-click the desktop.
Step 2: Select Show View Options.
Step 3: Use the various sections of the window that appears to change the appearance of your Stacks.
- Stack By and Sort By: Choose how the Stacks are grouped or rearrange them in a particular order with your other icons.
- Icon Size and Grid Spacing: Use the sliders to adjust the size of the icons and the spacing between them on the desktop.
- Text Size and Label Position: Increase or decrease the size of the label text or choose to show the labels in a different position.
- Show Item Info: To display more details for a Stack, such as the number of items within a Stack or sizes of images, check the box for Show Item Info.
- Show Icon Preview: To display the first file in a Stack as the icon, check the box for Show Icon Preview.

Whether you’re looking for a new way to organize your desktop or simply tidy it up, Stacks are a terrific option on Mac.