One of the most underrated features included with a Mac is the ability to use multiple desktops. Accessed via the Mission Control component, you can considerably enhance the management of your apps, folders, and more. Naturally, this will also lead to an improvement in your overall productivity.
The Mac comes with an entire range of handy tools, with the capability of having access to and switching between desktops being one that usually stays under the radar. This is especially true for traditional PC users who have transitioned to using a Mac instead. They simply don’t know it exists due to their unfamiliarity with the Mac ecosystem.
Once you’re aware of its existence, though, it effectively transforms your daily habits when it comes to general Mac usage, and for good reason: If you find yourself unable to keep track of all your different windows, additional desktops -- otherwise known as spaces -- will allow you to assign specific applications, folders, files, and more to its own individual desktop.
Adding new desktop spaces
Step 1: Firstly, you’ll need to open Mission Control. This can be done through two methods:
Trackpad: Swipe up on your MacBook’s trackpad with three fingers.
Keyboard: Click the Mission Control key (located on the top strip of your Mac keyboard in the form of the F3 key or Touch Bar). Alternatively, use the Control + Up button keyboard combination.
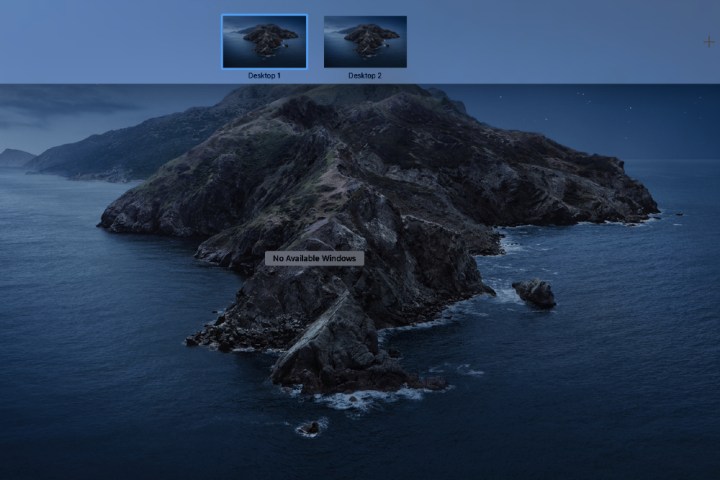
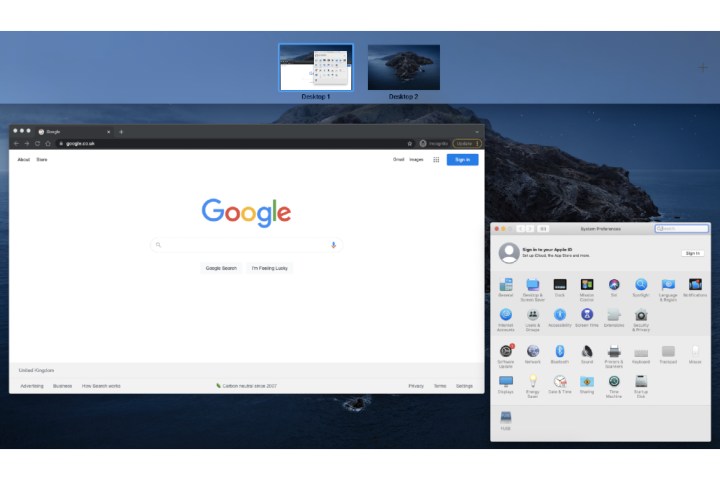
Once you’ve entered Mission Control, you’ll now see an overall view of all the windows that you currently have opened. Situated at the top is the Spaces bar.

Step 2: Click the Add button located on the far right hand side of the screen. This will open another desktop space for your Mac. You’re able to create up to 16 spaces.
Step 3: Enter that newly opened desktop by clicking its thumbnail.
Navigate between different desktops
Step 1: Once you have more than one desktop available to use, one of the ways to navigate between them is through the touchpad. Swipe left with three fingers on your trackpad to access the next desktop space. For example, doing so on your primary desktop (Desktop 1) will open Desktop 2. Similarly, if you’re within Desktop 2, swipe right on the trackpad with three fingers to jump back to Desktop 1.
Step 2: Click the Mission Control button on your keyboard (F3) and click the desktop you want to access on the top strip.
Step 3: Keyboard shortcuts: Click the Control button + Right Arrow key together or Control + the Left Arrow to seamlessly navigate through different desktop spaces.
Move apps and windows to another desktop space
Step 1: Click the Mission Control button or swipe up on the trackpad with three fingers to open it. Drag the app or window that’s shown from this bird's-eye view to your desired desktop at the top.

Step 2: Another way to move apps and windows is by dragging and holding its window on the top part of your Mac’s screen, after which Mission Control will automatically open the desktop spaces row. Continue dragging it to the desktop space of your choice.
Step 3: You can also move a window without the need to open Mission Control. Simply drag the app window to the edge of the screen (dragging it to the right or left edge of the screen depends on where you want to move the window to -- if you’re in Desktop 2, you can transfer a window to Desktop 1 by using the left-hand side). Once you’ve dragged the window to the side, it’ll be moved within two seconds.
Assigning apps to individual or all desktop spaces
You can also assign an app to always open to a particular desktop space if you use two or more spaces.
Step 1: Click the Control button while clicking an app’s icon in the Dock. Open the application if it’s not showing on your Dock panel.
Step 2: Select Options from the pop-up menu that appears. From here, you have the ability to select from a few choices:
All Desktops: Assigning this option will subsequently open the app on all your desktops. For example, this is particularly useful if you need an email client opened in every space, which saves you the process of opening it manually.
This Desktop: As its name suggests, selecting this field will open the app within the current desktop space you’re using.
Desktop on Display [Number]: Providing you have multiple desktops in use, the application will open up for a desktop space of your choosing. This is not available for MacOS Catalina and below.
None: This is the setting that’s selected by default. It opens an app in the desktop space you’re currently using.

Desktop spaces optimization tips
There’s a few steps you can take to further optimize your use of desktop spaces to make your experience smoother.
Step 1: If you switch to an app that’s open by clicking its icon, the desktop will automatically redirect your screen to a desktop space where that app is already opened within. For example, if you have Notepad opened in Desktop 1, but you open it within Desktop 2, it will switch back to Desktop 1. In order to prevent this from happening, select System Preferences, choose Mission Control, and deselect the tickbox for switching.

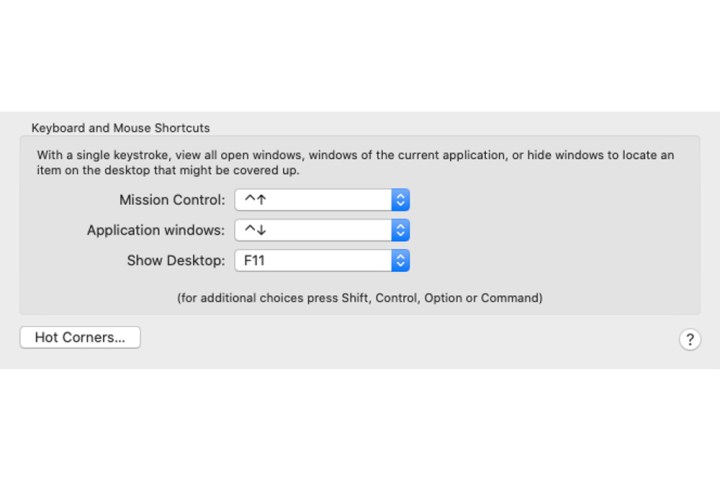
Step 2: For those who prefer to access Mac features with keyboard shortcuts instead of the traditional buttons associated with that function, you’re able to assign a keyboard shortcut of your choice in Mission Control preferences.

Step 3: If you want to open an app that’s already in use so you can assign it to another desktop space, just hold Command +* N* together. This saves you from finding the app again in applications.
Step 4: Apple has yet to include the ability to rename desktops beyond a numbered tier: Desktop 1, Desktop 2, and so forth. Although not a direct solution, there is somewhat of a workaround for this problem. For example, open Notepad on Desktop 2 and enter full-screen mode. This will assign Notepad as its own separate thumbnail within the desktop space strip.

Step 5: One way to differentiate between your different desktop spaces is by assigning a different desktop background. Right-click System Preferences > Options > All Desktops. Go to each desktop space and set a different background.


