There are plenty of keyboard shortcuts that you’re probably already using on your MacBook for common tasks. Yet, Apple has also built in several system shortcuts that might end up saving you some time or, in some cases, some struggles.
That’s why we put together this guide looking at five different MacOS shortcuts you didn’t know about. Our guide covers volume and brightness adjustments, Airdrop, and much more.
Fine-tune your brightness
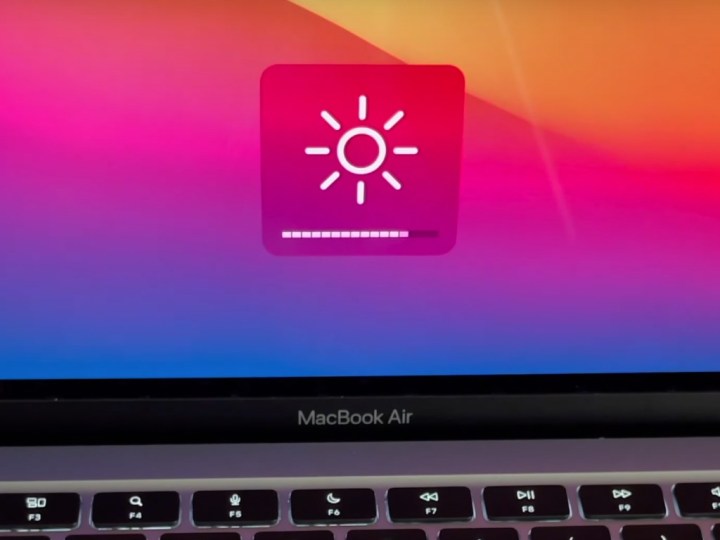
If you own a MacBook model, then you’re probably familiar with using the brightness button on your keyboard or using the Touch Bar to change screen brightness. It’s straightforward enough, but there are some moments where these brightness options from your keyboard might be too bright, or too dull. Or, if you’re on a MacBook without a Touch Bar, there may be times where you don’t have a dedicated slider at hand’s reach.
You might think that you’d need to head to the brightness slider in Control Center to tweak the brightness to get a more precise percentage, but there’s actually a keyboard shortcut for that.
With Option + Shift + Keyboard Brightness Up or Option + Shift + Keyboard Brightness Down, you can adjust the display brightness in smaller steps. You know you’re getting a fine-tuned brightness amount, as you’ll see the slider move between one of the usual increments that are listed as squares in the pop-up slider you see on the display.
And, if you’re on a Mac Mini, an iMac or Mac Pro, or Mac Studio, there’s a keyboard shortcut for you too! On external displays, Control + Brightness Up and Control + Brightness Down will tweak the brightness of your monitor as you see fit. Just keep in mind that your display will need to support this.
Fine-tune your volume levels
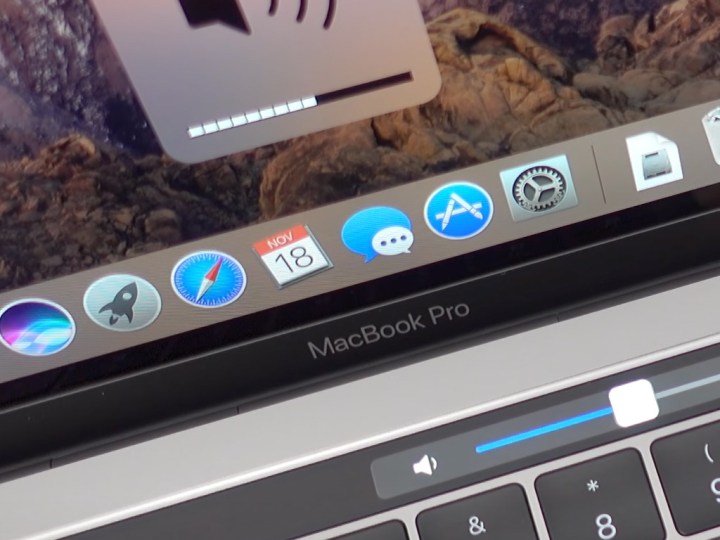
Just like how you can fine-tune your brightness as we describe above, you also can fine-tune your volume levels in MacOS. This will take your volume level in between one of the levels that you get when using the dedicated volume buttons on your keyboard. It works just as the brightness slider option does, or how the Touch Bar might work on a macbook pro.
Using Option + Shift + Volume Up or Option + Shift + Volume Down, you can adjust the sound volume in smaller steps. Again, you know that you’re tweaking the volume to a precise level when you see that the volume indicator is moving between one of the usual increments that are listed on the squares in the pop-up slider you see on the display.
We’ll also touch on a quick shortcut here, too. If you hit the Option and Volume Up buttons on your keyboard, you’ll be taken to the sound preferences dialogue. This might end up saving you a lot of clicks, having to go to the menu bar and then the system preferences pane.
Quick access to Airdrop
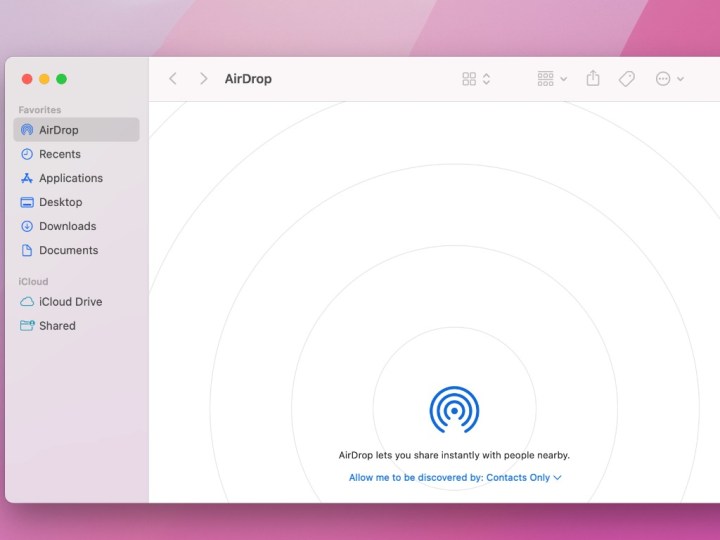
Need to use Airdrop to send a file from your iPad or iPhone to your Mac? Usually, you might have to open the Finder window and go to the Airdrop section manually to do so, but did you know there’s a keyboard shortcut for that?
Apple makes it easy: All you need to do to get to Airdrop is hit the Shift + Command + R keys on your keyboard at the same time when you’re not within an app. This takes you straight to the dedicated window for it, and you’ll be able to send your files in a hurry.
Empty the trash without annoying prompts
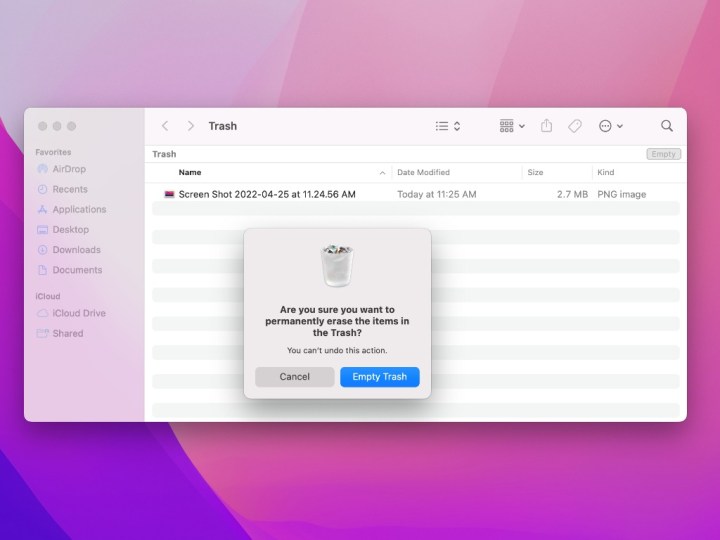
One of the great things about MacOS (and Windows) is that the operating systems will prompt you if you want to empty the trash. Usually, this is to avoid deleting important files.
Well, if you really want to delete files from your Mac without warning, you can just hit the Option+ Shift + Command + Delete buttons on your keyboard at the same time after you highlight the file. When you do this, all files will be deleted from your trash in a flash, without the need for confirmation.
Change finder views
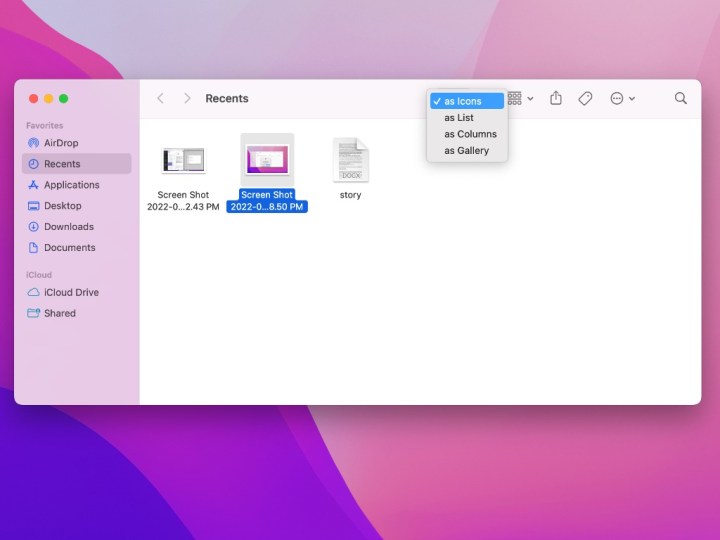
Our last option is one for changing views in the Finder. You already can do this by manually clicking the toggle buttons at the top of the Finder, but what if you want to use your keyboard instead? Well, there are four keyboard shortcuts that Apple has in MacOS that you might want to try out.
Command + 1: will let you view the items in the Finder window as icons. Command + 2 will let you view the items in a Finder window as a list. Command + 3 lets you view the items in a Finder window in columns. Capping out the list, Command + 4: will let you view the items in a Finder window in a gallery.
These shortcuts are just some of the secret Finder settings and can prove useful in file selection modes, say if you’re uploading a file to Teams or another app. You’ll be able to toggle between views much more easily, without using the mouse.
Check out Apple’s full list
These are just our top five picks for helpful MacOS keyboard shortcuts you didn’t know about. Apple actually has a webpage where it lists out a full set of commands that you can use with your Mac device. The list is quite extensive, so if you’re looking for more, you might want to give it a read.
There’s a ton of great stuff, covering Mission Control, documents folders, Time Machine, servers, and so much more.

