Building a mini-ITX PC can be an exciting challenge offering the promise of a compact, yet powerful computing solution. However, amid the excitement of assembling your system, it’s crucial to tread carefully and avoid common pitfalls that can derail your build.
From compatibility issues to space constraints, navigating the intricacies of building a mini-ITX PC requires attention to detail and a keen eye for potential stumbling blocks. In this guide, we’ll explore the most common mistakes to avoid while building a compact PC.
Poor component compatibility
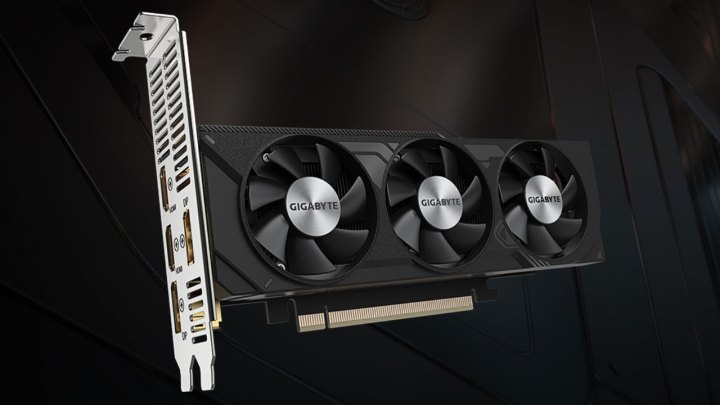
The first step in building a small form factor PC is always to pick the right case. That is, after all, the whole point of building this type of PC.
Mini-ITX cases are limited on space, compared to regular M-ATX or full-size ATX cases. Thus, it’s crucial to choose components that are compatible with the case’s size and layout. It is advisable to glance through the specifications and manual of your mini-ITX case to ensure that the motherboard, graphics card, CPU cooler, and power supply unit (PSU) fit within the case dimensions and don’t obstruct each other’s airflow. Having a compact case also means that you cannot go for high-end components like a Core i9 CPU or an RTX 4090 GPU as they require a large amount of power and generate a lot of heat.
Apart from choosing the right mini-ITX motherboard, you may require a low-profile cooler for the CPU. This, in turn, defines how large your memory modules can be as certain coolers may not offer enough clearance. While certain cases offer support for liquid coolers, the installation process can be difficult, especially with all the extra cables. You may also need to check the length of your graphics card and whether the case supports regular-sized ATX power supplies or small form factor SFX/SFX-L.
Inadequate cooling
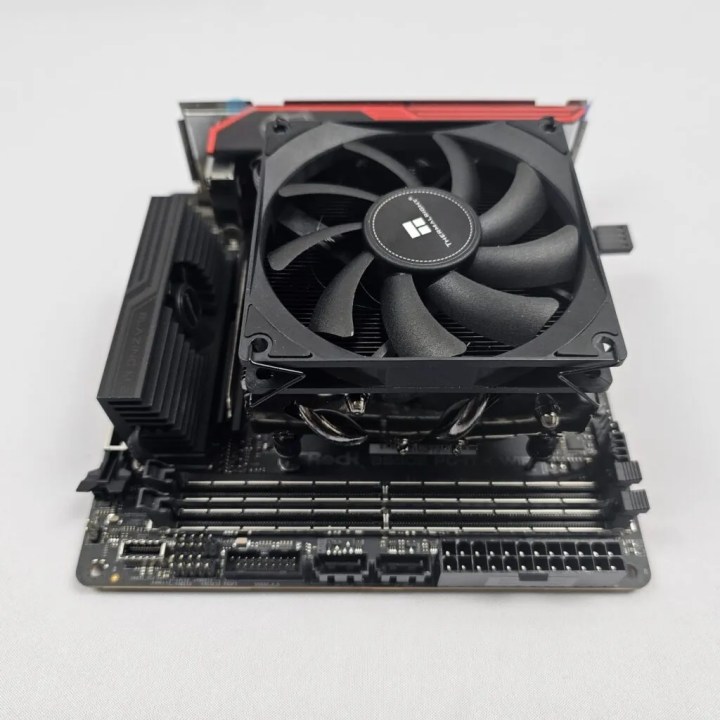
Mini-ITX cases often have limited airflow compared to larger form factors, leading to potential thermal issues. Avoid using oversized components that may restrict airflow or cause overheating. Instead, opt for efficient cooling solutions such as low-profile CPU coolers and graphics cards with shorter lengths and custom cooling designs.
Prioritize airflow by selecting a case with adequate ventilation and strategically placing intake and exhaust fans. Cases like the SSUPD Meshlicious or the Cooler Master NR200 offer effective airflow. You should also consider additional case fans or aftermarket cooling solutions to improve thermal performance. If your case doesn’t have enough space, brands like Noctua, Corsair, and Thermalright offer slim fans that measure just 15mm in thickness. Also try different air pressure and fan curve configurations so that the CPU and GPU do not overheat during heavy tasks.
Proper cable management
Due to the limited space inside mini-ITX cases, cable management can get very difficult. A system with well-managed cables not only ensures optimal airflow, but also looks clean and tidy. Plan your cable routing carefully to avoid clutter and interference with components. While your case manual should help, consider looking at reviews and YouTube videos to understand how you can tame all the wiring. Preinstalling the CPU and 24-pin ATX power cables can sometimes be beneficial before you mount the motherboard.
It is also worth investing money in cable ties and Velcro straps to keep cables organized and out of the way. If your budget allows, we also recommend getting custom-length cables for your power supply. By doing so, you can reduce the overall clutter and make more space inside your case.
PSU and storage size

Choose a power supply unit (PSU) that fits the mini-ITX case and provides adequate power for your components. Always opt for a modular or semi-modular PSU to minimize cable clutter and improve airflow. SFX or SFX-L power supply units are smaller compared to traditional ATX PSUs, but often cost more.
Additionally, select a PSU with high efficiency (80 Plus Bronze, Silver, Gold, or Platinum) to reduce heat output and energy consumption.
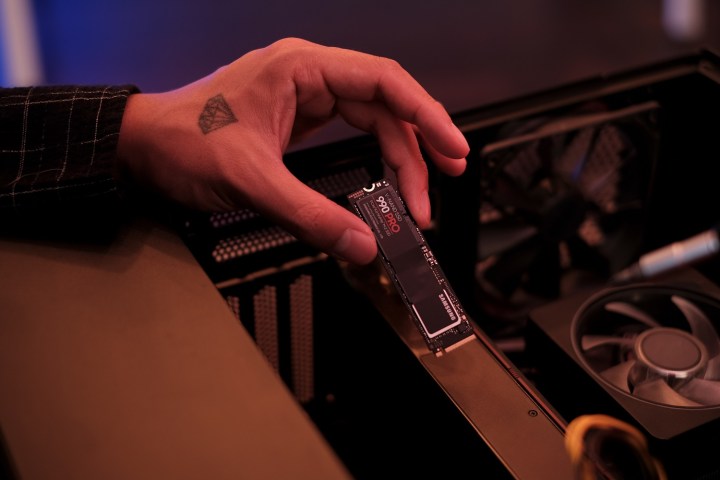
It’s a similar story with storage. Mini-ITX cases have limited space for storage drives, so it’s essential to choose your storage solutions wisely. Consider using M.2 NVMe SSDs or 2.5-inch SSDs/HDDs that take up less space and minimize cable clutter. Most modern mini-ITX motherboards have at least two M.2 slots, so make sure you utilize them. Alternatively, explore external storage options if additional capacity is needed.
Build with an eye toward future expansion
While mini-ITX builds offer compactness and portability, they may limit future expansion options. Choose a motherboard with sufficient expansion slots and connectivity options to accommodate future upgrades or peripherals. Consider your long-term needs and plan accordingly when selecting all of your components.
For instance, if you plan to upgrade your CPU in the future, you may need a more powerful cooling solution that will require more space inside the case. Similarly, next-gen GPUs are getting beefier in terms of size, which again might not be suitable for small PC cases.


