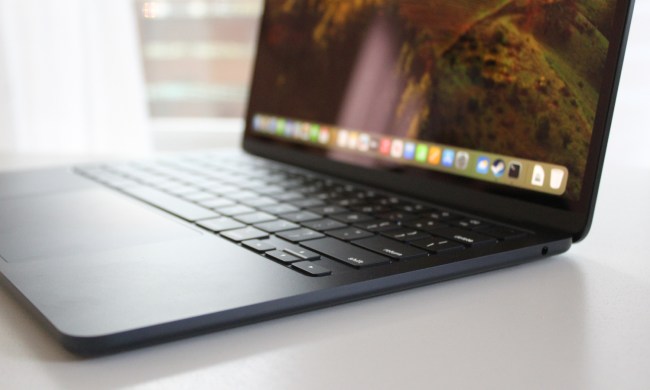
The dock in MacOS is a core part of the experience on any Mac. You pin and launch your apps from it, get to the Finder, and you even can pick up apps from your iPhone, too.
But most people never get beyond the default settings, and that’s a shame. Apple offers plenty of ways to customize the dock and improve the way you use it — and these are some of our favorites.
Remove your recent apps in the dock

Right out of the box, your Mac’s dock will show you the recent apps that you’ve used. This makes it easy to access the apps you might use every day, but it also means your dock might get very cluttered. That could lead to frustrations, especially if you like keeping your system mess-free.
Having a cluttered dock is one of the things that leads to not actually using it as it was intended. It should be the go-to place for the apps you actually use on a regular basis, not just random recent apps you happened to open.
Fortunately, you can remove those recent apps from the dock with one simple setting. Just head over to the Apple menu, choose System Preferences> Dock & Menu Bar, and then uncheck the option to show recent applications in dock. Easy as that.
If you learn how to add and remove apps from the Dock, you can make it even more useful.
Put system preferences in the dock for quick access to settings

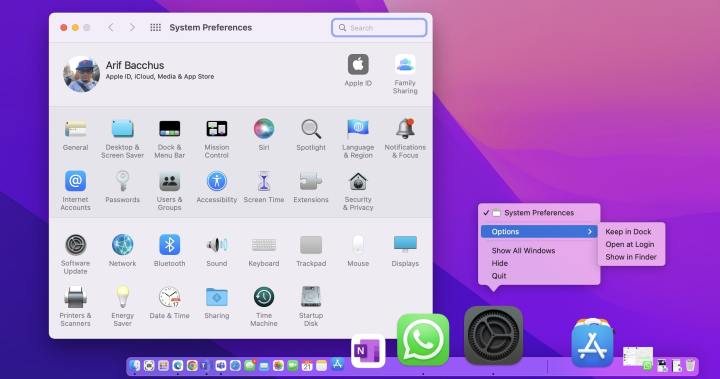
Speaking of managing the apps in your dock, this next one is about including what we think is a must-have. If you need to change a setting really quickly, rather than navigating through the menus in system preferences, we suggest that you check out the System Preferences icon in the dock instead. You can right-click on the settings icon and see quick toggles for various things like Apple ID, Bluetooth, Time and Date, and more.
System Preferences should already be pinned on your dock by default. But if it isn’t, to get this set up this way, just open System Preferences as usual. Then, right-click it on your dock, and choose Options followed by Keep in Dock. Quite the nifty trick, huh?
Change the minimization effect

Next up, let’s talk about minimization. When you minimize windows, you’ll get the infamous “genie effect.” This neat animation shows the window folding down on itself and fitting in the dock. It’s become iconic at this point. This animation, though, can take up a lot of time when you have larger windows, and in some cases, consume your Mac’s resources (understanding how to use Activity Monitor will help you spot this problem). We suggest swapping it out for the alternative option available, the Scale effect.
To tweak this setting, go to the Apple menu > System Preferences > Dock & Menu Bar. Then, under Minimize windows using, be sure to click the submenu and choose Scale effect. You should instantly see and feel the difference when you minimize your open windows.
Add a dock spacer to separate your apps

Our last tip related to the dock is one you won’t find in the system settings. Rather, you’ll have to use Apple’s command line tool, known as Terminal. This isn’t for novice users, but it is simple enough as it just adds a spacer to your dock so you can separate out your apps based on whether they’re for work, school, or personal. Again, this is all about adding some organization to the dock that it will encourage you to actually use it.
To add this spacer, open a terminal window on your Mac. You can search for the terminal in Spotlight, or find it under the Utilities folder in your apps. Once open, paste in the command we’ve written below.
defaults write com.apple.dock persistent-apps -array-add ‘{tile-data={}; tile-type=”spacer-tile”;}’ && killall Dock
Press the enter key after, and you’ll notice your screen will flash. This will add a blank space at the end of your dock. You’ll notice it because it will look like an app. Click on it and drag it anywhere on your dock as you see fit. When you don’t want it anymore, just drag it up, and hold it on your desktop to remove it.
These are just some of the ways you can customize your Mac, but we have many other Mac tips and tricks to help you make better use of MacOS.


