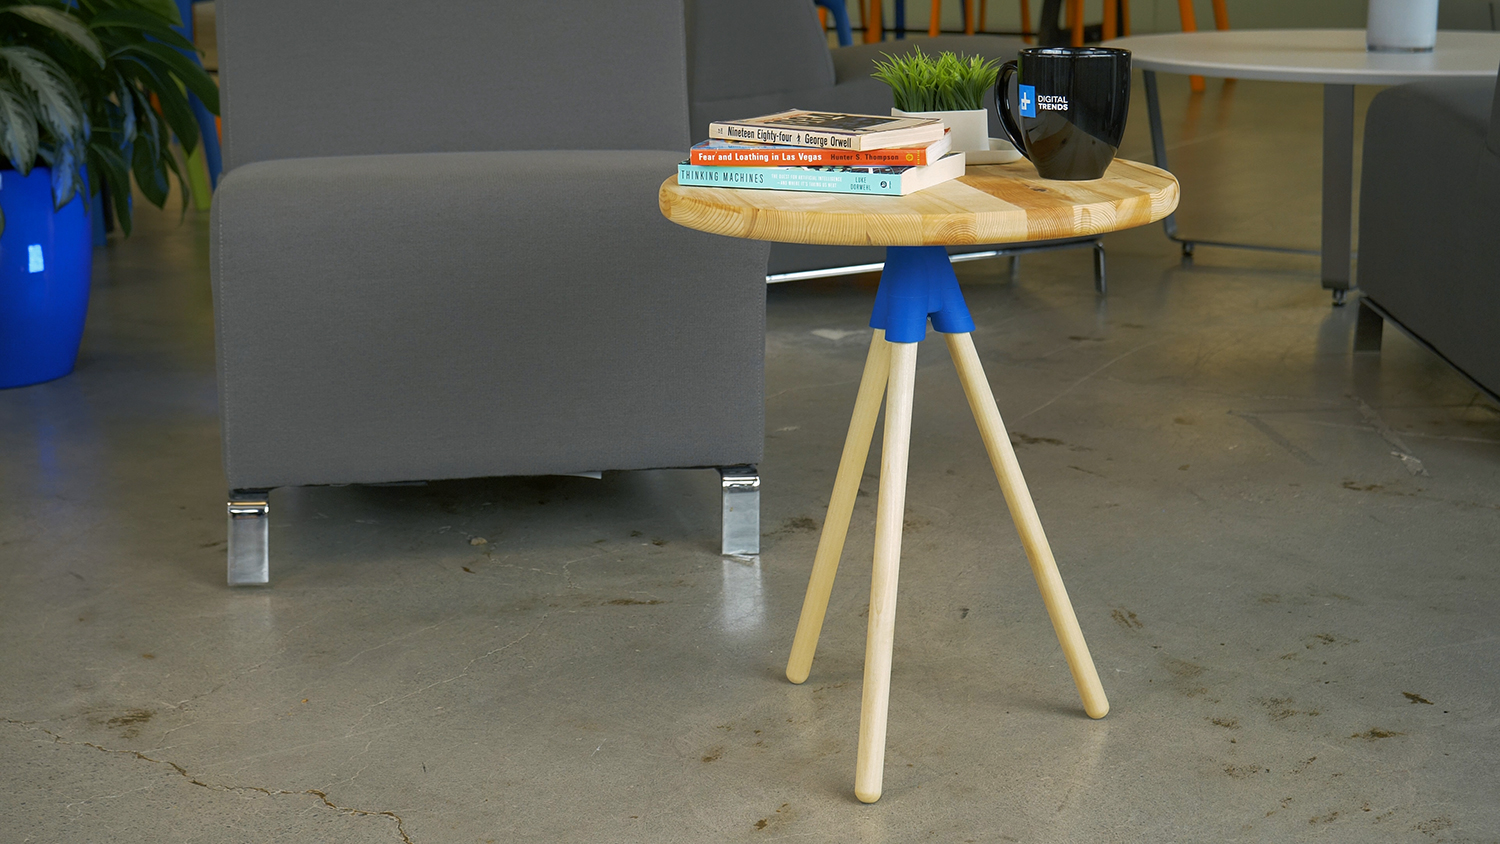
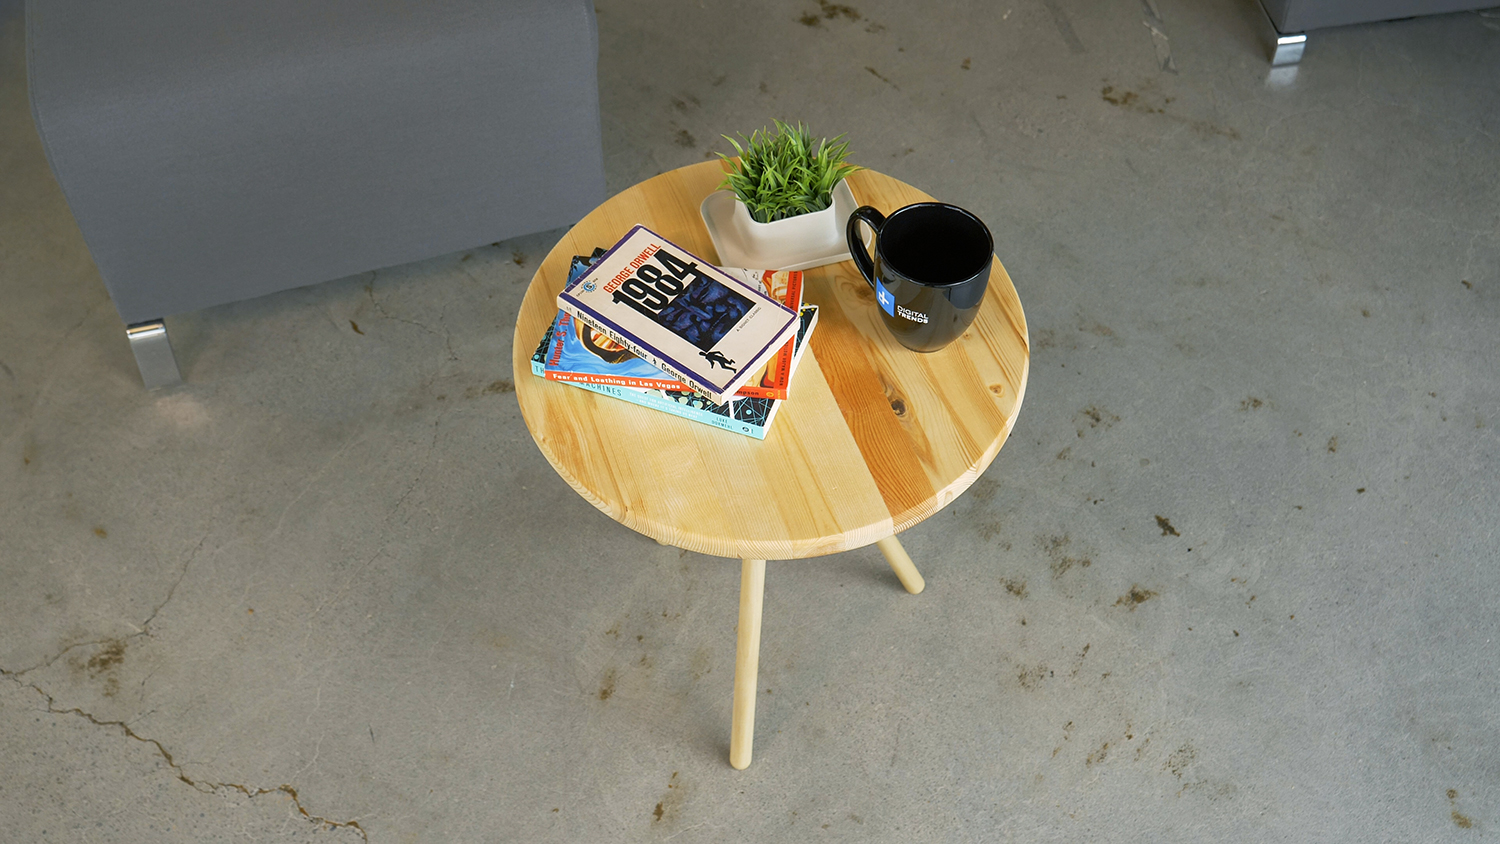
Unfortunately, you can’t 3D print your own furniture quite yet — at least not easily. Unless you have access to industrial-level machinery or are willing to print a gazillion pieces on your Makerbot, printing home furnishings on demand just isn’t possible for most of us. However, despite the fact that printing an entire coffee table or lounge chair is currently out of reach, the internet is brimming with 3D printable joints and connectors that make building your own furniture a snap. In this article, we’ll highlight one such piece, and show you how to build a nifty little end table using a 3D printed part and a few basic building materials.
Tools & Materials

- Drill/driver
- Jigsaw
- Router (optional)
- Handsaw
- 24″ x 24″ wood panel
- 7/8 inch dowel rods (3)
- 1/4 inch plank of any length
- Clamps
- Double-sided tape
- Finishing nails
- Screws
- Tape measure
*Note: To complete this project, you’ll also need access to a 3D printer with a build envelope that’s at least 105mm wide and 130mm tall. This doesn’t mean you need to own one though!
Build Process
Step 1: Make the 3D printed joint
Before you do anything else, you should fabricate the 3D printed tripod joint. This part is the keystone of the entire table, so it’s crucial that you get it right. By printing it first, you’ll be able to take it with you when you head out to buy materials, and make sure that all the dowels and screws you get will fit properly. Don’t worry if you don’t have a 3D printer — we’ll show you how to get around that in a moment (skip to the last paragraph of this section for details).
Don’t have a 3D printer? Don’t worry. There are tons of online services that allow you to order 3D printed parts.
The first step is to download the 3D model, which was designed by a guy named Alejandro Macias. It’s a wonderfully simple design, but you’ll need to tweak it a bit before you print — otherwise the dowels won’t fit, and your table won’t have legs. After you’ve downloaded the print file and loaded it into your slicer program, the next step is to scale the part up to around 106 percent of its original size. Feel free to go 107 if you want to be extra safe.
Once that’s done, you’re ready to print — but for best results, you should take a moment to ensure the printer’s settings dialed in properly first. After printing a few of these suckers, we determined that you need to bump up the number of shells (the outer layers of the print) and the amount of infill (the interior of the print) considerably in order to give the completed part more structural integrity. We printed ours with six shells and 40 percent infill, but you might want to kick it up even more (say, 8 shells and 50 percent infill) if you plan on putting heavier items on the table.
Finally, you’ll also want to print with supports in the interior, since there’s a tricky unsupported stalactite in the middle of the model that could cause the print to fail.
Don’t have a 3D printer? Don’t worry. There are tons of online services that allow you to order 3D printed parts that are tailored to the exact specifications you need. We recommend using 3DHubs (a service that puts you in touch with local 3D printer owners in your area), instead of more expensive services like Shapeways and Sculpteo. Just make sure that whatever service you end up using knows your parameters (scaled to 106 percent, extra shells and infill, supports in the interior) before they get started.
Step 2: Prepare the table legs
As we said up front, we scaled up the 3D-printed flange to fit commonly available 7/8-inch wood dowels. If you scale the part to 106 percent, those dowels will slide right in for a perfect fit, and there are small holes in the sides of the tubes to fix them in place. We cut our dowels to about 18 inches long, resulting in a roughly 20-inch high tabletop, which is nice for a small side table like this one.
Knowing the legs would be round dowels and the top would be round too, we decided to continue the round, modern theme throughout the table. Therefore, we rounded the ends of the dowels where they hit the floor and used a router to round over the edges of the tabletop to match.
Pro tip: The secret to round feet
There are lots of ways to turn the ends of the dowels into a nice little orb. We went with the simplest: rolling the dowel on our worktable as we held a sanding block against the end at and angle. You could also roll the dowels against a disc or belt sander to make the process faster.
Shoot for three bevels that are roughly even all around.
In any case, the secret to a perfect roundover is to start with a big, even, 45-degree bevel. Do this on all three legs before moving on, to be sure the bevel is similar on all three. You want the bevel to cover about half of the diameter on the end of the leg, and be even all around.
Just keep checking it as you work it, hitting the areas that are a little thin until the whole bevel is even.
Next, you change the angle of the leg as you sand, to make new, smaller bevels on the two points created by the first bevel. Shoot for three bevels that are roughly even all around. Finally, hit the last, tiny points created by the first three bevels and you should be very close to a perfect roundover. You can finish smoothing it by holding the sandpaper in your hands.
Step 3: Cut and smooth the tabletop
The biggest tabletop this small plastic flange can support is about 18 inches in diameter. We wanted the top to be solid wood, not plywood, so we started with a big, edge-glued craft panel from Lowes. It’s challenging to glue solid boards into a panel and smooth them flat and level, so these pre-made panels are a great shortcut. Our panel was made from pine (as are most pre-made panels) which matches the dowels nicely.
To cut out the round top we could have created a large compass from a strip of wood, with a nail stuck through one end and a pencil point coming through a small hole at the other, and then attempted to follow the line with a jigsaw (or a bandsaw if you have one). But we went with a slick trick that guarantees a smooth, accurate cut and a perfectly round top.
Using a 1/4-inch thick piece of wood (plywood, MDF, or even solid wood will work), we created a compass jig for our jigsaw. At one end of the strip we drilled a small hole that fits a nail. That nail goes into a center hole on the bottom side of the panel. About nine inches away from the nail hole we drilled a 1/4-inch hole for the jigsaw blade.
Keep your eye on the blade as it cuts.
The first step is to attach the compass jig to the bottom of your panel, and insert a pencil in the blade hole to draw an 18-inch circle on the bottom of the panel.
After that, you can cut away the wood in front of the blade hole, and then use double-sided tape to attach the base of the jigsaw to the jig, with the blade poking through the blade hole.
It’s really important that the jigsaw be square to the line of the cut so the blade doesn’t try to wander sideways. The way to do this is draw a line between the nail hole and blade hole, and then make sure the base of the jigsaw is square to that line when you attach it.
Now, to use the jig, put the nail loosely in the nail hole without putting it into its hole in the bottom of the tabletop. Turn on the jigsaw and cut toward the circle you drew earlier. The goal is to end up cutting in the same path as the circle.
As you get close, keep pausing and checking to see if you can drop the nail in its center hole yet. As you get close to the pencil line with the saw, you should be able to drop the nail in. At that point the magic happens.
Pivoting on the nail, the compass jig will guide the jigsaw in a perfect circle. Keep your eye on the blade as it cuts. If it starts flexing left or right away from the line, pivot the the jigsaw a little in the other direction as you cut to bring the blade back toward the line. The double-sided tape has enough flex to allow that.
Extra credit: Round the table edges too
To complete our round theme we rounded the edges of the table with a small router and a 3/8-inch roundover bit, guided by a small bearing that rides the table edge. The trick here is to create a partial roundover on each side of the table. If you do a full 3/8-inch roundover on a 3/4-inch thick tabletop, when you flip it to rout the opposite edge, there won’t be a flat surface for the bearing to ride on. So raise the bit a little so part of the bearing catches the centerline on each pass. That leaves a mostly rounded edge with a hard line on the top and bottom side, which looks nice. Feel free to blend the curves with sandpaper but try not to dull that hard line.
Step 4: Throw on some finish and screw it all together
Before attaching the wood parts, we applied some Watco Teak Oil on ours, but practically any wipe-on oil finish will do. Sand the parts up to 220-grit and then flood on the oil with a rag. Let it soak in for a few minutes before wiping off the excess.
The surface will be a little rough after the first coat, but here’s an easy way to smooth it. Just tear pieces off a brown paper grocery bag, and use those to rub all of the surfaces. The grocery bag paper is a subtle abrasive that burnishes wood nicely. Finally, apply another coat just like the first one for a low-key finish that brings out the beauty of the wood and adds a little protection.
As for attaching the parts, you’ll notice that the 3D printed flange has small screw holes built into it. You’ll likely need to drill these a little larger to allow the screws to pass through freely, without stressing or breaking the plastic.
To attach the tabletop, we drew criss-crossing pencil lines through the nail hole on the bottom, to help us place the flange in the center. Use screws that are 3/4-inches long or less to be sure they won’t pop out the top side of the table.
We did the same for the legs, opening up the screw holes in the plastic a little to prevent cracking. You’ll notice that one of the legs will go deeper into the flange while the other two will be blocked by the first and not go as deep.
To make sure you don’t create the Leaning Table of Pisa, draw a light pencil line about 1.5 inches from the end of each leg before inserting it, to help you insert them all the same amount. Once you do, use the screw holes in the flange to locate and drill small pilot holes in the sides of the dowels before driving the screws. There isn’t much danger of the screws cracking the tabletop, but they could split the dowels if you don’t drill pilot holes.
After that, you’re done! Plop this sucker in your living room and enjoy!


