Stop anyone on their way to work and what are you likely to see? A messenger bag slung over their shoulder, perhaps, but more likely than even this typical accessory would be the presence of a cup of coffee. America runs on it — just ask Dunkin’ Donuts.
Though as the coffee craze continues to boom, one such trend within the industry has begun to garner a considerable amount of momentum: cold-brew coffee. To aficionados, this style of coffee tends to boast an incredibly rich flavor with very little acidity and is preferable to any other kind of joe. Additionally, pouring cold brew coffee over ice only seems to accentuate its profile, offering drinkers a tasty cup of java that trounces hot-brewed coffee in every category. Thing is, cold-brew coffee takes upwards of 18 hours to brew, with at-home kits yielding nothing more than a small cup of the stuff.
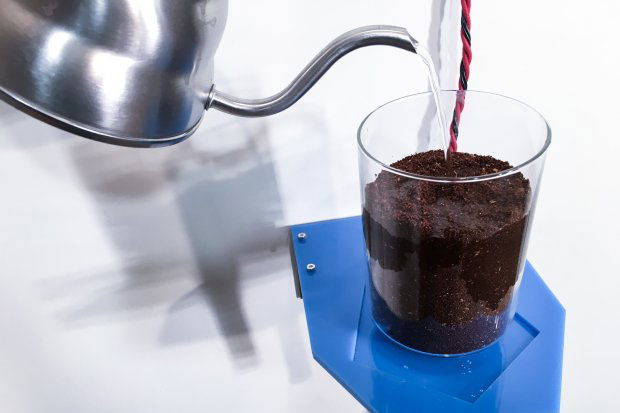
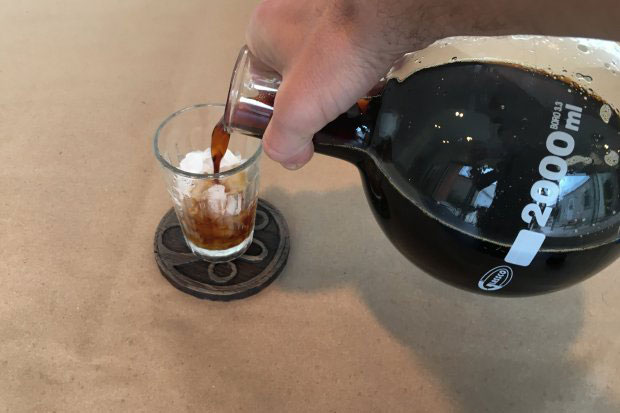
So why not make your own cold brew drip tower? Faced with the exact dilemma mentioned above, a clever DIYer named John Edgar Park devised a genius method for crafting his own cold-brew nectar. By making use of some chemistry lab glass, an Arduino-powered controller, and a little engineering know-how, Park constructed a gigantic, four-foot-tall cold brew drip tower capable of converting 200 grams of ground coffee into delicious cold brew.
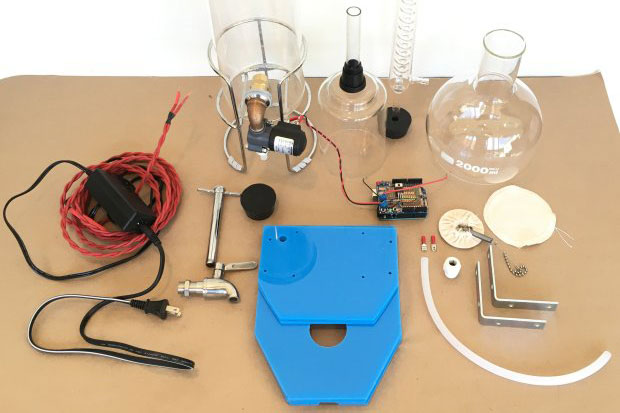
Thanks to Park’s ingenuity, anyone with a few spare hours on their hands this weekend can also put one of these amazing contraptions together. To help you get started, we pieced together an accurate materials list required for pulling off the build and listed it below. It is worth noting that in the walk-through, Park recommends physically taking your chosen solenoid valves and dispensers to a plumbing store in order to obtain the correct fittings. Aside from that, here’s everything you need to get started:
Tools:
- Dispenser and valve fittings (more on this above)
- Teflon tape
- Screwdriver
- Washers
- Gaskets
- Reamer
- M4 screws and nuts
- Wiring
Materials:
- Water serving pitcher
- Siphon brewing upper beaker
- Flat-bottomed boiling flask
- Graham condenser (optional for aesthetics)
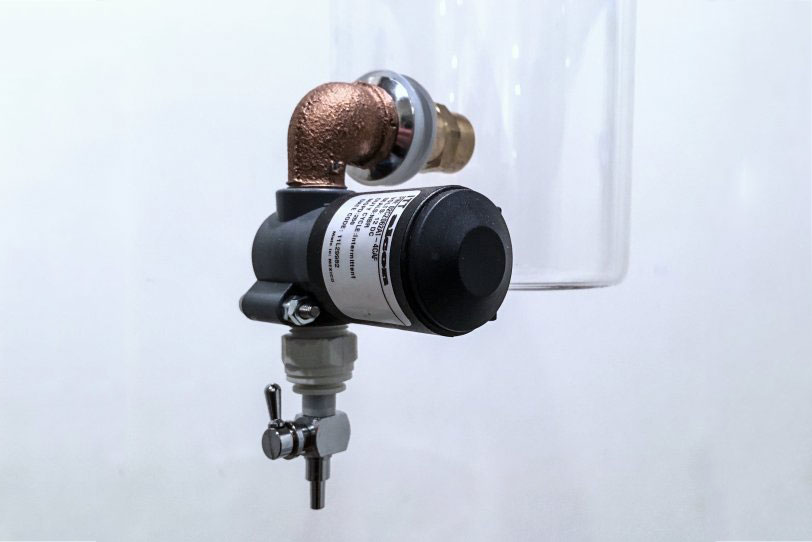
- Food safe solenoid valve
- Arduino Uno
- Transistor circuit
- Prototyping shield
- Two 1000-ohm potentiometers
- Hario valve
- 12″ of 1/4″ tubing
With all the necessary tools and materials gathered, it’s now time to start constructing this mammoth of a cold brew drip tower. Just follow Park’s comprehensive walk-through and in no time you’ll have the tower assembled and a batch of cold-brew coffee ripe for enjoyment. Happy building!
The entire walkthrough for building this cold-brew drip tower can be found here.
