Since their inception some 40 years ago, video games have dramatically altered the way people view interactive entertainment. Though gamers were initially introduced to the industry via 2D-gaming experiences like Pong, the past several decades have brought the advent of virtual 3D environments, vastly improved graphical performance, and unprecedented interactive storytelling. But although a system like Sony’s PlayStation 4 brings Hollywood-level adventure into anyone’s living room at the drop of a hat, sometimes all you need for hours of fun is some 8-bit platforming action a la Super Mario Bros.
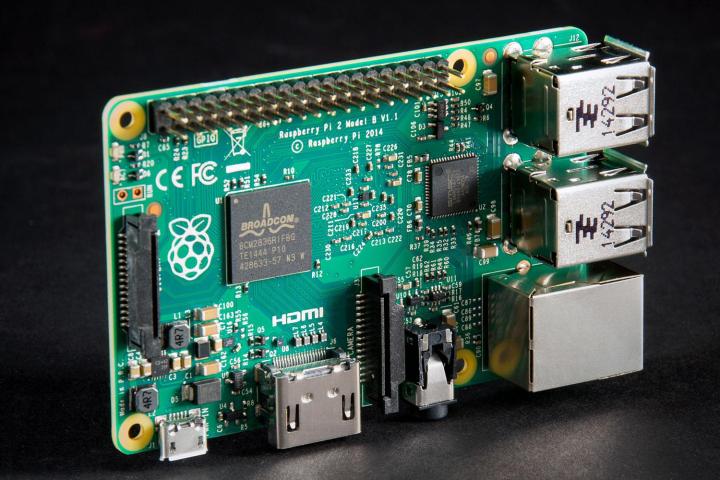
Considering it’s literally impossible to head into your local Best Buy and grab a Super Nintendo off the shelf, those looking to enjoy a retro game or two must now rely on in-browser emulators — or take a chance dusting one off at a pawn shop. That is, until Instructables user danialanderson2002 figured out a way to fashion a Raspberry Pi 2, a MicroSD card, and an HDMI-compatible television into a robust retro gaming system. Moreover, he’s laid out exactly how to make one of these for yourself, and the process is surprisingly simple.
To help you get a headstart on this delightfully old school gaming rig, we’ve laid out all the essential tools and materials needed to pull off the project. In addition to the materials list, a fundamental knowledge of computing is also crucial to successfully pulling off the task, though daniealanderson2002 clearly lays out every step that even novice computer users shouldn’t have too much trouble, as long as they understand some basics. Here’s everything you’ll need to get started:
Tools:
Materials:
After gathering all the required hardware and necessary cables, it’s now time to start putting together your own Raspberry Pi 2-powered retro console. Just follow danielanderson2002’s comprehensive walkthrough and before you know it, you’ll be gaming like its 1999. Happy building!
The step-by-step instructions on putting together a Raspberry Pi 2 retro console can be found here.


