“The TarDisk Pear seamlessly boosts your MacBook’s storage without surgery.”
- Merges with existing drive
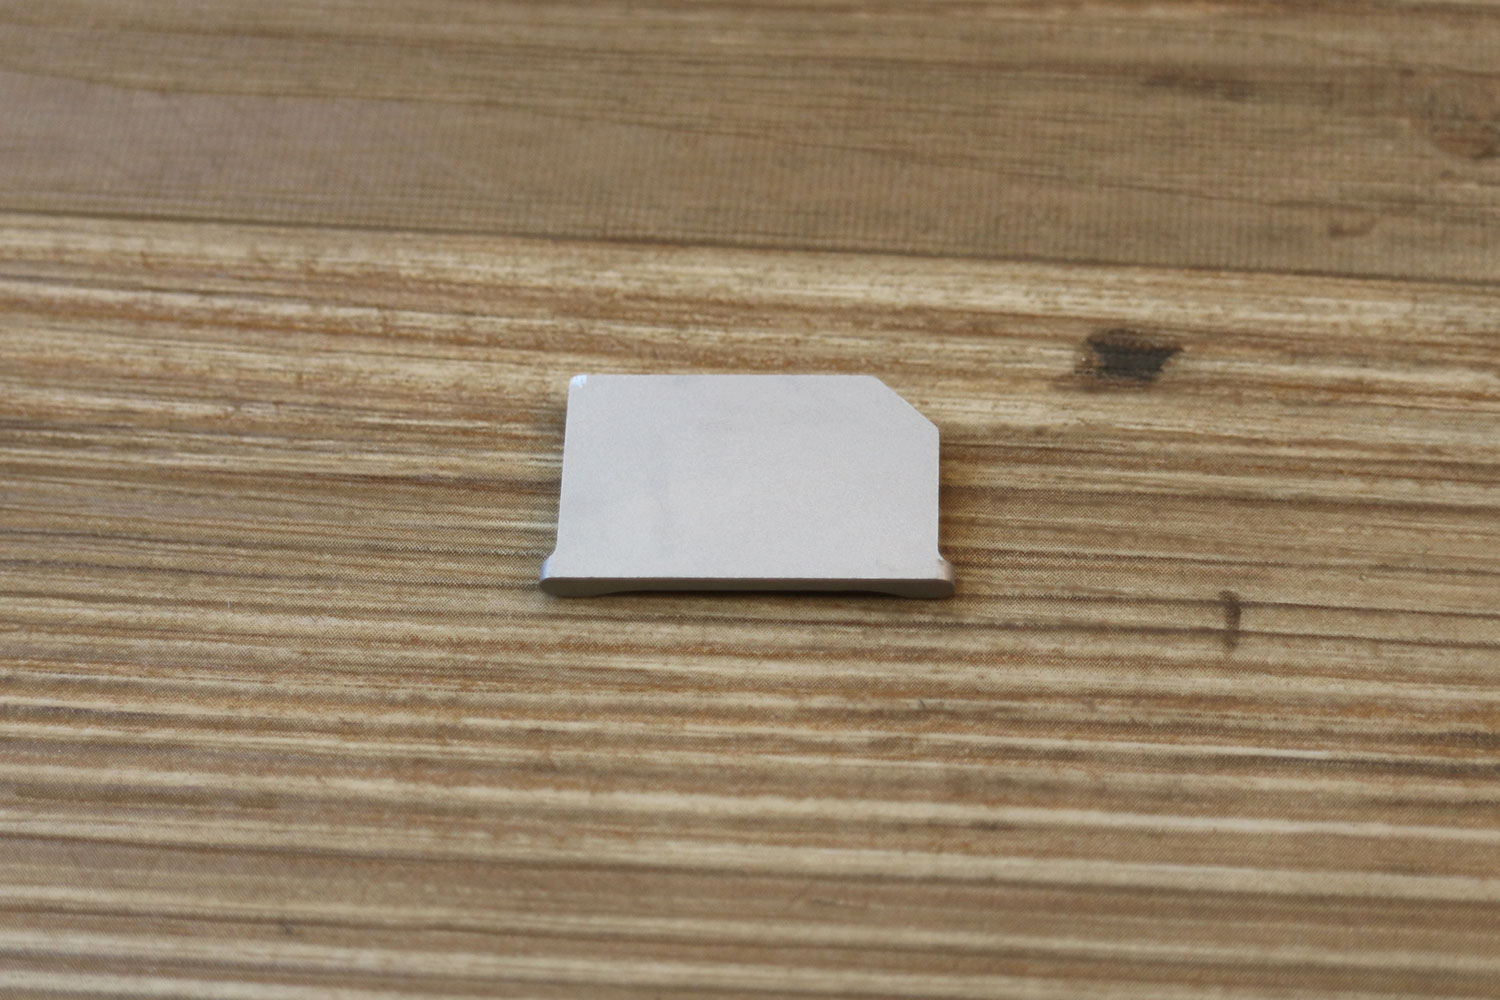
- Aluminum finish, flush fit
- Solid performance
- Uses up SDXC slot
- Pairing and removing is tricky
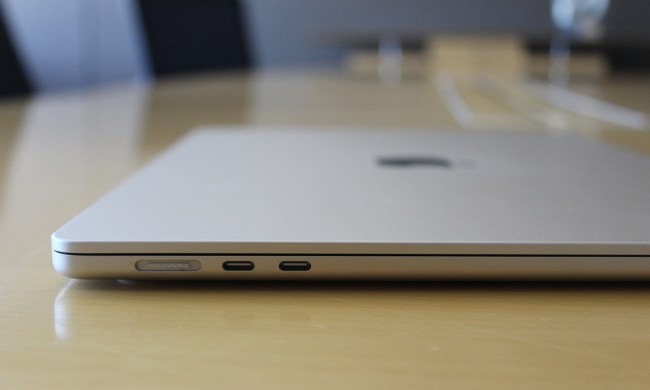
The basic models of the MacBook Air and the MacBook Pro come with just 128GB of storage, and can fill up surprisingly quickly. If you want to jump up to 256GB it will cost an extra $200. It’s not particularly easy to open up a MacBook and fit a new SSD — but there is an alternative. The TarDisk Pear is designed to slot into your SDXC port and permanently pair with your MacBook, offering an extra 128GB ($150) or 256GB ($400) that is indistinguishable from your existing storage.
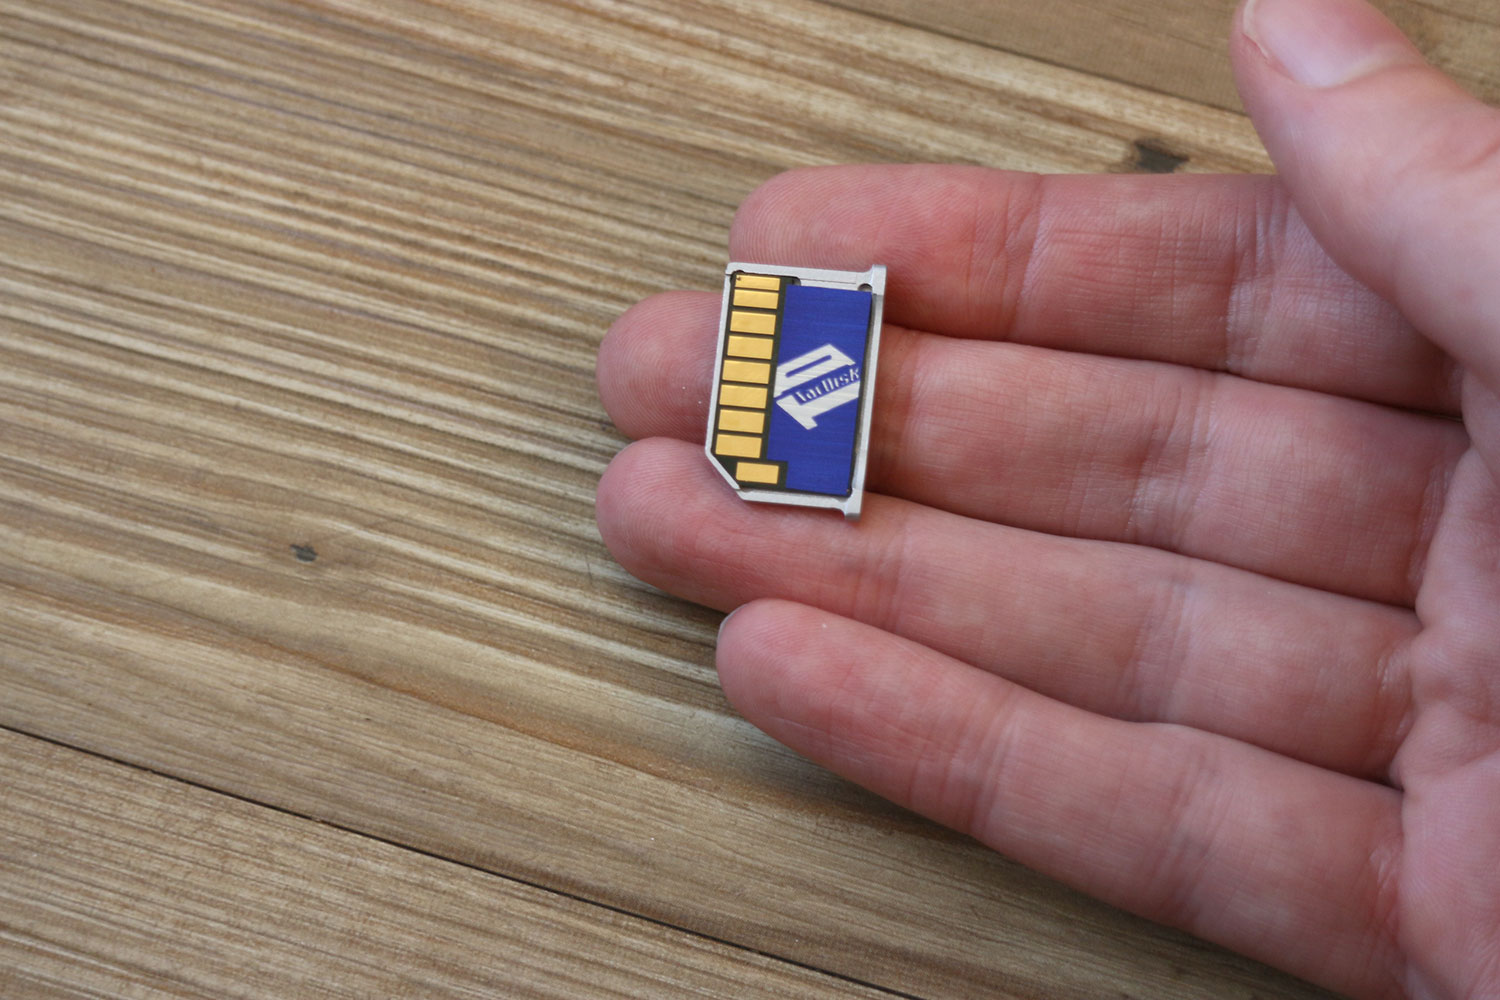
Not only is TarDisk designed to merge with your existing drive, giving you one, much bigger, single volume for storage, it has also been designed to seamlessly merge with your MacBook’s exterior. To that end, the flash storage card comes sealed in an aluminum tray which slides flush into your SDXC port, matching the exterior color of your MacBook. There’s a small indentation at the bottom so you can get a fingernail or the edge of a credit card in and pry the TarDisk out.
You could use the TarDisk just like any other SD card or external hard drive, but it’s really designed to permanently pair with your existing storage to form a single volume. We decided to try out the 256GB TarDisk Pear with a new, 13-inch MacBook Pro.
Installation
The instructions for pairing the TarDisk are lengthy, and you’ll want to read through them carefully before you begin. You’ll need to start by creating a Time Machine backup, so you’ll always be able to restore your MacBook if anything should go wrong. Bear in mind that you’re going to need an external hard drive, or an OS X server on your network, to make your backup. Most people probably buy TarDisk when their hard drive is full, but you’ll need 8GB of free space for the pairing process, so make sure you free it up before you begin.
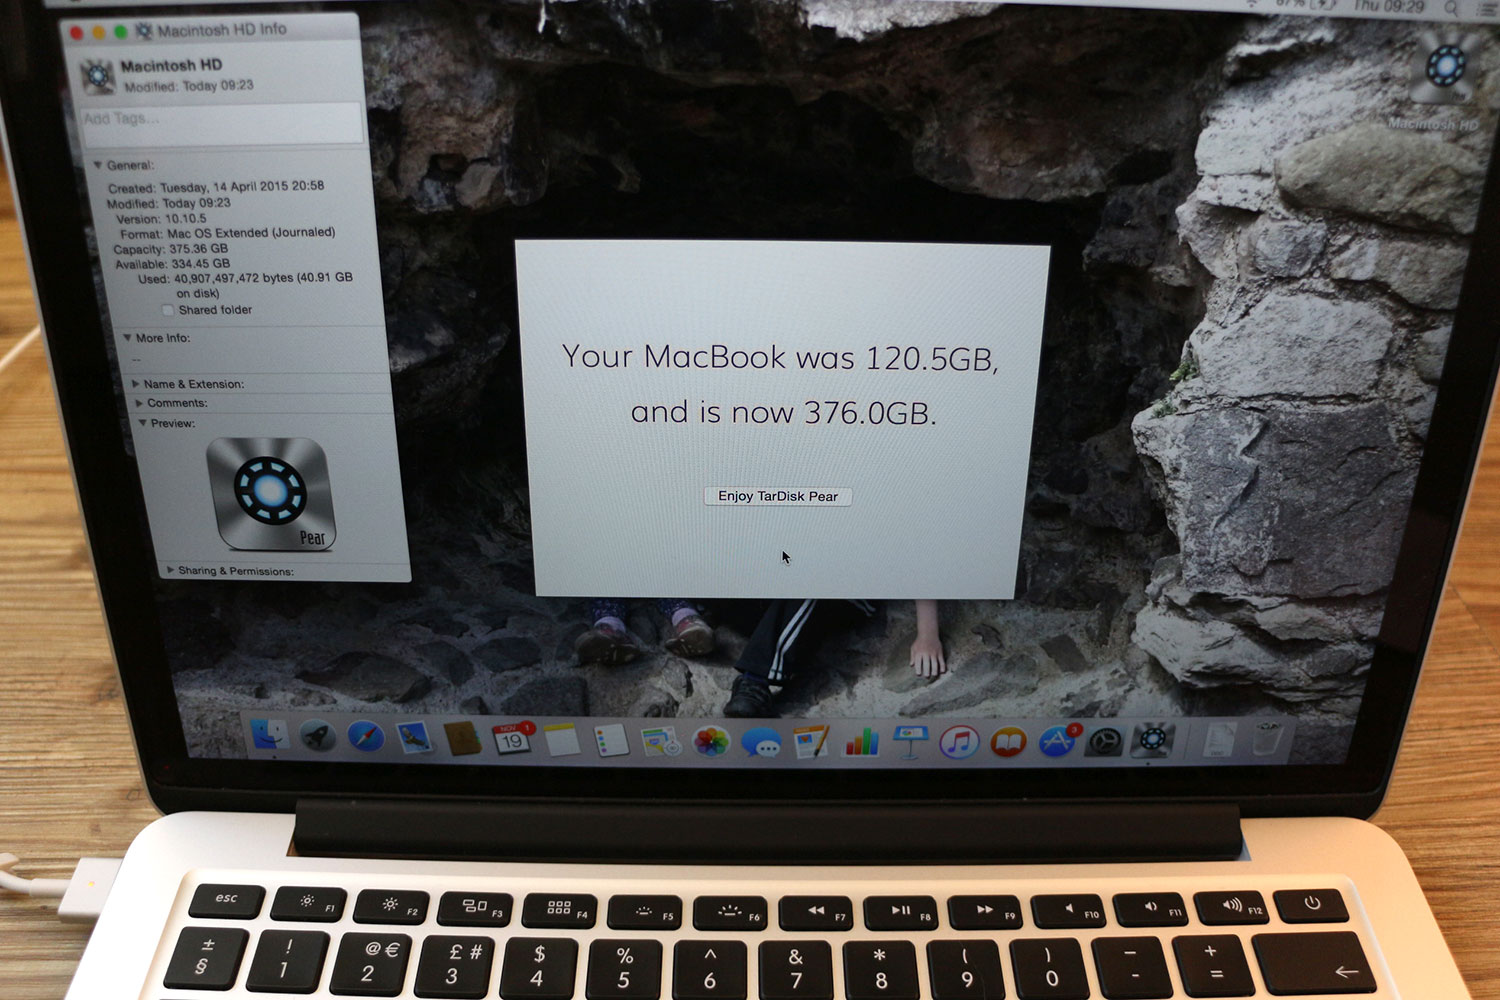
Next, you’ll need to turn off your MacBook and then boot into Single-User mode and run a command to check on the health of your existing hard drive. The steps provided are clear and easy to follow. Once the groundwork is completed, you can insert the TarDisk (contact pins down), just as you would an SD card, and run the installer, which pops up on your desktop. We had to restart a couple of times, but after the second boot up we were greeted with the message “Your MacBook was 128GB and is now 384GB.”
Not counting the Time Machine backup, the installation process took less than 15 minutes.
Performance
After installation, everything appears exactly as before, except the amount of storage. In About this Mac > Storage you can see the two separate devices, with TarDisk icons, but they both show the total amount of merged storage. Going forward, OS X treats your existing SSD and the TarDisk as a single logical volume, but it will tend to fill up the internal SSD before sending data to TarDisk, and more frequently used files will reside on the SSD. From a user point of view, there was no discernible difference in performance after installation.
The instructions for pairing the TarDisk are lengthy.
TarDisk claims that performance is maintained, or even improved after pairing. The peak data transfer speed for the hardware is 95 megabytes per second, which is significantly slower than your SSD, but it gets around that, to some extent, by maintaining a cache on the SSD to shift the read/write load. This form of cache is commonly used by hybrid mechanical drives with a solid state cache. In most cases the slower component’s downsides are negated, but writing and reading large files (a 1080p movie, for instance) to and from the TarDisk can expose the SD card’s slower sustained transfer speeds.
We decided to put it to through its paces with BlackMagic Disk Speed Test. With the TarDisk installed, it reported write speeds consistently around 620MB/s and read speeds around 1250MB/s. Without it, the write speeds and read speeds were exactly the same.
Potential problems
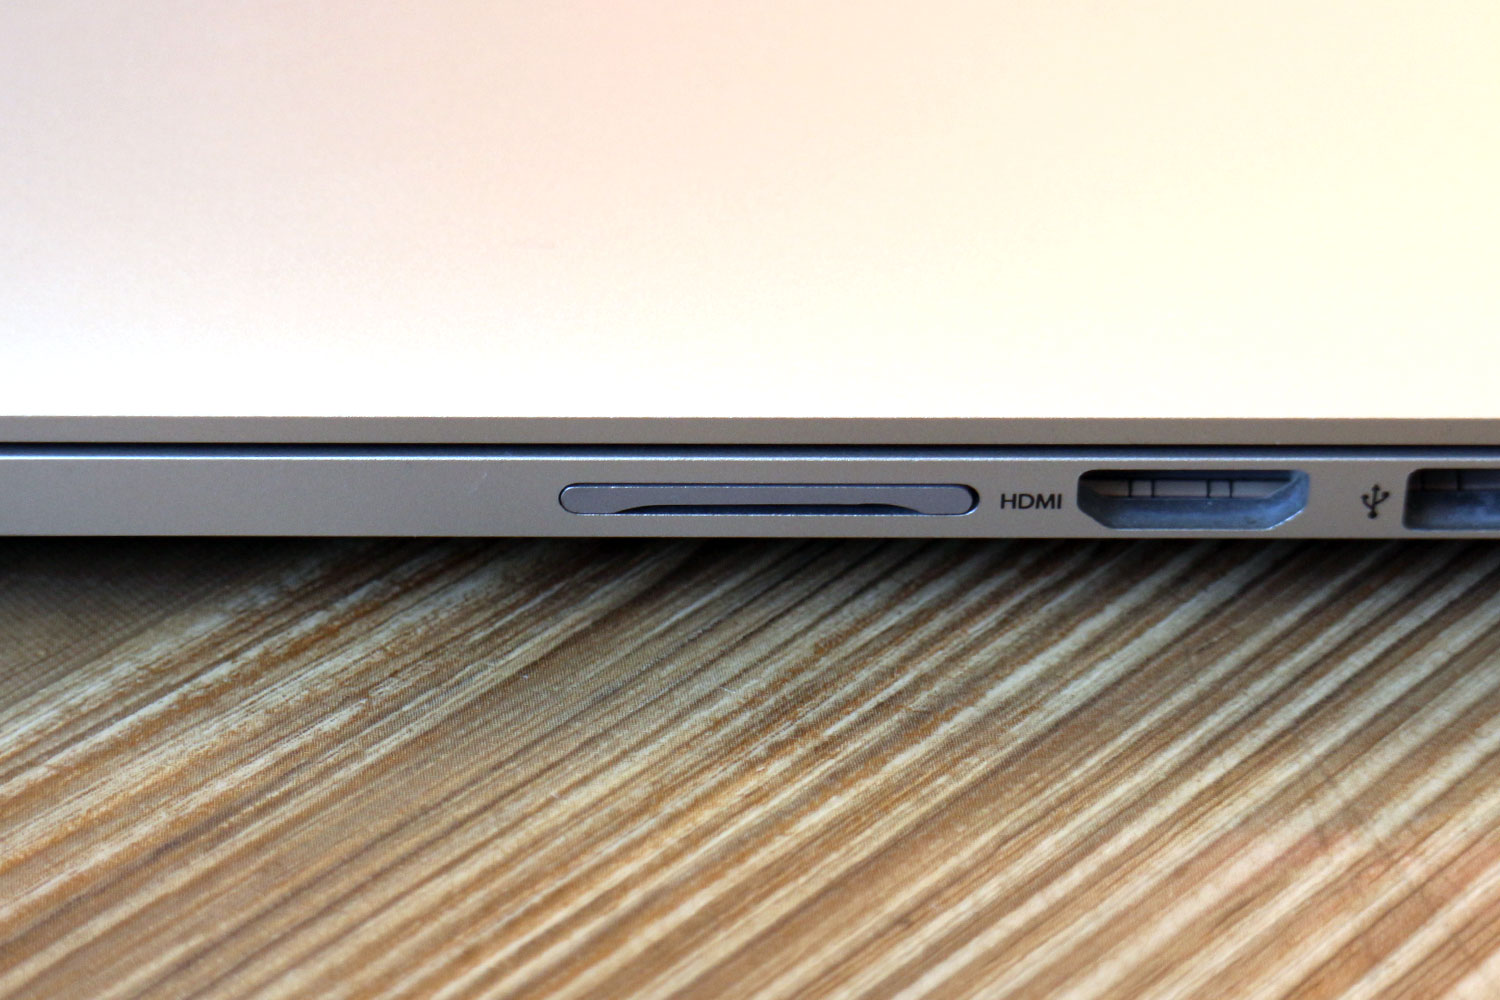
The most obvious problem with the TarDisk Pear is the fact that it fills up your SDXC card slot. If you frequently copy over photos or other files with an SD card, then you might think twice about pairing it, although you don’t have to spend more than $10 to get a USB card reader.

You might also be concerned that the TarDisk is going to negatively impact battery life. We didn’t notice any difference in battery drain after pairing, but it does, obviously, require power. TarDisk says it draws around 70 milliwatts, so a MacBook Air with 7-hour battery life will lose less than 5 minutes.
It does work with FileVault, though you’ll need to turn it off during the pairing process. There’s no support for Bootcamp. If you have a Bootcamp partition, you’ll have to remove it before pairing.
Another potential issue is the idea that this is a permanent solution. What happens if it fails, someone unwittingly removes it, or you want to take it out for some other reason?
Unpairing the TarDisk
Removing the TarDisk without warning is not advised. If you’re lucky, you’ll be able to reinsert it and OS X will manage, but there’s a risk that you’ll end up with a corrupted volume.
You’ll find detailed uninstall instructions at the TarDisk site, but you’ll need to start by reducing the used disk space on your hard drive. The instructions suggests you need to reduce it down to “at least 20 percent below its original size. For example, if your original Macintosh HD size before Pear-ing was 121GB, you must make sure that your current system has 97GB or less on it now.” That’s going to be tricky, since you bought the TarDisk in the first place because you needed the extra room.
The TarDisk Pear fills up your SDXC card slot, permanently
You’ll want to turn off FileVault, and create another Time Machine backup, before turning your MacBook off and removing the TarDisk. You’ll then boot into Recovery Mode and use Disk Utility to fix your hard drive and then verify it. Once that’s done, assuming everything looks okay, you can restore a Time Machine backup. If you don’t have a Time Machine backup before you do this, then you’re going to lose everything on your MacBook, and you’ll have to reinstall OS X and set it up as new.
Once completed, you’ll have to delete the EFI partition on your TarDisk to activate it again. There are instructions for doing it on a Mac or Windows PC, but our Windows desktop failed to recognize the TarDisk. If you decide you want to pair it again, then you have to email TarDisk with your MacBook’s serial number and TarDisk receipt, and acknowledge that pairing a second time removes safety checks which can introduce unforeseen errors.
Warranty information
Unsurprisingly, TarDisk accepts no liability for data loss or corruption. Make sure that you always follow the instructions meticulously, and never pull the TarDisk out without completing the un-pairing process. You can return your TarDisk Pear unopened up to 14 days after the shipping date. If there’s a problem, TarDisk’s customer support is pretty responsive, but there is a 50 percent restocking fee if it determines that you’ve caused any damage with improper usage.
Conclusion
The DT Accessory Pack
Up your game with these accessories, hand picked by DT editors:
EasyAcc Superspeed Memory Card Reader ($8)
You’ll want one of these if you give up your MacBook’s SDXC slot for the TarDisk.
Seagate 1TB External Hard Drive ($60)
This external hard drive has plenty of space for your Time Machine backups.
Apple AirPort Extreme Base Station ($180)
Hook your external hard drive up to this and you can backup and restore wirelessly.
If you have a MacBook Air or Pro that’s running short on space, and you rarely use the SDXC slot (or you don’t mind picking up a USB card reader), then the TarDisk Pear is a smart way to increase your storage space.
The permanence of the TarDisk Pear could be a turn off for some people. There’s no doubt that the installation, and more so, the un-pairing process, is a hassle, especially since you have a few extra hoops to jump through if you want to use it again after un-pairing. But if you follow the instructions to the letter, you shouldn’t have any issues.
It is also quite expensive, at $150 for 128GB, or $400 for 256GB. You could buy something like Transcend’s JetDrive Lite and only spend $70 for 128GB, or $160 for 256GB. You’ll miss out on the aluminum finish and the merged storage, and it’s not always detected automatically upon wake, but it will give you the extra space you need and it’s easily removable.
Ultimately, the TarDisk Pear does what it says it will do. Short of opening your MacBook up and installing a new SSD, it’s the most seamless storage addition you could hope for, both functionally and aesthetically. Just be careful how you use it, because a mistake would be bad news for your data.
Highs
- Merges with existing drive
- Aluminum finish, flush fit
- Solid performance
Lows
- Uses up SDXC slot
- Pairing and removing is tricky