Is there anything worse than dealing with an annoying villager in Animal Crossing: New Horizons? Well, maybe there is, but perhaps you’re thinking about kicking one of them off your island. Sometimes the little nickname they have for you might rub you the wrong way, and you just can’t stand it anymore. How exactly do you go about removing them?

As of right now, there isn’t a quick and easy method that 100% guarantees a villager will be dismissed from your island. In fact, whether a villager is thinking of moving out appears to be somewhat random. Many players have their own theories that supposedly work, but there are a lot out there that are flat-out wrong. For instance, some have claimed that bonking a villager on the head with a net will cause them to get mad at you, leading to them requesting to move. Others have stated that complaining to Isabelle in Residential Services might cause a villager to leave. Both of these are untrue. However, there are a couple of methods that seem to work.
You’ll know a villager is ready to move out when they have a cloud above their head. After talking to them, they’ll tell you they’ve been thinking of moving out, and if you agree, they’ll be off the island in a couple of days. To speed this process along, try one of the following methods.
Recommended reading:
- Animal Crossing: New Horizons bug guide for December 2020
- How to add friends in Animal Crossing: New Horizons
- How to make money in Animal Crossing: New Horizons
Avoid them

Your villagers can often be found walking around the island. In normal circumstances, you’d probably be inclined to walk up to them to strike up a conversation. However, if you want a villager to move out, do not interact with them. Try to avoid starting conversations, and even keep your distance from them. Talk to the other villagers instead. Some players will build a fence around the villager’s home to keep them trapped so you won’t accidentally run into them.
What’s odd is that some villagers might request to move even if you talk to them every day. That’s why many players believe it’s random. Either way, you will eventually be prompted to kick a villager out if you ignore them.
Amiibo cards

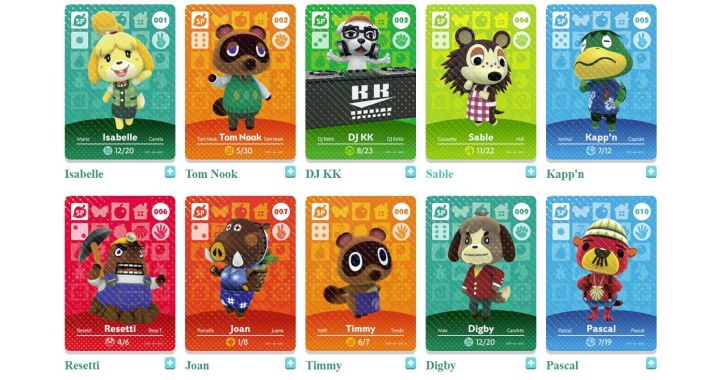
The other method expects you to have the Animal Crossing amiibo cards. These cards can be located online and are included in blind packs. Or, you can obtain specific cards from dealers on eBay. A viable option is to use an amiibo card to substitute a character on your island. To do this, navigate over to Residential Services and interact with the device. Choose the Amiibo option and request whichever card you have. However, you need to check and make sure that it’s a villager and not a worker like Tom Nook or Isabelle.
Once selected, they’ll then take a trip to visit your city as a camper. Satisfy all their needs and requests, and keep nudging them to move in. At some point, they’ll accept and will move in the following day, as long as you have additional openings free. Keep in mind that you can only have ten villagers living on your island at a time, so choose wisely.
Of course, if your island has reached maximum capacity, you’ll be urged to replace a villager with the person requested from the amiibo card. The good news is that you get to pick which villager they substitute by bargaining with them. You’ll notice a list of your villagers pop up, letting you then decide which one to give the boot. This technique also works well with random campers, but the disadvantage is that you’ll have to wait for these people to arrive. With amiibo cards, you can bring in particular villagers at your own leisure.


