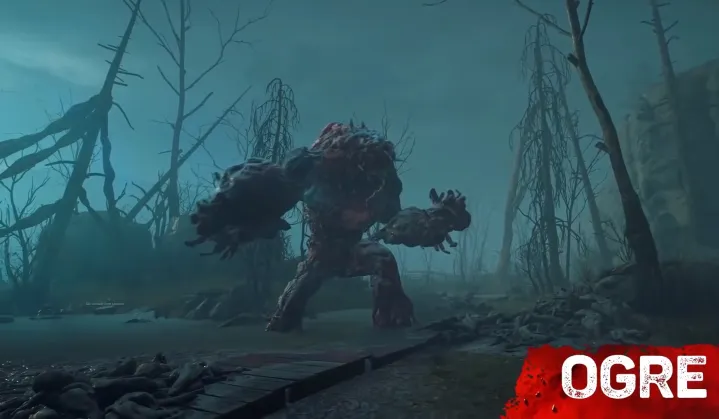
There’s no shortage of zombies in Back 4 Blood, but few are more intimidating than the Ogre. Larger than a house and capable of wiping your entire party in seconds, the fearsome Ogre isn’t easy to take down. However, with a bit of determination — and a lot of teamwork — you can defeat the terrifying Special Ridden.
Here’s what you need to know before heading into battle with the Ogre. Whether you’re looking to actually kill the abomination or just escape with all your limbs intact, there are a few key tricks you’ll need to be aware of.
Further reading
- Is Back 4 Blood cross-platform?
- Back 4 Blood enemy guide: How to kill all Special Ridden
- Back 4 Blood’s card system explained
How to kill the Ogre in Back 4 Blood

If you’re thinking of killing the Ogre, prepare for a challenge. Taking down the gigantic beast requires mountains of ammo, intense cooperation with your teammates, and careful movement around the map — get backed into a corner, and there’s little chance for escape.
Not deterred by any of the above? Here’s what you need to do to kill the Ogre.
Stock up on gear
Back 4 Blood rewards players who come to a battle prepared. Unfortunately, it’s not always clear when the Ogre will show up — and that makes it hard to properly set up your inventory. Because of this, you’ll want to always be on the lookout for ammo, health kits, bandages, and grenades during Act 1.
The Ogre has one of the largest HP bars in the entire game and can absorb hundreds of bullets before dropping. If you don’t have much ammo — and there’s no hope of finding any in your surroundings — your best bet is to run away.
Keep your distance

With your inventory full of bullets, your first priority is keeping your distance from the Ogre when it emerges from the ground. This Special Ridden will squash your entire team in seconds if you get too close. Unfortunately, the Ogre can also hurl a projectile at players if they get too far away — so always keep your eyes fixed on the beast and sprint to cover if you see it raising its arm.
Shoot at the weak spots
Like all Special Ridden, the Ogre has a few glaring red weak spots. Shooting at the red splotches on its neck and chest will deal increased damage. Focus your attack on these spots and conserve ammo if you don’t have a direct line of fire. Remember — the Ogre will soak up tons of damage before falling, and if you’re not shooting at its weak spots, you risk running out of bullets.
Use special items to speed up the battle
If your team has any grenades, now is the time to use them. The Ogre is particularly susceptible to flashbangs — which result in a lengthy stunned phase — so throw these out if one of your teammates finds themselves trapped in a corner.
Other tips for killing the Ogre
Beyond the above strategies, follow these basic tips to bring down the beast:
- Understand your surroundings: Since you’ll want to keep your eyes fixed on the Ogre, make sure you take a few moments at the beginning of the battle to take stock of your surroundings. This will allow you to backpedal safely without getting stuck in a dead end, or load up on ammo when needed.
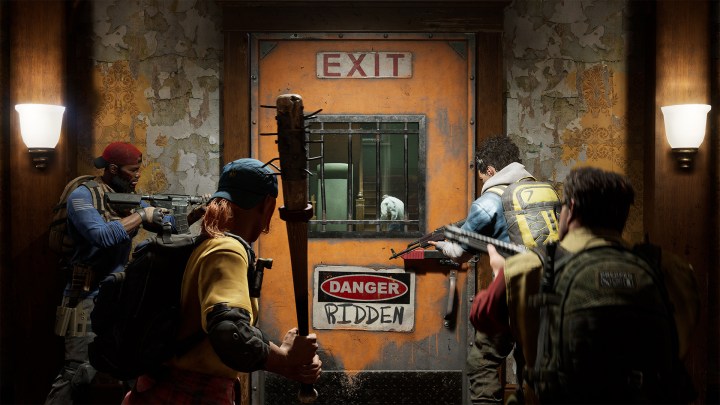
- Take shelter: The Ogre’s size makes it deadly — but it also limits its movements. If you ever need a moment to collect yourself or bandage your wounds, duck into a house and you should be out of harm’s way.
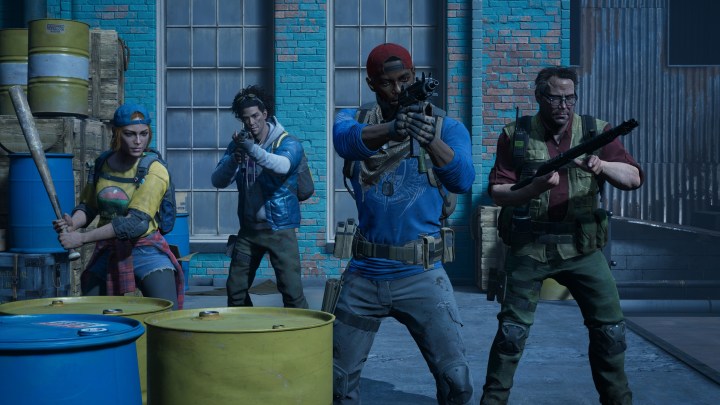
- Work as a team: The Ogre will often chase down any player that ventures too close. If this happens to your teammate, try to rush forward and steal away its attention. By taking turns holding the Special Ridden’s attention, you should be able to constantly distract it while everyone else unloads their clips on its weak spots.
If all else fails, run away

Once the Ogre loses half its health, it will attempt to flee — only to resurface later in the game. And if things start looking grim for your team, you should take its advice and flee yourself. Whether it’s because you don’t have much ammo, are lacking bandages and health kits, or simply don’t have the time to spend on a massive boss fight, there’s no shame in fleeing to fight another day.
There are two ways to successfully flee the Ogre:
- Move to an inaccessible area: As mentioned above, the Ogre can’t fit through most doorways — or even some highway overpasses. Use this to your advantage and run inside the nearest house. After a few moments, it’ll decide you’re not worth the effort and will leave the area.
- Push forward: Up for a chase? If so, you can simply rush past the Ogre and continue on with the level. Eventually, the towering Special Ridden will grow tired of running and simply burrow underground to fight another day.


