Nintendo decided to add an entirely new mode when they announced that they were re-releasing the fantastic Wii U title Super Mario 3D World on the Switch. Now called Super Mario 3D World + Bowser’s Fury, this extra mode can be accessed right from the start. This is a shorter, distinct adventure from the main game that sees Mario platforming his way around a new, more open world style location called Lake Lapcat with an unexpected partner in Bower Jr. as they collect new Cat Shines to take down a furious Bowser.
Unlike 3D World, Bowser’s Fury is not a linear series of obstacles. The controls are the same, but you’ll be free to explore the open world of Lake Lapcat much like a stage from Super Mario Odyssey. There’s a lot to learn about this new mode, even for those who played the original game back on the Wii U. Facing off against such an intimidating depiction of Bowser may feel overwhelming, but this beginner’s guide will help you find your footing.
Further Reading
Don’t sweat dying
Each Mario title treats death differently. Some have life systems, where if you run out you are sent back to the start, and others just cause you to lose coins. Bowser’s Fury uses the latter system. Each death will cost you just 50 coins, similar to how it worked in Odyssey. Coins are plenty in and around Lake Lapcat, and 50 is a very minor setback, so feel free to explore, experiment, and make mistakes early on while you’re still adjusting to the mechanics of this new mode.
Avoid Bowser until you’re ready
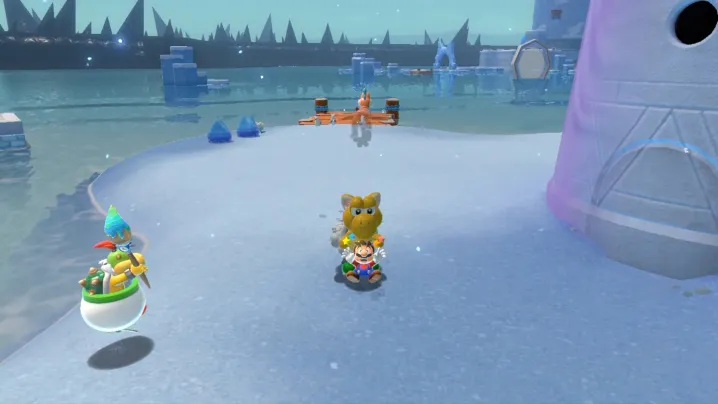
The main feature, if you want to call it that, of this mode is Fury Bowser showing up at random moments to rain on your parade. Literally, he will show up and rain down fireballs whenever he feels like it. You can actually get a rough idea of when he’s getting ready to strike by looking at the center of the map and seeing how high his shell is above the water, and when it starts to rain, you know he’s only moments away. Naturally, this will happen at some inopportune moments now and again. Especially early on, when you have few Cat Shines collected, fighting Bowser will not be a good idea. Thankfully there are a few ways you can get Bowser off your back.
The first is to just wait him out. Bowser can only maintain his fury for so long before he needs to recharge. Find a safe place to avoid his fiery attacks and he will eventually leave you alone so you can continue exploring in peace.
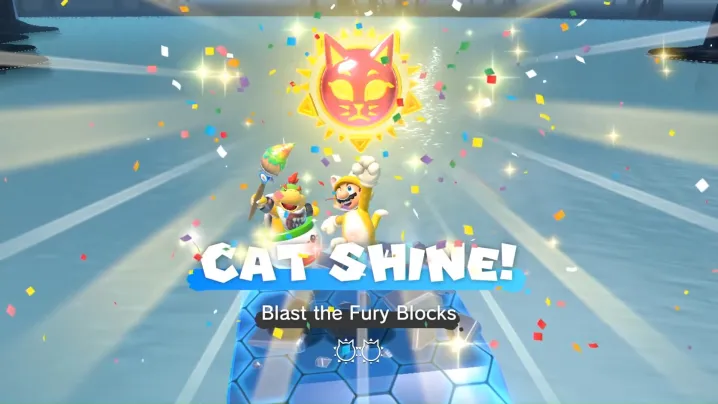
If you’re a little braver, or close enough to getting one, you can also cancel out Bowser’s attack by collecting a Cat Shine on whatever island you happen to be on. This can be riskier, but does help work down Bowser’s health bar for when you do inevitably face off against him. On the other hand, this is the perfect opportunity to use his attacks to break the Bowser fury blocks that only he can destroy. There is a shine inside each, so baiting him to bust them open can net you an easy Shine and set Bowser back at the same time. Just know that you can’t fully beat Bowser just by collecting Shines and that the more Shines you do collect, the more frequently he will show up to pester you.
Don’t forget Bowser Jr.
You’re probably not used to Mario having a friend tagging along on his adventure, let alone that buddy being Bowser Jr., but he does have some uses you might as well take advantage of. It might be a little awkward to get used to directing another character, but Bowser Jr. can help you out by whacking enemies, collecting coins for you, and most importantly using his paintbrush on specific spots. Keep your eye out for question marks on certain walls. If you spot one, go over to it and have Bowser Jr. paint it. These can be hiding a golden pipe that will take you to a nice little treasure trove of coins, or a simple power-up. Either way, it’s well worth your time.
If you have a friend along for the ride and are playing co-op, then the second player will be in charge of Bowser Jr. and can take on all those duties for you.
Hold off on going for 100%
At least, not right away. If you’re someone who wants to grab every Moon, Star, or in this case Cat Shine, in every Mario game you play, there are good reasons to hold off on collecting them all before taking down Bowser. First off, know that you actually can go back and collect more Shines in the post-game. Don’t feel like facing Bowser is a point of no return. In fact, beating him will make your hunt for the remaining Cat Shines even easier.
Once you beat Bowser you can speak to Bowser Jr. who will clue you in on exactly how many more Cat Shines are left for you to collect, plus mark your map with some of their locations. That alone makes waiting way more efficient for hunting down the rest of your Shines.
Finally, you actually can’t collect all the Cat Shines before beating Bowser even if you wanted to. New Shines will appear to collect only after you beat him, so you may as well just enjoy yourself while collecting as many as you come across until you feel ready to take on Bowser.
Leave and revisit islands

Speaking of collecting Cat Shines, which is the whole point after all, you might notice that you can’t find additional Shines on an island after you collected your first, despite all the main islands having five. Bowser’s Fury doesn’t kick you out of an area like Super Mario 64 did, for example, but maybe should have. Just like 64, there are different objectives to complete on each island that will earn you a Cat Shine. Once you get that Shine, though, a new one may not appear until you leave the island. Likely this is due to islands shifting between visits, which they can’t do while you’re currently on them.
To refresh an island, just take Mario out beyond the gate leading to it, turn around, and head back in. You’ll know it worked when the island name pops up and you get a new objective below it.
Stock up on your power-ups
Power-ups can be a literal life-saver in Bowser’s Fury, and you should aim to hold as many as possible at all times. Aside from the one Mario is currently using, you can store five backup power-ups of every type to bring out when things get dicey. We already mentioned that you should be using Bowser Jr. to help get you extra power-ups, but there are two other ways to collect them.
The first way is made obvious just by playing the game. For every 100 coins you collect, you are given a power-up. As long as you don’t die too often, again costing you 50 coins, you will be able to get plenty of power-ups just by passively collecting any coins on your path.
If you find yourself short on power-ups, there are secret ones you can easily miss. You’ll notice that upon collecting a Cat Shine, a small cutscene plays out where it moves over to a Cat Tower. If you have a keen eye you will spot the telltale sparkles of a secret on top of the tower. Make sure to use your trusty butt stomp to reveal a hidden power-up on each time you light up a tower. If you forget to do it until the final shine, you will only get the one power-up instead of maximizing them. Also, once all five shines are collected, a flag will appear on the tower preventing you from getting any.
Grab bells when fighting Bowser

When the time comes to finally face down Bowser you might feel invincible, but you’re arguably more vulnerable than ever. You won’t be able to access your items during this fight, and getting hit will power you down just like normal. If you’re down to your weakest state, retreat and look for the bell items around the islands. Just like in 3D World, they will give you awesome cat powers while restoring your hits. Bells do respawn after time, so grab them when you see them.
Use the Bowser Amiibo (if you have one)
Amiibos used to be the biggest craze, perhaps even more popular than the Wii U they were made to interact with, but not much is said about them now. If you do happen to have a Bowser amiibo in your collection, you can use it to interact with Bowser’s Fury. Tapping this figure on the game will force Fury Bowser to show up right then and there. Why would you want Fury Bowser to show up? To break the Bowser fury boxes of course.
Since Fury Bowser’s breath is the only thing that can destroy these boxes and reveal the Shine inside, if you’re going for 100% completion then you’ll need to get inside all of them. Rather than sit around and hope Bowser shows up to break them for you, you can call him to attack with your amiibo and save yourself the wait.
Editors' Recommendations
- Nintendo’s next game is all about mastering NES classics
- All hidden chest locations in Super Mario RPG
- All Captain Toad locations in Super Mario Bros. Wonder
- Sonic Frontiers beginner’s guide: 5 tips and tricks to get started
- Tinykin beginner’s guide: 5 tips and tricks


