
God of War Ragnarok: How to find the Vulture’s Gold treasure

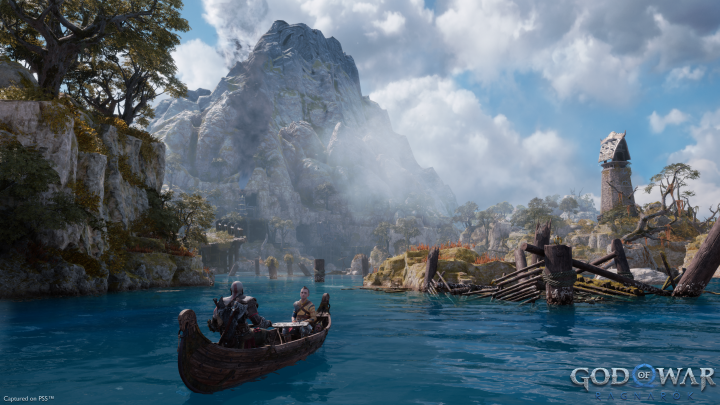
Reuniting with Kratos, Atreus, and Mimir in God of War Ragnarok is an absolute joy. Many players' favorite aspect of the 2018 game was simply traveling around the massive hub area and listening to Mimir's stories. We're glad to see that this aspect returns in the sequel, with even more opportunities to put off your main objective for a while.

Difficulty

Easy

Duration

10 minutes

What You Need

  • Unlock The Barrens area

Among all the collectibles, side quests, and Labours in God of War Ragnarok, you will also come across a select few treasure maps. While not on the level of a full side quest, these little tasks present you with the challenge of locating the right spot to find the hidden treasure. The first you can find is called the Vulture's Gold treasure map, which will reward you with plenty of crafting resources to improve your gear. If you're stumped on locating this loot, here's how to find the Vulture's Gold treasure in God of War Ragnarok.

Kratos and Atreus sail on water in God of War Ragnarok.
Image used with permission by copyright holder

How to find Vulture's Gold

The way treasure maps work is simple but never straightforward. Once you locate the map, you will be given a picture and a vague clue about where it is, but that's it. There won't be any map markers or waypoints to guide you to it. Here's where you need to go to get the map and find the treasure.

Step 1: Play the game up through the last mission in Alfheim.

Step 2: Before you're about to leave, a new area will open up.

Step 3: Go through the opening, and the map will be right in your path.

Step 4: The map will state, "In search of peace, The beast finds only war, Its last breath of life atop the sands, Its last meal of gold beneath the bones," and show an image of what looks like the inside of a massive mouth.

Step 5: Mount the sleigh and go into The Barrens.

Step 6: Head to the far northeast corner of the map.

Step 7: Locate the skull of a giant monster.

Step 8: Go inside, to the back, and look for a spot you can interact with on the floor.

Step 9: Dig up the treasure!

Editors' Recommendations

Jesse Lennox
Jesse Lennox loves writing, games, and complaining about not having time to write and play games. He knows the names of more…
All suits in Spider-Man 2 and how to get them
Peter and Miles standing on a bridge

In the decades that the character of Spider-Man has existed, through comics, TV shows, games, and movies, he's gone through quite a few suits. Spider-Man 2 keeps the tradition alive by not only giving him a new suit to try out, but dozens and dozens of older ones to let you play as your favorite version of the webslinger. Oh, and did we mention Miles has his own extensive set of suits as well? Just like the first game, you won't be handed the keys to the wardrobe for free. Each suit not only needs to be unlocked but also crafted using City and Hero Tokens, as well as Tech parts to get access to the additional styles most suits have. If you're itching to dress up as the Spider-Man of your dreams as soon as you can, here is every suit in Spider-Man 2 and how you unlock them.

Note: Some suits are unlocked via story progress and could be considered spoilers. You have been warned.
All suits in Spider-Man 2

Read more
All Mysterium locations in Spider-Man 2
Miles posing by a Mysterium.

It seems like a requirement for superhero games to bring in a villain just to set up challenges for the hero to complete. In the first Spider-Man, this was Taskmaster, but in Spider-Man 2, we get Mysterio and his Mysterium challenges. Not only are they simply fun ways to test your spider skills against some unique trials, but you can also get your hands on some Hero Tokens for performing well. Plus, you also get a little more insight into this unique former villain. That's all well and good, but by this point in the game, you should know that you won't be given the exact locations for each challenge right away. If your spider-sense is failing you on where to find all the Mysteriums in Spider-Man 2, we'll mark your map so you can swing straight to the action.
All Mysterium locations and requirements

Mysteriums, also known as mysterium dev diaries, unlock after you complete Chapter 12 of the main game. This is the chapter where you first meet Mysterio at the carnival while playing as Miles and go through his attraction. Once you beat this chapter, a few Mysteriums will appear on your map, but more will pop up as you continue to go through the story. You need to do them all as Miles, and each rank earns you Hero Tokens. Here is where you can find them all.
Under Construction - Harlem
This is a "defeat all enemies"-style challenge, but these always come with a twist. In this case, around halfway through the challenge, poison gas will fill the arena and constantly drain your health. You can heal to recover, but if you're on a good pace and have upgraded your health, then you should concentrate on using your Focus for finishers to complete the challenge faster.

Read more
All photo-op locations in Spider-Man 2
Miles sitting on top of a building at sunset.

Get me pictures of Spider-Man! Well, actually, in Spider-Man 2 you never actually have to snap any pics of either Spider-Man. As established in the first game, Peter has already moved on from his job as a photographer for the Bugle and is focused completely on science (when not saving the day, of course). When that doesn't work out well enough to pay the bills, he falls back on his old freelance photography gig to help make ends meet by going to key spots around the map to snap some shots to sell. These are among the most numerous icons you will see pop up on your map as you play, and while each one only rewards two City Tokens for completing them, they take a few seconds at most to get the perfect shot. Let's take a tour of the city to find all the photo-op locations in Spider-Man 2.
All photo-op locations

Photo-ops will populate the map in batches as you go through the game, but ultimately, there will be 23 unique spots you will need to stop and get a picture of to complete the entire quest. To snap the perfect picture, swipe down on the touchpad to open up your camera app when near the target area and look for whatever subject you need to capture. This will be obvious in nearly all situations, such as the above mascots, or a piece of art, or even entire buildings. The camera itself will help you as well. If you're in range, the text will let you know if the subject is in view, obscured, or in focus. Once the ring is green, that shot will count and you can hit R1 to take the shot. After each one, you get a little bit of context and dialogue about whatever it is you are submitting.

Read more