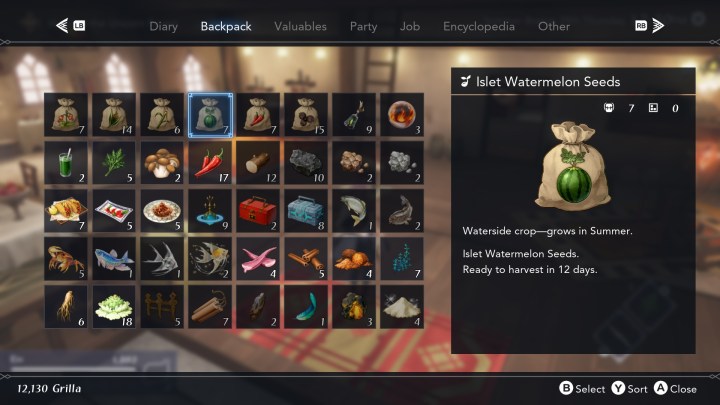
Harvestella is a game that wastes no time before overwhelming your inventory with resources, consumables, and other useful gadgets. Unfortunately, your starting backpack isn’t quite up to the task of holding all these items.
If you’re looking to upgrade your inventory in Harvestella and carry more than 16 items, here’s what you need to know.

How to upgrade your backpack in Harvestella
Upgrading your backpack in Harvestella is a very simple process – but one that’s easy to overlook. Here’s how it works.
Step 1: The first thing you’ll need to do is discover Lethe Village. This happens fairly early in the game, and you won’t have to go out of your way to find it. Just keep chugging along through the main quest, and you’ll eventually be sent to the quaint town.
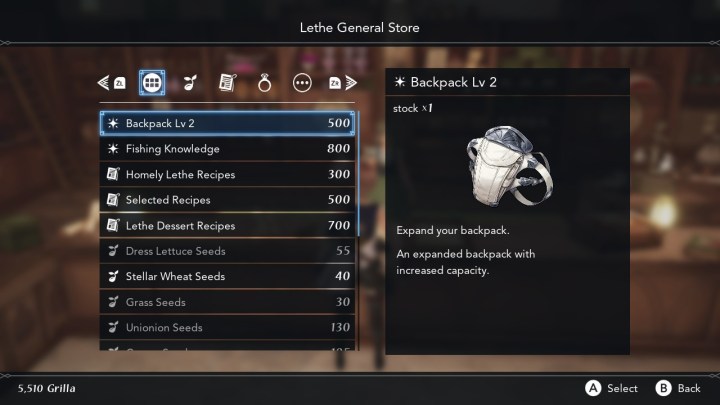
Step 2: Once you’ve found Lethe Village, head over to the General Store. It is located just up the road and is the second building on your right.
Step 3: Head inside, chat with the clerk, and you’ll be able to browse their selection of items. One of those items is named Backpack Lv. 2. Purchase this, and you’ll add eight spaces to your inventory.
Step 4: A second tier, Backpack Lv. 3, is available after making this purchase – although it’ll cost you a cool 10,000 Grilla. The backpack maxes out at five rows (40 slots).

Why you should upgrade your inventory
Like any good RPG, Harvestella is filled with heaps of useful (and useless) items. It’ll probably take you less than a few minutes of adventuring to load up your standard backpack – forcing you to either miss out on precious loot or make the trek back to your farm to stow it away in storage.
With an upgraded backpack, you’re able to accrue resources faster, which in turn allows you to earn money and craft useful gear faster than before. Backpack upgrades aren’t cheap, but they’ll pay for themselves after just a few dungeon runs.

The best way to manage your inventory in Harvestella
Managing your inventory can be challenging, but there are a few things you can do to maximize your space.
- Don’t bring crops into dungeons. There’s really no need to bring Carrops and Unionions into battle -- once they’ve been harvested, deposit them directly into your Shipping Box.
- Leave seeds at home. Again, these are of no use in dungeons, but can take up a significant chunk of your inventory.
- Drop common loot. Unless you need entry-level items for crafting, feel free to ditch these unprofitable items as soon as you pick them up.
- Bring consumables on your quests, but don’t go overboard. Because you can only spend a short amount of time exploring before needing to head back home for the night, there’s no reason to fill up multiple slots of your inventory with health-restoring items. Instead, consider using just two slots for consumables – and maybe a few more if you're gearing up for a boss fight.


