Further Reading
Keep it plugged in, even without the Nintendo Switch
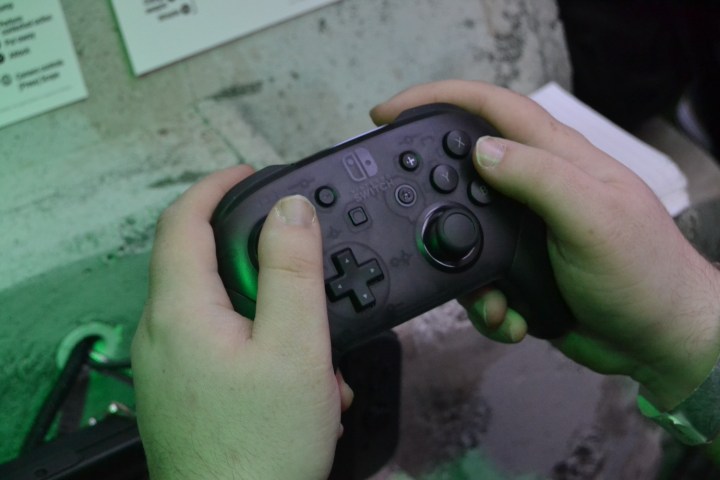
The Nintendo Switch Pro Controller comes with a USB-C to USB-A cable for connecting it to the console’s dock. Most people leave the Switch in the dock when it isn’t in use, either turned off or in its sleep mode while it charges. This is also the optimal time for charging your controller.
It seems obvious, but we would be remiss if we didn’t point out that you don’t need to keep your Pro Controller near the Switch to charge it. If you’re taking your console with you somewhere, you can still plug the Pro Controller into the dock and allow it to charge while you’re gone. As long as the orange light is lit up on the top of the controller, it’s charging.
If you run out of battery in the middle of a game and need to keep using the Pro Controller, you can plug it into the dock as well, but we suggest getting a longer cable than the one included in the box. We recommend at least a 6.5-foot cable that will allow you to keep relaxing in your chair while the controller is plugged in.
Use the right third-party charging dock

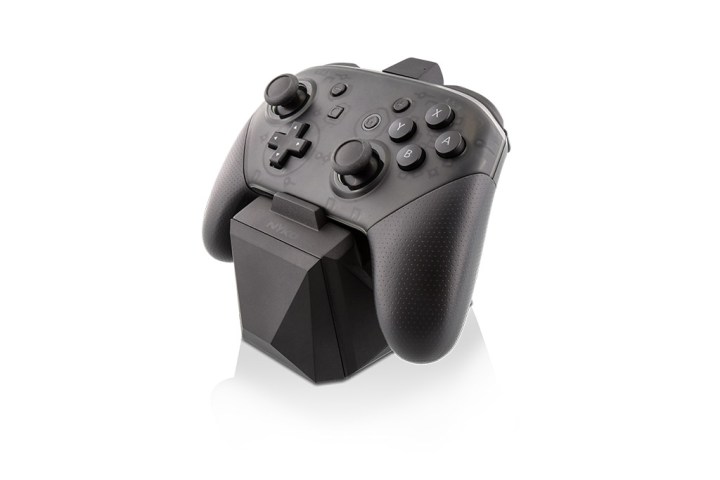
If you play games in a larger room and don’t want to charge the Switch Pro Controller directly from the dock, you can always use a third-party charging dock instead. In our experience, the Pro Controller tends to lose more power when turned off than other first-party gamepads, so keeping it in a dock will ensure you’re never surprised by a dead battery. There are a few of these docks available, but they differ in more ways than just the brand name printed on the box.
PowerA manufactures charging cradles for a variety of consoles, and we’re particularly fond of its PlayStation 4 cradle, but the company took a different approach with its Pro Controller dock. It allows you to charge a Pro Controller and two Joy-Con controllers at the same time, but it only comes with a USB cable for charging, meaning that you’ll still have to use the port on your Switch in order to charge anything, which defeats the purpose of having a dock at all.
Nyko, on the other hand, took a more traditional approach with its Charge Block Pro controller dock. It can plug into a wall outlet as well as a USB port, and though it doesn’t allow you to charge Joy-Con controllers, you can connect multiple docks together and charge them all through one outlet. A small dongle attachment also allows you to quickly dock and pick up the controller with one hand, so you don’t even need to put down your Switch system.
Turn it off when not in use
All controllers for the Nintendo Switch will automatically turn off when the system is set to sleep or completely shut down, but they won’t do so when the system is idle. This is far from ideal, particularly if you decide to swap control schemes halfway through a game and put your Pro Controller down — by default, it will still be turned on and ready to go, wasting battery.

There are a couple of ways you can shut your Pro Controller down without turning off the Switch entirely. The first method requires you to navigate to the console’s controller settings, COUPwhich, found at the bottom of the page on the home menu. Once you’re here, pick up the controller you want to use instead of the Pro Controller, switch it on, and click Change Grip/Order. Doing so will power all controllers down, and you can follow the button prompts on the screen to connect your new controller to the system instead.
You can also get the same result through a much easier technique. First, turn off your controller. Then, push the Sync button located at the top of the screen. Doing this immediately kills the power and doesn’t desync the controller from your Switch — go figure!
Keep the Joy-Con controller attached to the Switch
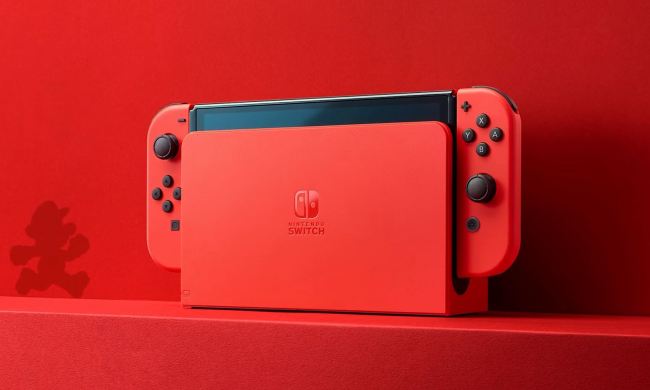
If you use the Pro Controller, we recommend keeping the Joy-Con controllers connected to the Nintendo Switch system. When it’s docked, these controllers will also begin charging, offering you a convenient backup if your Pro Controller kicks the bucket. The controllers will even charge when the Switch is operating on battery power, perhaps if you’re running the system in tabletop mode. Nevertheless, this will be restricted depending on how much battery life the Switch itself has. For the best possible results, we suggest keeping your Switch plugged in along with its AC adapter.


