The Legend of Zelda: Link’s Awakening was the first game in the series to have a trading sequence. Acquire a sought-after item, trade it to someone in need on Koholint Island, and receive an item in return to trade with someone else. Like the Ocarina, other Zelda games have featured trading sequences, but Link’s Awakening‘s sequence is the longest, with a total of 13 trades. Completing it is the only way to get the Magnifying Lens, which helps with navigating the final dungeon and is required to get the boomerang. Let’s break down this series of trades so you can get your hands on that boomerang as fast as possible.
- How to get all three Fairy Bottles in Link’s Awakening
- Where to find Heart Piece and Secret Seashell in Link’s Awakening
- The best Zelda games ranked from best to worst
How to complete the trading sequence
1. Win the Yoshi Doll
The first item in the trading sequence is the Yoshi Doll, which can be won from the crane game at Trendy Game. Upon scoring the Yoshi Doll and leaving the shop, Suhni will tell Link that his mom really wants the Yoshi Doll. Bring the Yoshi Doll to the house with two doors on the north side of Mabe Village and speak with Mamasha. The Yoshi Doll will help calm her baby’s cries. You did a good thing, even though the Yoshi Doll is really cute.
2. Give CiaoCiao the Ribbon

Mamasha gives you the ribbon in exchange. Go to the house in the center of Mabe Village where BowWow the Chain Chomp hangs out. Enter the right room and talk to CiaoCiao. She wants the ribbon as an accessory.
3. Give Sale the Dog Food
CiaoCiao hands over a can of dog food. Head down to Toronbo Shores, go right, and enter the beach hut. If you see a monkey in a tree, you went a tad too far. Inside the hut, you’ll meet Sale, an alligator who sells bananas. He wants the Dog Food for his collection (in his belly), and you have no use for it anyway.
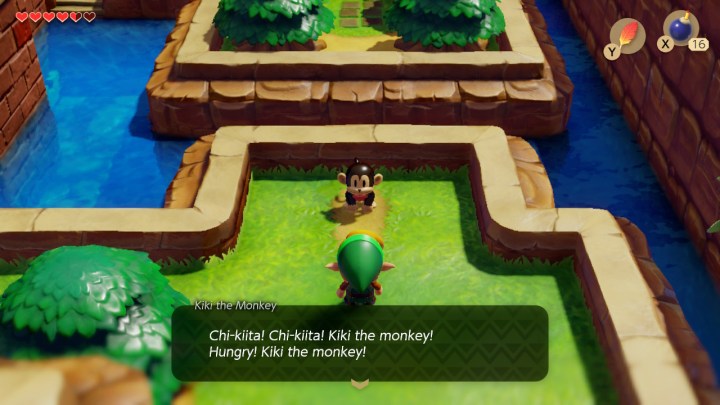
4. Give Kiki the Bananas

Sale will give you a bundle of bananas for the Dog Food. Now you need to head over to Kanalet Castle. This is actually part of the story. With the draw bridge raised, you have to find another way in. Head right, and you’ll find Kiki the monkey. If you give Kiki the bananas, he will summon his pals to create a makeshift bridge for you to cross.
5. Give Tarin the Stick
After the bridge is constructed, you will get a leftover stick. From there, you need to go to Ukuku Prairie. If you haven’t found the Slime Key yet (grants access to Key Cavern), you need to do that first. Tarin will be standing in the prairie near a tree with a honeycomb sticking out. Talk to Tarin to give him the stick.
6. Give Chef Bear the Honeycomb

After Tarin knocks the honeycomb out of the tree, you get to keep it. Now it’s time to go to the Animal Village to visit a gourmet restaurant. Once in the Animal Village, enter the southeast house and talk to Chef Bear. Luckily, Chef Bear needs ingredients, so he’ll take the honeycomb off your hands.
7. Bring the Pineapple to Papahl

In return, Chef Bear will give you the pineapple. Now you need to head to the Tal Tal Mountain Range. Climb the mountain, going through the series of caves. Eventually, you’ll see an exhausted Papahl. He’s a long way from Mabe Village, and he’s really hungry. Hand over the pineapple.
8. Give the hibiscus to Christine

Papahl will graciously give you the hibiscus in return. We have to go back to the Animal Village now. Enter the house second from the right at the northernmost edge of Animal Village. Christine’s favorite flower is the hibiscus. Make her day.
9. Deliver the Letter to Mr. Write
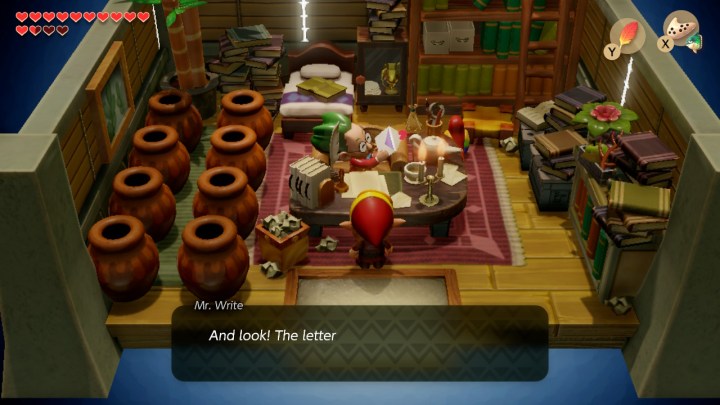
Christine will ask you to deliver a letter to Mr. Write. His house is located just north of the Mysterious Forest in the upper-left-hand corner of Koholint Island. Mr. Write is happy to hear from Christine and will even show you the included picture, which is, naturally, Princess Peach.
10. Give Grandma Yahoo a new Broom

For your delivery skills, Mr. Write will give you a broom. You have no use for it, but Grandma Yahoo really needs a new broom. Head back to the Animal Village once again. Grandma Yahoo is trying to sweep outside of the house in the upper-right hand corner. It’s not going well, so please give her a new broom.
11. Bring the Fisherman the Fishing Hook

Grandma Yahoo is so thrilled with her new broom that she gives you a fishing hook. This next part can be tricky. You need to go to Martha’s Bay. Swim right of Catfish’s Maw and around the bend toward the small bridge to the south. Once you’re at the bridge, dive to enter a hidden side-scrolling screen. Swim over to the boat and hop on.
12. Deliver the Mermaid’s Necklace
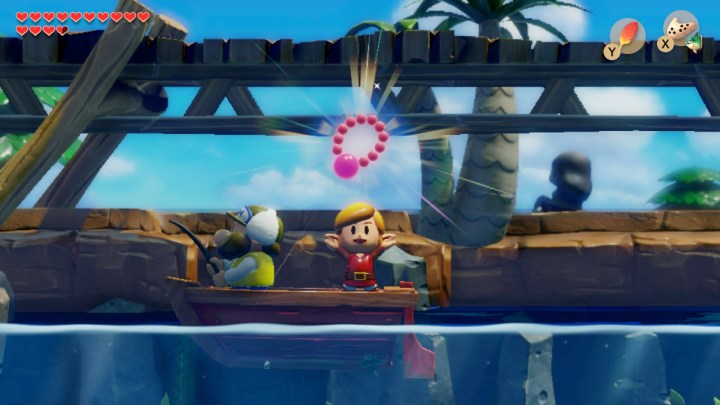
The Fisherman will be extremely happy to know you have a fishing hook. In return, he’ll give you the Mermaid’s Necklace, which he caught instead of fish.
13. Bring the Mermaid’s Scale to the statue

The Mermaid is wading in the water just north of Catfish’s Maw. She lost her necklace. Give it back, and she’ll let you take one of her scales.
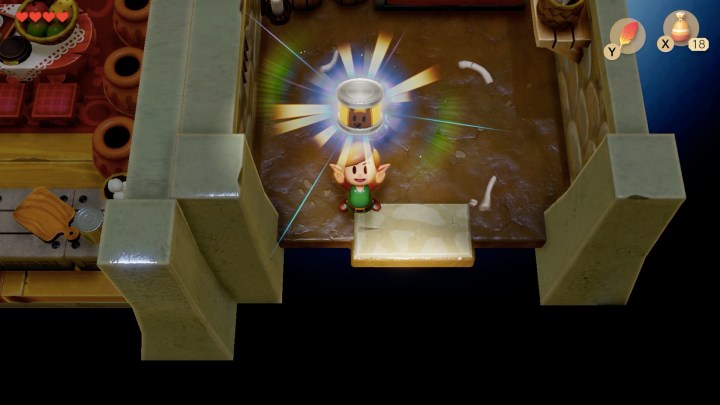
Get the Magnifying Lens

After securing the Mermaid’s Scale, you can approach the mermaid statue just south of Catfish’s Maw. The statue will move, revealing a staircase. Head inside the cave and claim the Magnifying Lens.
The Magnifying Lens’ main purpose is to give you the power to read a book in the library that you couldn’t see before. The book tells you the path you have to take after entering the Wind Fish’s egg.
Since the Wind Fish’s egg follows the same rules as the Lost Woods in Ocarina of Time, knowing the path is certainly helpful, especially since it can be one of four possible paths.
Get the boomerang
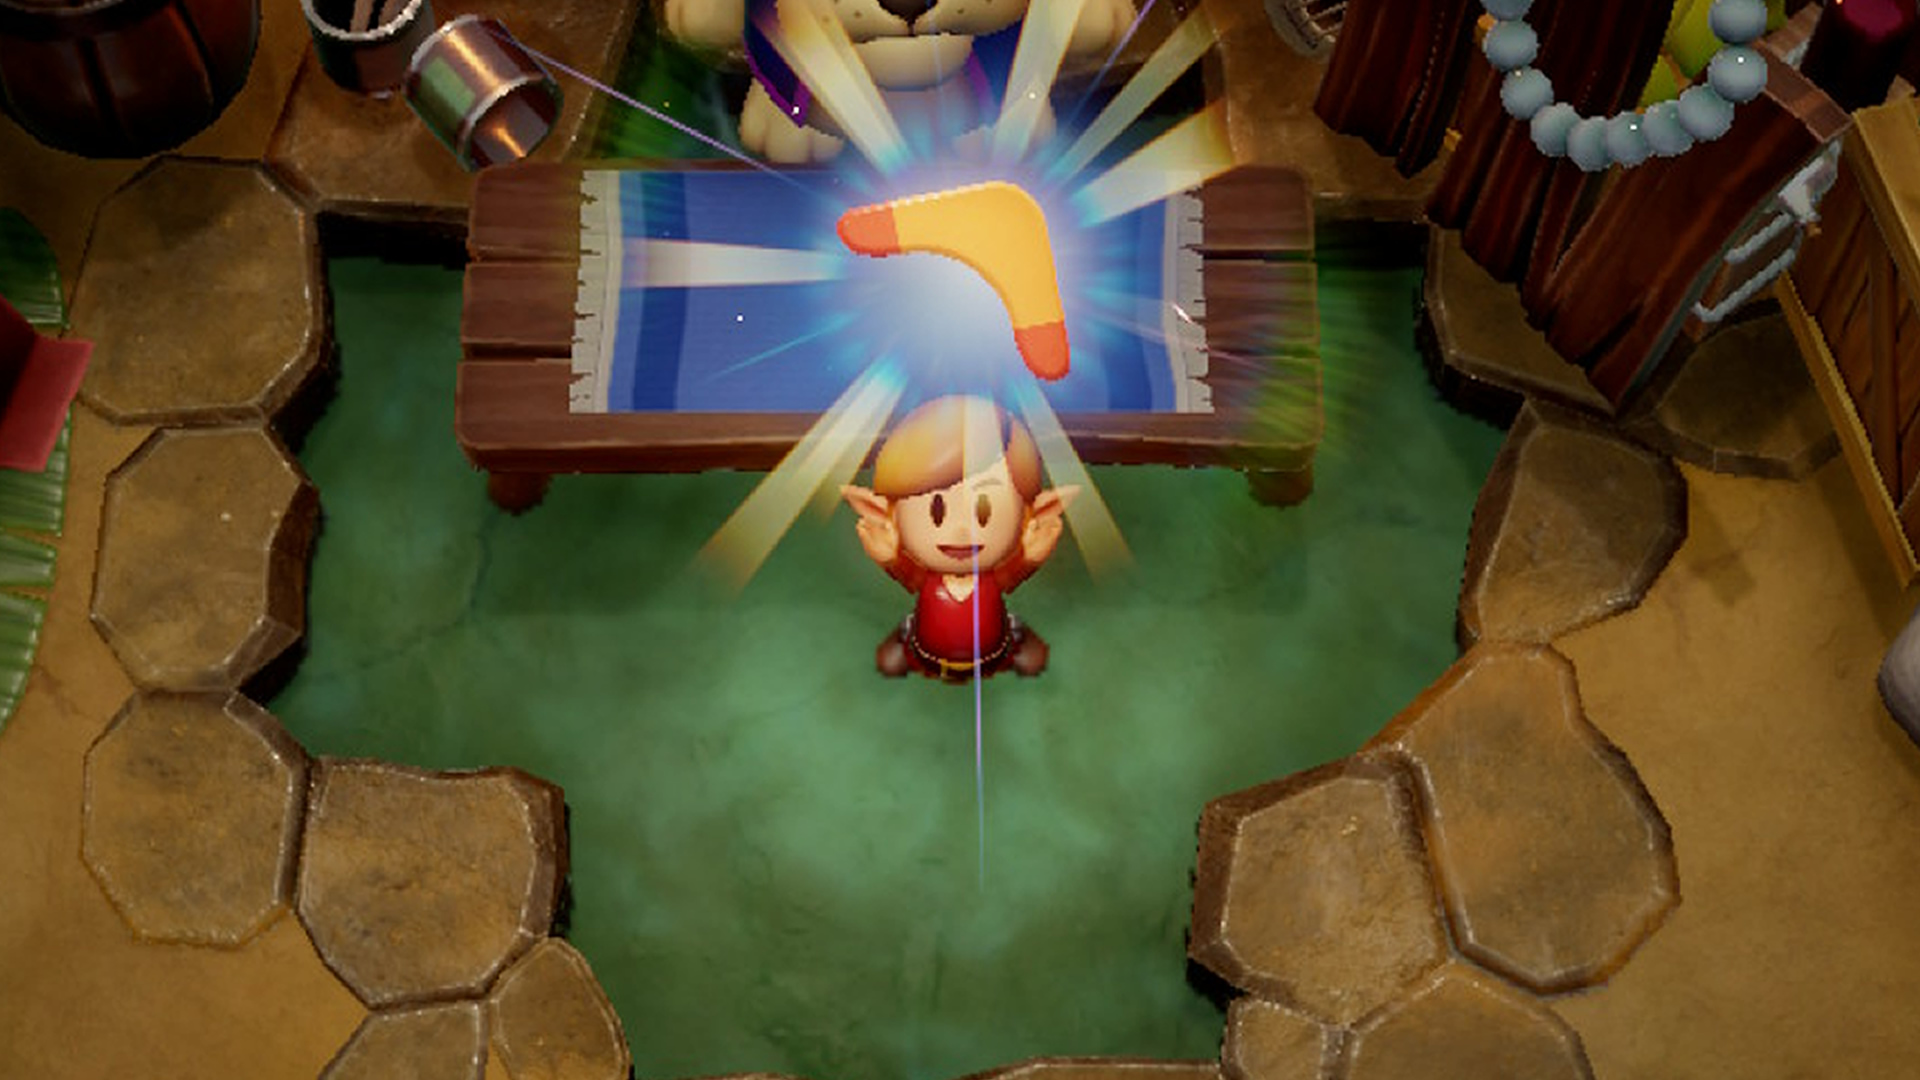
Now that you possess the Magnifying Lens, you have a chance at getting the boomerang. Navigate over to Toronbo Shores. Once you’re at the beach, look directly to the south of Sale’s house, and you’ll see a collapsing wall. This is a prime target for a bomb, so blast away. Once you destroy the wall, you’ll see a cave entrance open up.
It’s important to note that if you don’t already have the Magnifying Lens in your possession, you won’t even get the chance to see Goriya. If you’re fortunate enough to have the Magnifying Lens in hand, you’ll be able to communicate with him, and he’ll ask if you’d like to exchange one of your items for the boomerang. Goriya will accept any item besides Bombs, Magic Powder, the Bow, and the Power Bracelet (this is a required item for the color dungeon).
Dissimilar to the original version of Link’s Awakening DX, it’s not really important what item you decide to swap. Once you make the trade, talk to Goriya once more, and he’ll allow you the chance to repurchase your object if you pay 300 rupees. This removes the constant back-and-forth buying and selling that was necessary for the later versions of Link’s Awakening.