Free over-the-air television is one of the best-kept secrets in tech. OK, it’s not really a secret at all, given that it’s been around for decades — quite likely longer than you’ve walked this earth. But the point stands. In a world in which subscription fatigue is a very real thing, the ability to watch the most basic of live TV — the legacy broadcast networks — for a relatively low-cost, one-time price is tempting indeed.
One of the major players in that space is Tablo, which significantly revamped and simplified its lineup of over-the-air (OTA) DVRs in 2023. You no longer have to supply your own hard drive to record anything. You’re no longer pushed to pay for more live guide data. And Tablo’s updated software is much improved. Be sure to read our full fourth-generation Tablo review, but the bottom line is that it’s a very good device, with nearly all the bells and whistles you’d want at this point.
We can help you make the most of your Tablo experience with a few handy tips and tricks to get you started.
It’s all about the antenna
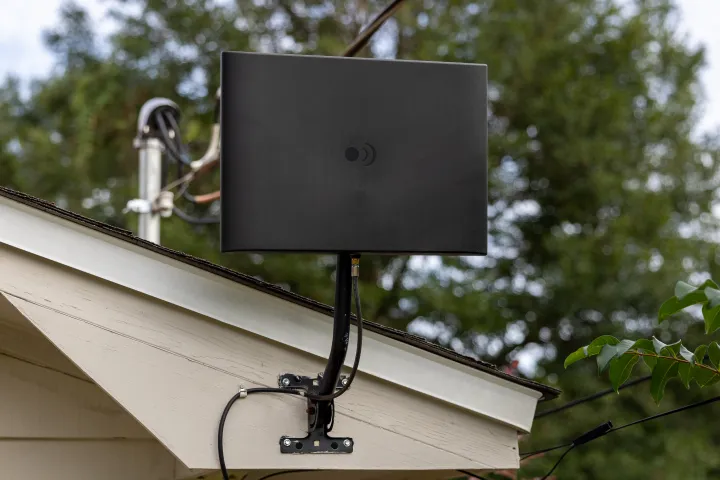
Everything to do with over-the-air TV starts with your antenna. It’s what receives all that free television. And so if your antenna isn’t done well, everything that follows will suffer. That’s why it’s worth taking a little extra time (and maybe even spending a little more money upfront) to do this part right.

We’ve got a full explainer on over-the-air antennas, so we’ll just hit the broad strokes here. Your antenna needs “line of sight” to your nearest broadcast tower(s) to be able to receive the radio waves flying through the air. That means it needs to be pointing in the proper direction, and not be obstructed by things like mountains or trees or buildings.
First, you need to determine which is the best way to point your antenna. There’s a handy tool for that available online — and Tablo has built one into the setup process within its app, too. The proper direction will vary for everyone. For me, it’s west-northwest. So I have my antenna mounted on a west-facing fascia. You’ll need to make sure you’re able to run coaxial cable back into the house somehow, though, and this all may affect where you’re able to mount your antenna. Mounting outdoors absolutely is worth doing, if you can.
Pro tip: If you’ve had a cable subscription in the past, you probably have coaxial cable running into various locations in your home. You can reuse this cable for your OTA antenna by disconnecting the portion that runs into the cable company’s junction box, and then attaching a new run of cable to your antenna’s location.

If you can only mount an antenna indoors, fine. But higher is still better than not. Even try for something in a window, if you can. And being indoors makes directionality even more important.
The bottom line is that outdoors and higher is better than indoors and lower. You know how radio towers tend to be very tall and out in the open? Same principle.
Amplify, or not
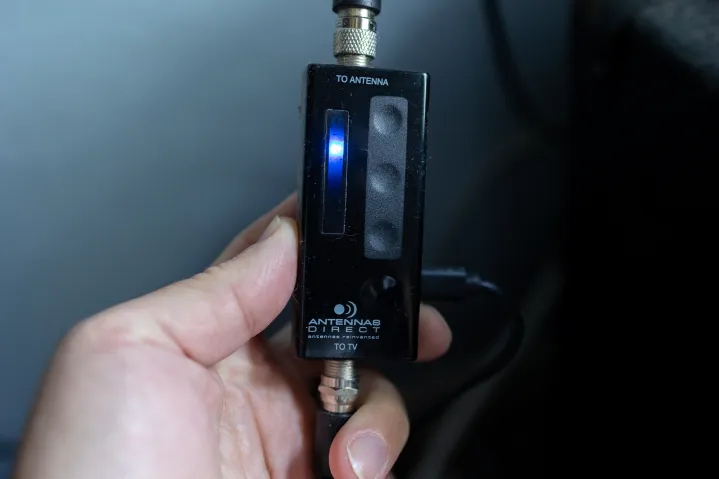
Antennas need amplifiers to ensure proper signal strength. Generally speaking, the longer the cable-run distance between your antenna and your Tablo, the more amplification you’ll need.

If you already have an antenna or are buying a new one, it likely will come with an amplifier that you’ll need to plug into power somewhere, somehow. (Mine uses a basic micro-USB connection.)
But if you don’t already have an amplifier, Tablo has a 10-decibel amplifier built into its fourth-generation device.
Unless your cable run is really long, and/or your home is located at a distance that puts it at the very edge of your antenna’s reception range, you probably only need one source of amplification.
Since Tablo’s amplifier is turned on by default, you could inadvertently end up using two amplifiers. Two isn’t always better than one — if you overpower things, it can affect signal quality. In fact, when I used just my antenna’s amp, I was able to receive 122 channels, but when I added the Tablo’s amp to the mix, the number dropped to 117 channels.
The good news is that you can toggle the Tablo’s amp on and off in the Settings. It’s worth trying all three combinations (antenna amp, Tablo amp, antenna+Tablo amps) to see which gives you the best results.
Choose your channels
When Tablo (or any over-the-air scheme, for that matter) scans for channels, it’s going to return anything and everything that it’s able to pick up. That includes the main broadcast channels for your area, as well as any sub-channels.

For example: My ABC affiliate has a pair of sub-channels attached to it. CBS, Fox, and NBC have even more. And so on and so forth, including for the duplicate broadcast affiliates I’m able to receive. I never want to watch any of them, and they’re just taking up room in my list.
There are two ways to address this with Tablo.
The easier way is probably to mark which channels are your favorites, and then you can sort your live guide by those favorites. That’s a little clunky up front:
Step 1: You’ll need to first go into a specific show on whatever channel you want to favorite, and then you’ll be able to mark that channel as a favorite. Repeat that process for any channels you want to mark as a favorite.
Step 2: Or you can grab your phone or tablet, then head into the settings of the Tablo app. Scroll down to Guide, and then Channel Lineup.
That section allows you to uncheck any channels you don’t want to see. But given that I only want to have a half-dozen channels showing out of more than 100, the other method probably is the way to go.
Dim that LED
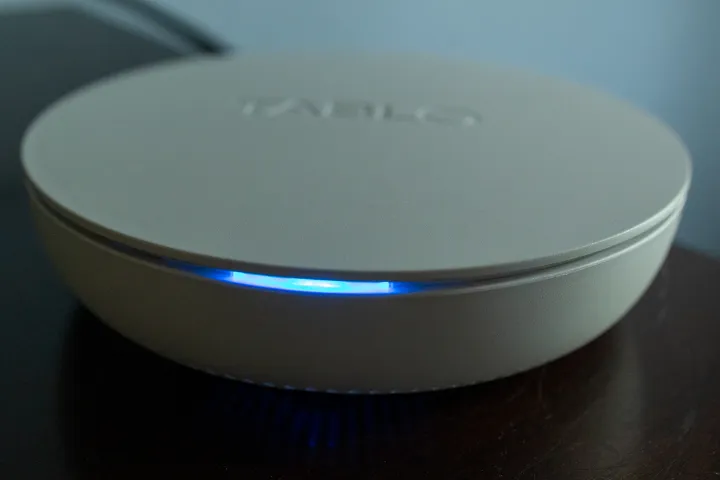
The brightest light in the world is one that’s keeping you awake at night. And the blue LED on the Tablo hardware is particularly piercing, whether you’re trying to sleep, or watch a movie in the dark, or whatever. It’s bright.

You could cover the LED with tape, or a pair of pants you probably should just put in the laundry instead. Or put the device somewhere you can’t see it.
Or do this:
Step 1: Go into the settings of the Tablo app, look for the General section.
Step 2: Find LED and tap it to toggle the LED off.
You’re welcome.
Add some storage
Tablo now comes with 128GB of on-board storage, and most of that is available for recording shows. Tablo says you should get around 50 hours or so out of it.
But what if you want more?

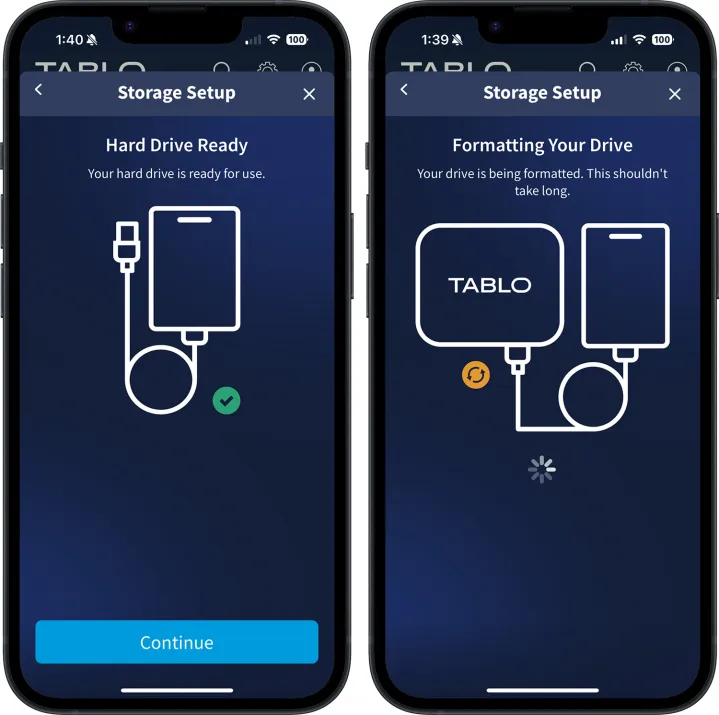
Flip your Tablo device around and you’ll see a USB-A port on the back. That’s meant for expandable storage. You can connect up to 8TB of additional storage there.
One thing to take note of, though, is what type of storage you’re going to use. The short version there is that you should avoid flash storage, which generally speaking isn’t meant for the sort of continuous read/write cycles that video requires.
So you can’t just use a thumb drive you have lying around. The good news? Hard drives of this nature are pretty inexpensive. But we’d wait a bit before buying something new, just to make sure the on-board storage isn’t enough. No need to spend money if you don’t have to.
Once you connect your new hard drive to the Tablo box, you’ll need to format the drive in the settings of the app. That takes just a few seconds, though, and then you’re ready to record anew.


