Amazon’s voice assistant Alexa is typically associated with smart devices, from Amazon’s own Echo smart speaker line to compatible TVs, air conditioners, and more. But we don’t always mention that Alexa works just as well on Windows 10 and Windows 11 computer, which can be extremely useful if you prefer to use a PC at home, but still want easy voice control for your smart devices or security routines. Let’s look at how to get those Alexa features on your Windows computer and what to do with them.
Step 1: Update everything

Check that your Windows computer is fully updated and ready to go. You can download Alexa on Windows 10 or Windows 11, but you’ll want to make sure the version you have has the latest updates. This helps with both security and compatibility.
Step 2: Download the Alexa app

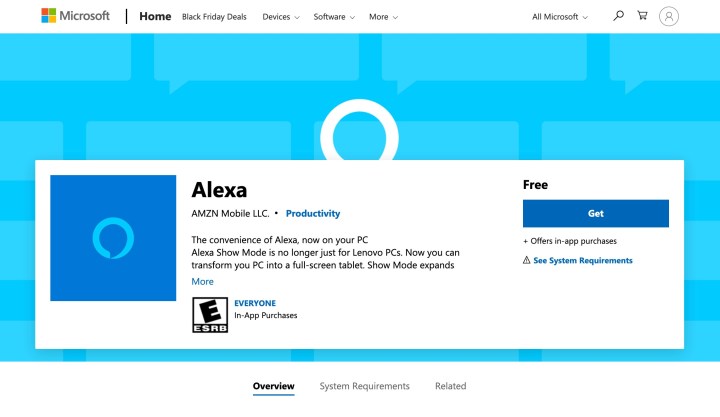
Microsoft has its own version of the Alexa app ready and waiting to be installed: Find the Alexa app on Microsoft’s site on your Windows PC, and select Get (or sometimes Install) to start the download. When the download is finished (Alexa doesn’t take up that much room), select Launch to begin.
Step 3: Set up Alexa

Alexa will now start a setup wizard on your PC. Begin by selecting Get Started.

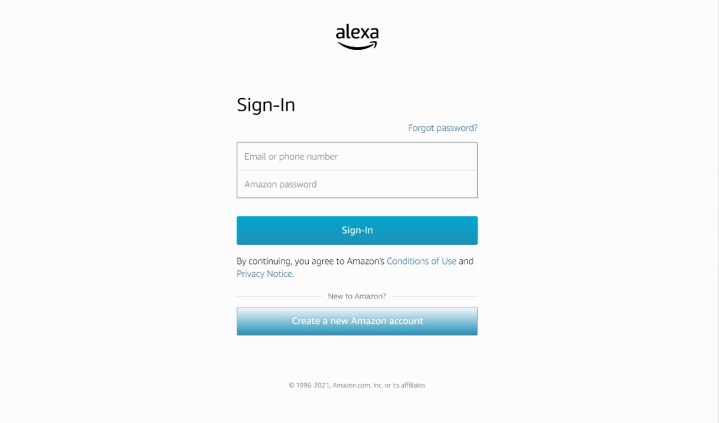
Then sign in with your Amazon account information.

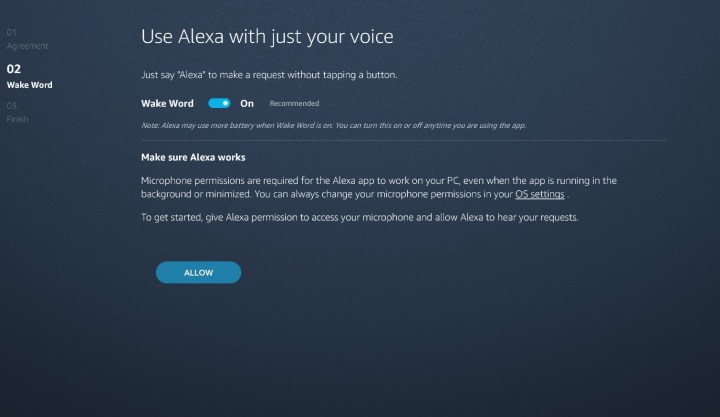
The wizard will run you through a series of questions about how you want to use Alexa. When appropriate, select Agree & Continue to move on through the prompts. When you reach the Wake Word page, make sure the Wake Word is enabled — this makes Alexa much easier to use on a PC, and allows you to give her commands even if you are on the other side of the room. Select Allow at this point.
You will also have the option to start Alexa upon login, and to pin the Alexa app to your toolbar (it will look like a small, bluish circle). If you are intending to use your PC as your primary Alexa device for issuing voice commands and controlling your smart home, it’s a good idea to enable both these options. Select Finish when you are ready. Now, select Get Started once more, and the Alexa app will open with plenty of ideas about how to start using it. You’ll be asked to enable a few other capabilities at this point, but Alexa is installed and ready to go.
At some point, Alexa will also ask if you want to enable the voice assistant on the lock screen. This means Alexa can wait for the Wake Word even if your PC has locked and gone to screensaver. This feature can be useful if you plan on giving voice commands from around the room, not just when you are using Windows.
Step 4: Experiment with Windows-based voice commands

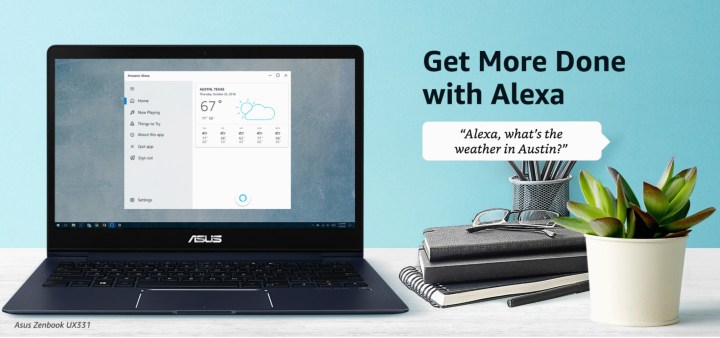
Alexa can do plenty on your PC immediately, so it’s a good idea to find useful commands you can use throughout the day. The Alexa app home screen will list places to get started if you aren’t sure, and the Things to Try section is a great follow-up. As always, the standard “Alexa” wake word is necessary for any command.

We suggest trying commands like asking Alexa to make a reminder, look at your calendar, or add something to a shopping list. You can also play music of your choice with the right music services connected to Alexa. You can choose to call or drop in on people on your contact list, and with Show Mode enabled, you can turn these calls into a video chat, too. You can also ask Alexa a range of questions, from what the weather will be like today to what’s a good video for cooking broccoli. We have a guide on setting up Alexa that can help you learn more, and Amazon has a few ideas as well.
Step 5: Connect your smart devices to Alexa and use them

You can also use Alexa on your PC to control any connected smart devices. Alexa has excellent compatibility with many popular smart device brands. but they need to be connected to the Alexa app in order for them to work.
The good news is that if you have connected any smart devices to Alexa in the past, Alexa on PC will automatically add them and allow you to control them. The bad news is that you can’t add new smart home devices to Alexa using the PC app. Instead, you should download the mobile Alexa app and add devices there. We have a guide to help you connect your smart home using an Echo. Then you can go even further and start setting up routines, downloading specific Alexa skills for games or services, and lots more!


