Are you getting the error message “Could Not Communicate With Your Google Home Mini or Google Nest Mini?” This can be a huge headache when you’re trying to get your smart home up and running. Dig into these solutions if you’re having problems setting up your Google Home.
Restart your Google Home Mini
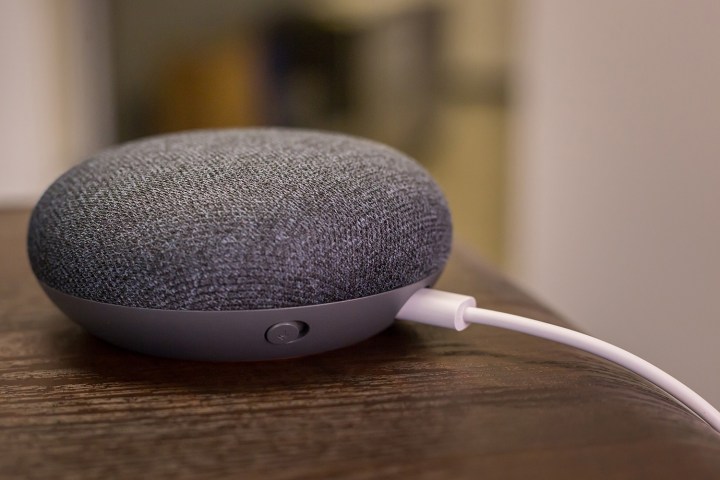
Have you tried turning it off and on again? This is easily the most common solution to many tech problems. Restarting your Google Home Mini or Google Home Nest, phone, and Wi-Fi router give them a fresh chance to establish a connection. Here’s how to do a restart on all the devices:
- Turn off your phone by holding down the power button.
- Disconnect the power supply of your Google Home Mini and leave it unplugged for five minutes.
- Disconnect the power supply of your Wi-Fi router and leave it unplugged for five minutes.
- Turn on your phone by holding down the power button.
- Connect the power supply of the Google Home Mini.
- Connect the power supply of your Wi-Fi router.
- Retry Google Home Mini setup.
Declutter the airwaves
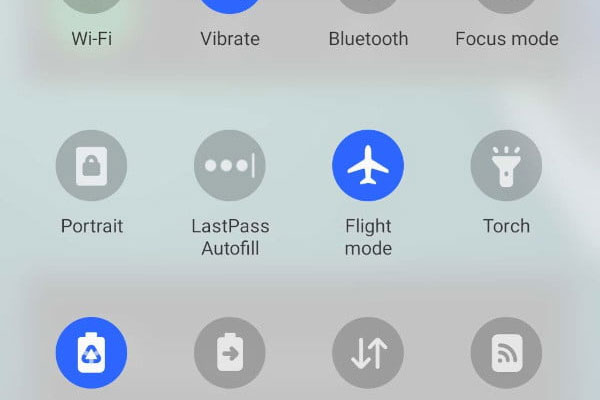
Having your extra wireless connections running simultaneously may be complicating the pairing process.
- Turn on Airplane mode.
- Turn on Wi-Fi, and make sure it’s on the same network as the Google Home Mini.
- Remove extraneous devices from the Wi-Fi network.
- Ensure both your phone and your Google Home Mini are adequately close to your Wi-Fi router.
- Retry the Google Home Mini setup. If your Wi-Fi network is hidden, you’ll need to manually input the ID under “Other” from the network selection drop-down list.
- If this doesn’t work, try re-enabling Bluetooth on your phone.
- If this doesn’t work, go into the Google Home Mini settings, forget the Wi-Fi network, and add it again.
Tweak your Wi-Fi network

Even after a reboot, your Wi-Fi router may be housing some suboptimal settings. Here’s what you can do to troubleshoot those issues:
- Try keeping only one wireless band (2.4GHz or 5GHz) active and connect to each individually as a test.
- If running on a 5GHz connection and the router is running DD-WRT firmware, set the wireless mode to “mixed.”
- Make sure your Wi-Fi router has Universal Plug and Play (UPnP) enabled.
- Make sure your Wi-Fi router has multicast enabled.
- Make sure your Wi-Fi router has Internet Group Management Protocol (IGMP) enabled.
- Make sure your Wi-Fi router has AP/client isolation disabled.
- Make sure your Wi-Fi router and computer have virtual private networks (VPNs) disabled.
- Make sure your Wi-Fi router has proxy servers disabled.
- Make sure your Wi-Fi router has IGMP Proxy disabled.
- Make sure your Wi-Fi router is using WEP, WPA, or WPA2 wireless security.
- Make sure your router has Band Steering (or Smart Steering) disabled during setup.
- If your router uses MAC address filtering, you’ll need to add the Google Home Mini’s address to your router. This address can be found in the top-right of the Google Home app during setup.
Reset the Google Home Mini and app
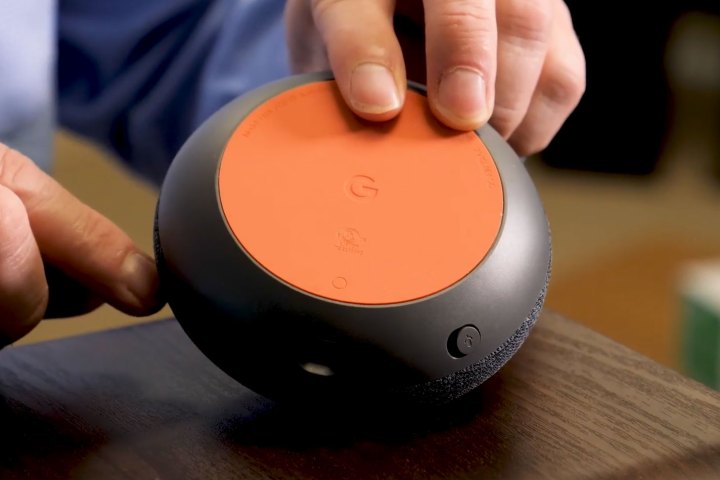
Using the latest version of the Google Home app is the first step in setting up your Google Home Mini. Even if you’re already using it, it may be worth reinstalling and removing any old links your device has to the Google Home Mini so the whole system can start with a fresh slate.
- If the app is already installed, tap the icon of the Google Home Mini on the home screen.
- Tap the gear icon in the top right to open its settings.
- Scroll down and tap Remove Device.
- From the phone’s home screen, press and hold the Google Home icon and uninstall it.
- Press and hold the button beneath your Google Home Mini for 15 seconds to return it to factory settings.
- Reinstall Google Home either for iPhone or Android. Ensure you’re meeting the system requirements of iOS 12 and Android 6.0.
- Open the Google Home app, and tap the + icon in the top-left.
- Proceed through the process to re-add the Google Home Mini.
Once the device is up and running, the Google Home Mini is handy to have around the house. It has a small footprint and can provide you loads of hands-free functionality. If the steps above don’t work, we have loads of other tips for fixing common Google Home problems.


