Thinking about adding a smart lock to your home? Once you’ve installed a smart lock, you’ll wonder how you ever lived without the device. A good smart lock will add layers of security to your house, along with convenient features for you and your loved ones. Instead of digging for keys, fingerprint scanners and keypads will be your new form of entry. When connected to Wi-Fi and Bluetooth, many locks will let you monitor deadbolt activity, so you’ll know who’s coming and going, and when. Many lock brands also have their own companion apps that let you create a customizable schedule for your lock, along with other functions you can customize on the go.
The benefits are a no-brainer, but what about the install? Is this a job you need to hire someone for? With a few tools, your phone, and a little bit of patience, you can DIY install a smart lock.

We’ve put together a step-by-step guide for the average smart-lock install, using a Securam Touch as our demo unit. For most smart lock brands, the install fundamentals will be the same, but some brands may require additional steps for setup.
Step 1: Remove your old lock and deadbolt
This is one of the easiest steps. First and foremost though, have a sandwich bag handy. Use it to keep your old lock hardware in one safe and sealed place. If you ever want to reinstall it somewhere else, you’ll need the old screws and assembly.
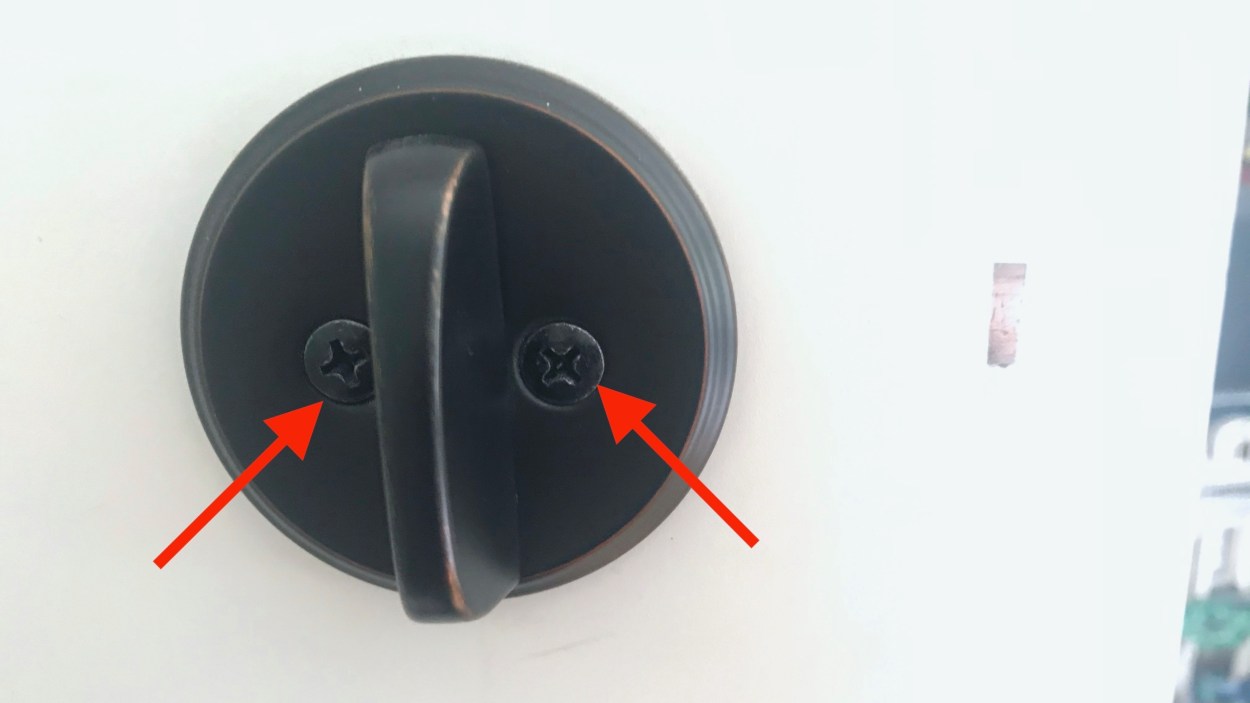
For most original locks, the first thing you’ll want to do is grab your screwdriver of choice and remove the two Phillips head screws that connect the main lock to your deadbolt assembly. Once the screws are out, you should be able to pull off the interior plate. Then, open your door up and remove the exterior plate (where you would insert a key).
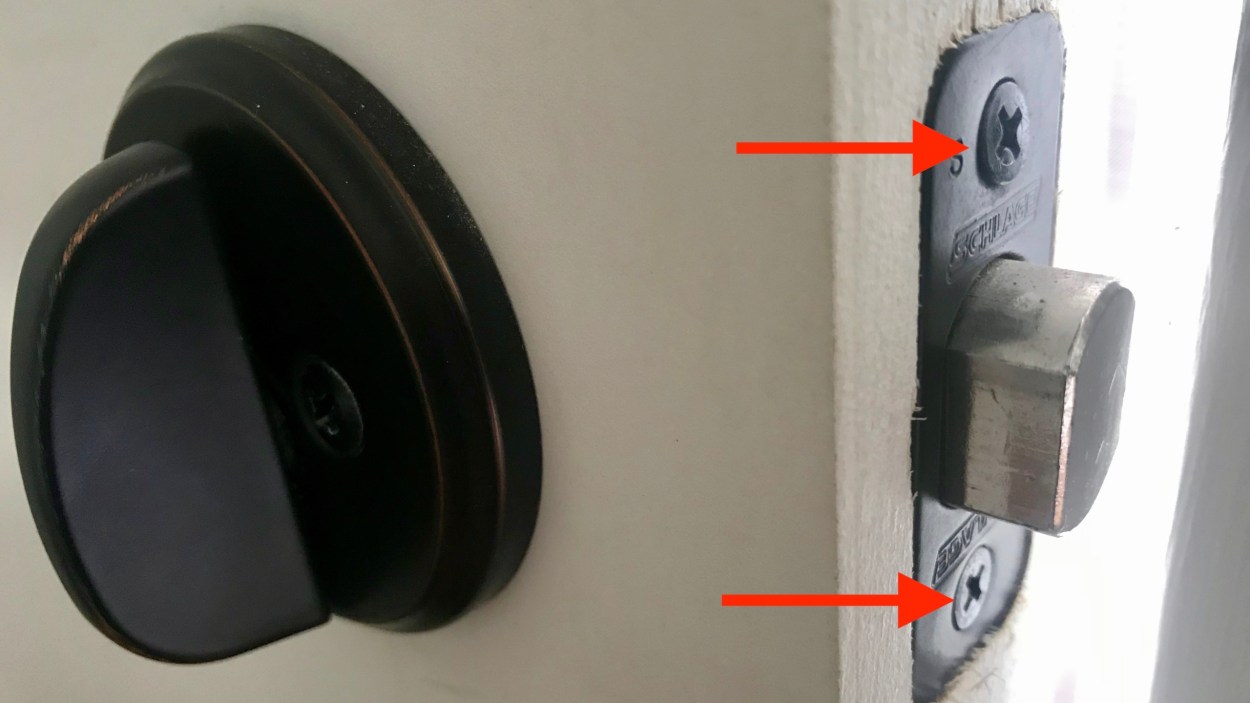
Now, all that’s left is the deadbolt assembly. There should be two screws holding that in place as well. Loosen both, and the assembly should pop right out. If your house is anything like the writer’s house, you may have to provide a little “encouragement” if the assembly is deeply seated in your door. Pry gently with your screwdriver.
Step 2: Install the new deadbolt

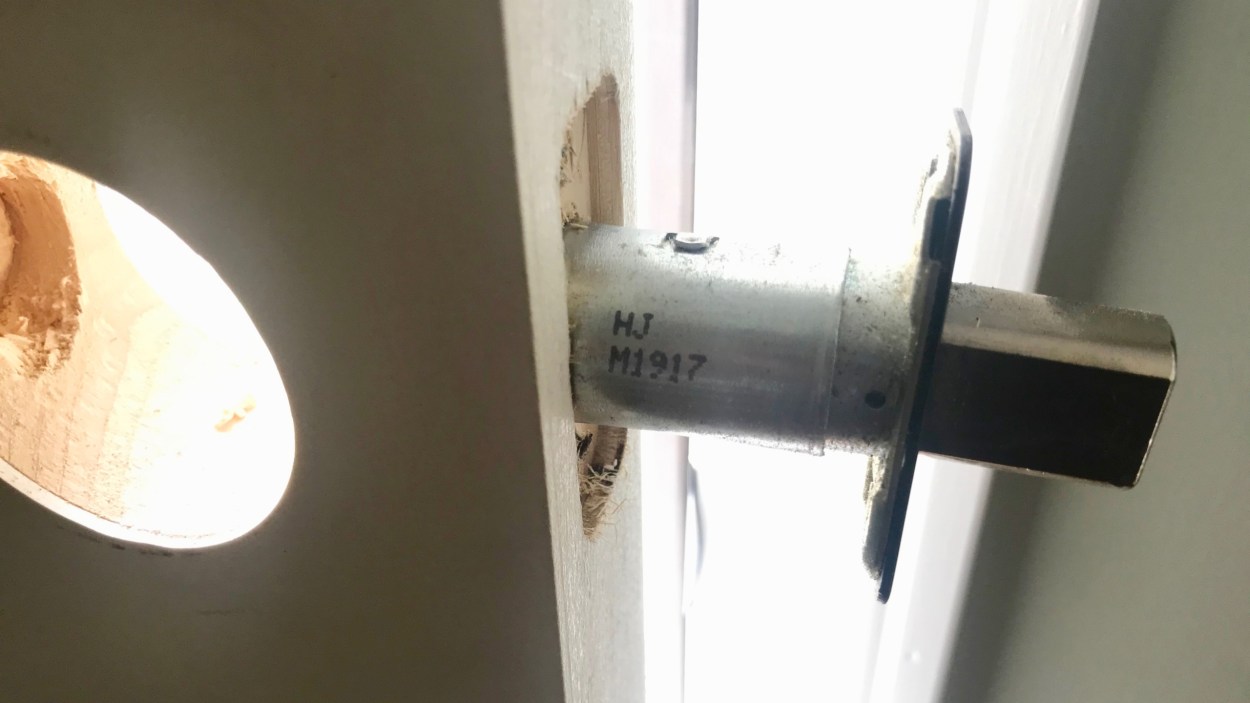
Your new smart lock will have its own deadbolt assembly. Before installing, you’ll first want to measure from the edge of your door to the center of the deadbolt hole. Your measurement should be 2¾ inches. There’s a small chance your dimensions will be slightly larger. In that case, all you’ll need to do is extend your deadbolt before sliding it in. Most deadbolts will allow you to twist and pull the assembly to adjust the length.
After you make your adjustments, insert the deadbolt into the door. There’ll be some kind of indicator to mark where the top of the assembly should be, such as an arrow-up symbol or the word “Top.” Make sure the deadbolt is retracted, and then secure the assembly to your door with the two manufacturer-provided screws.
Step 3: Install the new exterior portion
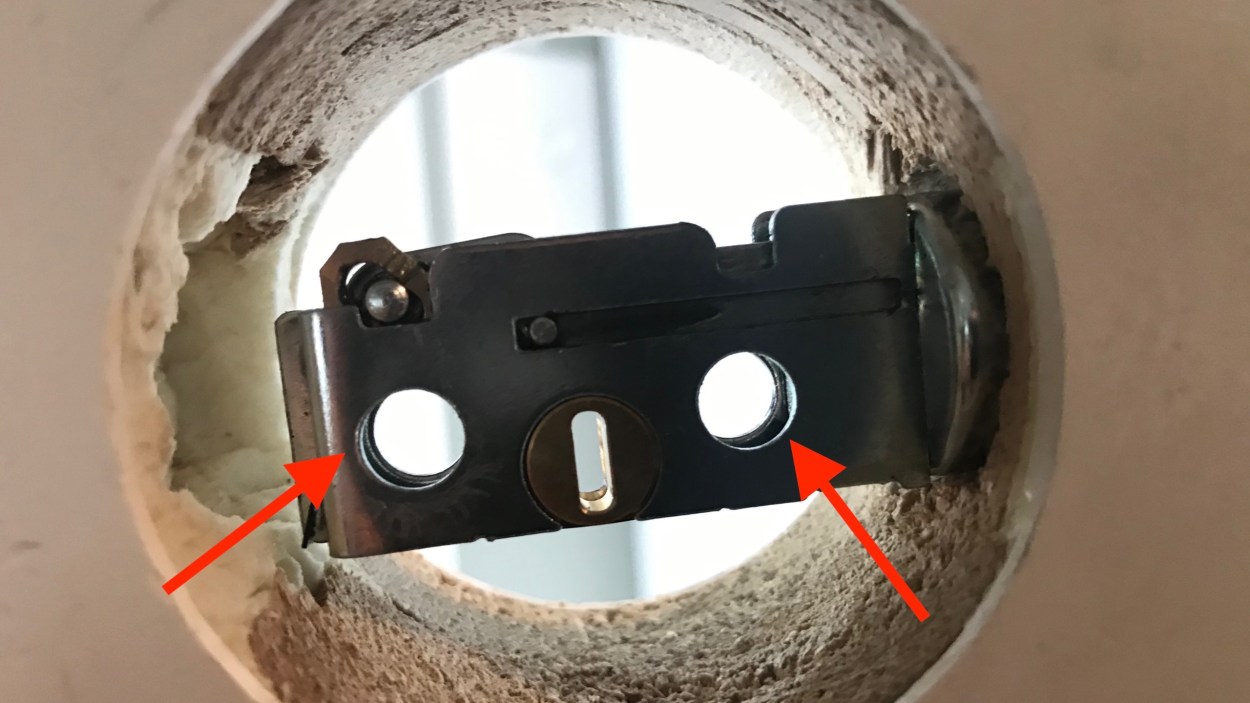
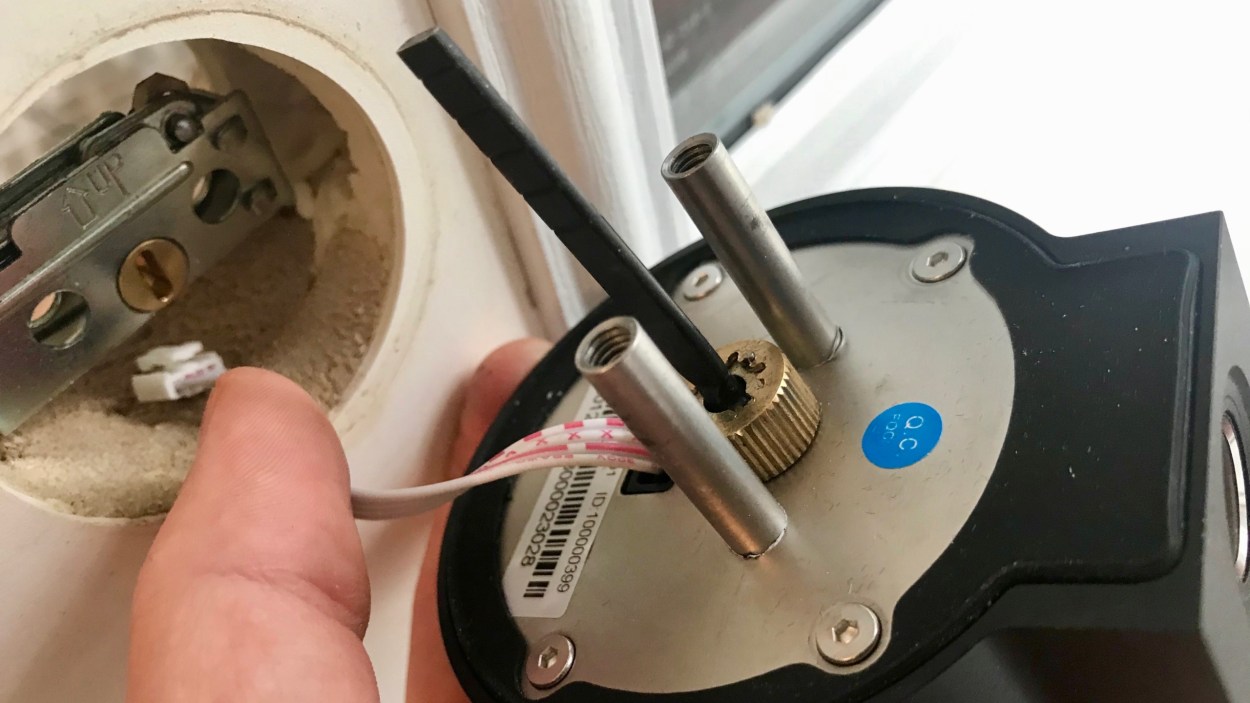
Next, you’ll want to grab the exterior-facing half of your lock. This piece will feature a ribbon-like electrical cable and a flat bar spindle. Slide the wire underneath the deadbolt, and then insert the exterior lock into the framing. The lock’s spindle bar should slide through the center hole of your deadbolt assembly (between the two now-empty screw holes).
Now the exterior portion is in place. To test, you can grab the flat bar spindle and turn it to the left and right. The deadbolt should extend and retract without resistance. If all is well, retract the deadbolt before moving on to the next step. Oh, and if you’ve got some painter’s tape handy, stick a piece over your lock to hold it in place as you work on the interior.
Step 4: Install the new interior portion
The interior sides of many smart locks will feature some kind of plastic or metal mounting plate. Our demo lock came with a metal one. First, grab that ribbon cable and slide it through the bottom opening of the mounting plate.

Next, your new lock should have come with two longer mounting screws. Grab those bad boys, insert into the two screw holes of the mounting plate, and screw them in. You may have a bit of trouble getting the screws to align with the deadbolt, but once you’ve successfully threaded one, it’ll help to pull the other hole into alignment with the screw.

Get both screws nice and tight, and then grab the interior portion of your new lock. The front of this piece should feature the familiar thumb-turn mechanism. The back will have a female connection for the exterior wire. Connect the cable to the interior portion, then hang the interior on the mounting plate. Many locks will use screws to secure the lock to the plate. Our demo unit simply pops into place and locks.
Step 5: Insert the batteries
Your new lock’s battery compartment will be easy to locate. In our case, it was right on top of the interior housing. Just pop the compartment cover off (or use a flat-head screwdriver to gently pry loose), insert your manufacturer-provided batteries, and re-secure the cover.
Step 6: Calibration and configuration
Once the batteries are in, your lock will likely prompt you to walk it through a few tests. This is to properly calibrate the lock to the door it’s installed inside, and will be as simple as locking and unlocking the door a few times in a row.
Once the initial calibration is complete, grab your phone and download whatever app is used to control your smart lock. In our case, this was the Securam app (for iOS and Android devices). When you launch the app for the first time, you’ll be asked to connect the lock to Wi-Fi, and the lock itself will probably receive a firmware update.
Now, you’re done! That’s really all there is to it. Installing a smart lock is one of the easiest DIY ventures you can undertake. As we mentioned, there may be small variances in your install process based on the lock you choose, but the process should be very similar to what we’ve gone over today.
