When most people think about making candles, though, they think about following tedious instructions, and purchasing a ton of expensive supplies at the craft store. While candle making kits typically cost between $20 and $100, and individual supplies can certainly add up, you don’t need to have a craft store full of supplies in your home to make candles. Even though some methods require materials like wax beads, premade wicks, molds, and wax-melting pots, not all candle making methods require you to be a master chandler, nor do they require a lengthy list of expensive supplies.
You can make candles at home using supplies you already have lying around the house.
Here’s what you’ll need.
Ingredients for making candles:
- Crayons you’re not using anymore
- A source of wax — old birthday candles you’re no longer using will work perfectly
- A container to hold your candle — a small glass, a coffee mug, or a small jar is ideal
- A small, microwave-safe cup or bowl
- A Popsicle stick, wooden skewer, or a utensil that you’re willing to throw away
- A microwave
Ingredients for making a candle wick:
- Cotton string
- A source of wax, like birthday candles
- Scissors
- A microwave-safe cup or bowl
- A pair of tweezers
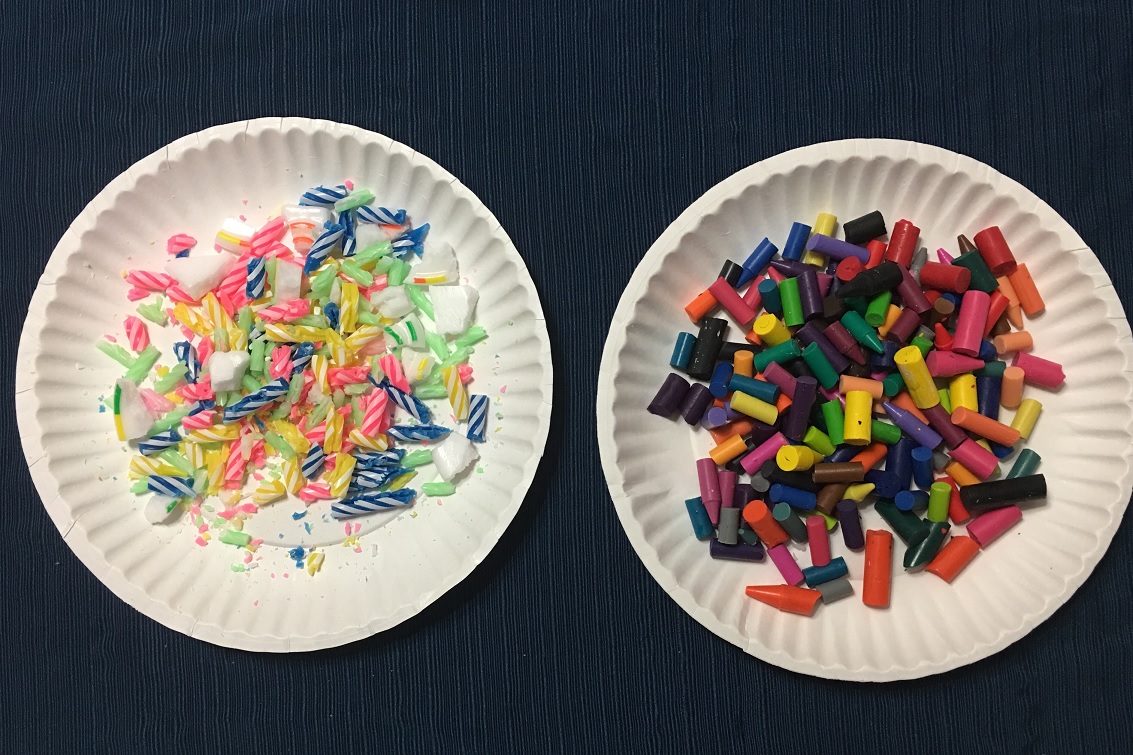
Step 1: Prepare your wax. Peel the wrappers off of your crayons, and break them into small pieces. You can soak your crayons in water to make the wrappers come off easily, according to Evermine. Prepare your birthday candles by breaking them into small pieces, as well. Be sure to remove the inner wick from the birthday candles as you break them apart.
Step 2: Make your wax into shavings. You want to make your wax pieces into small wax shavings. To do this, you can put your wax pieces into a plastic bag and gently hit them with a hammer or a wooden spoon. You can also use a cheese grater to make your wax into shavings, but grating your wax is tedious and time consuming. Plus, hitting it with a hammer is much more fun.
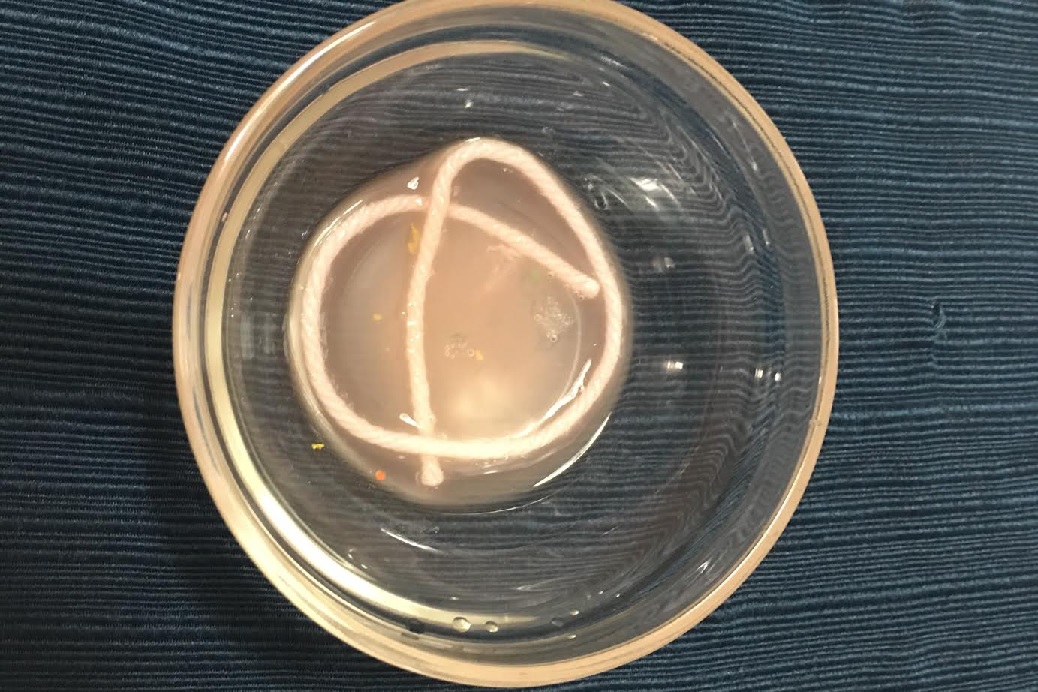
Step 3: Make your candle wick. Cut a piece of cotton string to your desired wick length. Your wick should be approximately two inches longer than your candle holder. After you cut your string, melt three birthday candles in the microwave on high heat, for two-to-three minutes, in a microwave-safe cup or bowl. Be careful when removing the container from the microwave, as the container and the wax will be extremely hot.
You may also need to stir the wax to melt any leftover pieces that did not fully melt in the microwave. Submerge your cotton string in the melted wax. Once the string is fully covered in wax, remove the wax-coated string with tweezers and hold it up in the air with your tweezers until it begins to harden (this will take approximately one minute). Do not put your wick down until it begins to harden. This allows the wax to dry evenly on your wick, and prevents excess wax from building up in certain spots.

Step 4: Allow your wick to harden completely and set aside.

Step 5: Start your candle. Place two tablespoons of your wax shavings in your microwave-safe container. Add approximately one crayon worth of crayon pieces on top of your wax shavings. The crayon serves as your candle’s color pigment. Microwave your wax-crayon mixture on high for two-to-three minutes, or until your mixture is mostly melted. The container will be hot when you remove it from the microwave, and so will the wax. Stir your wax and crayon mixture until it is smooth and the color is even. If you want a scented candle, you can add about 10 drops of essential oils to the mix after you’ve stirred the mixture and it’s cooled a bit. Then, pour your mixture into your candle holder. Place your wick in the center of your wax, and hold it there for a moment until it stays in place. You have completed the first layer of your candle. Wipe out your microwave-safe melting container.

Step 6: Add additional layers to your candle. Once again, melt two tablespoons of wax and crayon pieces (use a different color) in the microwave like you did in step 5. Stir your mixture until it’s smooth, and then pour it on top of your first layer. Repeat this process to add additional layers.
Step 7: Finish and decorate your candle. Place your candle in the refrigerator so it can harden completely. After that, cut the wick to the appropriate length and add any decorations. You can add wax shavings on top of your candle to make it look like your candle has sprinkles, or you can add a custom label on the outside of your candle for a more professional look.