The video doorbell is one of the first lines of defense for smart home security. It's also a great way to know who or what is at your door without physically getting up and going to the door. Blink offers its version of a smart video doorbell at a much lower price than some of its biggest competitors, making it a good option for people who are new to the video doorbell market.
If you don't know, Blink is owned by Amazon, which also owns Ring. To put the two brands in perspective: Ring could easily be considered the bells-and-whistles variant of smart cameras, while Blink is more of the essential version.
Before we start, Blink offers its Sync Module, which allows you to watch multiple cameras nearly at once and save video footage locally without a subscription. You'll need the module for some Blink devices. For example, the Doorbell does not need you to own a Sync Module, but if you have more than one Blink camera, we suggest you add the Sync Module.
How to set up a Blink Video Doorbell
If you've just received or bought a Blink Video Doorbell, go ahead and grab your phone, and we'll tell you how to set it up properly.
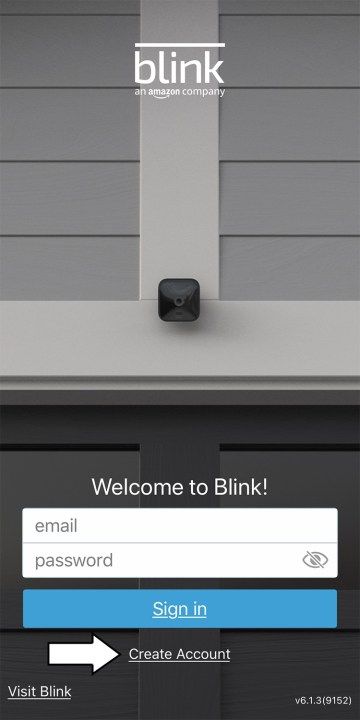
Step 1: Go to the app store on your phone and download the Blink app. If you want to be even more proactive (and it's necessary if you eventually want to connect your system to Alexa), go ahead and create a Blink account.
Creating the Blink account is pretty straightforward, here's how to do it:
- The app will ask you about your country of residence and your email, as well as to create a password.
- Two-factor authentication is on by default, so you'll need to input your phone number and the verification code you receive afterward.
- Complete the information to link your Amazon account to your new Blink account.
Step 2: Now you can start adding devices. Tap the Plus button in the top-right corner. A list will appear with several devices to choose from; select the Blink Video Doorbell.
Step 3: Scan the QR code on the back of the Doorbell.
The QR code is underneath the back plate with the battery slots. Ensure you're in a well-lit area so the camera can accurately pick up the code.
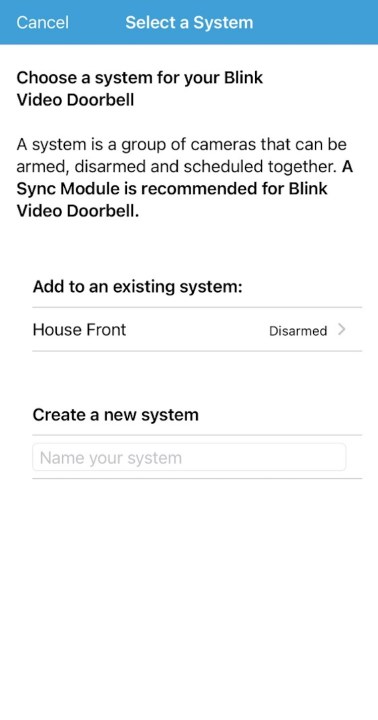
Step 4: Choose or create your system.
If you already have a Blink camera or system set up, you can choose to add the Doorbell to that home system. However, if this is your first Blink device install, you'll need to create a new home system. A system is simply the name of the group of included Blink security products and their collective alarm states. For example, you can name your system "Home" if you so please.
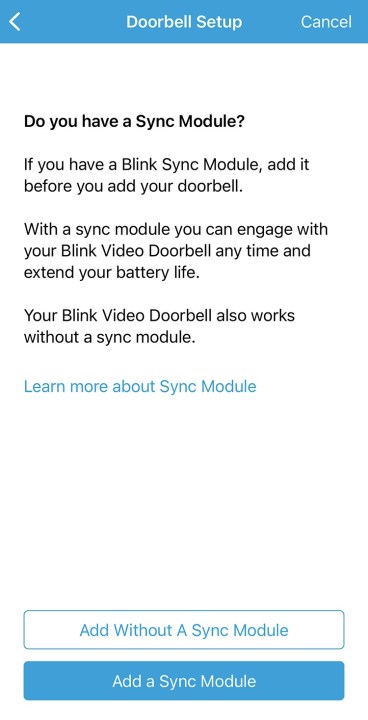
Step 5: Choose whether to add your Sync Module.
If you have a Sync Module, now is when to add it (of course, you can also add it later). If you plan on having multiple cameras with the Blink system, you'll need the Sync Module.
If you add the Sync Module now, the app will open the QR code scanner. Follow the setup process for that device. Then, you'll return to the app's home screen, where you can resume the setup process.
Step 6: Insert the included batteries into the back of doorbell where the QR code was. After you put in the batteries, the Doorbell will turn on and start to blink red.
Step 7: On most phones, you'll get a pop-up asking if you want to join the Wi-Fi network "Blink XXXX." If your phone doesn't have a pop-up, then go to your settings and connect to that specific network. Once you join, head back to the Blink app.
Step 8: Connect the doorbell to your home's Wi-Fi network in the app. This step helps ensure your Doorbell has a constant connection and that your router is close enough to provide a stable connection.
Step 9: Mount the Doorbell.
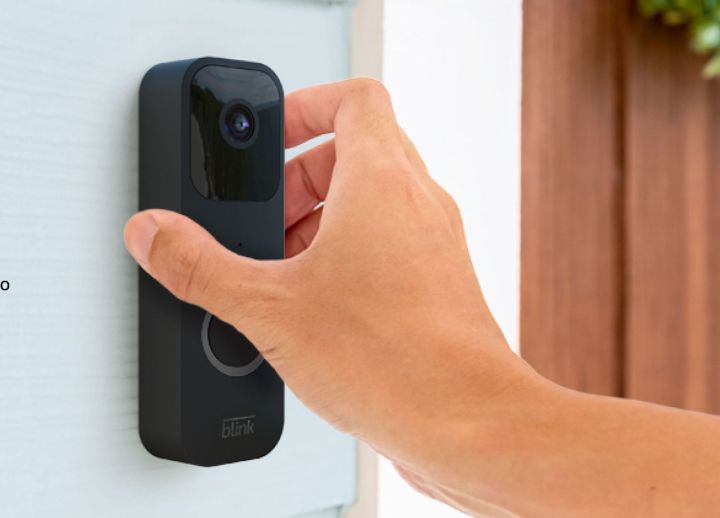
Now that setup is complete, you can mount the Doorbell in various ways. But first, check with the app to ensure it's at an optimal angle that's close to your door and can also see vital locations around the front of your home. You can mount the doorbell using a wired or wireless method. If you opt for using wires, the Blink replaces your existing doorbell and draws power from your home. Conversely, the wireless option uses the Video Doorbell chime. Either way, the Video Doorbell will still draw power first from the included batteries.
Use the included backplates to mount the Blink Doorbell and any optional mounts or wedges you may want to add. Depending on your home's siding, you will most likely need a power drill to complete the mounting steps. Once connected to Wi-Fi, the app will ask you how you want to mount the doorbell and then provide instructions.
How to set up Blink doorbell with Alexa
Once you connect the Blink Doorbell to Alexa, any future Blink cameras installed in your home are automatically detected and added to your Alexa home.
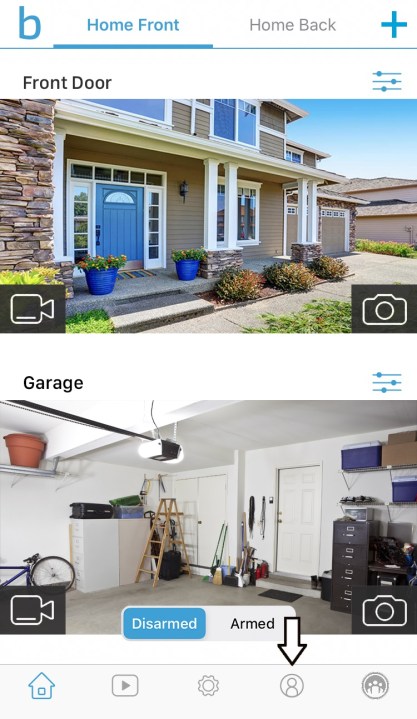
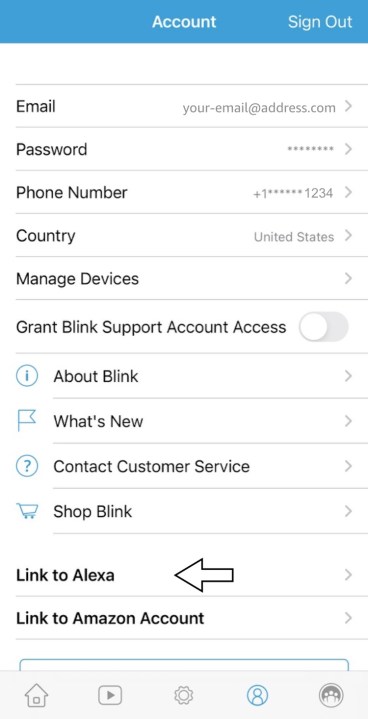
Step 1: Open the Blink app and tap on the Account button at the bottom of the screen.
Step 2: Tap the option to Link with Alexa.
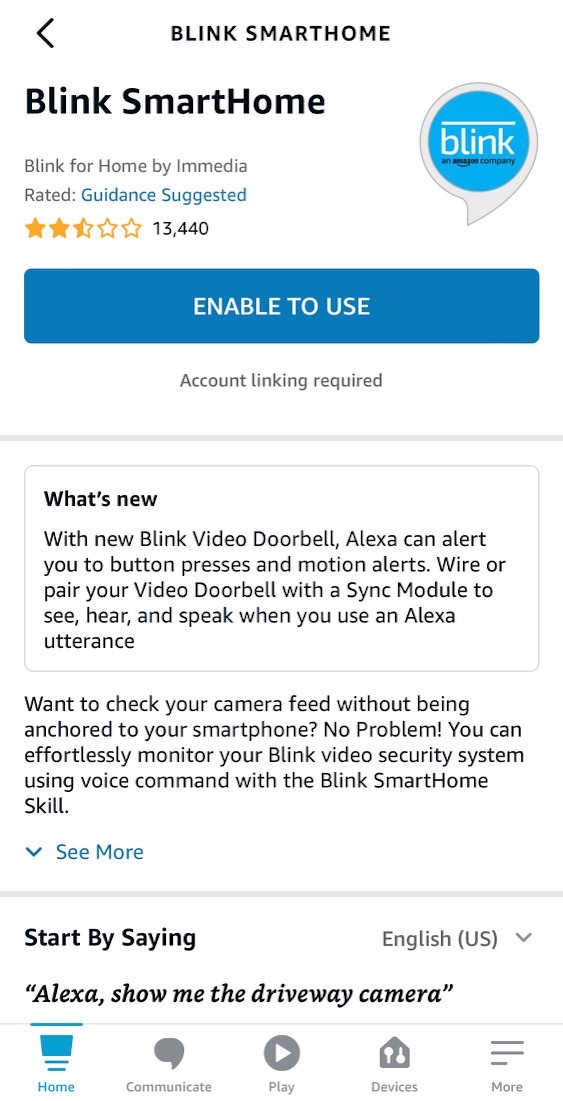
Step 3: The app will direct you to download the Blink skill for your Alexa system and install it.
Step 4: Once you download the skill through the Amazon portal, it will ask you to sign into your Blink account with your email and password.
You'll need to enter the verification code that pops up right after you sign in.
Step 5: Your accounts are now linked so that any Echo devices can interact with your Blink devices. Linking your accounts will also enable Echo Show devices to display the feed from any Blink cameras.

