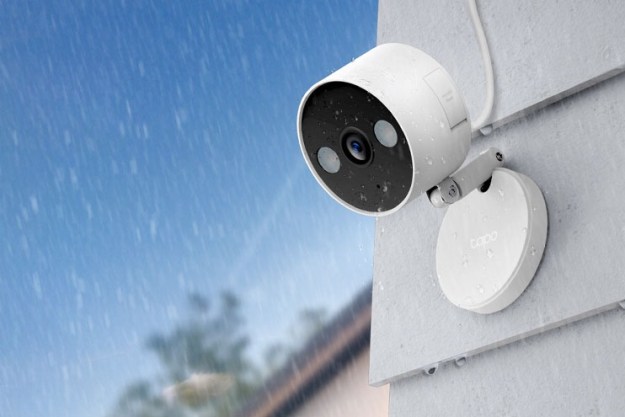
The Blink Outdoor Camera is a powerful option for home security. It provides 1080p resolution and streaming, and -- if you have the floodlight camera -- up to 700 lumens of illumination. The only downside is that setting it up can be a little complicated, but we have broken down exactly how to do it.
Set up the Blink Sync Module
The first step of connecting any Blink device to your home is to set up the Blink Sync Module, which is in charge of relaying commands and network details to your Blink devices.
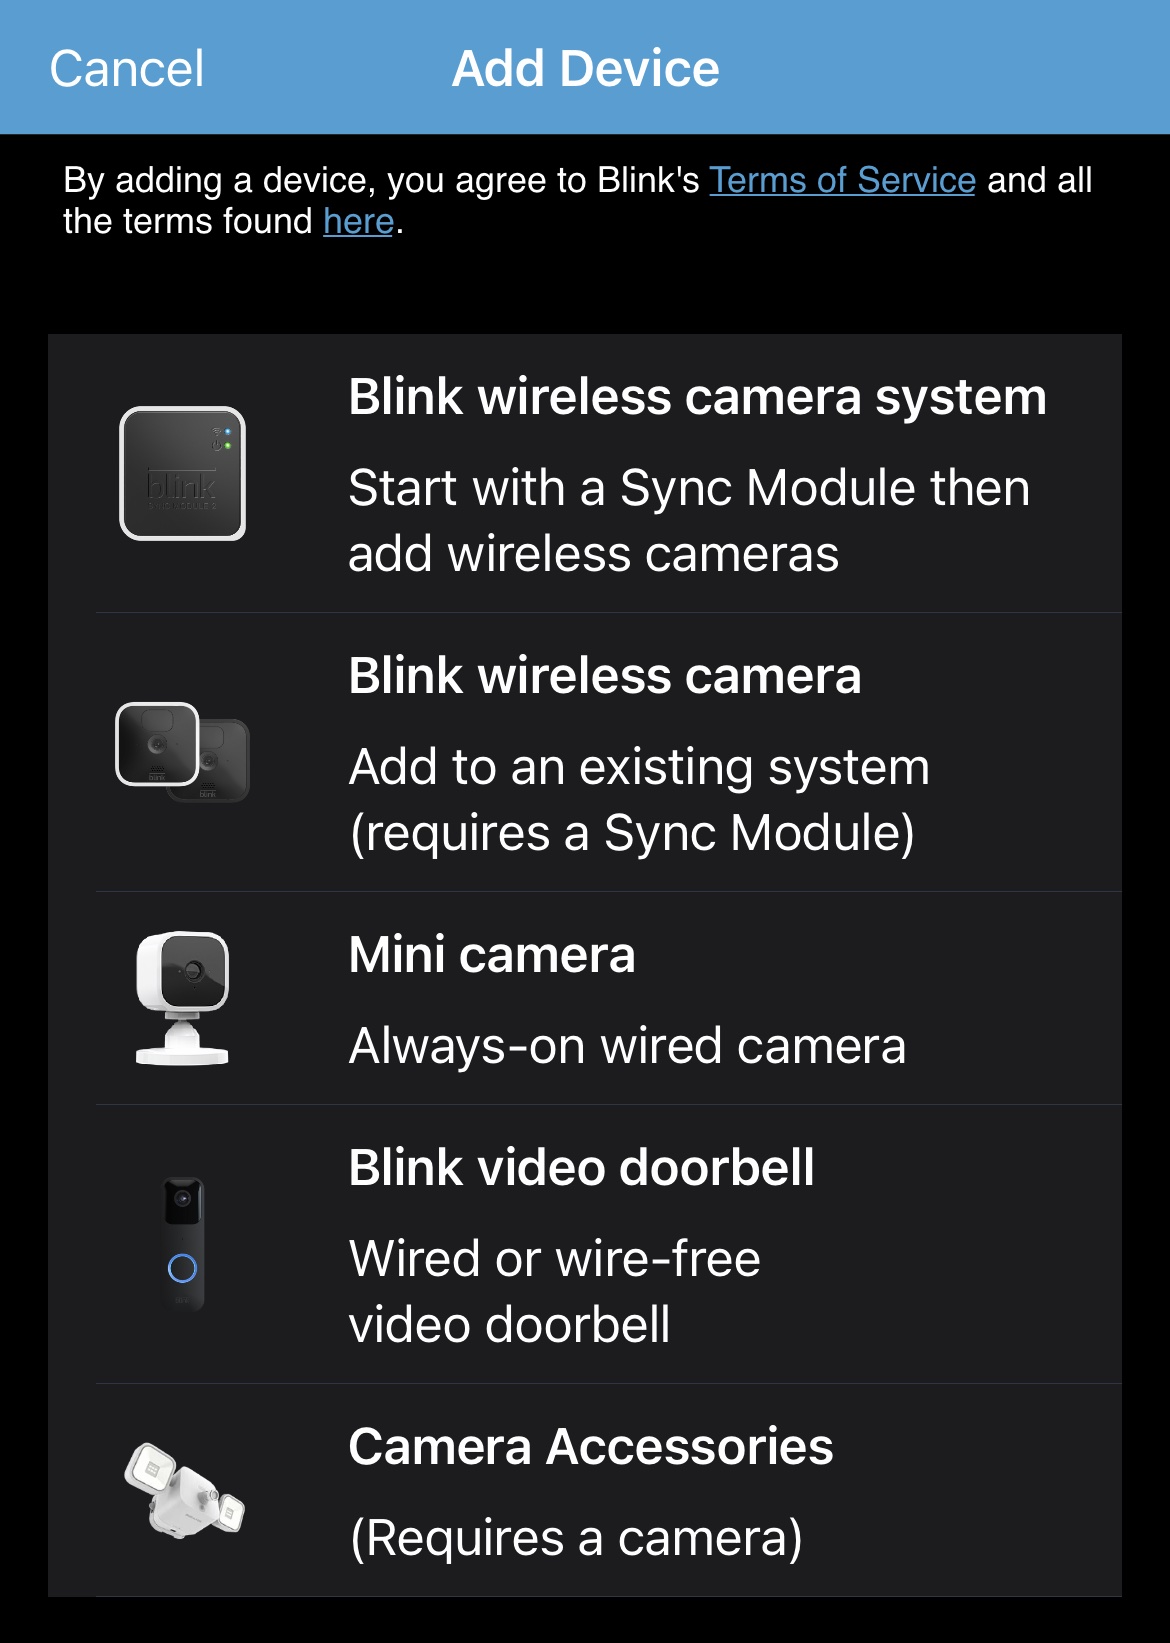
Step 1: Tap the + icon in the top-right corner of the Blink app.

Step 2: Tap Blink Wireless Camera System.
Step 3: Scan the QR code found on the back of your Sync Module, or enter the serial code manually. (You might need to give Blink access to your phone camera.)
Step 4: Give your Blink system a name and then tap Done.
Step 5: Wait for the Sync Module to begin blinking blue, with the green light remaining steady. Once it does this, tap Discover Device.

Step 6: The Sync Module will generate a Wi-Fi network that begins with BLINK-XXXX. Tap* Join*.
If the Sync Module doesn't work, you might need to reset it.
Step 7: After the Sync Module joins the network, you'll see a list of 2.4GHz networks within range. Tap your network and enter your password.
Step 8: If successful, you'll receive a notification that a new Sync Module has been added to the system. Tap Done.
Add cameras to your system
After you have set up the Blink Sync Module (arguably the most frustrating part of the process), it's time to add the camera.
Step 1: If the camera is new, you'll need to unscrew the back panel and insert the batteries. Use the included tool to unscrew the backplate, but if you have lost that tool, a butterknife works just as well.
Step 2: Next, tap the + icon in the upper-right corner of the Blink app and select Blink Wireless Camera.
Step 3: Scan the QR code inside the battery compartment of the camera. Note: have the backplate ready. Once the camera scans the code, it will begin searching. You need to attach the backplate and screw it into place (oriented correctly) so the contacts meet. The camera will flash red if powered.
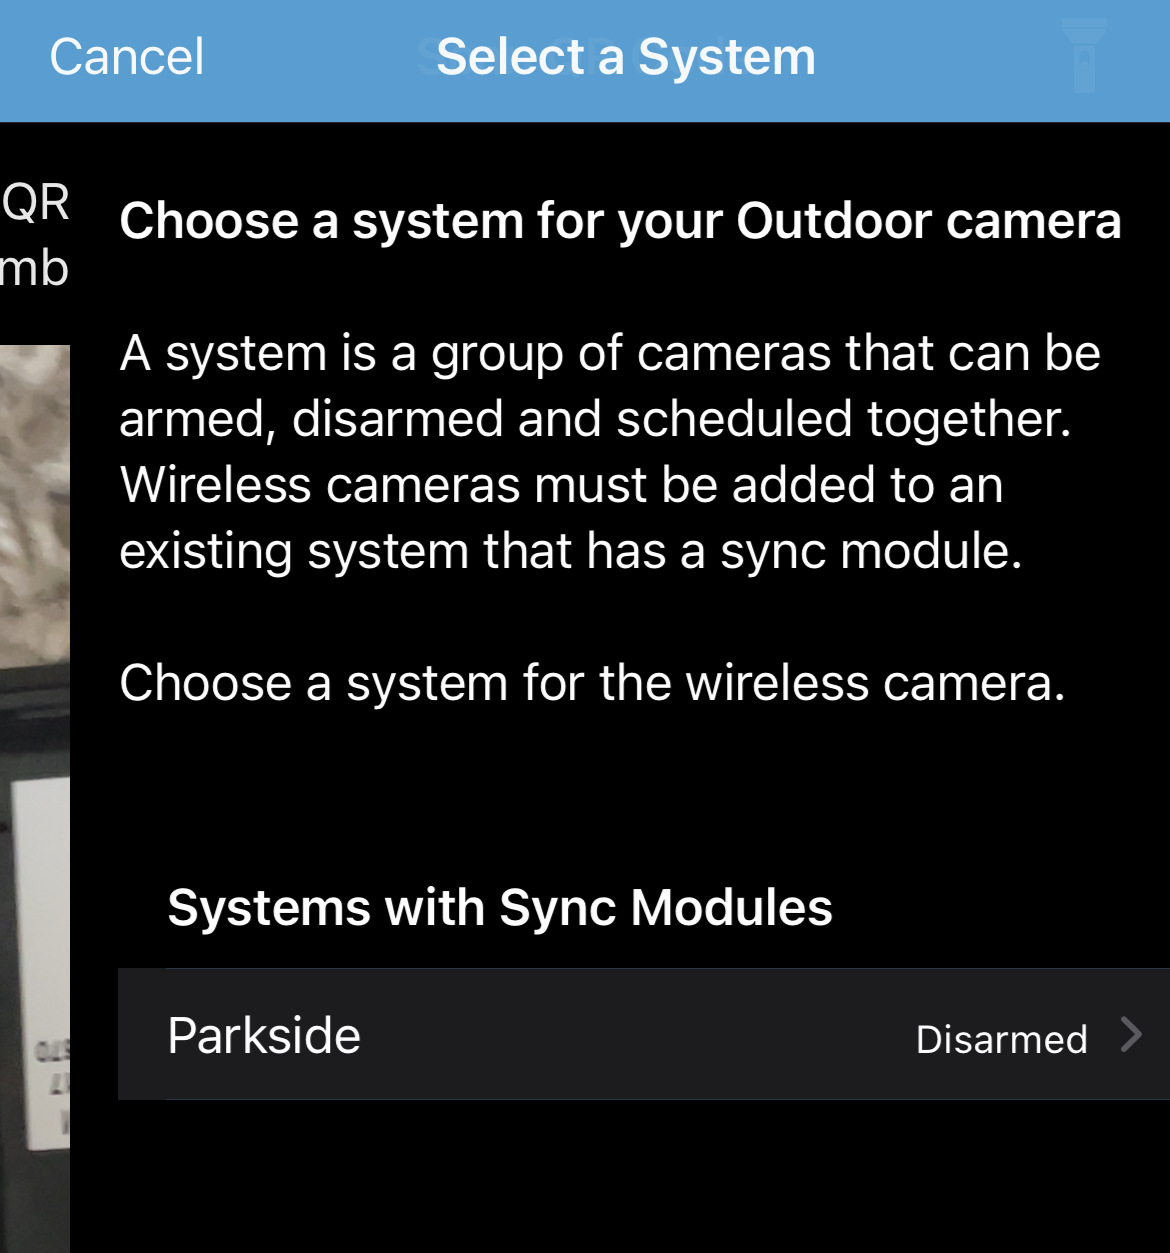
Step 4: Select a system for the camera.
Step 5: If the camera is found and added, you will see a message at the top of the screen that says, "Camera added successfully." Tap Next.
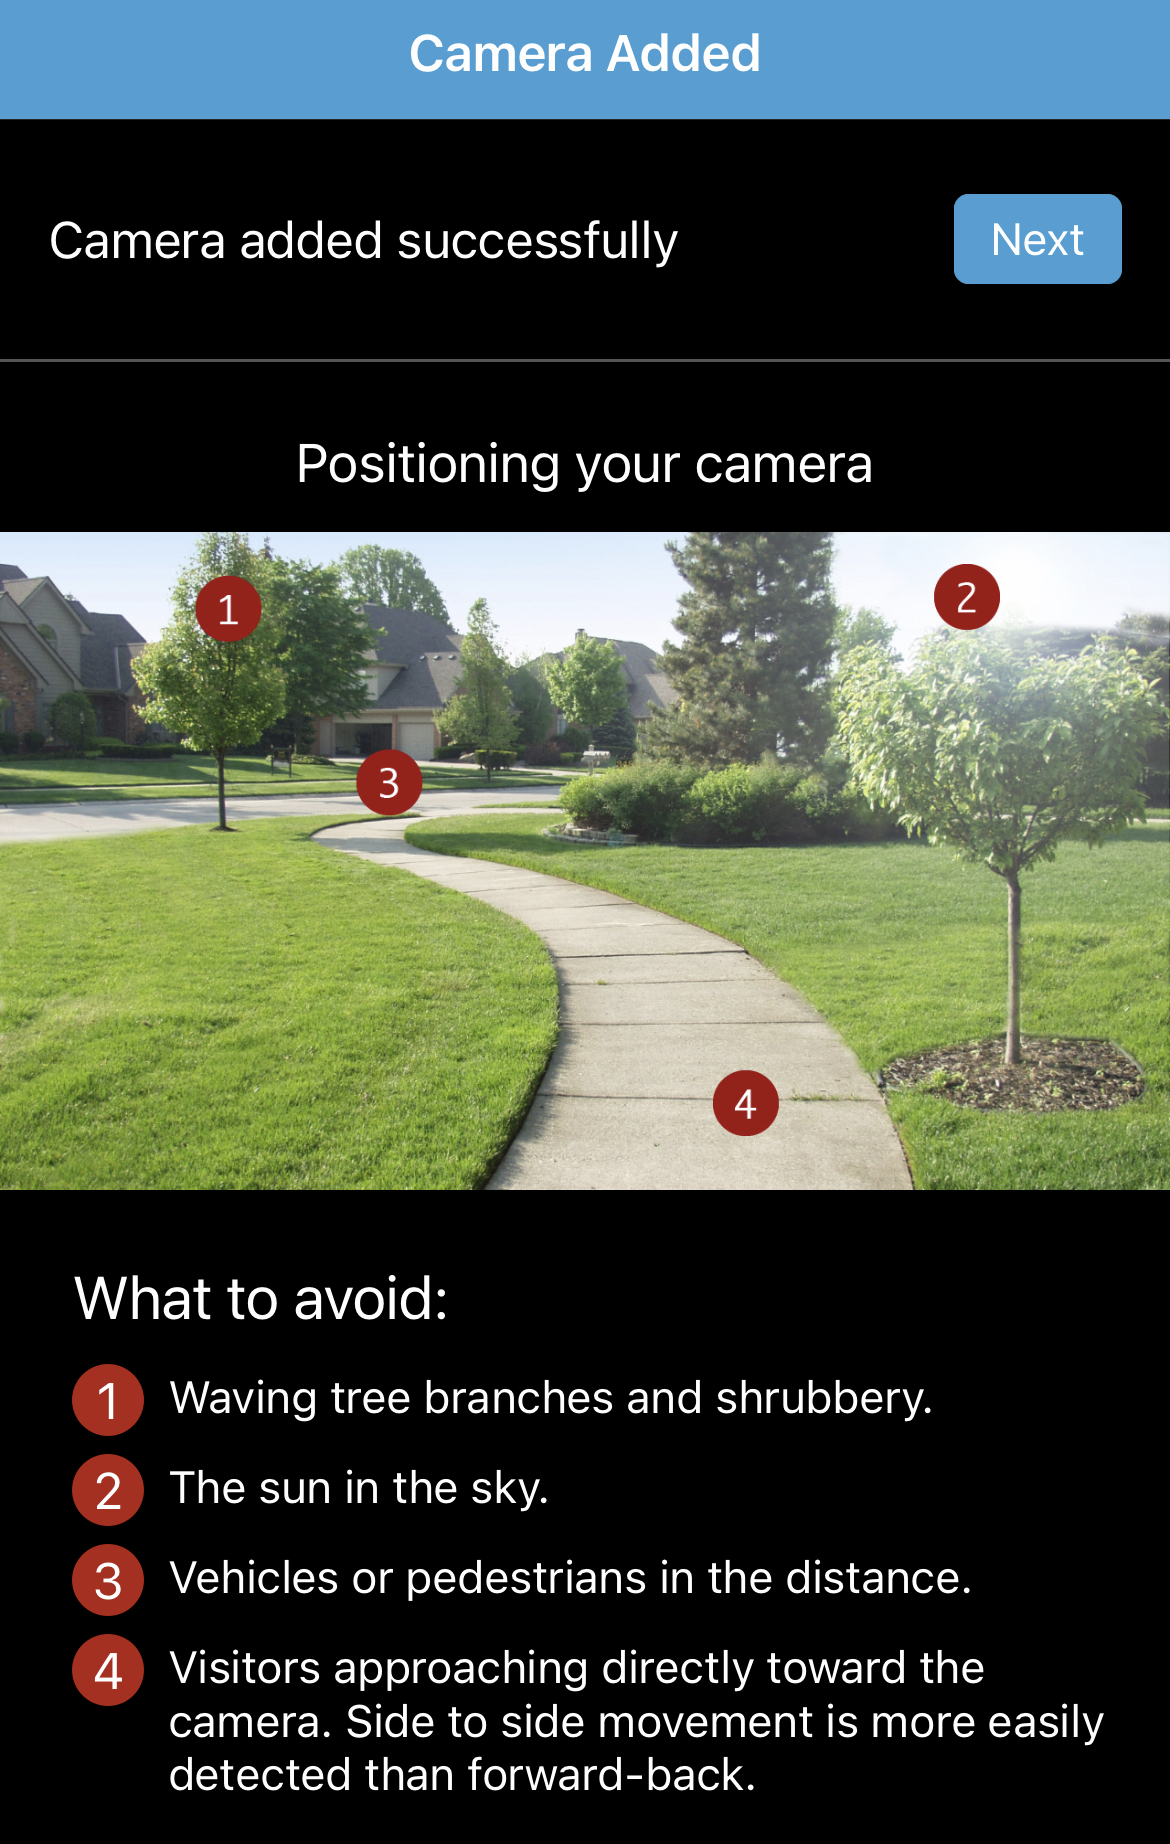
The Blink Outdoor Camera includes mounting hardware, too. While it's possible to screw it in place, we found the no-drill method worked just as well if you have vinyl siding. Just slip the mount beneath one of the tiles and ensure it has a snug fit, then secure the camera.
If you have to screw the mount in place, the process is no different. Use the provided screws (and the hollow-wall anchors, if needed) and then slide the camera onto the wall bracket.
Editors' Recommendations
- Blink Mini 2 vs. Wyze Cam v4: Which is the better budget security camera?
- Theragun sale at Best Buy: Up to $60 off the massage gun
- Yale Assure Lock 2 Touch picks up new features with the Z-Wave Smart Module
- How to reset the Nanoleaf Skylight
- Samsung Spring Sale: Get up to $915 off smart ranges today