Smart coffee makers can be an excellent addition to your home. They’re a lot more affordable than many smart appliances, they’re used every day so app controls are handy, and they make a great fit with routines or voice commands. If you recently got a coffee maker with smart features, our guide will show you how to use them!

Connect to Wi-Fi
First, you need to make sure your coffeemaker is connected to your home Wi-Fi. While this process can vary a little between models, it generally involves similar steps. You can always find more by looking at your instruction manual.
Step 1: Make sure your Wi-Fi network is up, and your mobile device is updated before you begin. Plug in your smart coffee maker.
Step 2: Download the accompanying app for your coffeemaker. Your manual or an online product page will have the information on which app to download. When you open the app, you may have to create a new account and log in. Always note your account name and password for this part.
Step 3: Add your coffee maker as a device in the app. Apps will generally have an Add Device or a Plus sign on the home screen for adding a new device. Select this to continue. If necessary choose the type of device (coffee maker, kitchen appliance, etc.) if the app prompts you.
Step 4: You will probably be instructed to hold down a particular button on your coffee maker to help connect it to the app. Do this if required. The app should then ask you to choose your Wi-Fi and input your network password. After this wait a minute or so for the coffee maker to connect.
Step 5: Note: If your new coffee maker focuses primarily on voice assistant technology, it may not have a separate app to log into, in which case you would use these steps with the Alexa or Google Home app, etc. If there is voice assistant compatibility, you may need to repeat these steps with those voice assistant apps as well. Fortunately, it’s largely the same process.
Use the app to create your settings
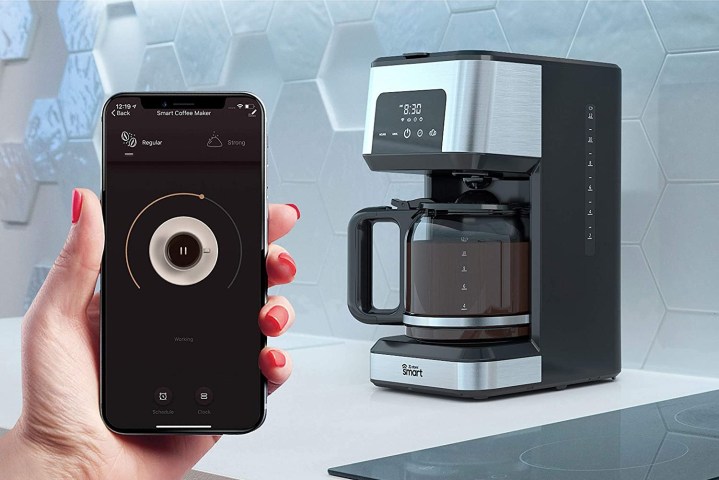
You should now be able to use the accompanying app to choose your coffeemaker from the home screen. This should give you access to a variety of settings to help use your coffee maker. Again, this varies a little but most options should be the same. Let’s take a look at what you can do!
Step 1: Start or pause brewing. The primary controls will allow you to start brewing whenever you want (assuming the water, filter, grounds, etc. are in the coffee maker and ready to go). In many coffee maker apps, you will also see an option to control the mode, such as strong, regular, and light coffee pours. In other coffee makers, you may see options to control how many cups you are brewing at a time.
Step 2: Schedule your brewing times. Apps will also have a scheduling system where you can automate brewing times for a certain time of day, at certain times of the week. This is particularly useful if you frequently get up at a certain time, or know that you’ll always want a cup when you get home.
Step 3: If your coffeemaker comes with a grinder, you may also have options to start the grinding process whenever you’d like, separate from the brewing process.
Step 4: More advanced coffee makers may also have options for temperature control while brewing. If so, you should be able to choose a temperature during the brewing process as well.

Find useful voice commands
As we mentioned, many coffee makers these days come with voice assistant support for Alexa (some also work with Google Assistant, etc.). If this is the case, you will have to download the voice assistant app and connect it to the coffeemaker using the process we described above, making sure to name your coffee maker something recognizable. For
Step 1: Start or pause brewing with voice commands. This can be as simple as, “Alexa, start brewing coffee” and your voice assistant will figure out the rest. It’s more useful for on-demand brewing and saves time compare to using an app. You can either gives these commands to the app on your mobile device, or with a smart speaker like the Echo Show.
Step 2: Connect your coffee maker to a routine. Routines are actions that can control multiple smart devices at once with a single voice command. Morning routines are especially common and make an excellent spot to add your coffee maker. With a routine like, “Start my morning,” your voice assistant can turn on the lights, start brewing coffee, recite your day’s appointments, give a weather update, and bump up the thermostat temperature. Learn more in our guide on how to set up routines with Alexa.
Step 3: Use IFTTT. Some coffeemakers also have additional compatibility with the IFTTT platform, which allows you to use specific community-created conditions for app activation. It’s a way to set up more complex routines or find a way to make your coffee maker work in close conjunction with another device.
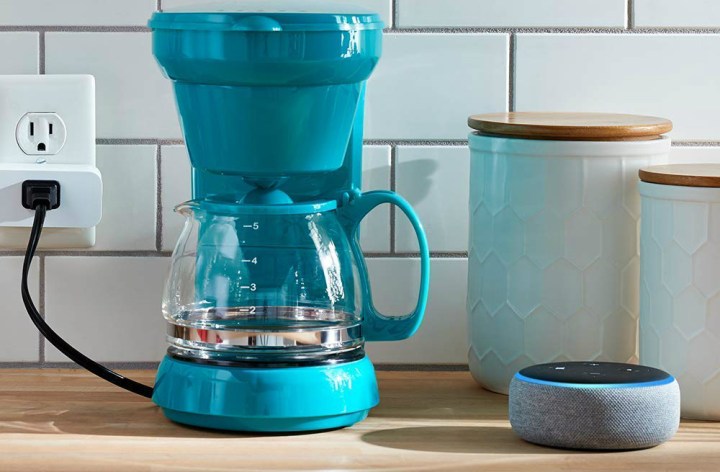
Alternative: Use a smart plug with your older coffee maker
Does your coffee maker lack any smart features or voice assistant compatibility? You always have the option of connecting it with a smart plug. This won’t have the same full features as a smart device, but it will allow you to turn the coffee maker on and start its brewing process on a schedule or with a voice command.
Finally, keep in mind that smart features are a better fit for coffee makers that don't use pods -- otherwise, you do have to remember to replace the pod every time you use the app. Also remember, only use milk if there is a separate reservoir dedicated specifically for milk, like the sort you find on cappuccino makers.
Editors' Recommendations
- Yale Assure Lock 2 vs. August Wi-Fi Smart Lock: which is the better smart lock?
- Best air purifier deals: Save big on Dyson, Shark, TCL and more
- Best security camera deals: Ring, Arlo, Blink and more on sale
- The best smart light switch for Alexa, Google Home, and HomeKit
- How to remove a home from your Yale account Keychain


