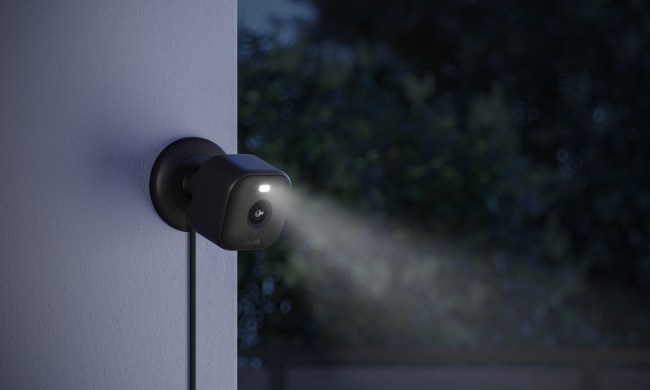
Apple has been incorporating many features into its iCloud+ service to make it more enticing to its community. For example, they introduced HomeKit Secure Video (HSV) last year. With HSV, any HomeKit-enabled security camera can be added to the Home app on your Apple devices, as well as offer extra features.
Security cameras you add to your HomeKit home automatically get HSV features. Footage from the cameras is encrypted so that only you and anyone you allow can view it. Also, any video saved from the Home app does not count towards your iCloud+ storage limit. To get started, you'll need to have a Home hub set up and either an iOS device or a Mac. We will go through both options below.
iOS directions for installing HomeKit Secure Video
Step 1: On your iOS device (iPhone, iPad, iPod) go to the settings app and click on your Name at the top.
Step 2: Click iCloud.
Step 3: Click and turn on the Home option.
Mac directions for installing HomeKit Secure Video
Step 1: On your Mac, click the Apple symbol at the top left of the menu bar.
Step 2: Click on System preferences.
Step 3: Click your Apple ID.
Step 4: Click iCloud.
Step 5: Select and turn on Home.
Once you add security cameras to your smart home through the Home app, they will automatically be encrypted and secure using HomeKit Secure Video. You can also now view footage from the cameras on any iOS device, Mac, or Apple TV that's signed into the same iCloud account. You can also share access to your home to allow others to see footage or control smart home accessories. Check out cameras such as the Logitech Circle View or the Eufy 2k Indoor to get started with new security devices.


