One of the pain points of getting a new smart security system is setting everything up and getting it to work properly. That's why many people don't update their systems even though they no longer meet their needs. Oftentimes, setting up a new system is easier than you think. Today, we'll take you step by step through installing the whole Blink system around your home. Don't worry, this will be easy.
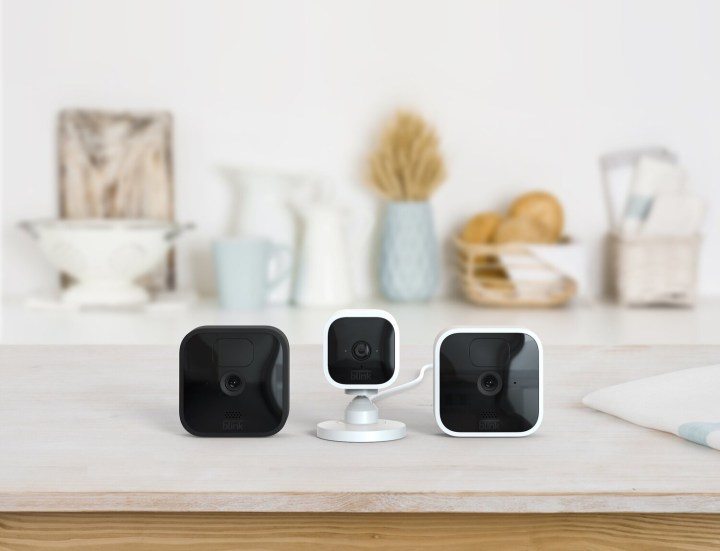
Blink provides low-cost smart security cameras and accessories for your home. You can get a complete indoor and outdoor security system from Blink and set it up easily to cover your whole home. If you get multiple products, you also need to get the Sync Module to connect all the cameras and extend their battery life.
Create an Account
First, you'll need a Blink account to set up and connect all your security devices.
Step 1: Download the Blink app and open it on your phone.
Tap the Create account button at the bottom of the app's home screen.

Step 2: Select your location and create a password.
Step 3: Set up defaults to two-factor authorization (2FA) using a phone number and PIN.
The app will ask you for your phone number and send you a PIN. You'll need to enter the PIN to log in to your account. Every time you log in from a new device, you must have your phone nearby.
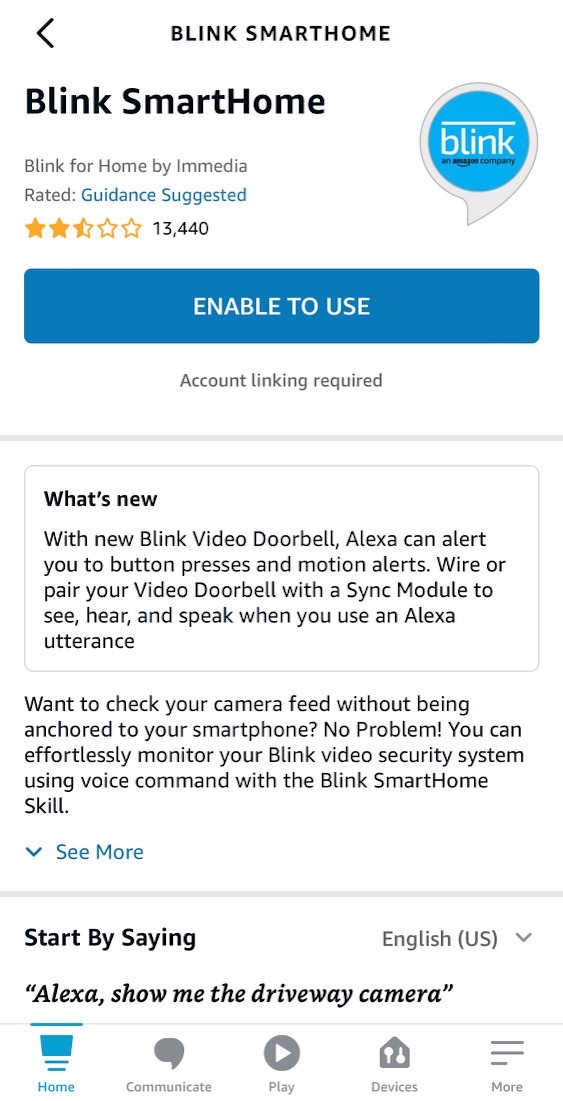
Step 4: The app will pop up a window to sign in to your Amazon account. Connecting to Amazon is mainly helpful if you have Echo devices, which can show or announce activities from your cameras. It's easy to link the Amazon account with your Blink account at this stage, but you can do this later if you'd like.
Once signed in to the account, tap the Enable to use button.

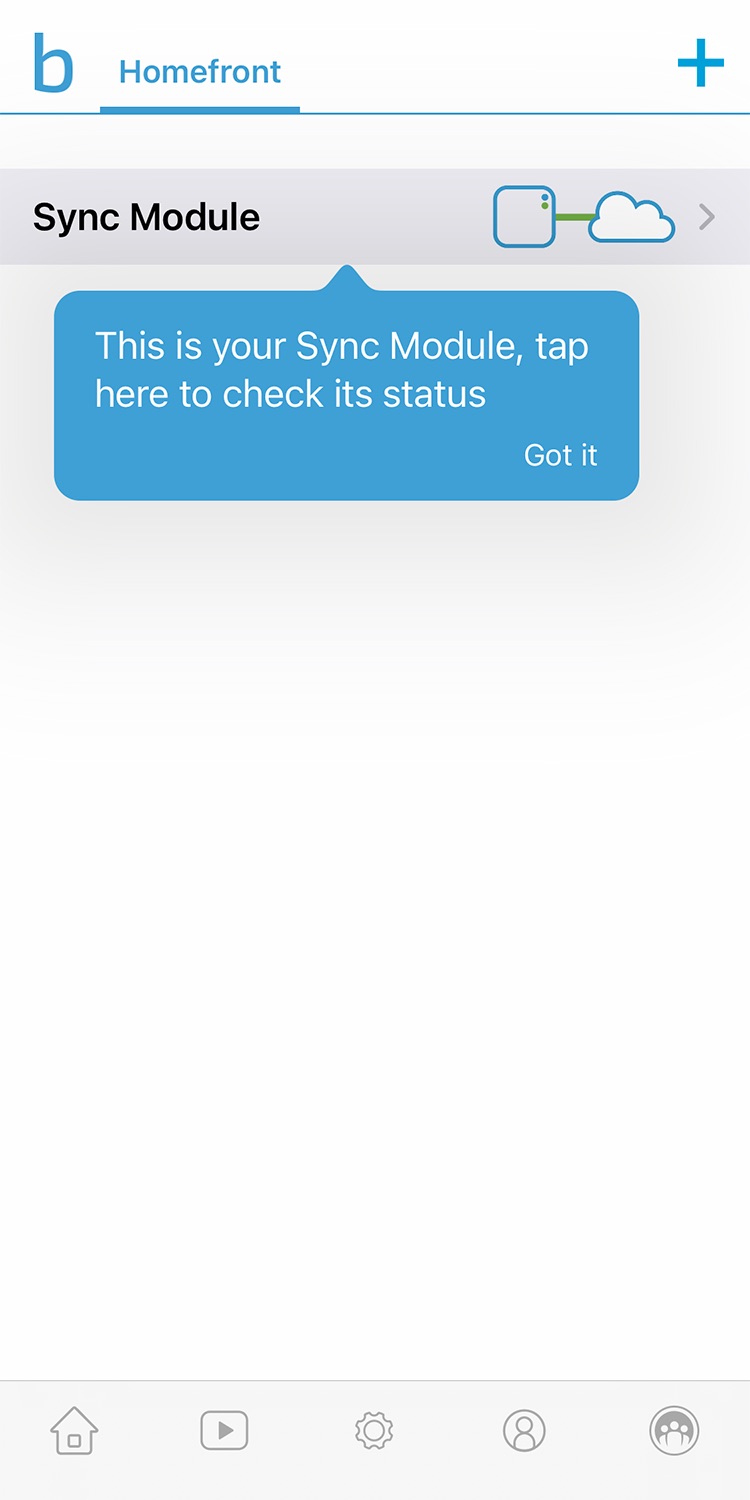
Install Sync Module and Systems
If you plan on using multiple Blink devices, you'll need to install the Sync Module.
Step 1: On the Blink app's home screen, tap Add device button in the top-right corner. Tap Sync Module and tap Blink Wireless Camera System. Choosing this option allows you to add cameras and devices to the Sync Module.
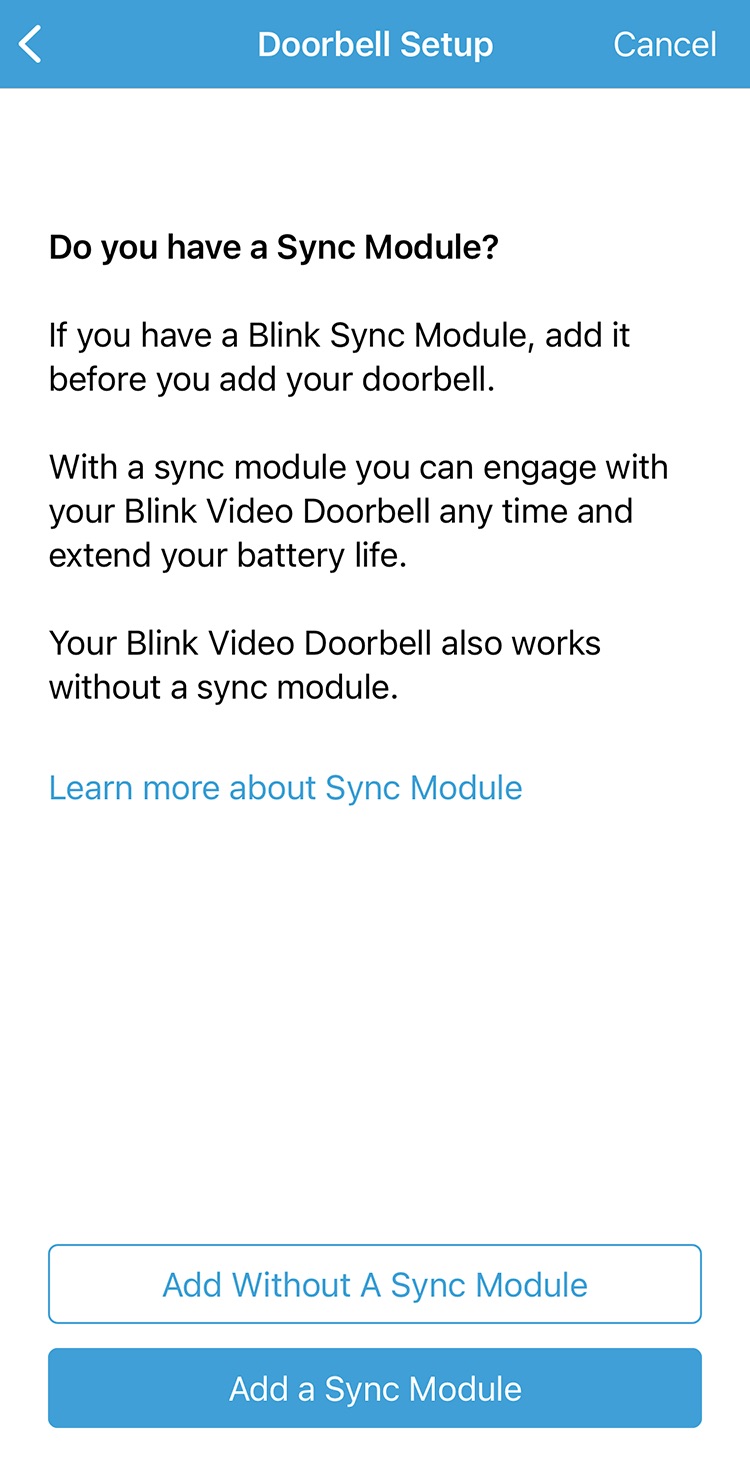
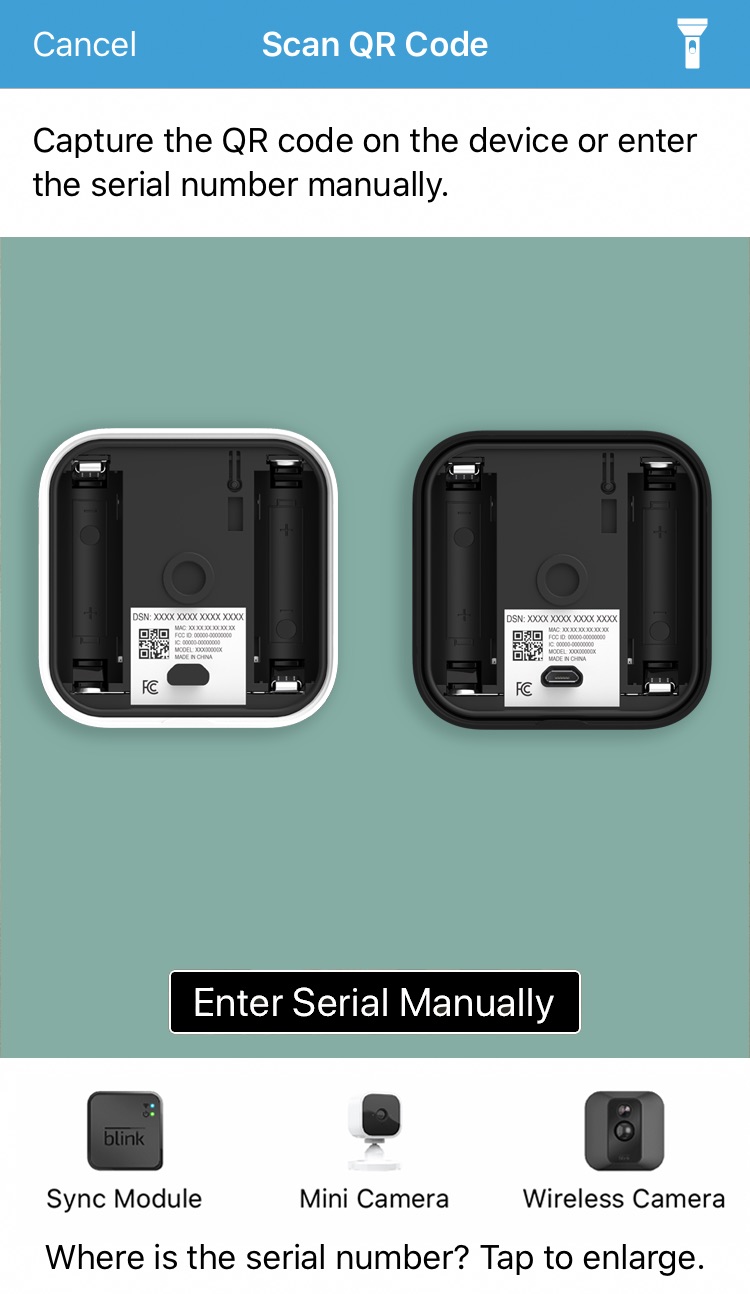
Step 2: You'll need to enter the Sync Module's serial number. Tap OK to allow Blink to access your phone's camera so you can scan the QR code. Locate the QR code on the back of the Sync Module and scan it with your phone.
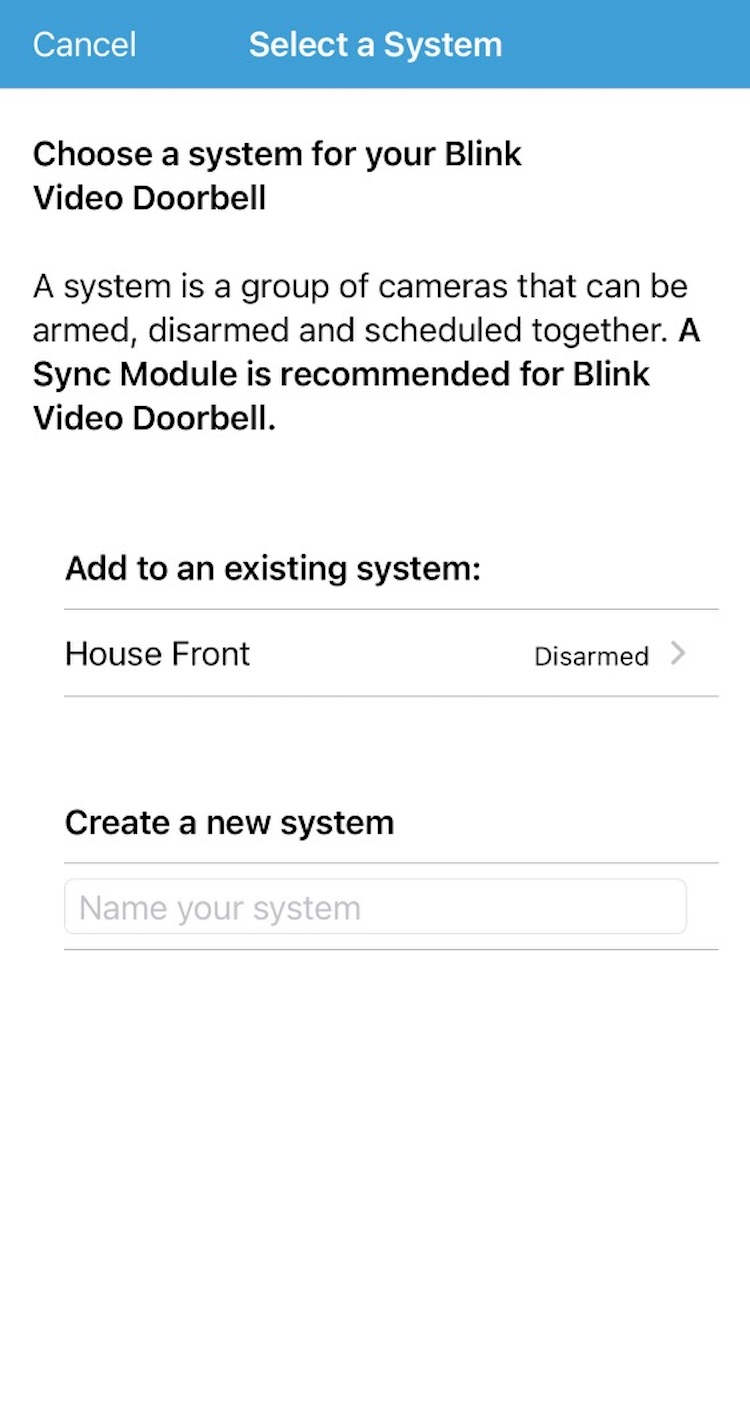
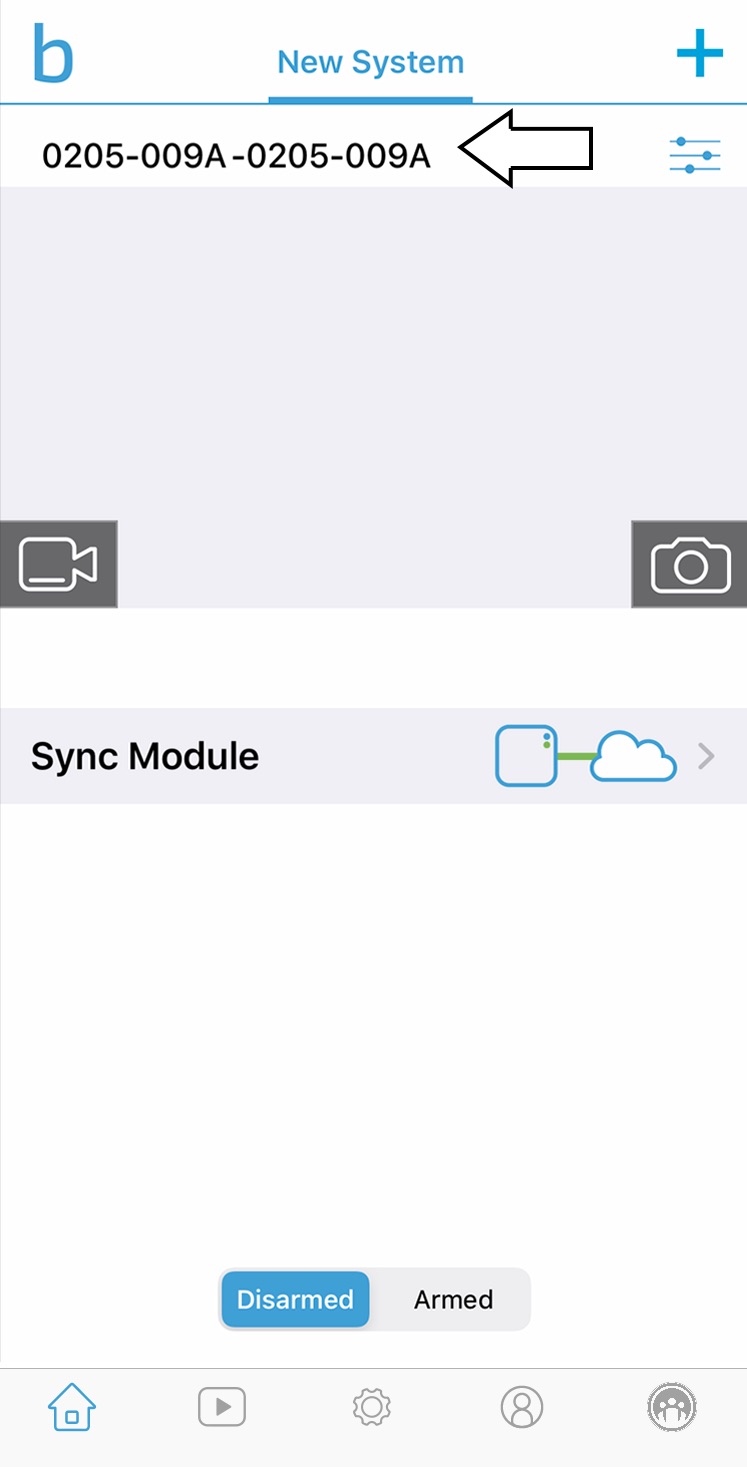
Step 3: The app will ask if you are adding the device to a pre-existing or new system. A system is simply a grouping of Blink devices that will also share an armed status. If you're creating a new system, enter a name for it.
Step 4: Plug in the Sync Module and wait for the lights to flash blue to proceed. This process can take 30 seconds to happen. You're looking for a blinking blue light and a steady green light.
Step 5: Once the Sync Module is ready, you'll receive a pop-up on your phone to connect to its Wi-Fi network. Tap Join.

Step 6: Once connected to the Sync Module's Wi-Fi, you will need to input your Wi-Fi details to ensure the Module is connected to your home network.
Step 7: Tap Done to complete and return to the app's home screen.

Adding Blink Cameras to the system
Now that the Sync Module is set up, you can start adding cameras and other Blink devices to the system you just created. Return to the Blink app's home screen to add more products to the system.
Step 1: On the home screen, tap the Plus sign in the top-right corner to add a specific camera.
Step 2: Tap on the specific model in the list that you want to add.
Step 3: Scan the QR code on the camera (it's likely on the back of the device).
Step 4: Once scanned, follow the onboarding prompts in the app.
Each camera in the Blink system technically has its own onboarding process, but in reality, they all follow the same steps as the Sync Module: Scan the QR code, join both Wi-Fi networks, tap Done, and you're finished.
Step 5: Once the cameras are added, you can rename them in the system.
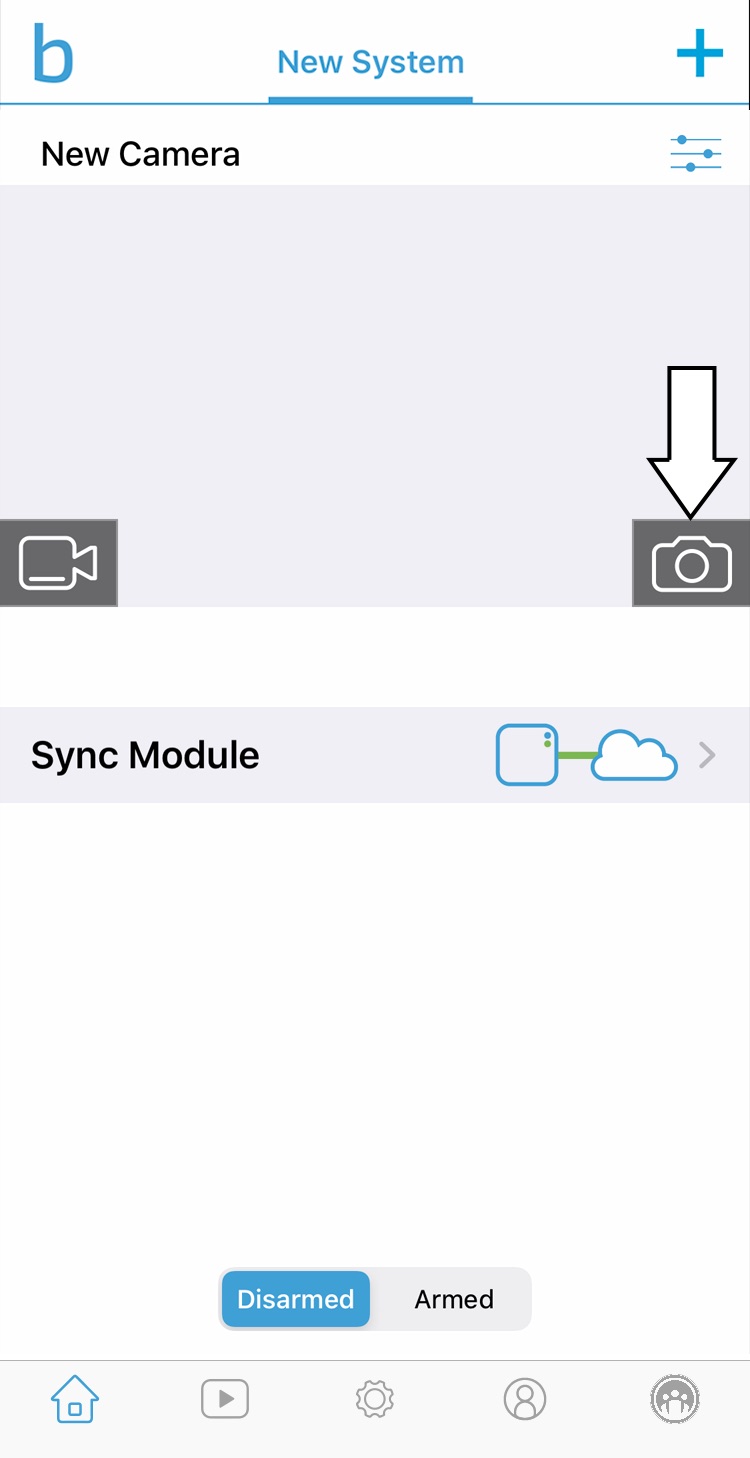
Return to the home screen, where you should see the newly added camera with a numeric name and a gray thumbnail. Tap on the Numeric name and change it into something more easily recognizable, such as "Front door camera."
Step 6: After changing the device's name, tap the Camera icon in the lower left of the camera's thumbnail to update it to a current photo of the camera's view.
Note: The Video Doorbell can update its thumbnail every half hour if connected to pre-existing doorbell wiring.
Step 7: Repeat these steps to add more cameras to your system.
FAQ
How to connect Blink to Wi-Fi
To connect Blink devices to Wi-Fi, you must first link your phone to the device's Wi-Fi. Once connected, you'll be able to input your home's Wi-Fi network and connect. This process must happen with every camera install, whether you have the Sync Module or not.
Can you use the Blink system without a subscription?
Yes, you can use the Blink home system without a subscription. You just won't have access to certain features. For example, features such as video sharing and the 60-day unlimited history are only available on Blink's subscription plans.
Does Blink camera connect to Wi-Fi or Sync Module?
Some Blink devices can only be used within a system with a Sync Module, while others can be used on your Wi-Fi network without the Sync Module. For example, the Blink Doorbell and Blink Mini are the only Blink cameras that can be used solely with your home's Wi-Fi, while the Blink Outdoor and Indoor wireless cameras require a Sync Module.
Editors' Recommendations
- Ring Pan-Tilt Indoor Cam vs. Wyze Cam Pan v3: Which is the better pan-tilt camera?
- How to connect Alexa to iPhone
- Best security camera deals: Ring, Arlo, Blink and more on sale
- Save $250 with this Arlo Pro security camera bundle deal
- The best smart light switch for Alexa, Google Home, and HomeKit