The holidays are here, and you may have just gotten a new iPhone (or iPad) for Christmas. If so, lucky you! That’s a fine piece of tech that you now own, and it will definitely last you for a good while — at least five years, if the latest trends continue.
But if this is your first iPhone or iPad, and you’ve never used one before, or maybe you’re switching from Android, fret not! It may be a little overwhelming figuring everything out, but here are some tips and tricks to get the most out of your shiny new iPhone.
1. Set up your Apple ID
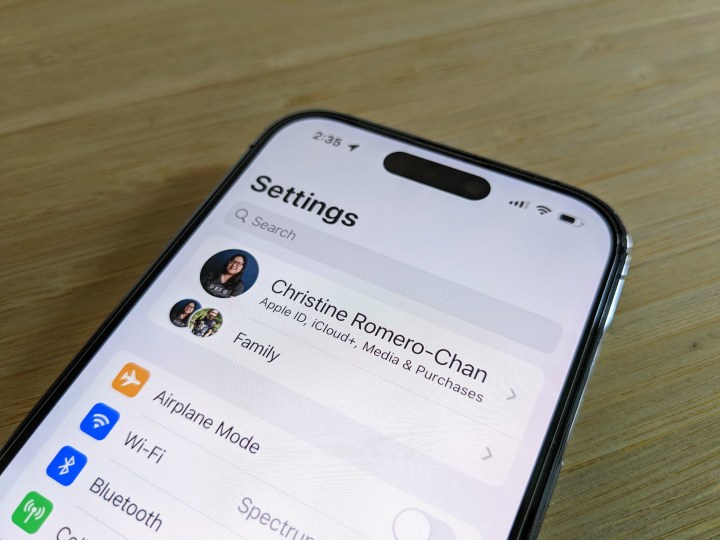
When you take that iPhone or iPad out of the box and turn it on, one of the first things that will pop up is to create or log in to your Apple ID. While it’s not an actual requirement, you really won’t get much use out of your iPhone or iPad without one.
An Apple ID basically serves as your key to everything Apple, including services like iMessage, FaceTime, iCloud, Find My iPhone, Apple Music, apps and games, and so much more. So if you don’t already have an Apple ID, it’s highly recommended to create one. Also, make sure you keep a record of your Apple ID credentials, as it can be tricky to get back into your account if you get locked out from too many failed login attempts.
2. Turn on Find My iPhone
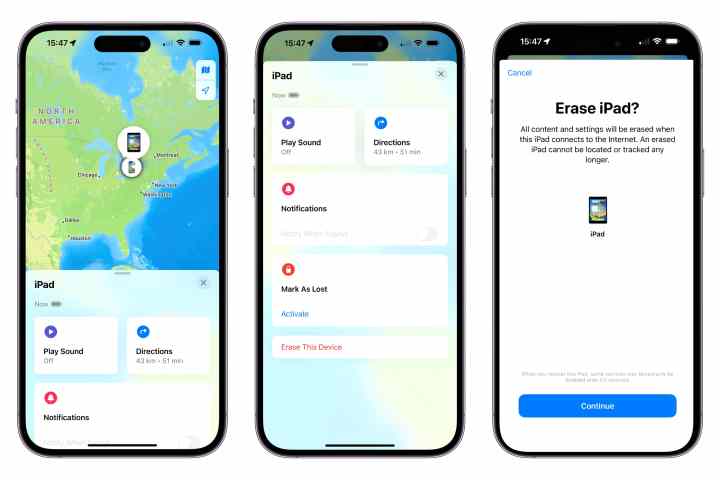
Again, an Apple ID is critical because it’s required to use Find My iPhone. This is a security feature that lets you track where your iPhone or iPad is in case it’s lost or stolen. Better yet, you can remotely wipe the device and even leave a message on the device for whoever is in possession of it to contact you to return it.n
When you set up an Apple ID, turning on Find My iPhone should be a part of the setup process. But you can also manually turn it on if you want to set it up later. Either way, don’t forget to set up Find My iPhone! Better safe than sorry.
3. Fill out your Medical ID
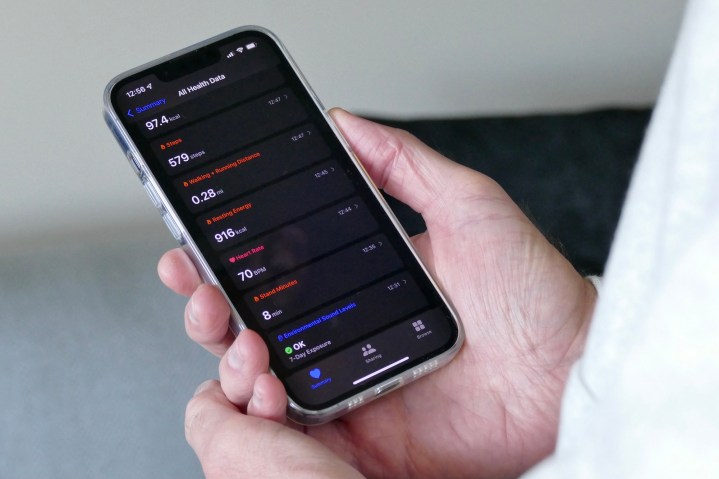
No one wants to be in an emergency situation, but life throws curveballs sometimes, and stuff happens. That’s why it is super important to make sure that you fill out your Medical ID on your iPhone.
With Medical ID, first responders will be able to find out useful information regarding your health when you’re in a medical emergency. This includes medical conditions, blood types, allergies, whether you’re an organ donor or not, and more. It’s also where you can list emergency contacts.
To do this, go to Settings > Health > Medical ID. Alternatively, you can do this from the Health app as well.
4. Always back up your iPhone
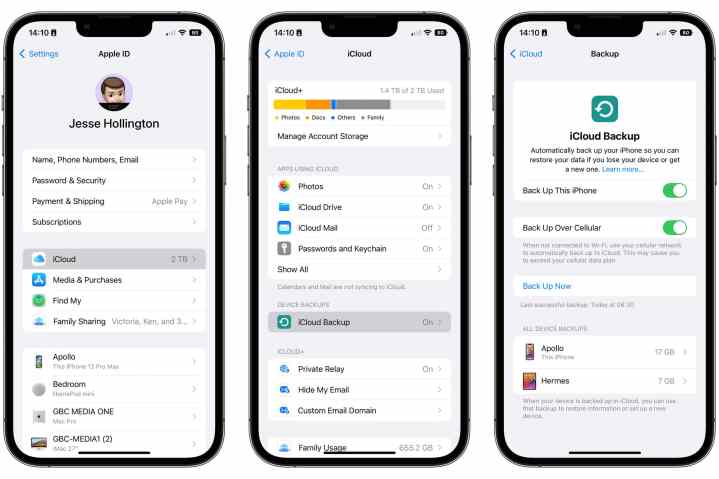
Once you get the basics set up that I mentioned above, the next step is to make sure you always back up your phone. I cannot stress this enough — BACK IT UP. Whether it’s manually or automatically — or even both — ALWAYS make sure to back up your data. You never know what may happen, and again, it’s better to be safe than sorry. Your iPhone will accumulate a lot of data and precious memories over time, and believe me, you do not want to lose any of that.
There are a few ways to back up your iPhone or iPad: manually with a computer (both Mac or PC work), or with automatic iCloud backups. I personally have been using iCloud backups for a few years because it’s automatic, and I don’t need to worry about it; it’s how I restore my data when upgrading iPhones every year. But you do need to make sure you have enough iCloud space to do so. If you do a manual backup with your computer, I’d also recommend encrypting the backup, which also means other more sensitive data, like Health information and passwords, are included.
5. Personalize your Control Center
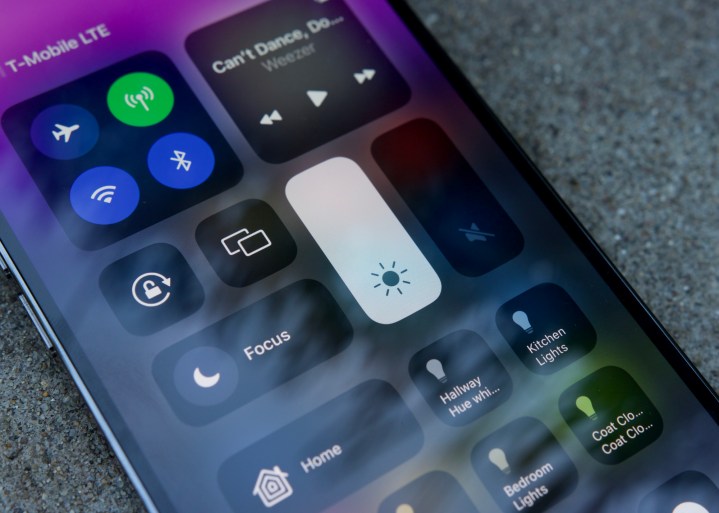
One of the more useful features of iOS is Control Center. It’s a panel of commonly and frequently used settings and app shortcuts — such as Wi-Fi and cellular, brightness, volume, rotation lock, flashlight, camera, Low Power Mode, and more. The Control Center can be accessed from anywhere, even when you’re in other apps, though there’s a setting to just make it accessible only on the home screen.
I often use the Control Center dozens of times throughout the day. It’s incredibly handy to have, and you can tweak it to your liking with various controls. To do this, just go to Settings > Control Center. Want to add a shortcut for Shazam? Maybe a button to quickly start a stopwatch? Apple’s customization tools let you do that.
6. Prevent autocorrect from twisting your words
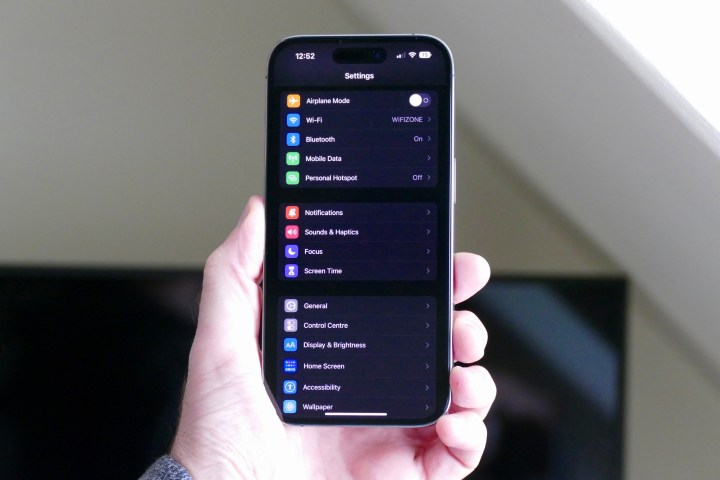
Autocorrect can be good if you’re in a hurry, but more often than not, it tends to mess up your words and twist them into something completely different. The text replacement feature is great when you know you want to type a certain word that autocorrect always changes to “ducking” instead.
To add all the text replacements your heart desires, go to Settings > General > Keyboards > Text Replacement.
7. Get haptic feedback as you type
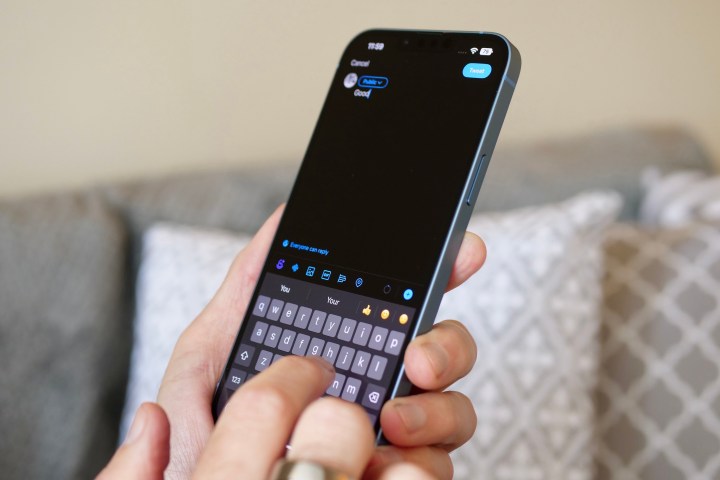
I often have my iPhone 14 Pro on silent all day because I’d rather not disturb my one-year-old, especially during naps. I also just don’t like hearing ringtones going off all the time. But having my iPhone on silent means no more audible feedback when typing, which I also don’t like.
iOS 16 recently added the ability for the on-screen keyboard to have haptic feedback. This means you get a little tactile response each time you tap a character on the keyboard, which is something that Android devices have been able to do for a long time. So even if you have your iPhone on silent, you’ll still know that the on-screen keyboard is actually working.
To turn on the haptic keyboard feedback, go to Settings > Sounds & Haptics > Keyboard Feedback.
8. Less scrolling is always welcome

Do you ever just keep scrolling on your favorite social media app, like Instagram? And then you realized you scrolled down too much, and it’s a pain to get back to the top to refresh? Thankfully, there’s a shortcut that gets you back to the top in a flash.
Just tap the top of the screen, around the status bar area on your iPhone. It acts like the home key on a keyboard, and will immediately take you back to the top of whatever app you’re in. That’s all there is to this tip, and it’s one you’ll be glad to have under your belt — trust me.
9. Switch between LTE and 5G when necessary
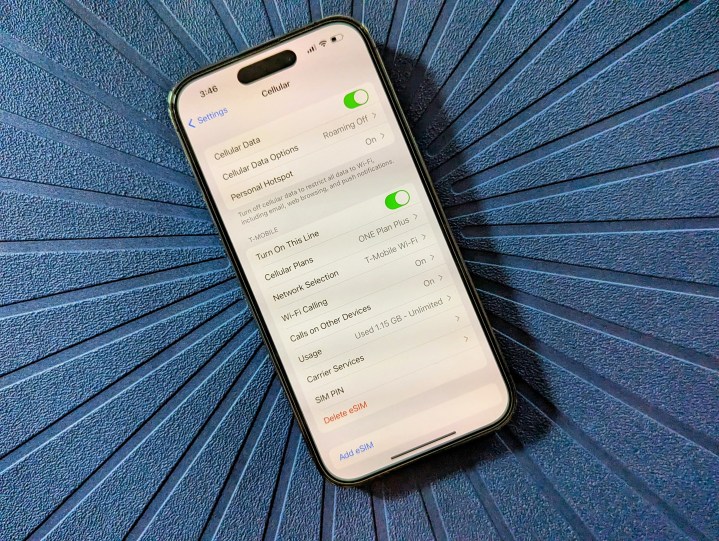
Even though the newest iPhones are capable of 5G cellular data, the reliability of 5G is far from perfect. I have T-Mobile, and sometimes the 5G is iffy, even if my device shows multiple bars. That’s when I just turn 5G off and go back to good old 4G/LTE, which is much more dependable.
To do this, go to Settings > Cellular > Cellular Data Options > Voice & Data. From there, you can choose 5G On or 5G Auto, or LTE. The difference between 5G On and 5G Auto is that the on option uses 5G whenever possible, even if it reduces battery life. 5G Auto only uses 5G when it will not have a significant impact on the battery life.
Another option I would look into is Data Mode. You can allow more data on 5G when it’s enabled, standard settings for automatic updates and background tasks, but limits the quality of video and FaceTime, or low data mode, which pauses automatic updates and background tasks.
Again, you may want to just be on 5G all the time because it’s shiny and new, but that’s also the problem — it’s not always dependable. These cellular settings let you adjust the cellular connectivity to whatever works best right now.
10. AirDrop all the things

One of my favorite features on the iPhone is AirDrop. If you also have an iPad or Mac, then AirDrop is the fastest way to share files between all of your Apple devices — like photos and videos, documents, and more. It’s a great feature for those who are heavily vested in the Apple ecosystem of hardware.
To use this feature, just select AirDrop from the share sheet whenever you’re sharing an item. You’ll also want to make sure that your AirDrop settings are set correctly. You can adjust this by going to Settings > General > AirDrop.
In iOS 16.2, Apple introduced a new limitation to AirDrop receiving. You may have heard of people using AirDrop to send unsolicited photos to strangers who had AirDrop set to “Everyone.” Now, while there’s still an “everyone” option, it’s only for 10 minutes — once that 10 minutes is up, it will revert to “Contacts Only.”
I’ve had my AirDrop settings on Contacts Only pretty much ever since it was introduced, and it lets me easily send photos from my iPhone to my iMac or iPad. It’s a necessity in my daily workflow, and one I could never give up!
11. Find anything fast with Spotlight Search
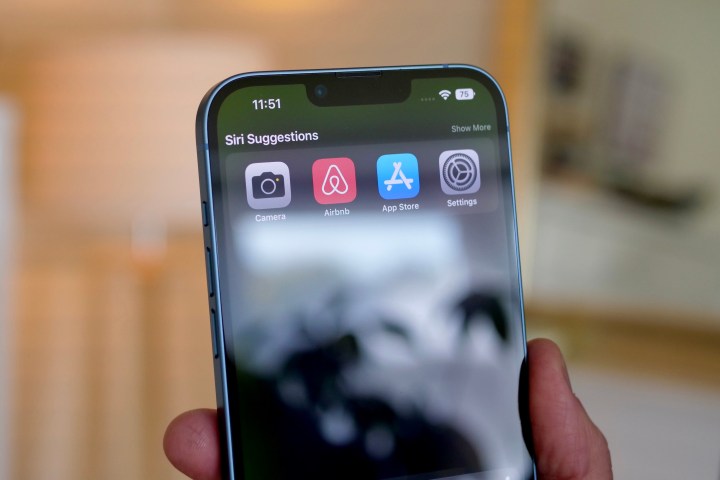
Are you looking for something in particular? Whether that’s an app or game that you just downloaded from the App Store, a simple internet search, an email or text, or even a calendar event, a search is just a swipe away.
On the home screen, you can either tap the Search box at the bottom, between the last row of apps and the dock, or just swipe down. You’ll bring up Spotlight Search, and you can type in anything to bring up results from Siri-suggested apps, settings, Mail, Photos, Messages, and more. You can also adjust where results come from by going to Settings > Siri & Search.
12. Search for keywords on webpages in Safari

Ever find yourself on a website, but you’re only looking for specific keywords, and there’s just a lot of text on the page? Safari has a hidden “find on this page” feature that is definitely handy.
To use it, first go to a page that you want to search on. Then tap the address bar again and type in some keywords you want to search. Once results start to populate, scroll down to hide the keyboard and go to the bottom where it says “On This Page.” If the keyword is found, you’ll see the number of matches found, and then select Find (keyword) to quickly jump to the results, which are highlighted in yellow.
Getting the most out of your new iPhone

The iPhone is one of the best smartphones you can get on the market today, so if you just got one as a gift, congrats! It’s a great gift, and definitely one that will last a long time, given Apple’s track record with software updates and support.
iOS is pretty simple and easy to use, but there are a lot of hidden features that may not be so obvious, especially if you’re an iPhone newbie. These are some of the best little secrets of the iPhone and iOS, so hopefully, these tricks help you out with getting the most from your iPhone.


