Panoramic photos are one of the coolest and most immersive ways to share a photograph these days. But, shooting one isn’t quite as simple as pointing and clicking. In fact, mastering 360 photos can be difficult if you don’t know what you’re doing.
Thankfully, taking beautiful panoramic photos is easy, thanks to apps like Google Street View. So, how can you master panoramic photos today? We’ll show you how in this article.
Google Street View encourages you to explore the great outdoors, including world landmarks and natural wonders, and even indoor venues like museums, arenas, restaurants, and small businesses. The app facilitates your own creation of 360-degree imagery of your neighborhood or anywhere you visit using your smartphone camera or a certified Street View-ready camera to add locations to Google Maps.

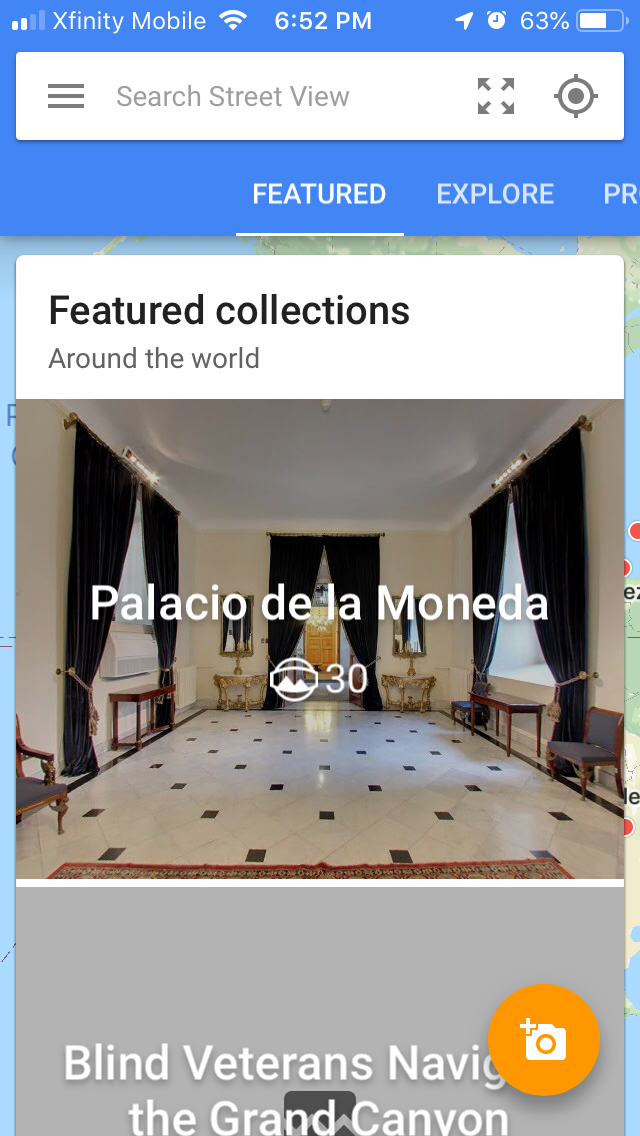
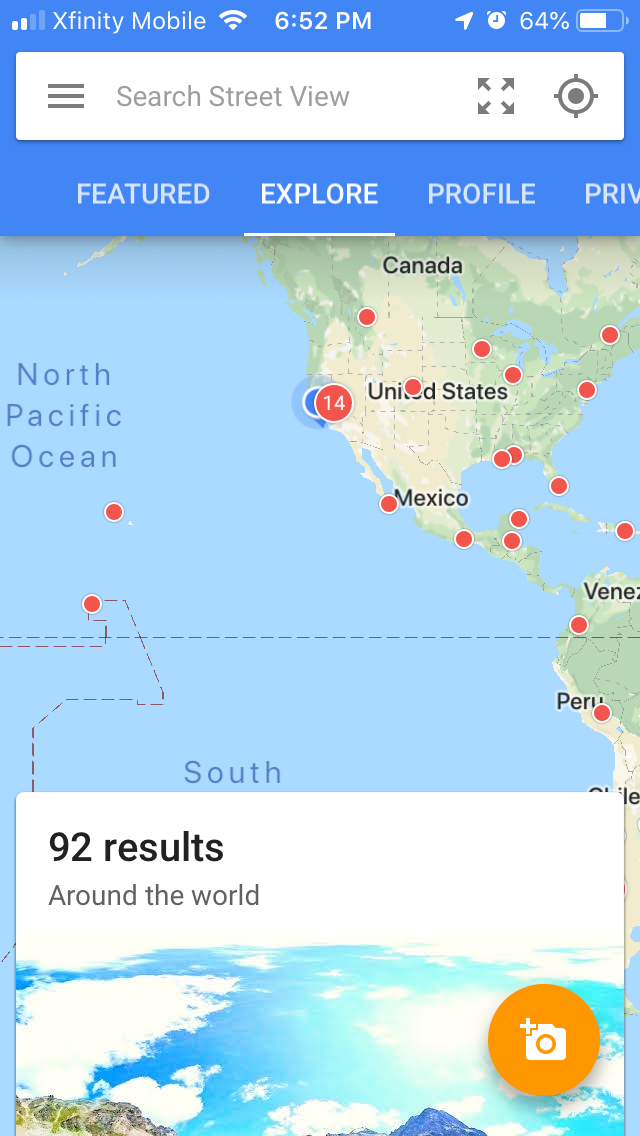
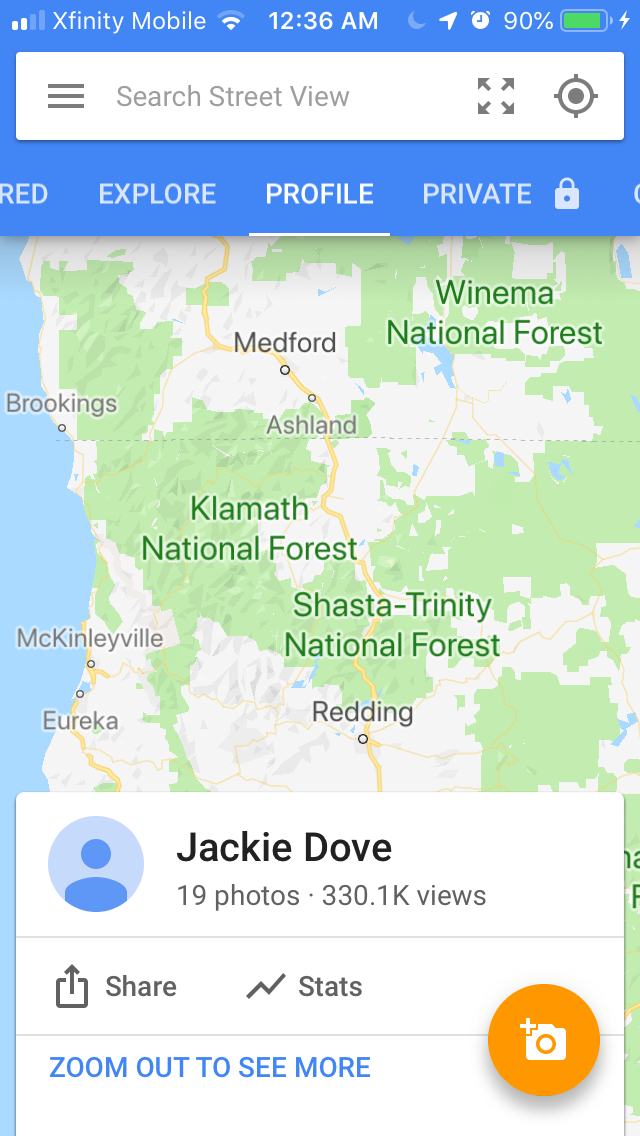
Google Street View features five categories that let you view, shoot, and post pano collections to the service. The Featured and Explore tabs take you to different parts of the world to preview street views shot by fellow pano fanatics. You can view each one on your phone, along with the map of exactly where each place is located. Either swipe to view the entire scene or tap the Viewer icon where you can choose to view the scene through your VR headset — Google Cardboard is always a good, cheap choice. The Profile tab is about all the images you post, which are accessible through Google Maps and often get an astronomical number of page views. If you have already posted panos, all of them will be listed alongside the number of views they have received.
You can download Google Street View on Apple’s App Store or the Google Play store. The interface for both iOS and Android is similar. Below, we used the iOS app to show you how to create your own 360-degree street view using just your smartphone.
Get ready to shoot
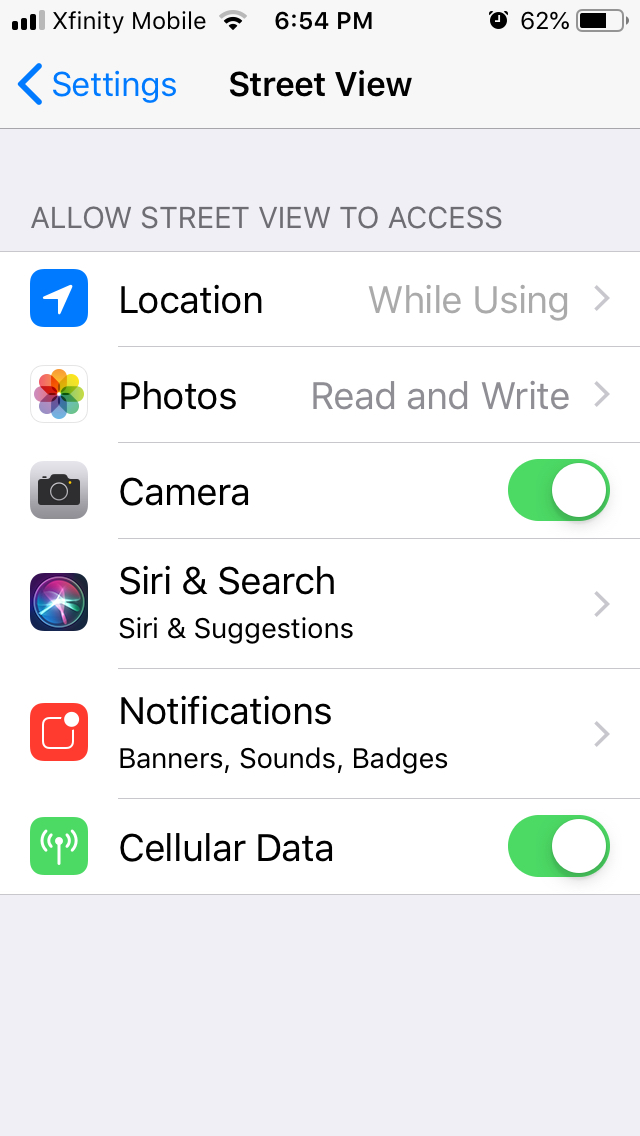
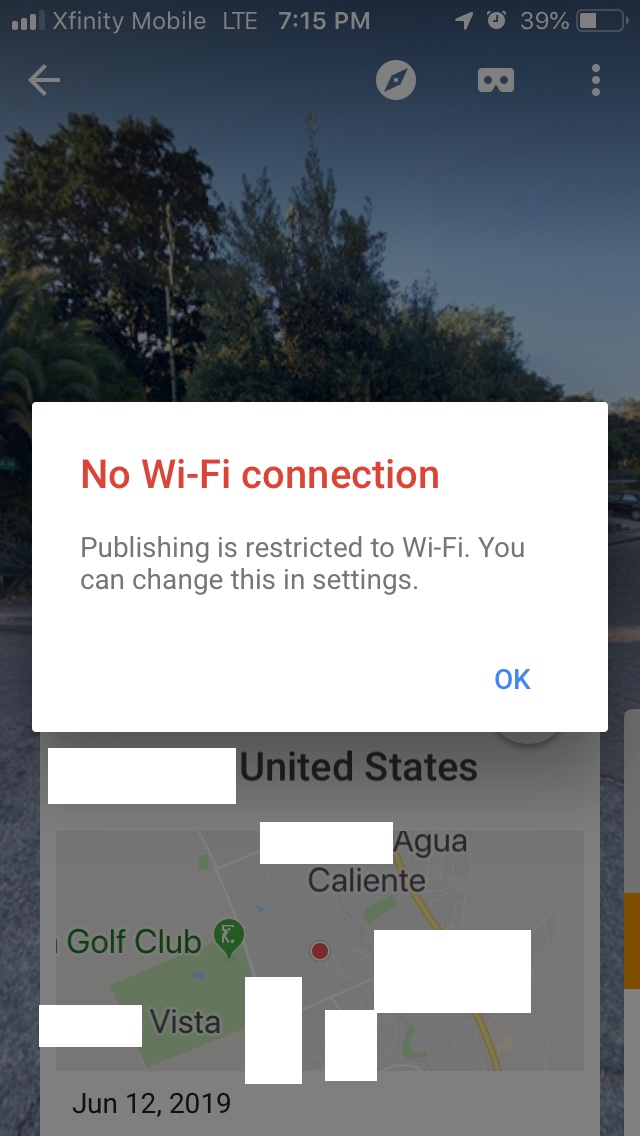
After downloading and launching the app, you should be able to start shooting your pano immediately — but first, make sure you have given Street View permission to access your smartphone camera in settings. The app also uses location services, so it’s a good idea to grant the app that privilege at least while you are using it. Decide whether you want to restrict uploading to when you’re connected to Wi-Fi, or if you don’t mind using your data plan to post your panos.
Start shooting
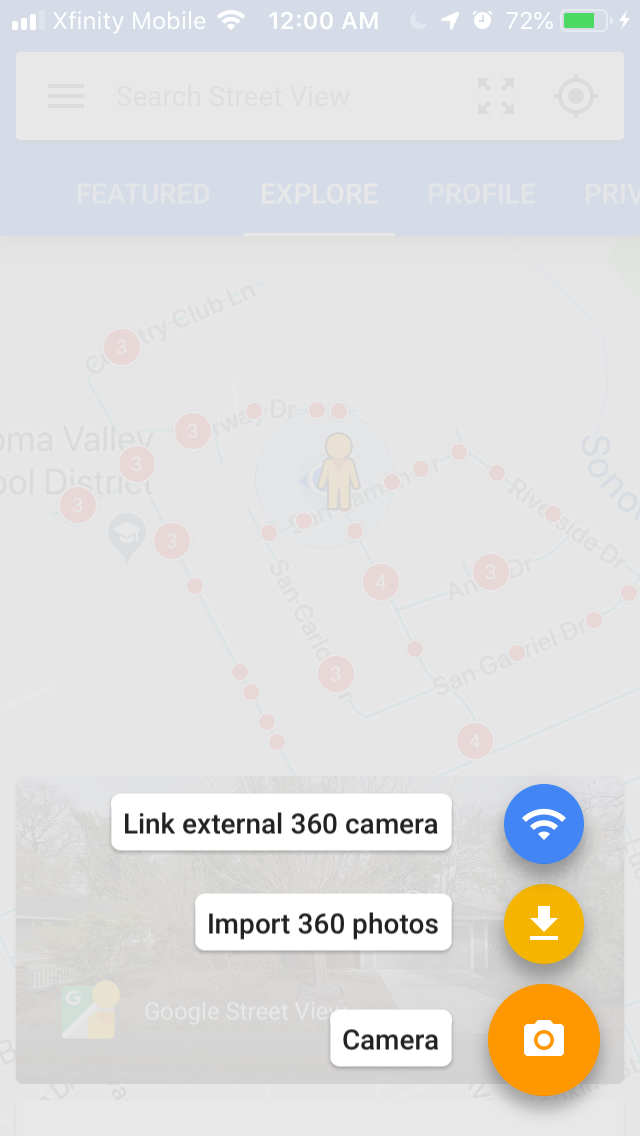
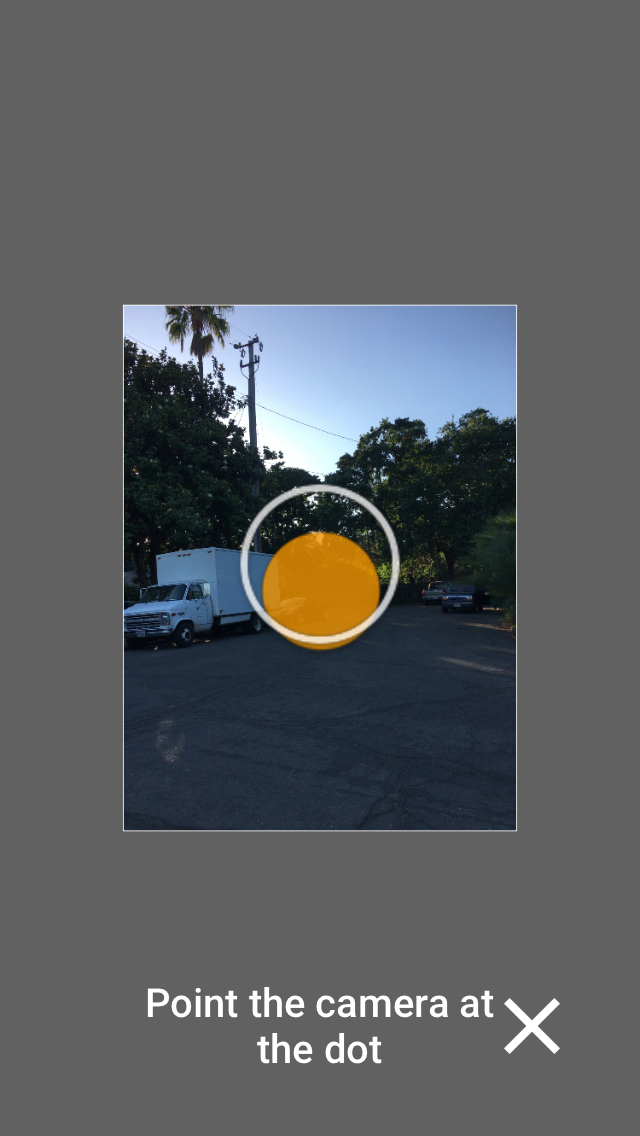
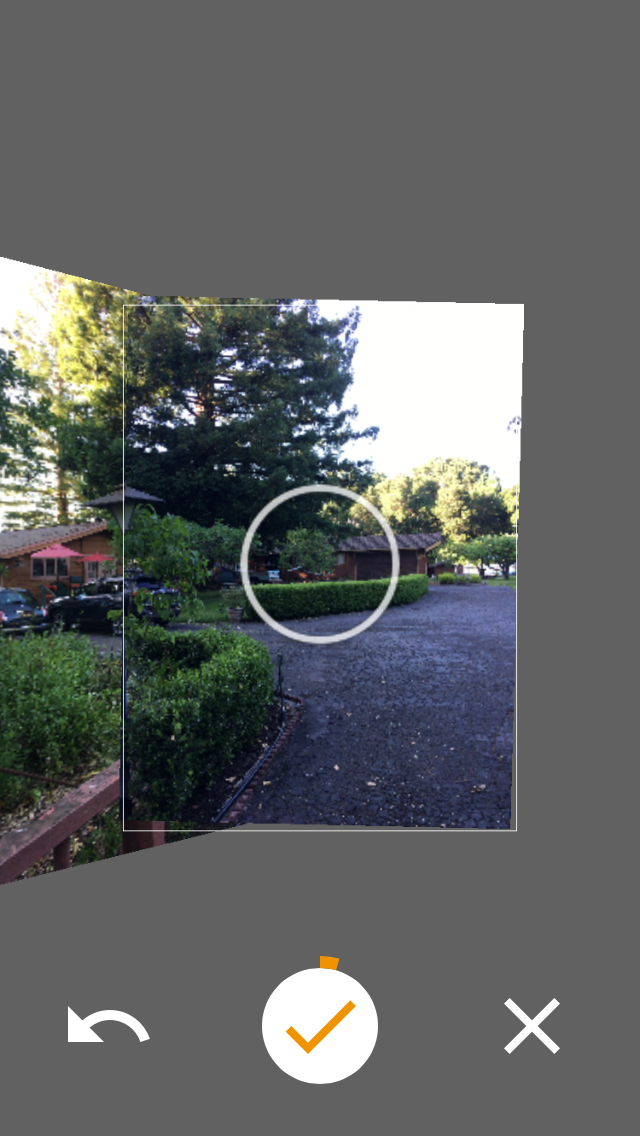
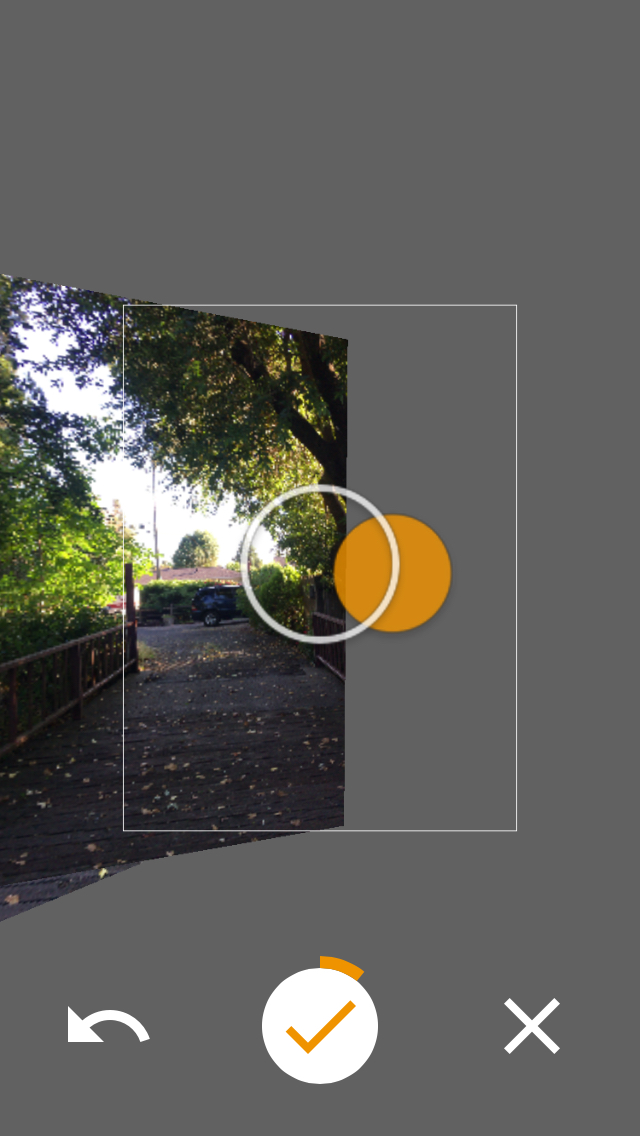
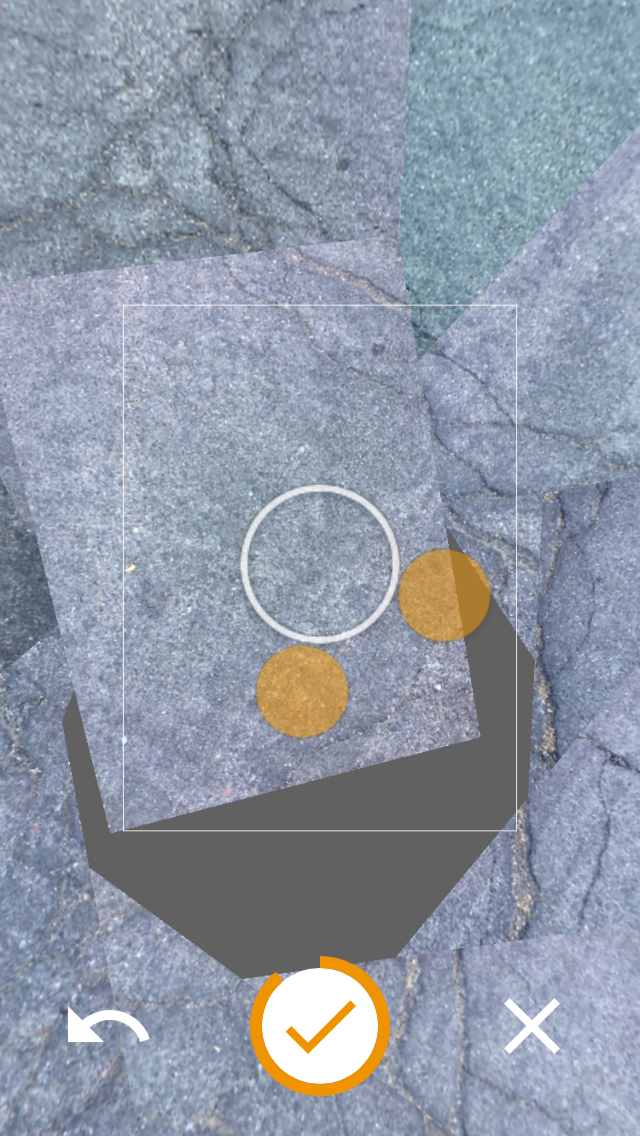
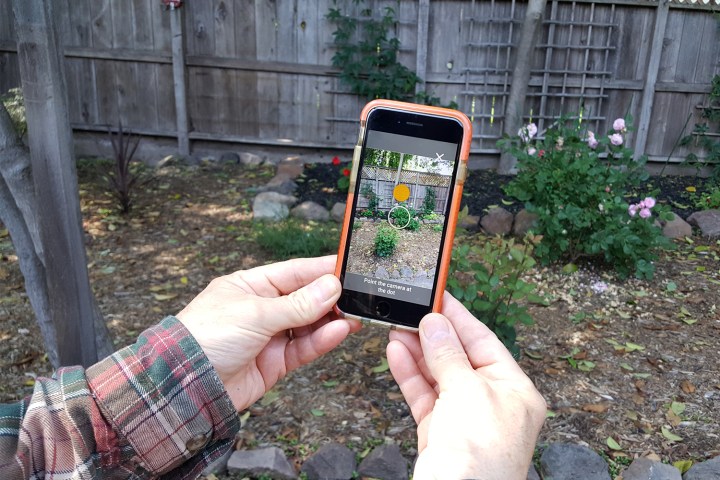
Tap the orange icon at the bottom right of the screen and choose Camera. A large empty dot appears in the middle of the screen and it will guide you through a series of shots that will construct your pano. Hold your phone in a vertical position and keep it close to your body as you move your phone around to line up each orange circle with the dot. The circle and dot appear automatically, prompting you to follow, and the app automatically shoots an image when both the orange circle and the empty dot are aligned. Another circle at the bottom of the screen tracks the pano’s progress as you move the camera around your stationary position.
Shoot up and down
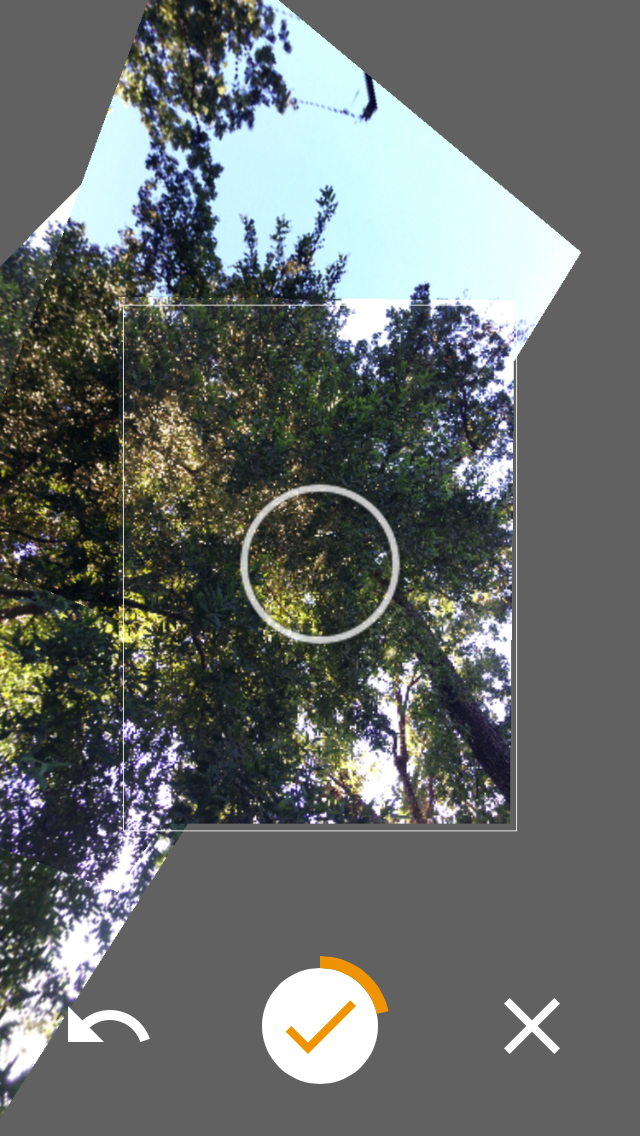
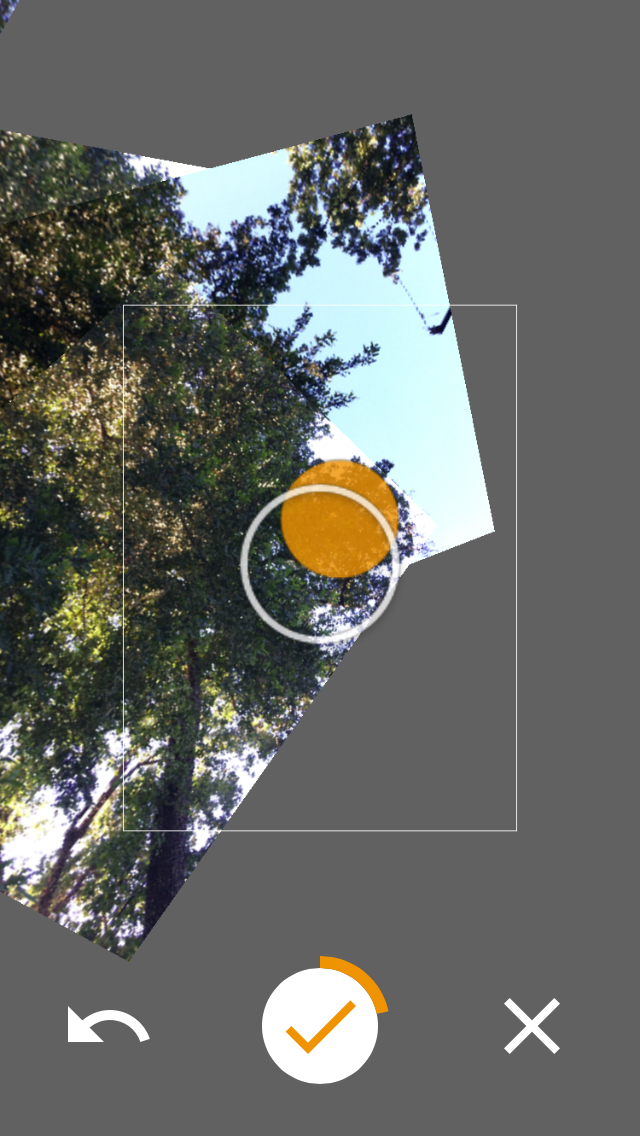
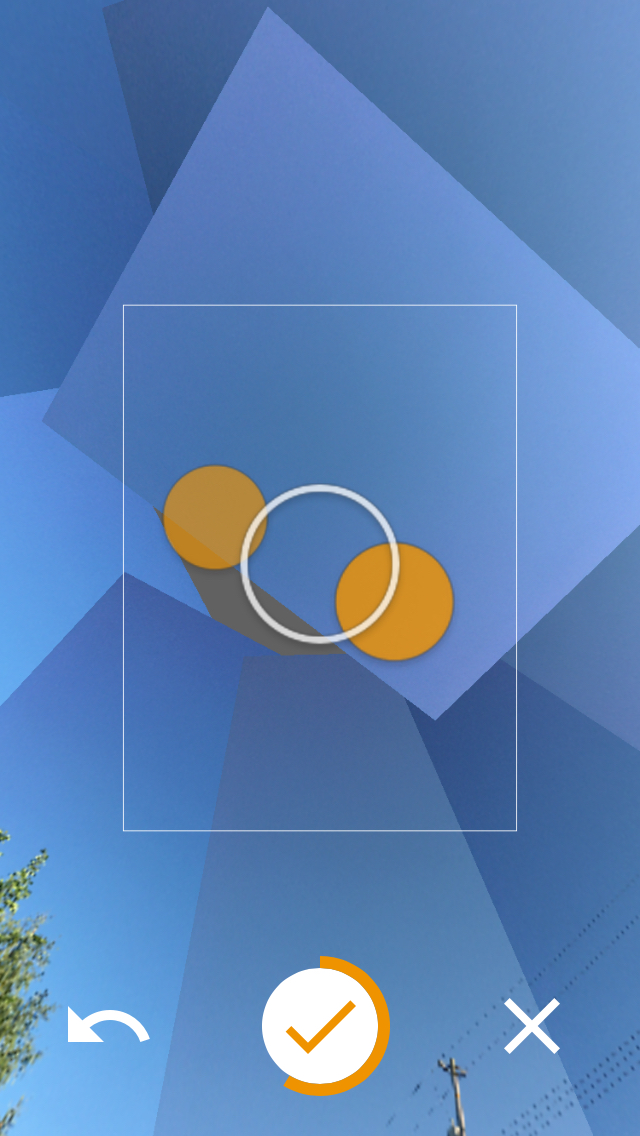
The initial movement of the circle prompt will be located around eye level. But a 360-degree image is a sphere, so once you finish with the middle part of the scene you want to aim your camera up toward the sky and move around in a circle again, twice. The app automatically detects which parts of the scene have not yet been recorded, so the dot and circle continue to prompt you to follow them in order to fill in the sky. Keep pointing up and moving the phone around until all the gaps are filled. Then aim your camera at the ground and do the same thing around your feet.
When all the shots are compiled, the Street View app stitches all the pano fragments together automatically. There are no opportunities to edit the pano, though a tap and hold blur function lets you blur faces, addresses, your feet, or anything else that might be distracting in your image. Other than that, there are no sophisticated editing tools available in Street View. If you want to edit further, make sure you elect to save the pano to your camera roll on iPhone or Panorama folder on an Android device. That way, you can open the image in an editor like Google Snapseed for iOS or Android and use the healing brush or other tools to enhance your photos.
If you edit your pano, you’ll have to use the Import 360 Photo function to place it in the Street View app in order to upload it. Do not go overboard in editing. Google has rules on authenticity that preclude cropping and other invasive fixes that falsify the look of the location.
Place your pano on the map
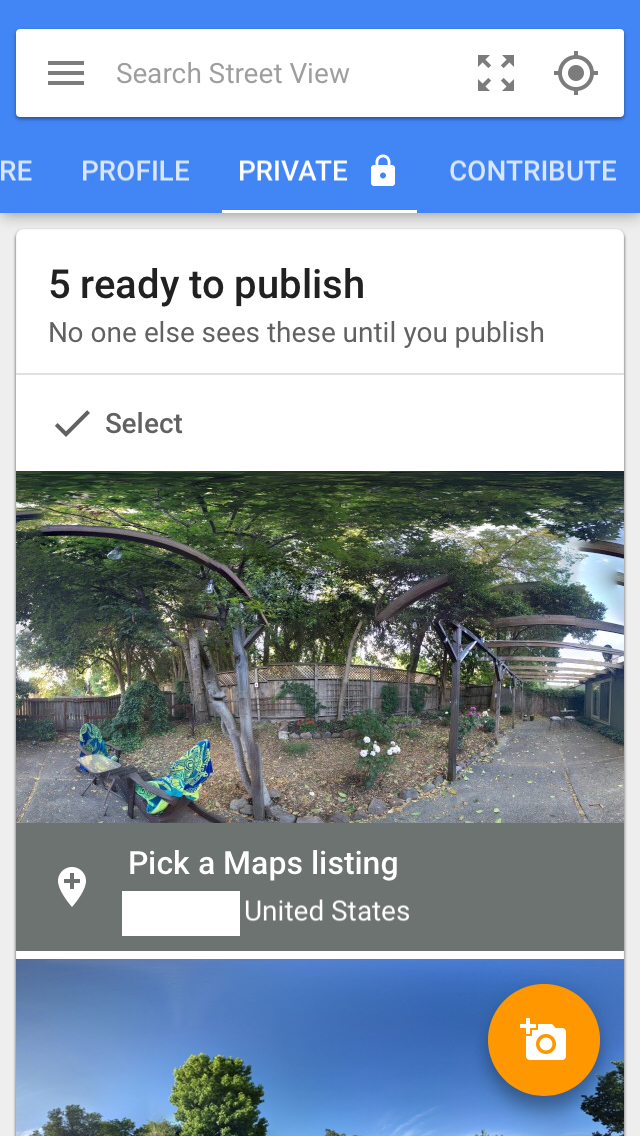
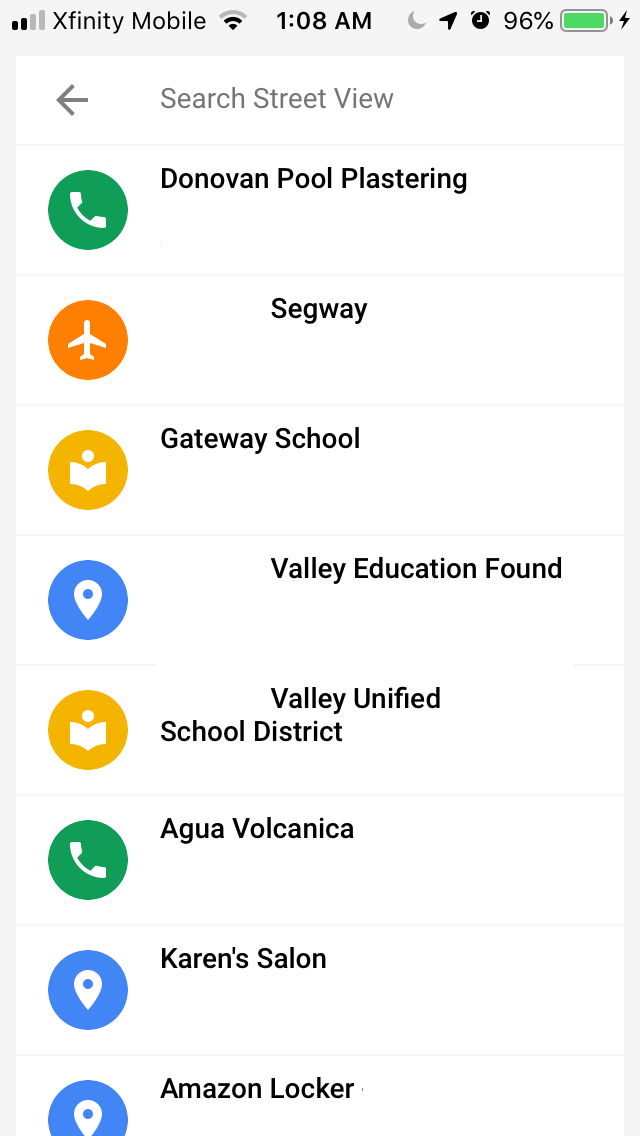
When you’re done shooting your pano, you want to label it with the nearest location. Because Street View is heavily aligned with Google Maps, your phone’s GPS already has some idea where you are and automatically offers a list of nearby locations and venues that you can use to tag your image. Just pick the closest public place that best describes your location.
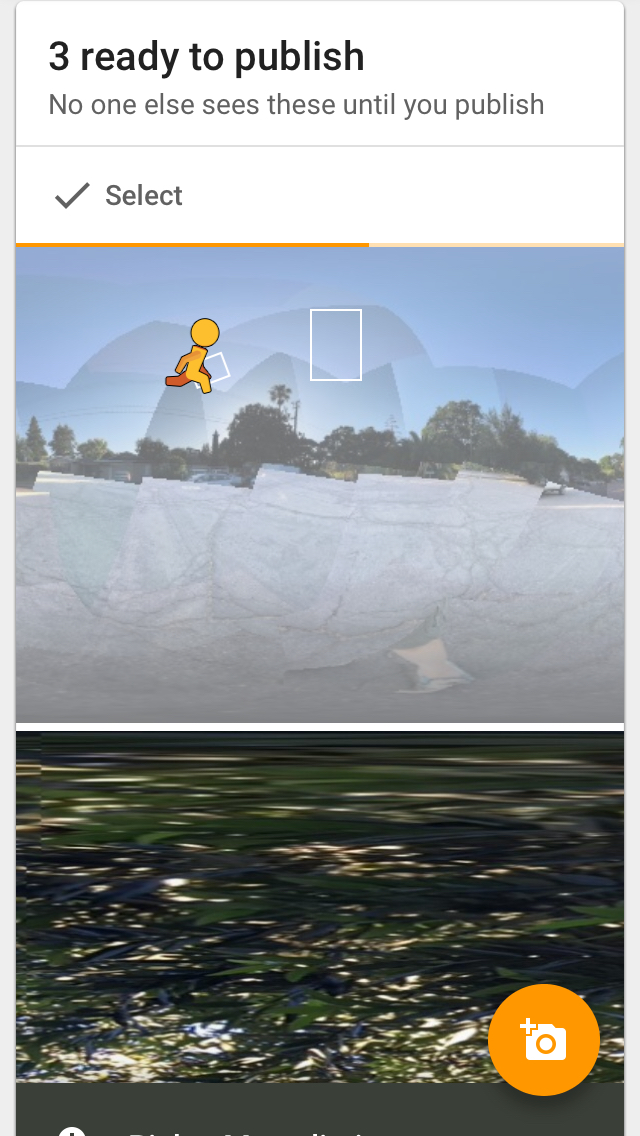
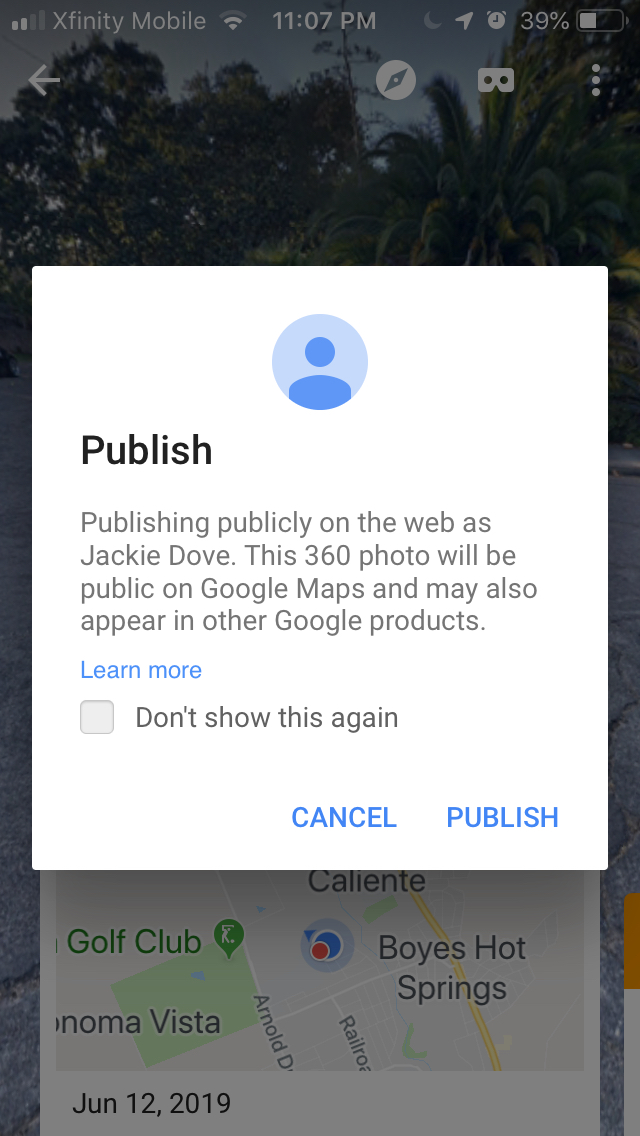
Post to Google Maps
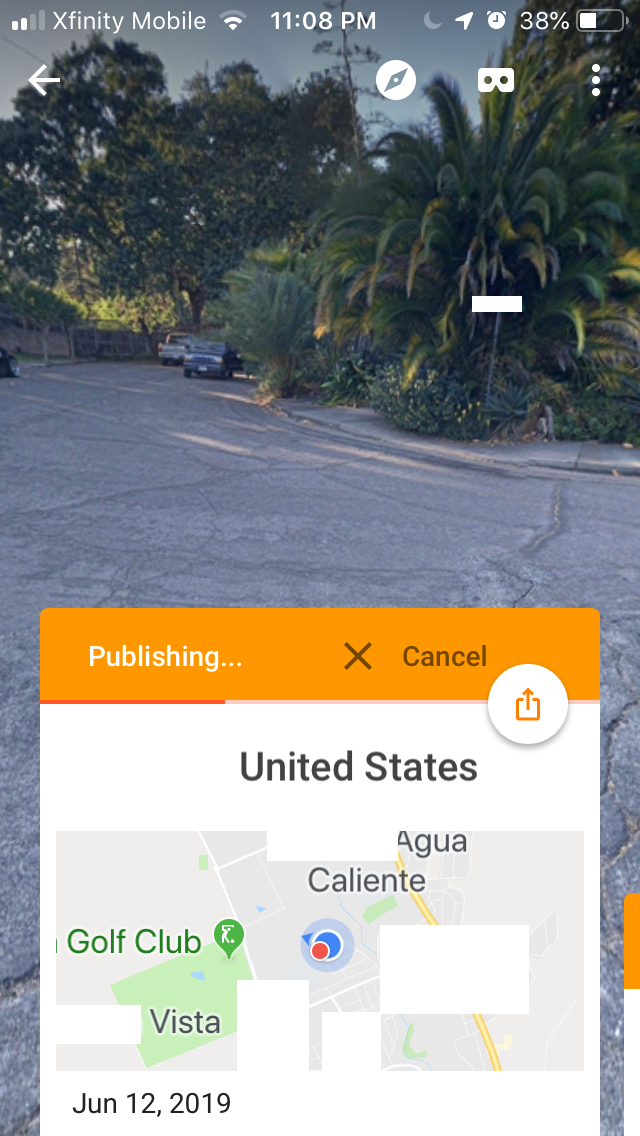
You need an internet connection in order to post your pano to Google Maps. If you’re shooting in areas where there is no cell connection or Wi-Fi, the program automatically saves your pano privately. As soon as you get to a place where there is a strong connection, tap the card and it will upload your image for the world to see. You will periodically get emails from Google letting you know how many people have viewed your pano.
