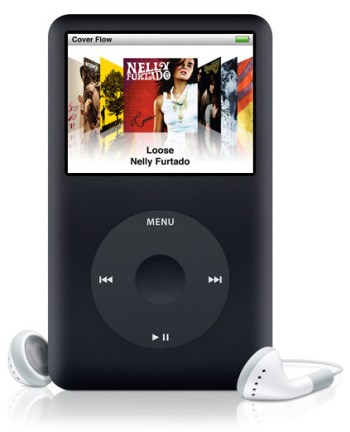
 Sometimes your computer dies and if you haven’t backed up your files, you may have just lost all of your music. Maybe you buy a new computer but you’ve still got your music loaded up on your iPod, or you’re plugging your iPod into a friend’s computer.
Every time you plug an iPod into a new computer, iTunes prompts you to sync the mp3 player with that iTunes library and the music that’s there. If you sync your iPod all of your music will be automatically deleted.
We’re here to help you prevent losing all of your music. We have a step-by-step process to help you.
A couple of notes before we begin:
– This how-to is for PCs, not Macs. Some of the steps might be transferrable but this is aimed at PC users.
– This does not work for iPod Touches.
– You can try an iPod ripper but many of the programs that do this tend to cost money and the free ones are hard to find or don’t work very well. Our process below is free and doesn’t take up too much time.
1. Either click the ‘My Computer’ icon on your desktop or click ‘Start’ on the taskbar then ‘My Computer. Next click ‘Tools’ followed by ‘Folder Options’. Now, click the ‘View’ tab. A large list will come up, you need to scroll down it until you come across ‘Show hidden files and folders’. Click on that and then click ‘OK’. Minimize the ‘My Computer’ window.
2. Plug your iPod into the computer and open iTunes.
3. Click the iPod icon on the left side of the iTunes window. A box may appear that will ask if you want to sync the ipod with the computer. Do NOT click ‘Yes’. If you do click ‘Yes’ your music will be deleted.
4. At the bottom of the iTunes window click the ‘Enable disk use’ box.
5. Bring ‘My Computer’ back up. You should see the name of your iPod and in icon for it located under the ‘Devices with Removable Storage’. Double-click the iPod icon.
6. Open the folder titled ‘iPod_Control’ folder, then open the ‘Music’ folder.
7. Highlight all of the folders in the ‘Music’ folder. You can do this manually or you can use the short cut hitting the “CTRL” and “A” keys at the same time. Once you’ve highlighted all of the folders, copy them.
8. Paste the folders to your desktop. If you’re afraid of cluttering your desktop you can try copying the entire ‘Music’ folder by only copying that folder specifically and pasting it onto your desktop. If that doesn’t work for you refer back to Step 7.
9. Go back to your iTunes. Click ‘File’ then choose ‘Add Folder to Library’. Select one of the folders that you put on the desktop. The songs in that folder will then be added to the iTunes library. Rinse and repeat for all of the other folders.
10. Click the disconnect iPod button in iTunes. Wait about 10 seconds and then reconnect the iPod. Now, when you click the iPod icon in iTunes say ‘Yes’ to the prompt to sync your iPod.
Because you added your music to the new iTunes library you won’t lose any of the songs and might even add a few.


