 As with any computing device there are times when you want to share what you’re looking at with others. Without them physically next you such a task can be hard to accomplish. Fortunately, most devices have a screen capture option. Desktops and laptops often have very obvious options on their keyboards, but mobile devices tend to be a little more obscure.
In this how-to, we’ll help you grab screenshots on your Apple iPad tablet and explain how to send said photo to your computer.
Note: If you have an iPod or iPhone you might already be familiar with this process, as it is the same on those devices.
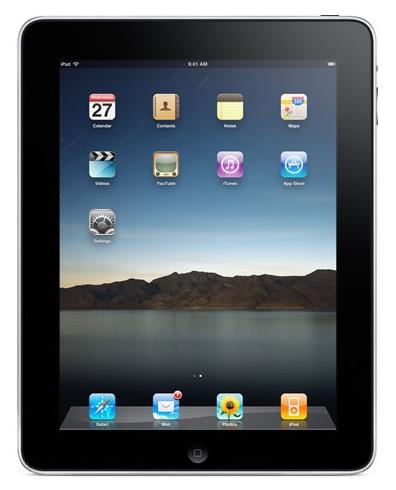
1. Make sure the iPad is on. For the purposes of this how-to we recommend that you start out with the iPad upright, meaning that the “Home” button is at the bottom and the power button on the top.
2. Press and hold the power button and the “Home” button at the same time.
3. You should see the screen flash white. Simultaneously, you should hear a camera shutter ‘clicking’ sound.
4. To access the screenshot find the Photos app and click it open. As a reminder, the Photos app icon is an image of a sunflower.
5. Within the Photos app, you should see the screenshot you just took as a thumbnail. Tap the thumbnail to enlarge the image.
Sending the photo to your PC or Mac:
1. We’ve found that one of the easiest ways to get images from the iPad to your computer is to email it to yourself.
2. To do so, look for the arrow button on the upper right of the screen when you’re looking at the screenshot.
3. Tap the arrow. A menu will appear with the options: “Email Photo,” “Use as Wallpaper, and “Copy Photo.” Select “Email Photo.”
4. Mail will open with the screenshot attached to a message. Put in the email address that you want to send it to. Enter any other information that you feel is needed and then tap “Send”.
And you’re good to go. Snap away.


