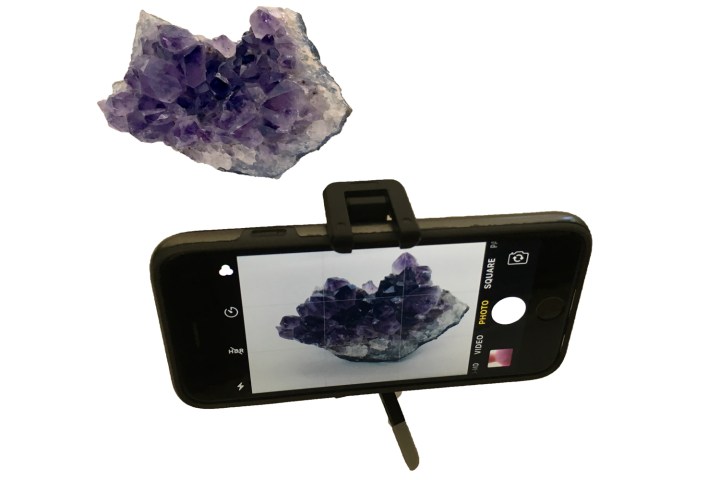
It’s easier than ever before to start your own online shop so you can sell your goods to the world. But, without professional-quality photos, no one is going to want to do business with your store. So, what are you supposed to do?
With your smartphone and a few accessories, you can turn any room in your house into a product photography studio. Don’t spend money on professional photos until you’ve read this article.
Use your smartphone camera

You do not need a high-priced, high-resolution DSLR or mirrorless camera to post simple product photos online. You can get by quite nicely with any popular iPhone or Android smartphone sold within the last few years. An iPhone 11 or Android phones such as the Google Pixel 4 and Samsung Galaxy S10, for example, would all work beautifully for this purpose. We already rounded up some of the best smartphone cameras out there.
Spiff up the product

Clean up the dust, dirt, and debris from your product. Plump up shoes, clothes, and purses so they don’t look like they’ve been lying in your closet for ages, polish jewelry, take a dust-free cloth to mice, keyboards, cameras, and household tchotchkes. If you have the original packaging for any items, include it in the picture alongside any accessories that came with the item. Do not use stock photos from websites. Close in on any defects the product may have. No one is expecting perfection from a used item; customers just want to know what they’re getting into, so display it in the most realistic way but at its best advantage.
Isolate the product

Keep your shot simple and pristine by making the product the major point of focus and the only thing in the frame. No one wants to see your messy kitchen table or living room couch. Excise all extraneous items from the background. Do not use props, borders, or text directly on the image. Zoom in tightly around your subject so that it mostly fills the frame, but leave a little space on all sides for a pleasing perspective on the item and room to crop, if necessary.
Use natural light
Sunlight is the best way to capture an image. Natural light in your backyard, deck, or streaming in from a sunny window is the best, most flattering light for any object. Natural light brings out the true colors of your objects and shooting early morning or late afternoon offers the most flattering illumination. Avoid using the flash, as it can cast unflattering shadows. Don’t use a digital zoom or any decorative filters or backgrounds that may distract buyers or make it seem like you are hiding flaws.
Use inside lighting

If sunlight isn’t your thing, or you don’t have access to adequate indoor sunlight, you can still do a fine setup with artificial light and a white paper roll, or even a sheet or towel, as a backdrop. Other options include a matboard, foam-core bounce cards, white paper roll, or poster board, which is available in various colors, and can also be used in a natural light indoor setting. Place one sheet on the floor or table and the second sheet propped against a wall. Sometimes, a single sheet is all you need. Contrast dark objects with light backgrounds and vice versa. You can also make or purchase a reasonably priced portable light box if you’re photographing items in volume or you want to avoid the piece-by-piece setup.
Get all the angles
Don’t just stick to a single shot. Photograph your item from multiple angles. And be sure to capture any flaws or worn parts you describe. Don’t forget to clean off your smartphone camera lens so it’s free from hand and pocket smudges.
Use a tripod

Smartphone tripods are a small expense to help you steady the phone while you’re shooting. If you have a stable hand or you can rest the phone on a solid surface, you can get away without one. If you shoot mostly small items, a table-top or mini tripod, like the Joby GorillaPod Mobile Mini or the Kenu Stance will prove helpful.
Use apps

Sure, your smartphone’s built-in camera works just fine, but consider taking advantage of the many camera apps made for your phone that may give you a better shot. This is not critical, but if you are shooting in volume, it may be worth your time to invest in a more pro-level app. Some of the top-rated options for iOS and Android include VSCO, Lightroom, Snapseed, ProCamera and Camera+ 2 (iOS), Camera FV-5 (Android), and many others which come free or cost under $10.
Edit your shots

There’s no need to be a full-on photo editing expert, but be sure to analyze your photos before posting them to fix basic things like exposure and sharpness to make your product photos pop. You might want to bring your pictures to the desktop and use Apple’s free Photos app or Adobe Photoshop Elements ($99) for simple retouching. Don’t overdo corrections; use software only for modest aesthetic enhancements to the overall photo, not to make your product look better.
Know the posting rules
Some sites, such as eBay and Amazon publish specific guidelines on how your image will look its best on their marketplace site. Be sure to follow those rules to the letter.


