It might not be exactly what you’re thinking, but with a few basic tools and a CD case, your phone will be projecting images in no time. These instructions come courtesy of Mrwhosetheboss via YouTube, and it’s amazingly cool.
What you will need
- CD case
- Graph paper
- Tape or super glue
- Pen
- Scissors
- Utility knife or glass cutter
Step 1
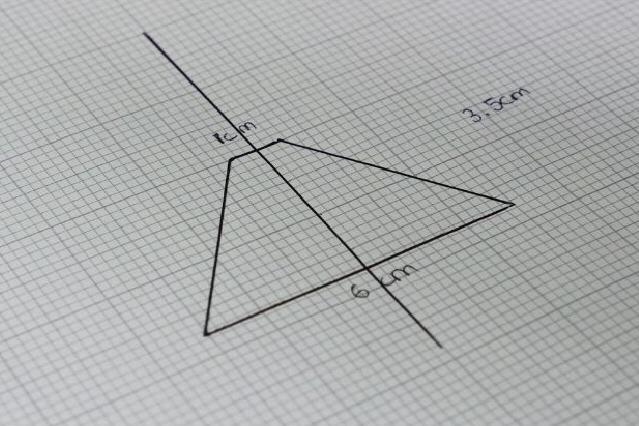
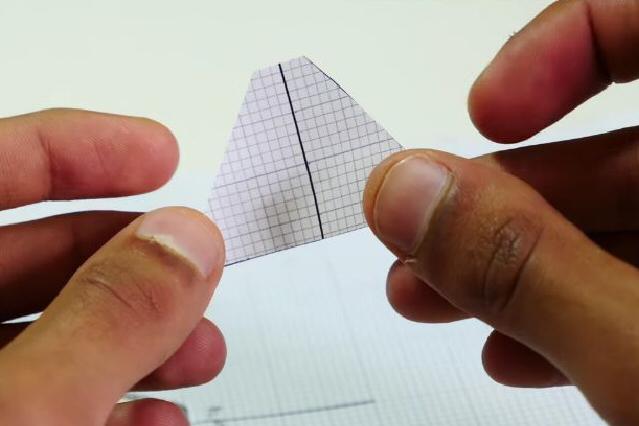
Using a pen and a piece of graph paper, make the following rhombus shape and cut it out with scissors. The dimensions should be 1 x 3.5 x 6 cm. You can actually double or triple the sizes for a better effect, but this is a good start for now.
Step 2
Remove the edges from any CD case. Just make sure the case isn’t too scratched up, which would affect the quality of the image.
Step 3
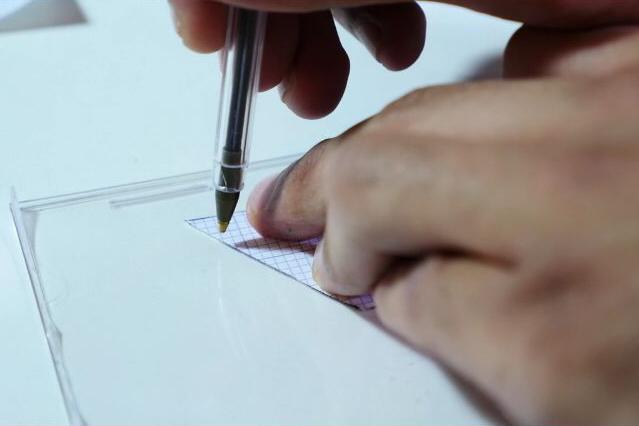
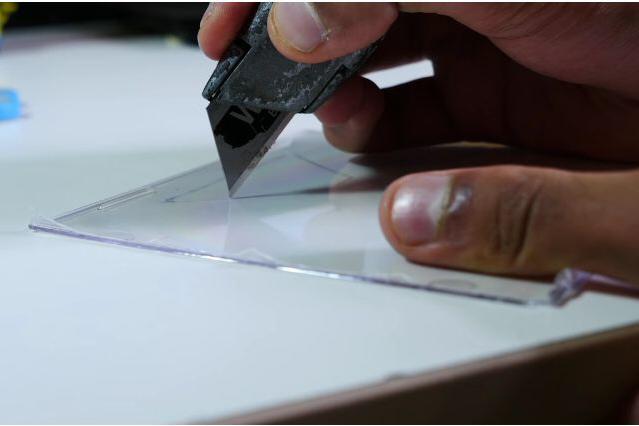
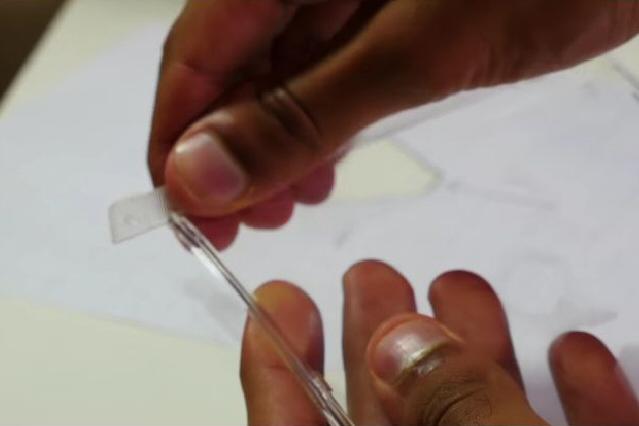
Trace the rhombus shape on any area of the CD case. Using a utility knife or glass cutter, carefully cut out the rhombus shape. Now use this first piece as a template to easily cut out three additional pieces.
Step 4
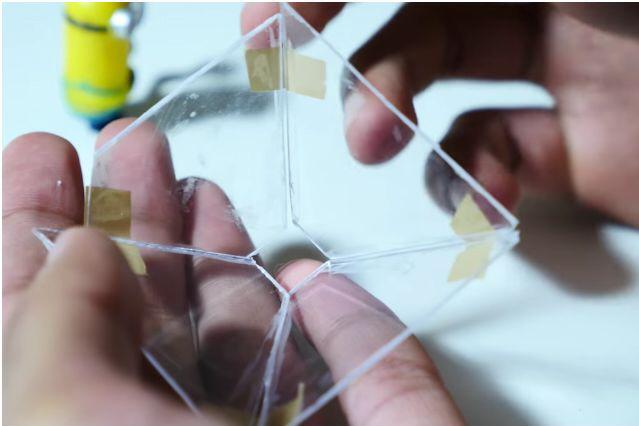
Connect the four pieces together with either tape or glue. Although glue will give you a cleaner look, tape is recommended since it will be a tedious process to get the glue to hold the thin edges of the plastic. Just make sure to use clear tape so it doesn’t distort the effect. Note: One of the pieces in the image below is slightly broken, but it’s not an issue.
Step 5
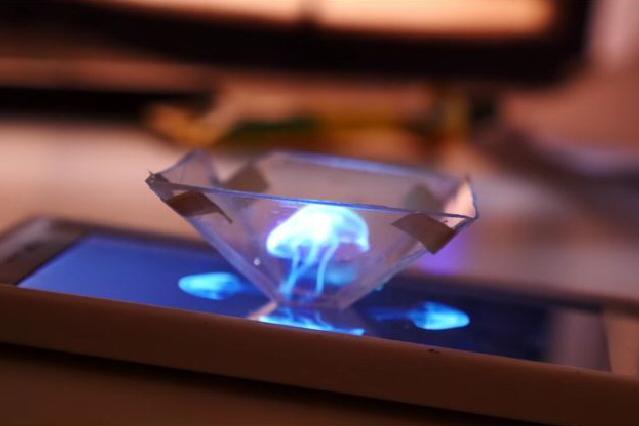
Turn off the lights and place the projector screen on your smartphone and load up a hologram-specific video. You can use this five-minute demo video here or search for “hologram video” via Google or YouTube for other examples.
Step 6
Enjoy your new hologram projector and amaze your friends.
