Google may be good at a lot of things, but highlighting great features isn’t one of them. Take Now on Tap, for example. It’s a feature that was introduced in Android 6.0 Marshmallow that has gradually improved and become more powerful. The search giant doesn’t showcase this feature anywhere in Android, though — instead, you “discover” it when you press and hold the home button. Such being the case, most people still don’t know what it is. In a similar vein, we’re taking a look at a feature that has been baked into Google’s mobile operating system since 2011 via version 4.0 Ice Cream Sandwich: Android Beam.
What is Android Beam?
Android Beam is a device-to-device data transfer tool that uses near-field communication (NFC) and Bluetooth to send photos, videos, contact information, links to webpages, navigation directions, YouTube URLs, and more from one device to another just by bumping them together. The feature was first introduced in 2011, but it was improved after Google acquired the once-popular Bump application.
“Beaming” and NFC technology were hardly new at this point. Still, Apple only introduced a Wi-Fi and Bluetooth alternative called AirDrop in 2013 through iOS 7, and Samsung also unveiled S Beam, which uses NFC and Wi-Fi Direct, in 2012. NFC is also the technology powering contactless payment services such as Apple Pay and Android Pay.
The benefit of using Android Beam is that it’s a quick and easy way to directly transfer data to another device, without having to upload it to cloud-based platforms such as Google Drive and Dropbox. The downside is that the device you’re beaming to needs to have a NFC sensor, and it needs to be right next to you.
Google also uses this same technology in the set up process for all Android phones — Tap & Go. If you’re upgrading to a new smartphone and your old one has a NFC sensor, you can simply tap the two devices together during the set up process for the new phone to transfer all of your accounts and data. That way, you don’t need to manually set up the new phone from scratch.
How to use Android Beam
Setting up Android Beam is fairly easy. First, make sure your phone has an NFC sensor. The easiest way to do this, save from looking it up, is to head over to Settings > More.
More should sit directly beneath Data Usage, but it’s location may differ based on your device. This should bring you to Wireless & Networks. Here, you should see a toggle for NFC. Some smartphones, like Google’s Nexus devices, should also have a short description and toggle for Android Beam.
If you do not see NFC or Android Beam, chances are your phone may not have it. If you do see NFC, but don’t see Android Beam — don’t worry, it should still work. Typically, budget devices do not have NFC sensors, but almost all mid- to high-end Android smartphones do.
Again, both devices need NFC for this to work, so make sure the device you want to transfer data to has it as well.
Since it uses NFC, Android Beam doesn’t require an internet connection, meaning you can transfer files and content offline. You can turn Bluetooth on as well, but it’s not necessary as the NFC communication will turn it on automatically, and disable it when the transfer is complete. Once NFC is on, you should see an N logo in the status bar signaling that you’re good to go.
Next, you need to pull up the specific content that you want to share. You should note that some devices, like the HTC 10, do not support large file transfers via Beam. At that point, you’re better off trying to use Wi-Fi Direct via an app like Super Beam, or uploading the content to a cloud storage service like Google Drive and sharing it. Still, it doesn’t mean you can’t use Beam.
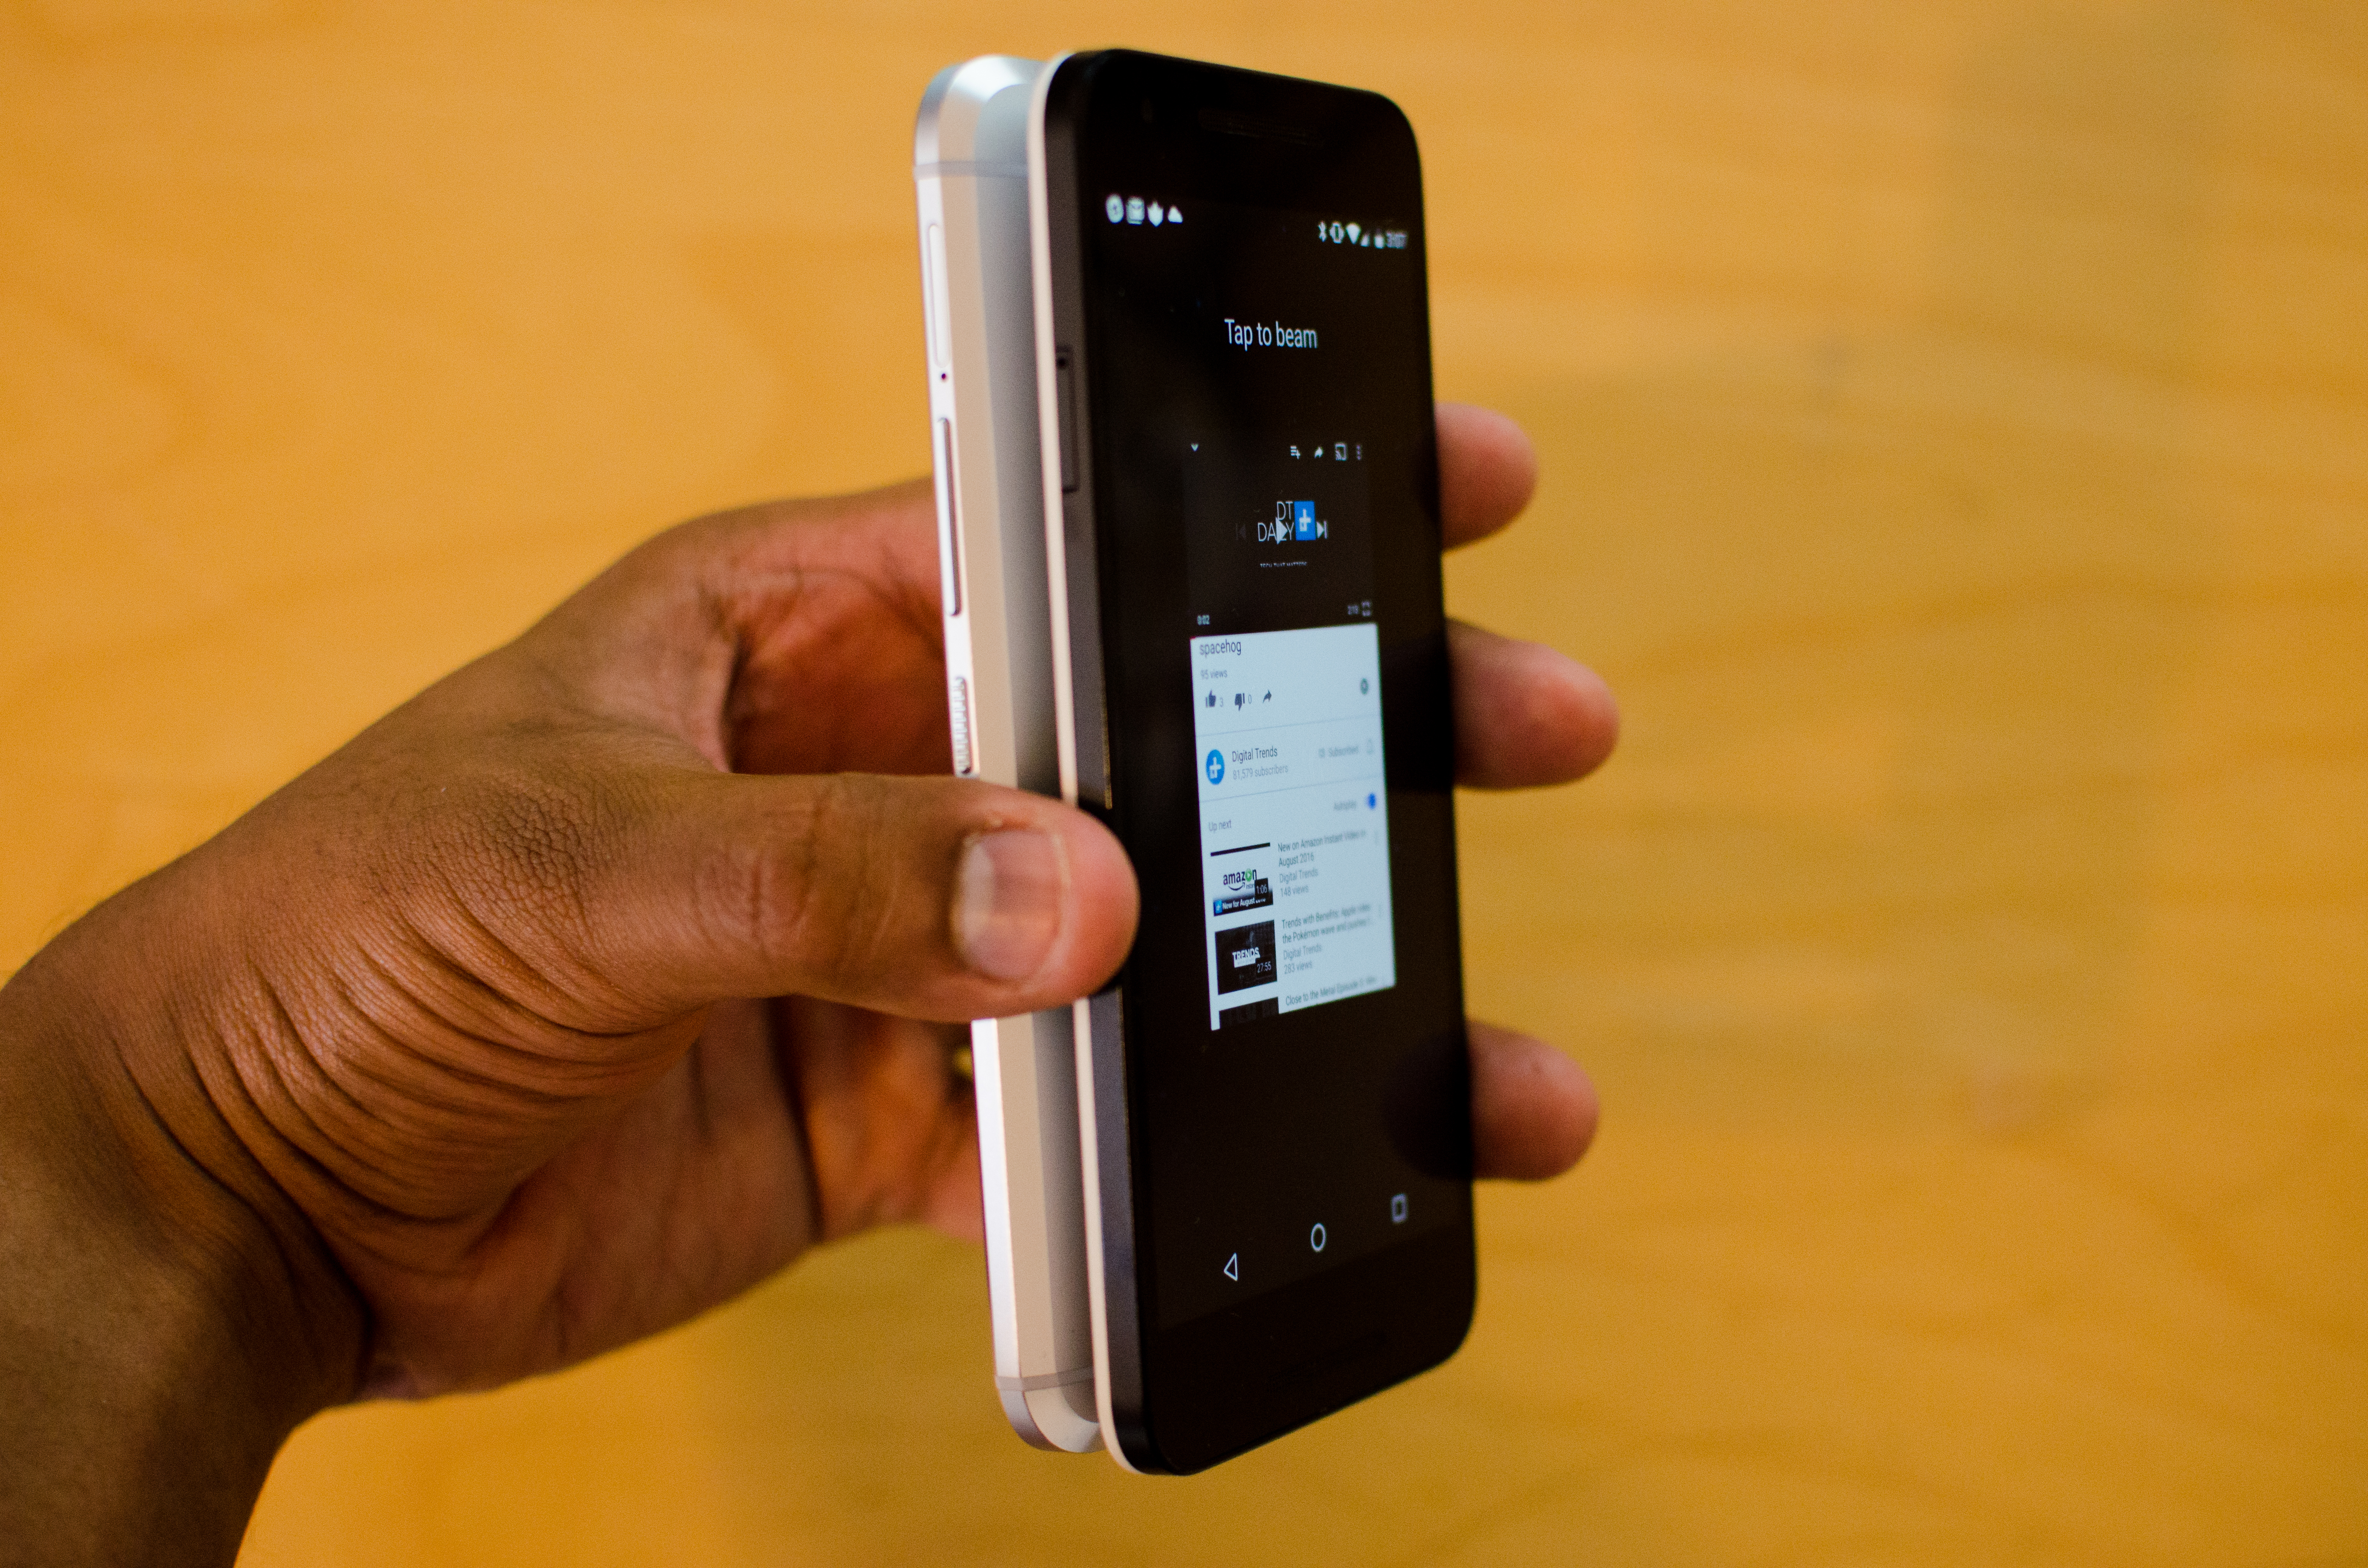
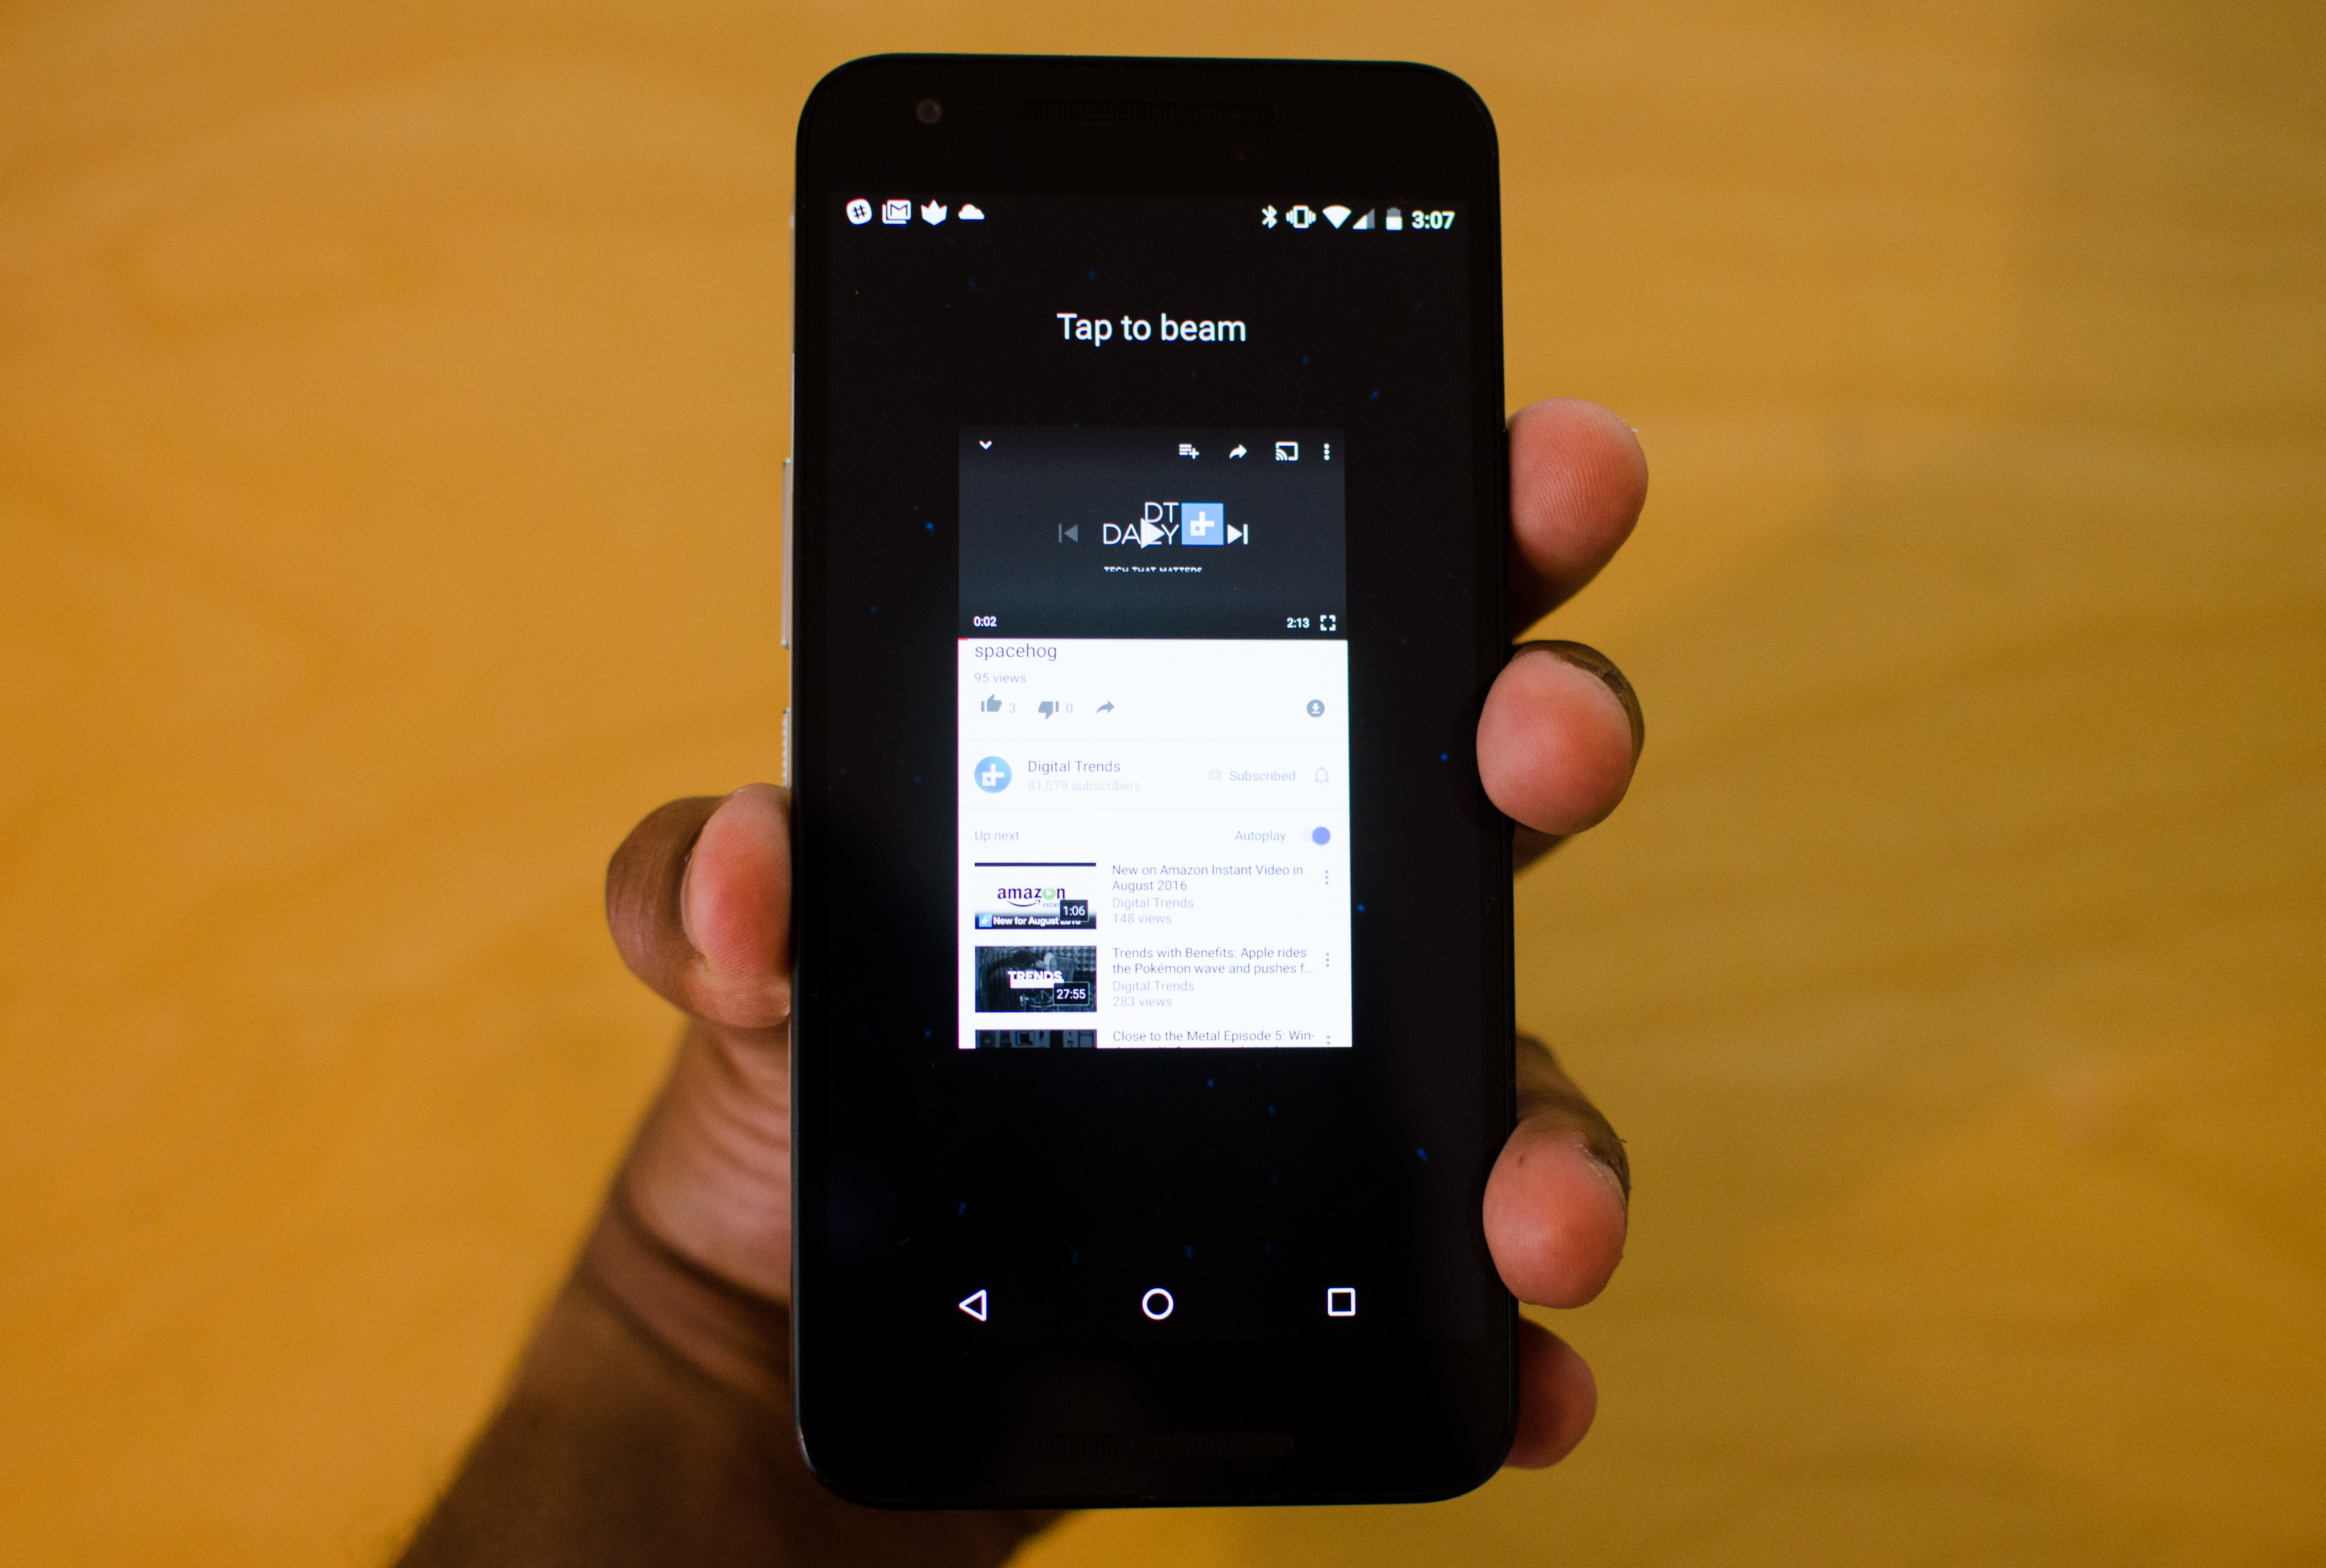
First, open the file, photo, video, YouTube video, app, or whatever else it is you want to transfer. Place the two devices back to back, and make sure the screen is turned on for both of them. You should immediately feel a vibration, and you’ll see the words “Tap to Beam” appear on the device you’re sending the content from.
If you do not see this, it may be because the NFC sensor is located in a different area. Android devices don’t always feature the NFC sensor in the same area, so you may have to move the back of both devices around until you feel the vibration. When you tap the screen to beam the content, you’ll see notifications on both devices — one saying that it’s sending content, and the other that it’s receiving. That’s it! Once the content is downloaded, you can open it up via the notification.
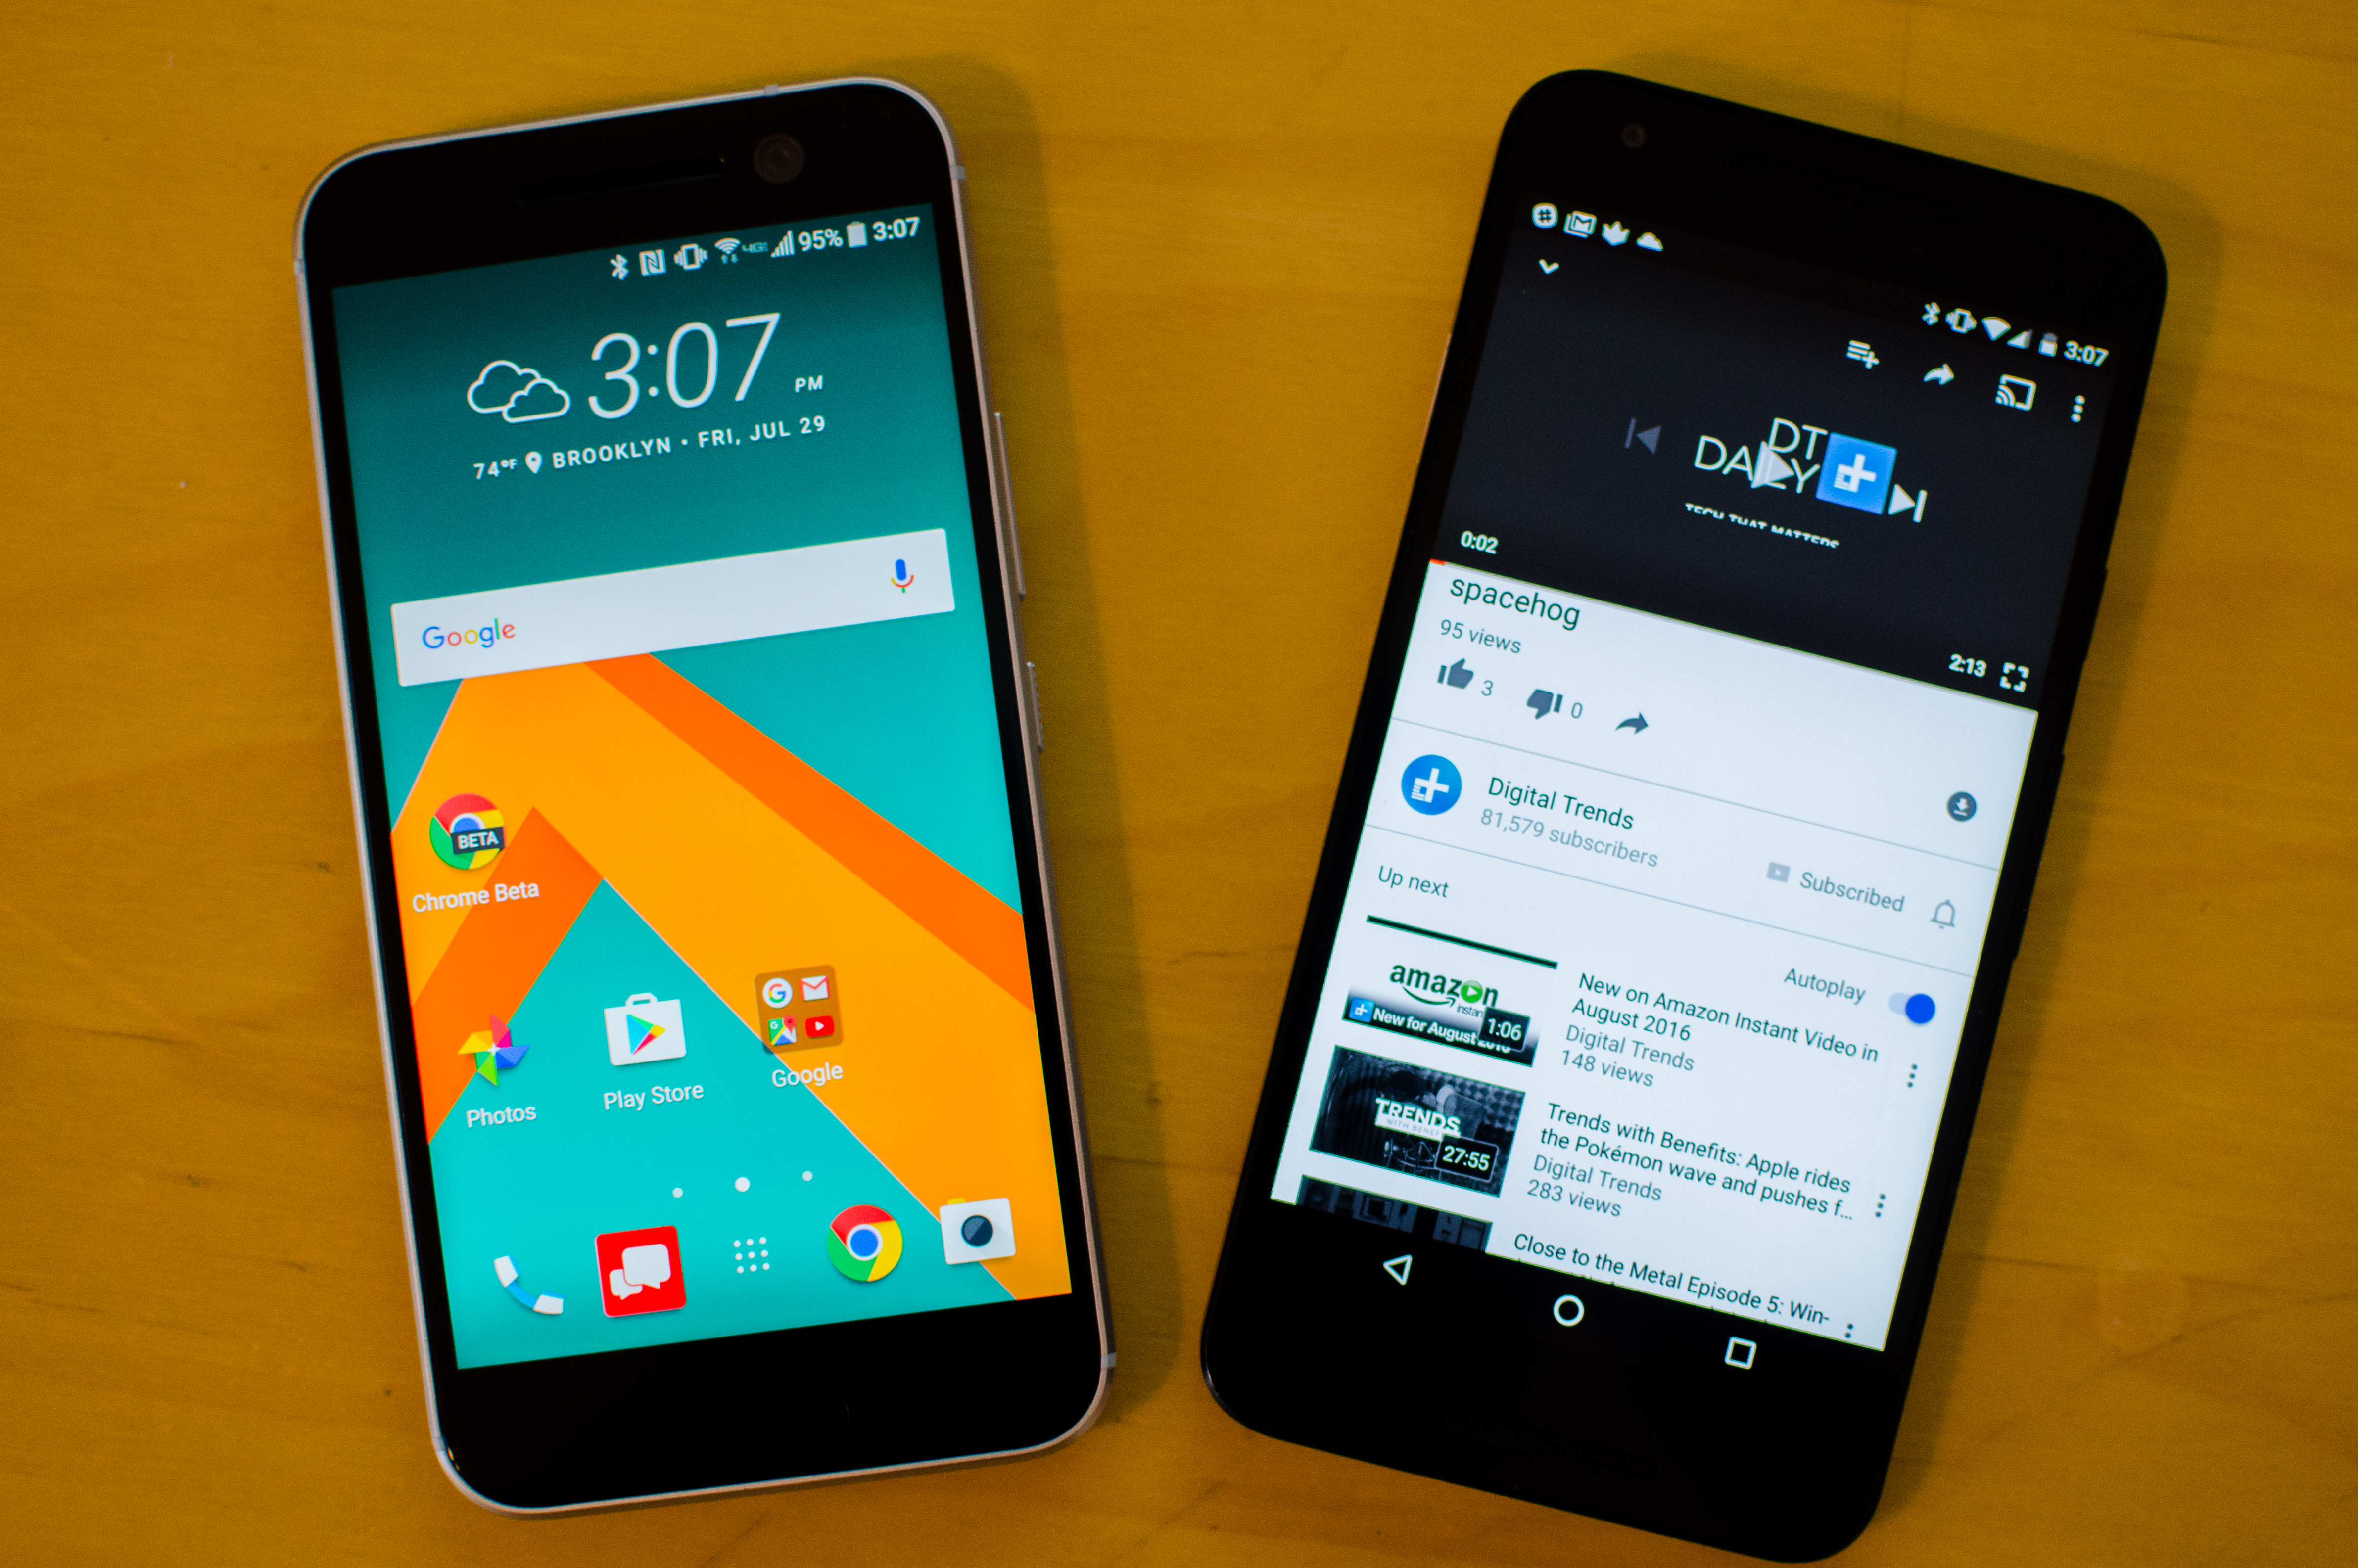
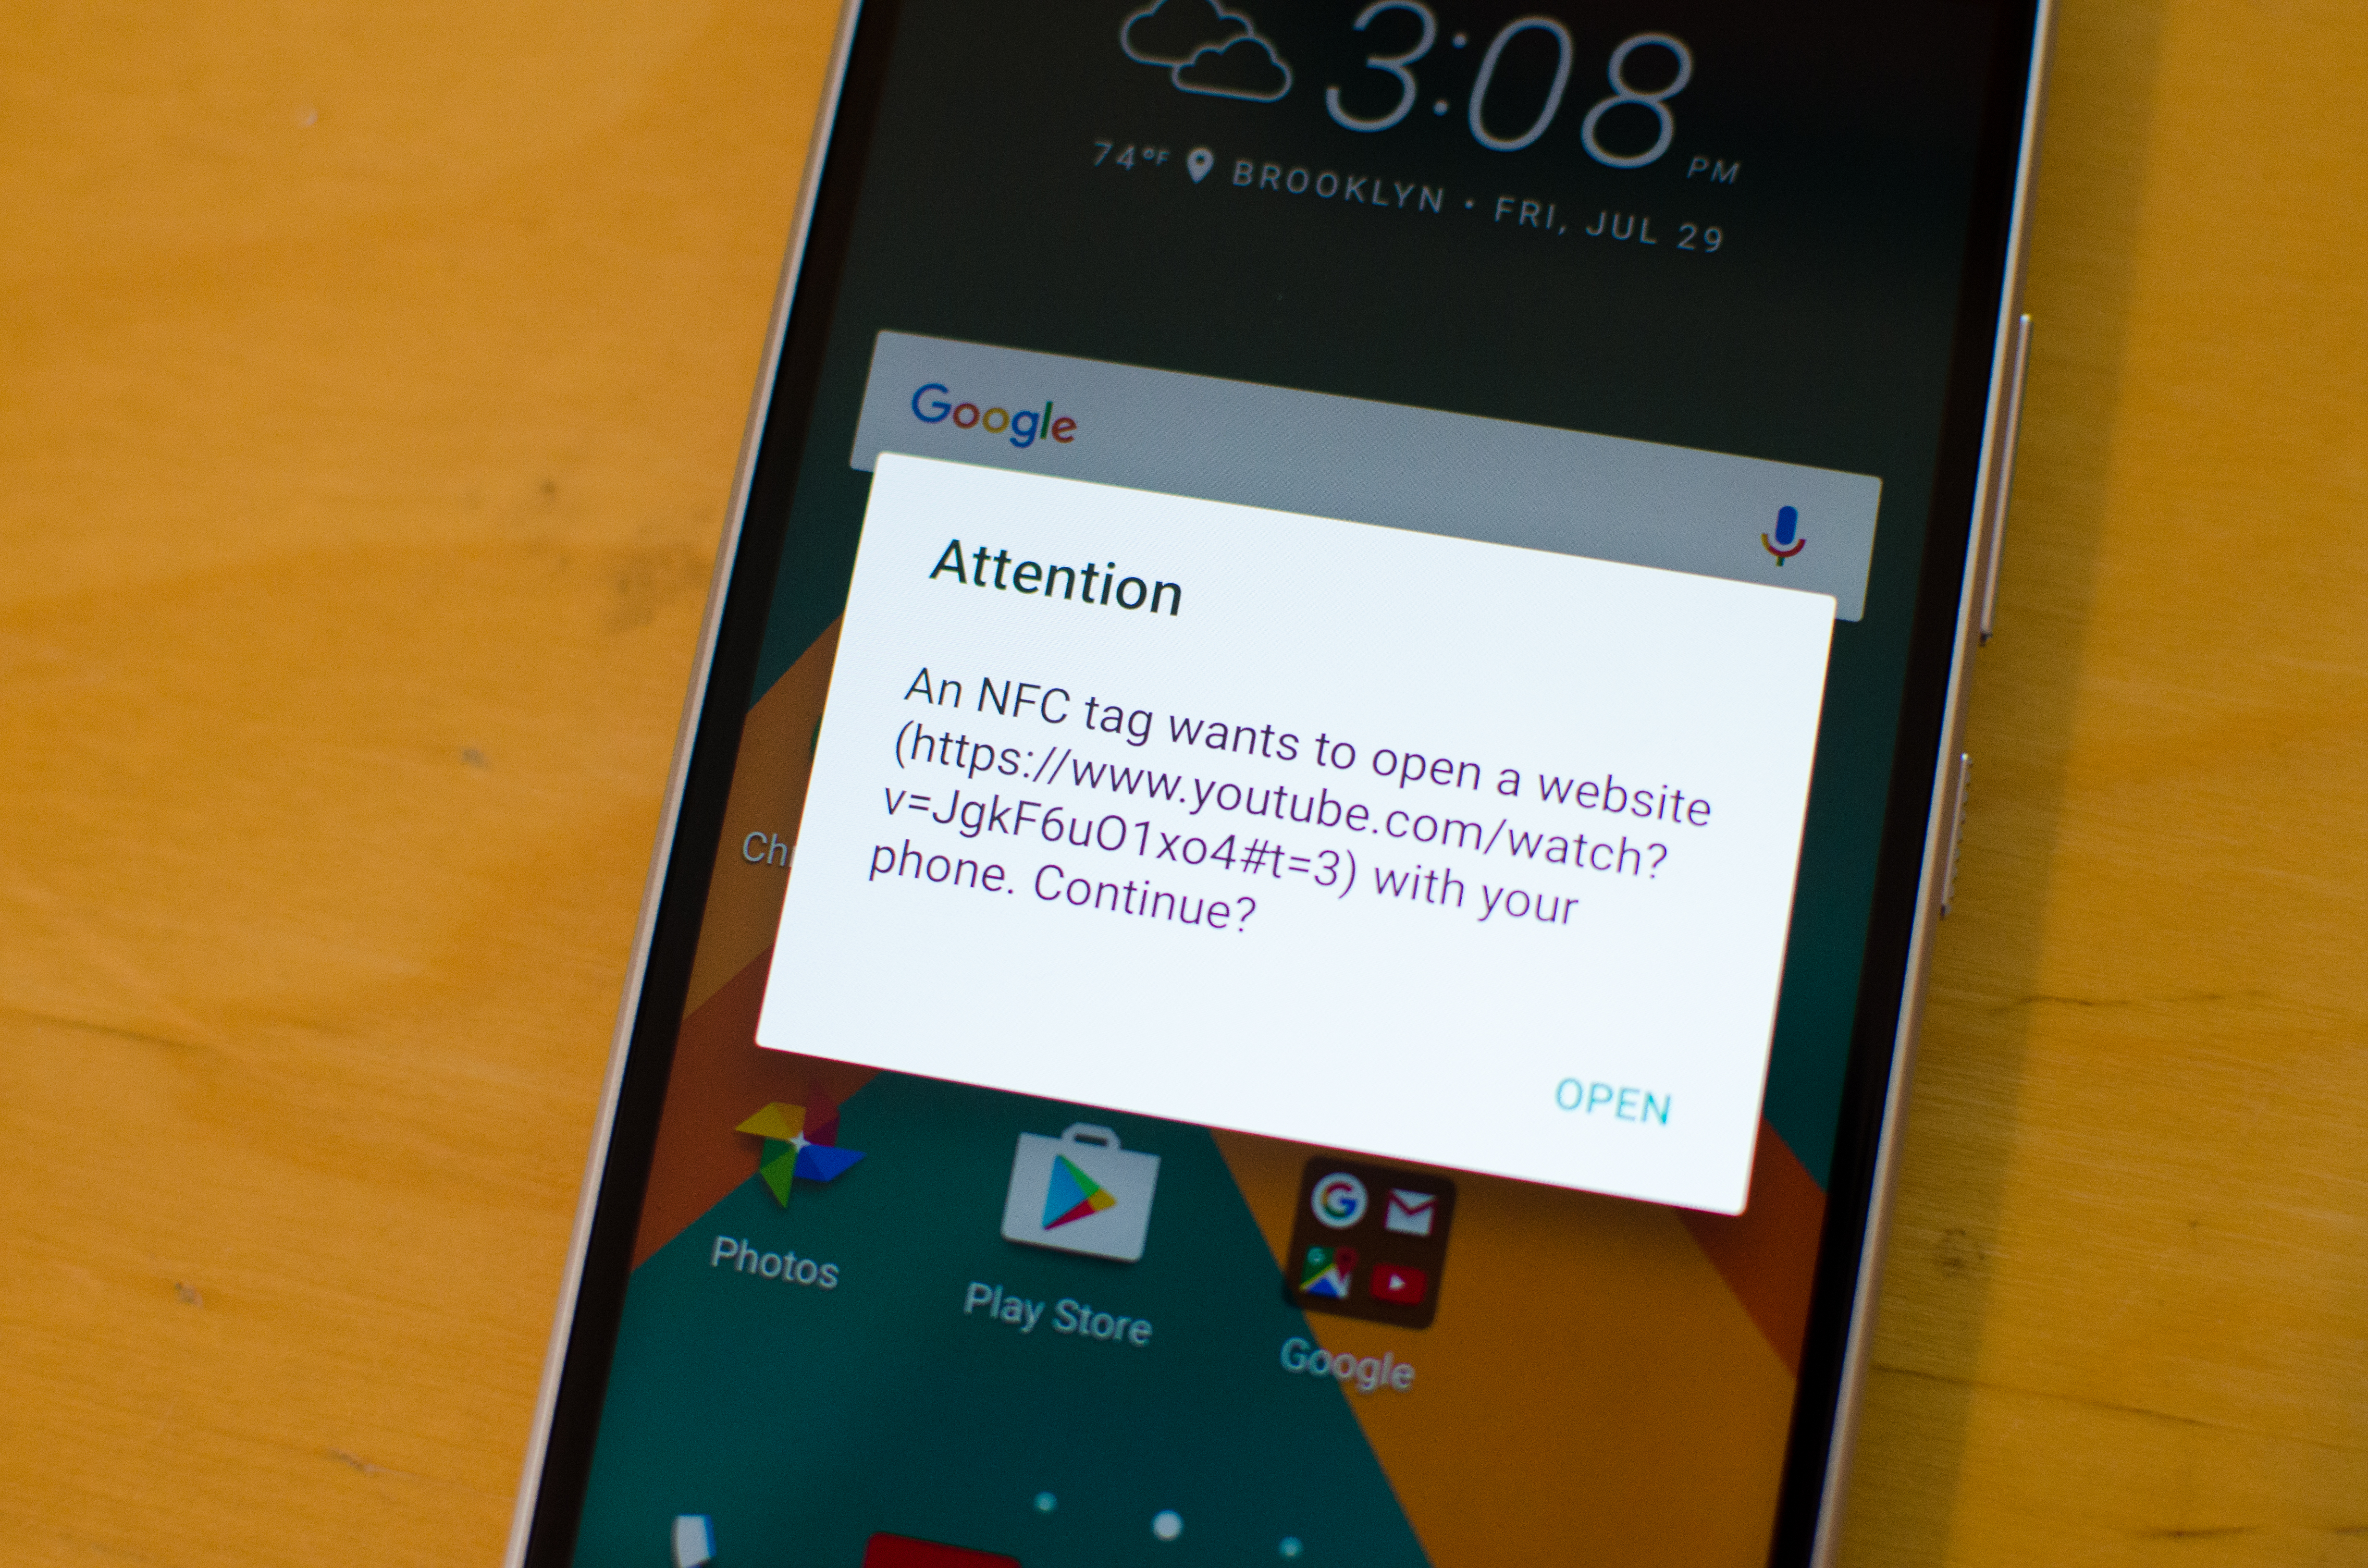
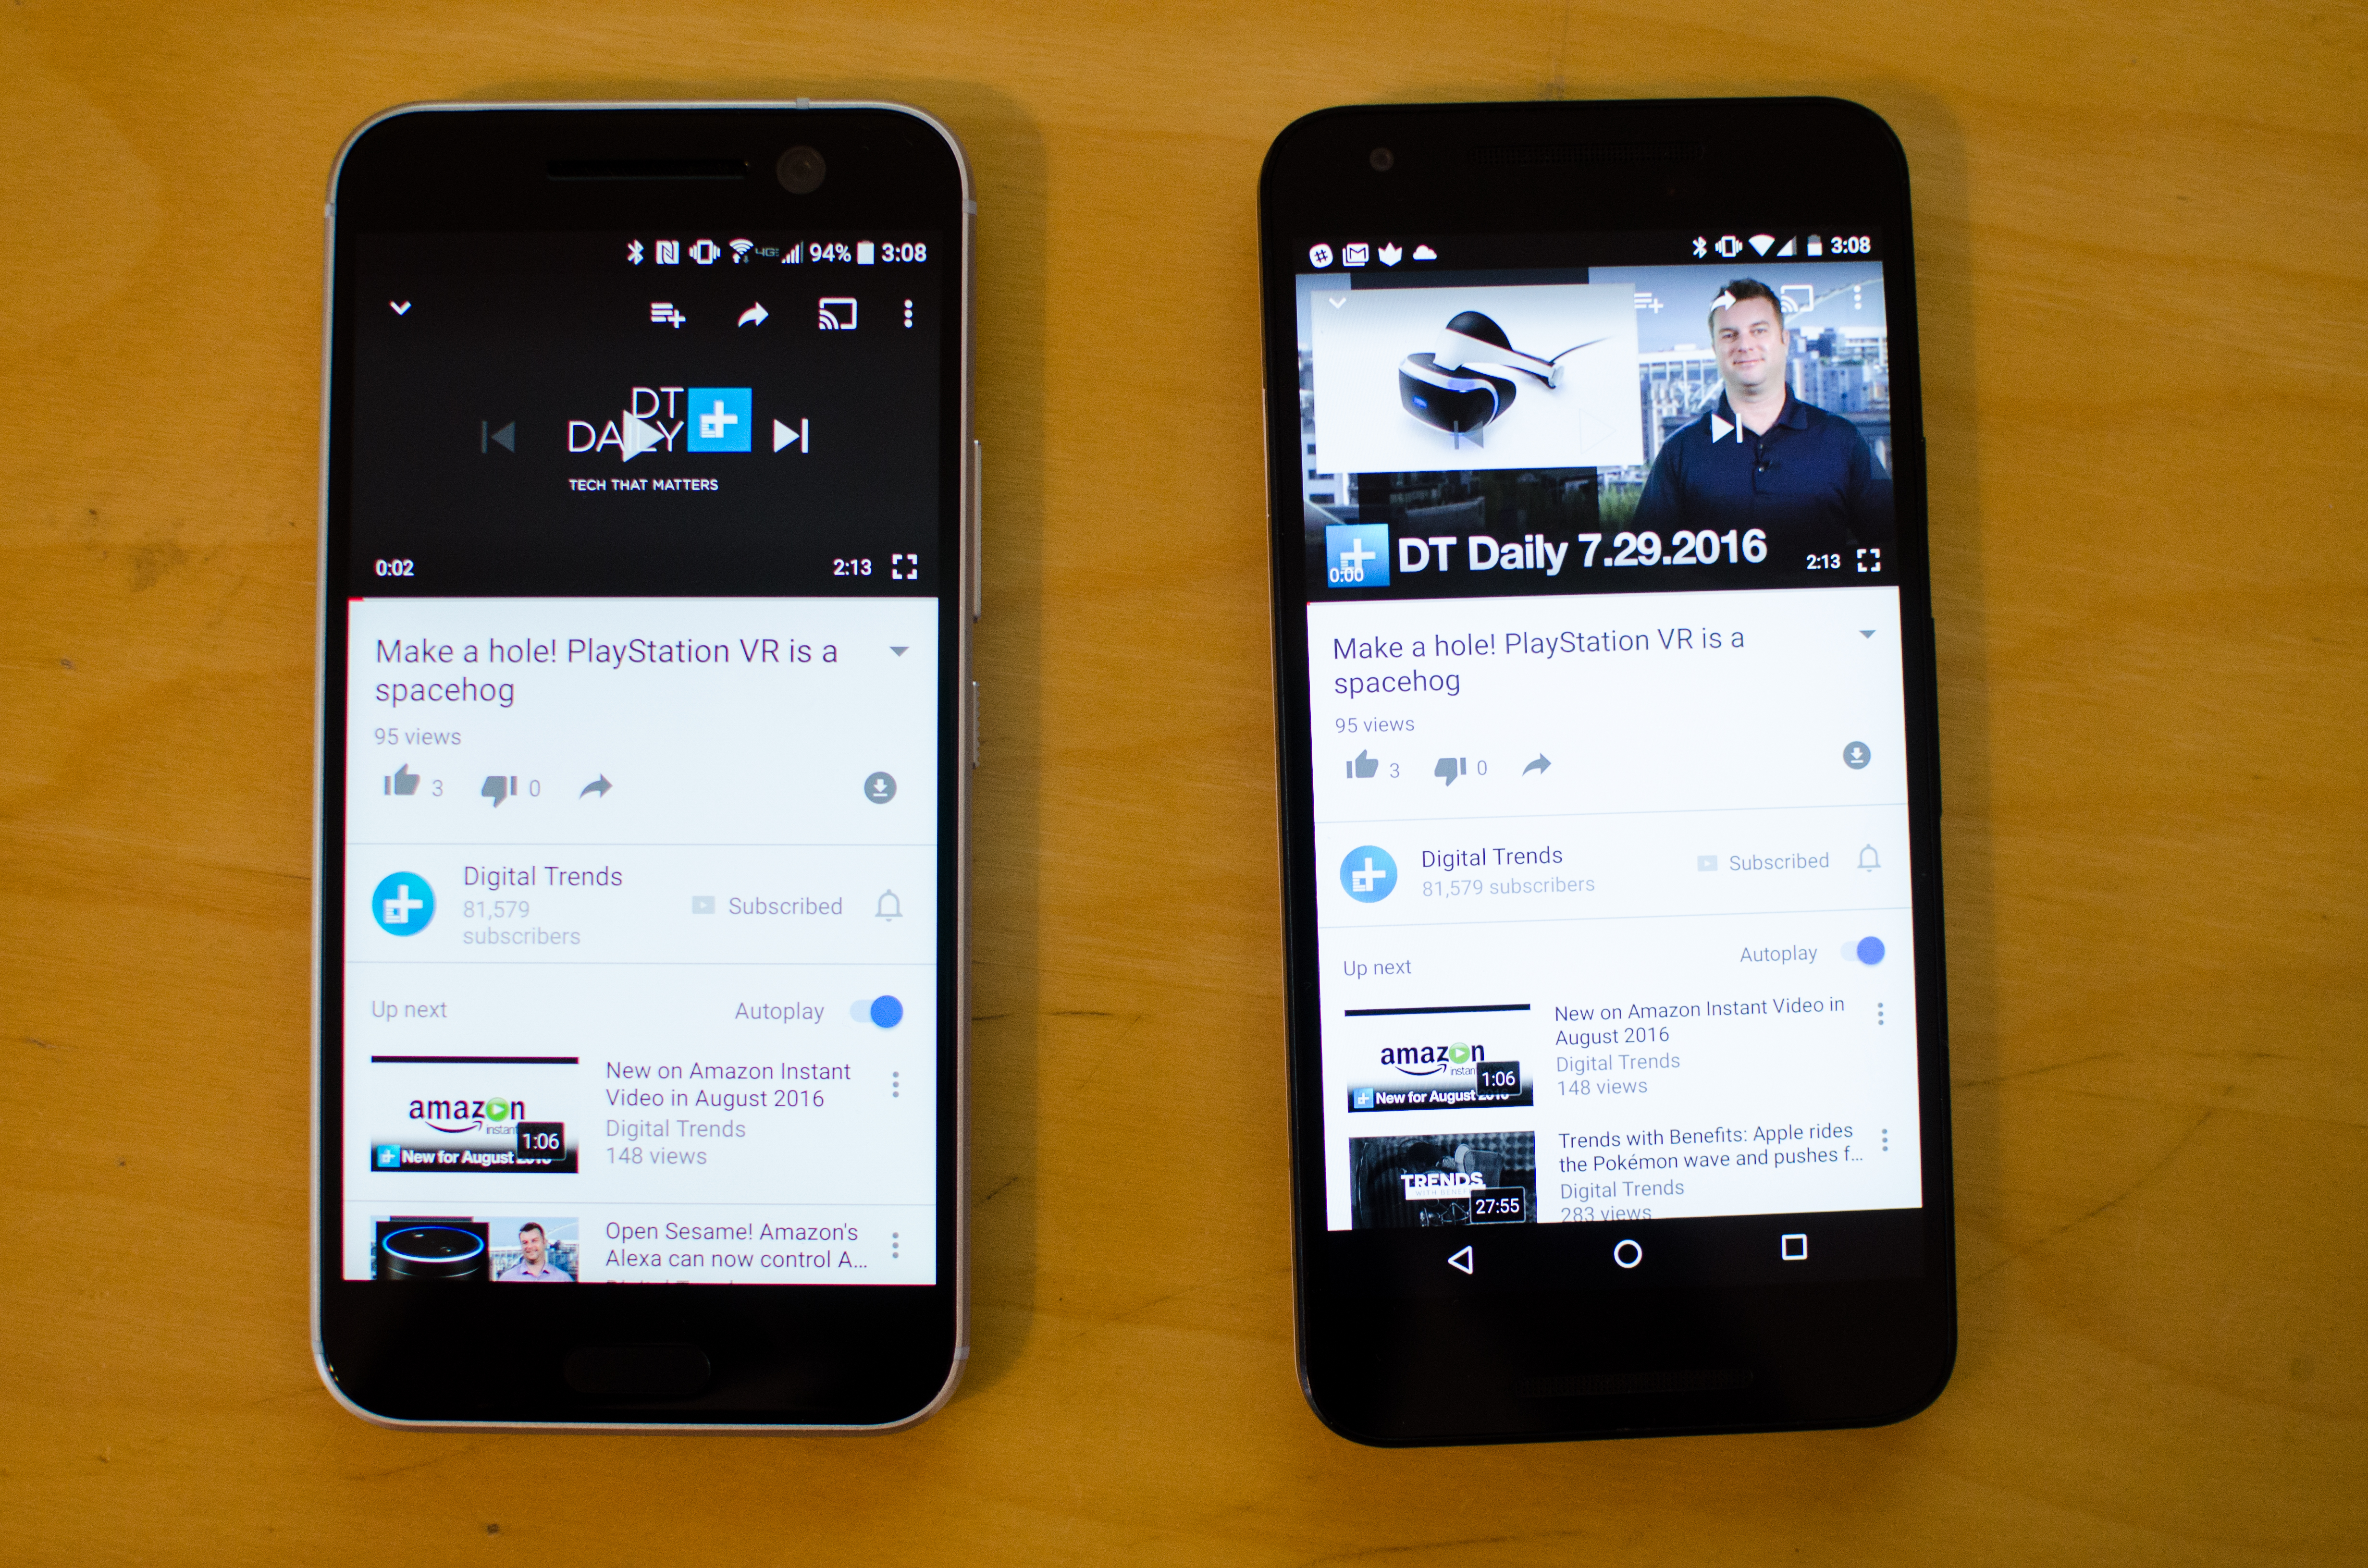
The same works if you want to send content from another app, like a web URL or, say, a YouTube video. Open the YouTube video you want to send, place both devices back-to-back, and tap the screen to beam the link. The other device should automatically open the YouTube app and the video should begin playing, though you may get a notification asking if you want to approve opening the link. If you do not have YouTube or the app the content is sent from installed, you’ll be taken to the Google Play Store to install it. And if you’re not quite following us, you can use step-by-step process outlined in the gallery above.
It’s understandable that it’s hard for Google to market Android Beam, since there are so many variables that determine a successful outcome. Both devices have to have NFC, one device may not accept large file transfers, and the NFC tag may be placed in different locations, which requires people to rub their phones together until they find it. The latter can be a bit awkward.
Still, it’s a handy and useful feature and it works offline. If you do have NFC and Android Beam on your device, we recommend keeping them on all the time, as the effect they have on your device’s battery life is negligible. That way, you’ll always be ready to quickly transfer something with a fellow Android user.


