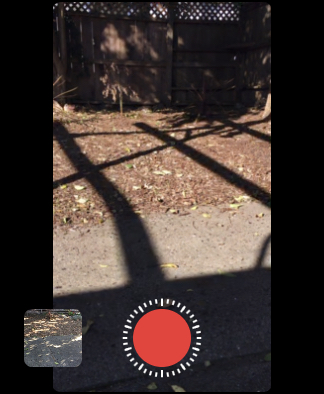
Did you know that the Apple Watch has a native Camera app? While it can’t actually record or save images like your iPhone can, it’s a helper remote control app that lets you compose and preview your iPhone camera shots. All you need to operate your iPhone camera from your wrist is to be located within Bluetooth range — about 33 feet or 10 meters.
Launching the Watch Camera app automatically launches the iPhone Camera app. The cameras pair automatically and almost instantly. This lets you take a shot with your phone at a greater distance than your arm’s length. It lets you position your iPhone for a photo, use your Apple Watch to preview the camera image, and then take the photo from your watch face shutter button. It also gives you a three-second countdown so you can get in the shot if you want to. There are significant interface differences in iPhone camera operation between iOS 13 and iOS 14 and WatchOS 6 and WatchOS 7. For iOS 15 and WatchOS 8, the process is nearly identical. We show you all the moves that let you get your best shot in all instances.
How to control your iPhone Camera app in WatchOS 7 and iOS 14
The easiest way to call up the Camera app is with Siri. Just say to your watch face, “Hey Siri, take a picture.” That will immediately launch the Camera app on your iPhone and Watch. Or do the following:
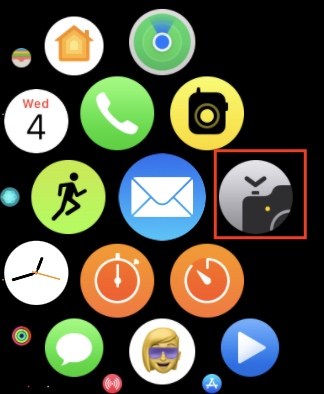
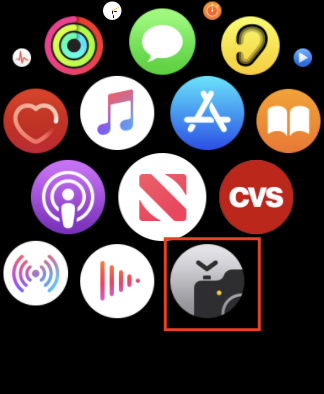
- Find and launch the Remote Camera app on your Apple Watch.
- Set up your shot with your iPhone.
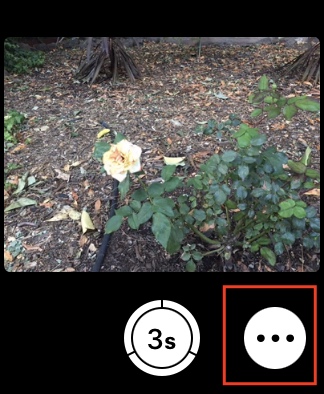
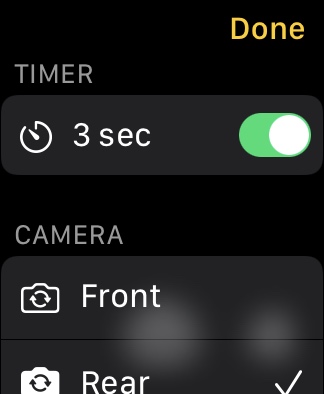
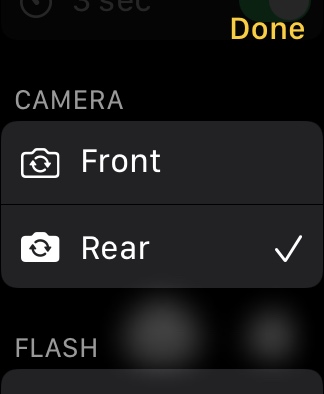
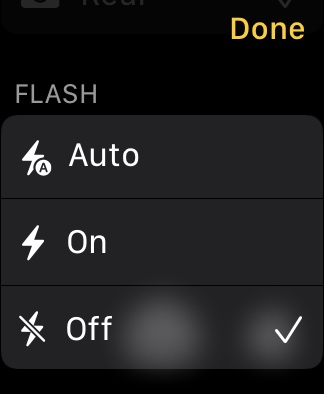
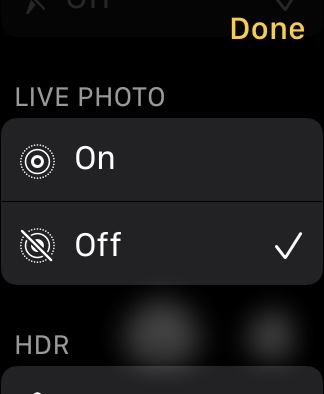
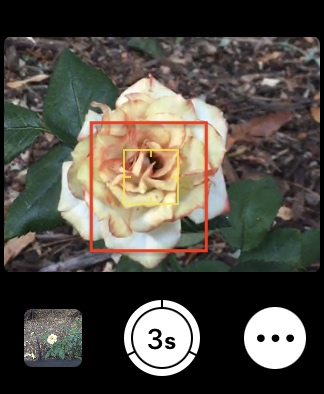
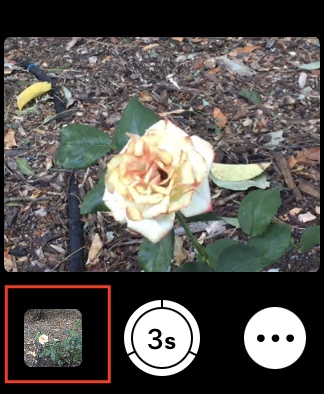
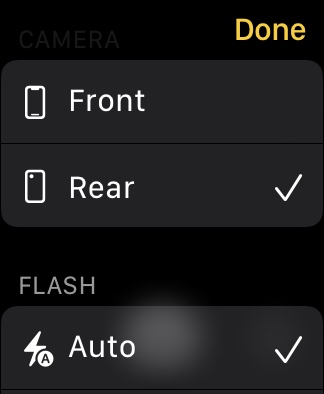
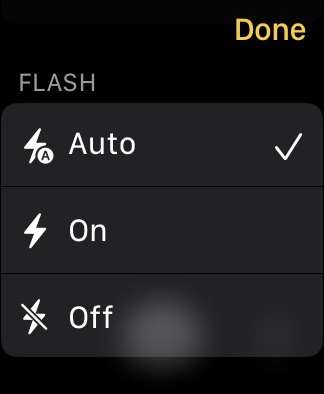
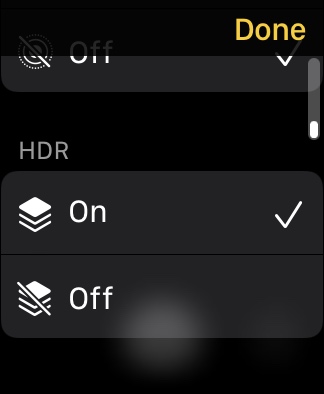
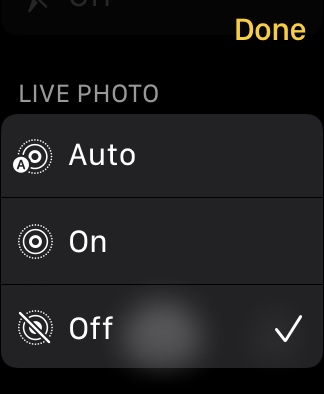
- Tap the three-dot More icon on the lower right to set your options. You can enable or disable the three-second countdown, select the front or rear camera, set the flash, choose to shoot a Live Photo, and set preferences for HDR, then tap the Done button.
- Adjust exposure by tapping the key area in the preview on your Apple Watch.
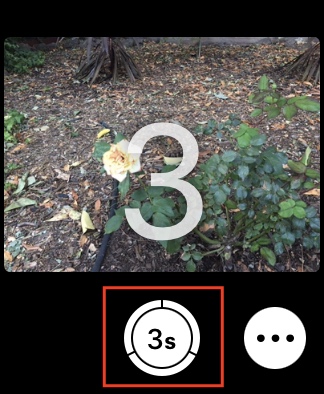
- Tap the Shutter button. The Watch will start the three-second countdown where each second registers a beep and a flash before the camera records the image on your phone.
- Preview your shots from the watch’s bottom-left thumbnail and use the Digital Crown to zoom in or out of the preview. Double-tap on the image to fill the screen and drag left or right to pan over the image. Swipe to see multiple images shot in sequence.
- Tap the screen to show or hide the Close button. If you tap Close, you will no longer be able to view any previews.
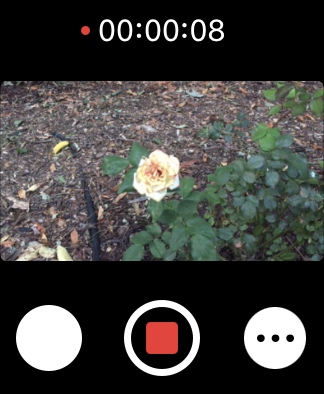
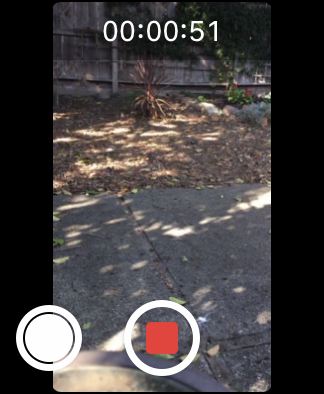
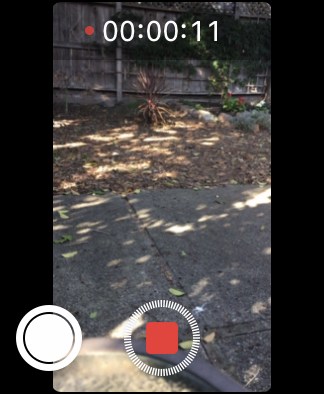
- By setting your phone to Video, Slo-Mo, or Time Lapse, you can also use the Camera remote app to shoot video.
How to control your iPhone Camera app in WatchOS 6 and iOS 13
- Launch the Camera app on your iPhone.
- Tap the Digital Crown on your Apple Watch and locate the watch Camera app.
- Point your iPhone to the scene you want to shoot and use the watch preview to frame the shot.
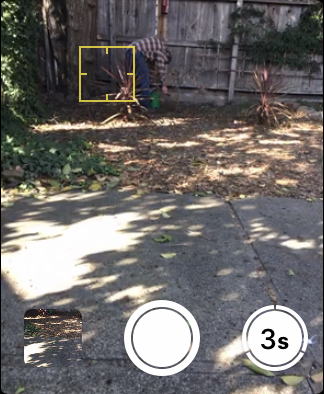
- Tap the watch screen to adjust the exposure setting (Yellow key), using the swipe gesture the same way you would on your phone.
- Tap the white Shutter button to snap the shot.
- The new picture appears on the left side of the shutter button.
- You can also use the shutter timer to count down, which gives you more time to arrange the scene or to place yourself in it. You will hear a beep and see the camera light flash along with the numerical countdown.
- Show or hide the on-screen Close button and the shot count by tapping the screen.
How to try different camera specifications in iOS 14 and 15
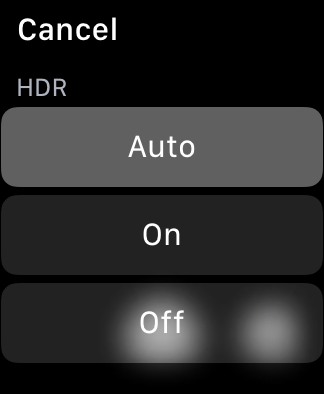
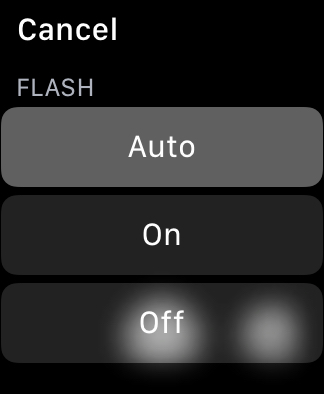
You can use your watch to shoot Live Photos, HDR, or specify the front or rear camera. Flip lets you alternate between the front or rear camera. HDR shots have a broader tonal range and better details because the iPhone takes multiple photos in rapid succession at different exposures and blends them into a single shot. Flash lights the scene. With both HDR and Flash settings, you can further specify on, off, or auto from the watch interface. It works somewhat differently in iOS 14 and WatchOS 7 but is similar to the updated iOS 15 and WatchOS 8.
In iOS 14 and WatchOS7: In iOS 14, you do that by pressing hard on the watch face within the Camera app until additional controls appear on the screen and choosing the one you want — Live, Flip, HDR, or Flash — to engage any of those four modes.
In iOS 15 and WatchOS8: In iOS 15, you access those same controls via the three-dot More menu. Just keep scrolling until you find the controls you’re looking for.
How to switch camera modes
You can remotely control your camera with both still images and video, time-lapse, slo-mo, portrait, or square. But for these, you need to control the mode from the iPhone Camera app first.
- Tap on the Camera app on your iPhone.
- Swipe to choose Time-Lapse, Slo-Mo, Video, Portrait, or Square.
- Take your photo either with the Camera app on the Apple Watch or iPhone.
How to view shots on your watch
You can review your recent photos on the Apple Watch using the Camera app, though the actual picture resides on your phone. Once you close out a camera session, the watch preview disappears. This function operates identically in iOS 14 and iOS 15.
- Fire up the Camera app on your Apple Watch.
- To view a photo, tap the thumbnail at the bottom left.
- View additional photos by swiping left or right.
- To zoom, turn the Digital Crown.
- To pan, drag on a zoomed photo.
- Double-tap the watch face for the image to fill the screen.
- When you’re done, tap Close.
Bottom line
The Apple Watch comes in handy for so many different routine tasks, and having it remotely control your iPhone camera is a logical extension of its capabilities — all the more reason to always have your watch strapped to your wrist.
