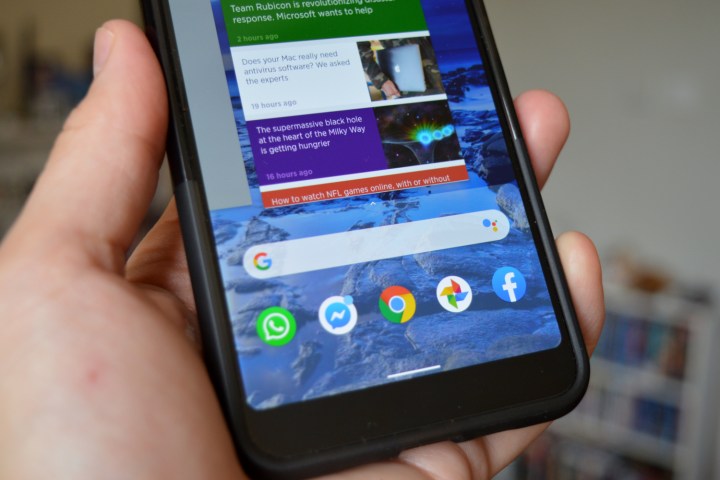
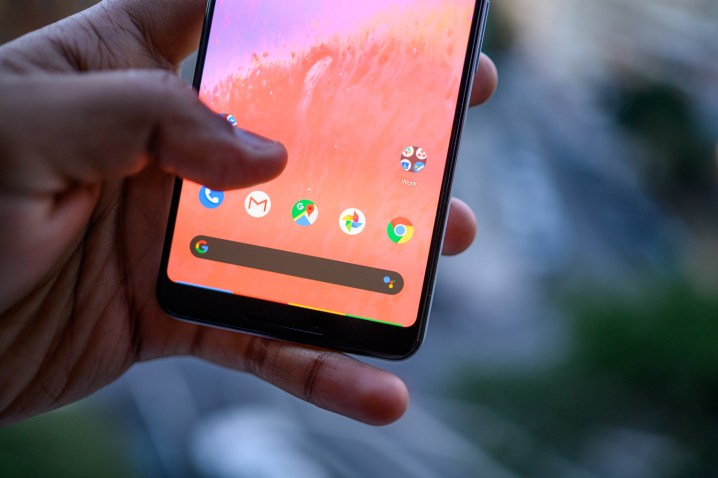
In Android 10, Google put the final touches to its gesture controls, ditching the last few soft keys and creating a system more like the gesture navigation in Apple’s iOS. The latest version, Android 11, doesn’t add anything new in terms of changes to this system.
Like taking off the last training wheel, using gestures may require a bit of practice and muscle memory to nail down. We’re here to break down all the changes so you’re able to swipe, drag, and navigate swiftly through your Android device in no time.
How to turn on gesture navigation
Whether you want to test the newer navigation controls or use a more traditional method, you’ll need to know how to switch between modes. Here’s how:
Step 1: Swipe down from the top to expand the notification shade and then tap the cog icon.
Step 2: Tap System.
Step 3: Tap Gestures.
Step 4: Tap System Navigation.
Here you will find three options:
- 3-button navigation — The traditional Android navigation system, with the Back, Home, and Overview/Recents buttons at the bottom.
- 2-button navigation — The gesture navigation introduced in Android 9.0 Pie, with a thin line as the Home button and a Back button appearing as needed.
- Gesture Navigation — Tap this option to turn it on. To turn it back off, just tap one of the other options in the same menu.
How to use Android 11’s gesture navigation

You just toggled on the latest gesture navigation. Now you’re scratching your head as all of your familiar buttons are gone and you have no idea how to control your phone. Don’t worry, we’ve collated all the useful gestures you need to know.
Returning to the Home screen in Android 11
Going back to the Home screen without the virtual button seems impossible, but it’s not. Just swipe a finger up from the thin line located at the bottom of the screen. The app window will disappear. Easy, right?
Going back in Android 11
Like going home, you might assume going back is harder without a Back button — but that’s also not the case. To go back, do the following:
Step 1: Drag a finger in from any point along the right or left edge of your screen.
Step 2: A back arrow icon appears. Release your finger to go back.
If the sensitivity of the Back function doesn’t feel quite right — whether it’s triggering too easily, or barely at all — then you can change the sensitivity. Just head to Settings > System > Gestures > System navigation, and tap the cog icon to the right of the Gesture Navigation to made adjustments.
Be aware that higher sensitivities will make it harder to swipe through galleries of photos, so we recommend erring on the side of caution.
How to open the recent apps list in Android 11

Like Android 9.0 Pie’s gestures, accessing the recent apps list is tied to a similar gesture as your home gesture — though it’s slightly different this time.
To access the Recents screen, drag a finger up from the thin line at the bottom and then hold until you feel the phone pulse. Your most recent app will appear on the screen as a preview window followed by all other recently accessed apps tiled to its left. Along the bottom, you’ll see the Screenshot and Select utilities.
Swipe left and right to navigate the list, tap on a preview to open an app or tap the line to close the list. To quickly swap to your last-used app, swipe from the left to the right on the bar at the bottom of the screen.
Activating the Google Assistant in Android 11

In older versions of Android, accessing the Google Assistant without saying “OK, Google” was easily done by holding down the Home button. Android replaced this button with a Google search bar at the bottom of the Home screen starting with version 10. To activate Google Assistant, just tap the icon to the right of the search bar.
Pixel phones have the search bar by default, but that doesn’t mean other manufacturers will, so there’s another way to access the Assistant. Drag a finger up diagonally (45 degrees) from the bottom left or right corner. How far up your finger travels doesn’t matter — Google Assistant activates when you reach the search bar. You’ll feel the phone pulse when the Google Assistant menu pops up from the bottom.
To get out of Google Assistant, swipe a finger up from the thin line at the bottom.
Rotating the screen in Android 11
This isn’t a traditional entry in the list of navigational controls, but since Android 9.0 Pie you’ve been able to manually rotate the screen from your navigation bar. Turning off Auto-Rotate and relying on manual rotation may seem odd, but it’s extremely useful if you’ve ever used your phone while lying on your side in bed. With automatic rotation, your phone rotates as soon as you’re horizontal, and that’s just annoying. It’s so much easier to just tell your phone when you want it to rotate.
To turn off the automatic rotation of your screen, do the following:
Step 1: Swipe a finger down from the top to expand the notification shade.
Step 2: Tap the Auto-Rotate icon displayed on the Quick Settings menu. It resembles two arrows making a tilted rectangle. If you don’t see this icon, expand the Quick Settings menu by swiping down from the panel’s handle (white line).
Whenever you want to rotate your screen, turn your phone to the desired orientation, then tap the small rotate button that appears in the bottom-right corner.
How to open split-screen mode

To start split-screen mode, do the following:
Step 1: Open the first app.
Step 2: Drag a finger up from the thin line at the bottom until the phone pulses and your list of recent apps appear.
Step 3: Locate and tap the second app’s shortcut icon at the top of its preview window.
Step 4: Tap Split Screen on the drop-down menu.
Step 5: The second app appears in the top section of the split-screen mode. In the bottom section, tap on your first app displayed on the preview list, select another app, or return to the Home screen to open the app drawer and select a different app.
You now have two separate windows that you can use independently and change in size to prioritize one or the other as you work. To bring one to the front, simply click and drag the line between the two screens to expand the space for the app you want to maximize. If you’re done with one of the apps and want to close the screen, just pull the line entirely to one edge or the other, and the app will close.
To get rid of split-screen mode, tap Apps from your home screen. Select Settings, then Multi Window. When you see the toggle button, click to turn it off. As always, click the Home button to return to your main screen view.
Gesture controls are fun with a learning curve
Google has finally given Android an impressive gesture navigation layout that’s comparable to Apple’s iOS. This latest installment contains many fun features sure to please diehard Android fans and iOS transplants alike. We recommend exploring all of these new gestures, as they’ll run you through nearly all the features you may not have discovered yet on your Android. There’s a bit of a learning curve, and we’re not ashamed to admit that the trickiest part might be remembering which gesture accomplishes what action. But the functionality is well worth polishing up our swiping and dragging skills.


